
Propagating Coleus from Cuttings

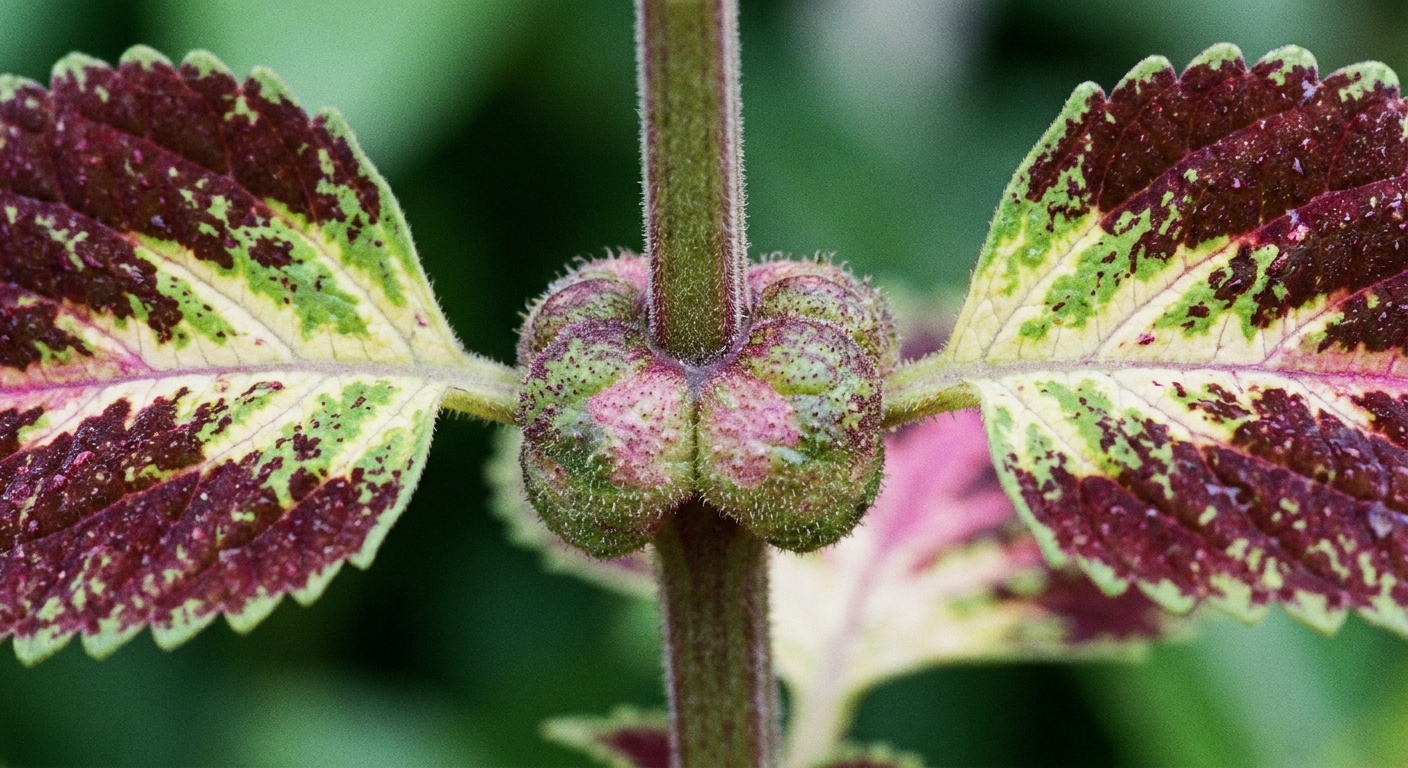
Coleus is one of those plants that makes you feel like a wizard. One minute you have a leggy, colorful plant leaning toward the window, and the next you have three or five brand new plants rooting happily in cups and little pots. If you have ever wished you could “pause” a favorite variety before the season changes, cuttings are the easiest, fastest way.
Below, I will show you exactly which stem to take, where the node sits (this matters more than people realize), whether to root in water or a light mix, how warm to keep things, and when your rooted cutting is ready to be pinched or planted out.
What makes coleus so easy to root
Coleus (Coleus scutellarioides, often sold under the older name Plectranthus scutellarioides) roots readily from soft, non-woody stem tissue. Nodes contain tissues that readily form roots. If you keep a node warm, lightly moist, and in bright indirect light, it often responds quickly.
That said, coleus cuttings can also rot fast if they sit cold and soggy. The whole game is “moist but airy” plus “warm but not scorching.”
Pick the right stem (and the right time)
Best stem growth
Choose a healthy, non-flowering coleus stem that is:
- Soft to semi-soft (it bends easily, not woody and brittle)
- Free of spots or fuzz on the leaves
- Not currently blooming (flowering stems can root, but they are usually slower and fussier)
If your plant already has a flower spike you love, you can still propagate it, but I prefer to snip off blooms on the cutting so it puts that energy into roots and branching.
Any time the plant is actively growing is a fine time to take cuttings. Indoors under lights, that can be year round. Outdoors, I like to take cuttings while the plant is still vigorous, not after it has been stressed by chill nights.
How long should a coleus cutting be?
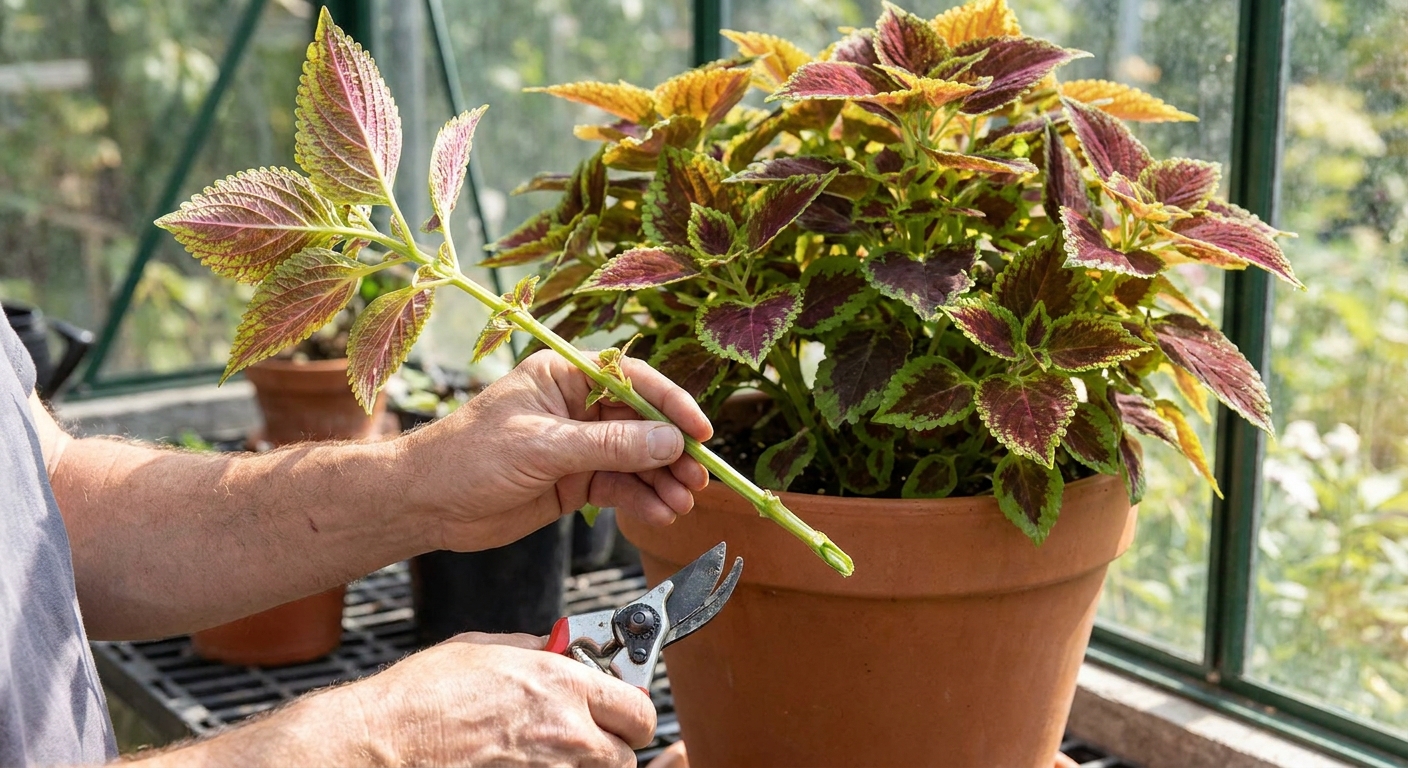
A sweet spot is 3 to 5 inches long with 2 to 4 leaf nodes. That gives you enough stem to bury or submerge a node, plus enough leaves to keep the cutting powering itself.
Find the node (this is the rooting switch)
A node is the point on the stem where leaves attach. On coleus, it is usually obvious because leaves grow in opposite pairs. Right above that leaf pair, the stem often looks a little thicker or slightly knobby.
For reliable rooting, you want:
- A clean cut just below a node
- At least one node that will be under water or under your rooting mix
Roots form from nodes far more readily than from plain stem sections. If your cutting is struggling, nine times out of ten the buried node situation is the culprit.
How to take the cutting
I keep it simple and gentle. Coleus does not need a complicated routine, but it does appreciate cleanliness.
- Use clean scissors or pruners. If you are taking lots of cuttings, a quick wipe with rubbing alcohol helps prevent spreading problems between plants.
- Cut just below a node. Aim for a firm, decisive snip so you do not crush the stem.
- Remove the lowest leaves. Strip off leaves that would sit in water or be buried. Leaves in water usually rot, and leaves buried in mix invite fungus.
- Keep 2 to 4 leaves at the top. If the leaves are very large, you can snip them in half to reduce moisture loss, but I usually only do this if the cutting wilts easily.
Rooting hormone is optional here. Coleus usually does not need it, but a light dip will not hurt if you already have some on hand.
Rooting coleus in water
Water rooting is my “kitchen counter” method. It is especially comforting for newer gardeners because you can see what is happening.
Step by step
- Place the cutting in a clean glass or jar with room-temperature water.
- Make sure at least one node is underwater and no leaves are underwater.
- Aim to submerge just that lower node (and a bit of stem), not half the cutting. More submerged stem means more chances for rot.
- Put the jar in bright, indirect light. A sunny windowsill is fine if the glass does not overheat and the leaves are not cooking in direct midday sun.
- Change the water every few days to weekly, or anytime it looks cloudy. If you are topping off instead of changing, rinse the jar between batches to keep algae and funk from building up.
How warm?
Water-rooted coleus is happiest around 70 to 78°F. Cooler rooms can slow rooting dramatically. If your home runs cool, move the jar away from cold glass at night.
When is it ready to pot up?
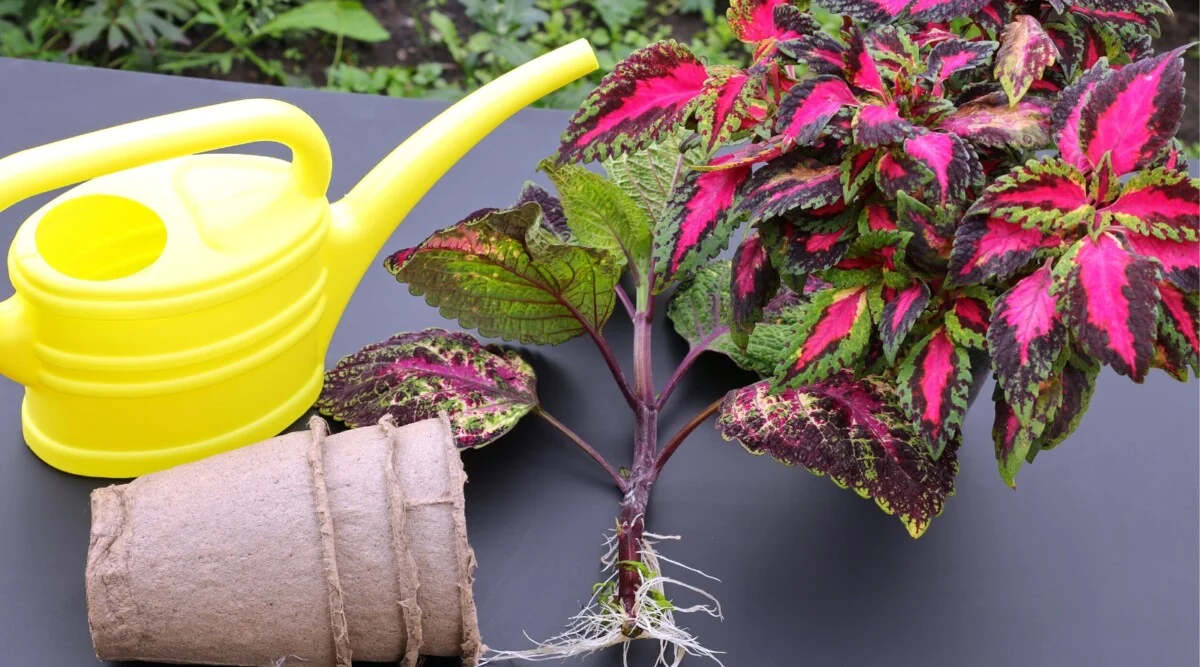
Pot the cutting when you have several roots that are 1 to 2 inches long. If you wait for a massive tangle, long water-rooted cuttings can take longer to adjust once they move to potting mix.
Rooting coleus in a light mix (my go-to for stronger starts)
If you want a cutting that transitions seamlessly into a pot, rooting in a light, airy medium is wonderful. It reduces transplant shock and typically makes a sturdier young plant.
Good mediums for coleus cuttings
- Pre-moistened seed-starting mix
- Coco coir mixed with perlite
- Potting mix lightened with extra perlite (aim airy, not dense)
Avoid heavy garden soil. It holds too much water and too little air for tender stems.
Step by step
- Fill a small pot (2 to 4 inches wide) with your moistened mix.
- Poke a hole with a pencil or chopstick so you do not scrape the stem when inserting it.
- Insert the cutting so that at least one node is buried, then gently firm the mix around it.
- Water lightly to settle, then let the pot drain well.
Humidity without the rot
Cuttings root faster with a little humidity. You can loosely tent the pot with a clear plastic bag, but keep it from touching the leaves and vent it daily. Stale, dripping air is where rot starts to whisper.
Light and warmth while your cutting roots
Light
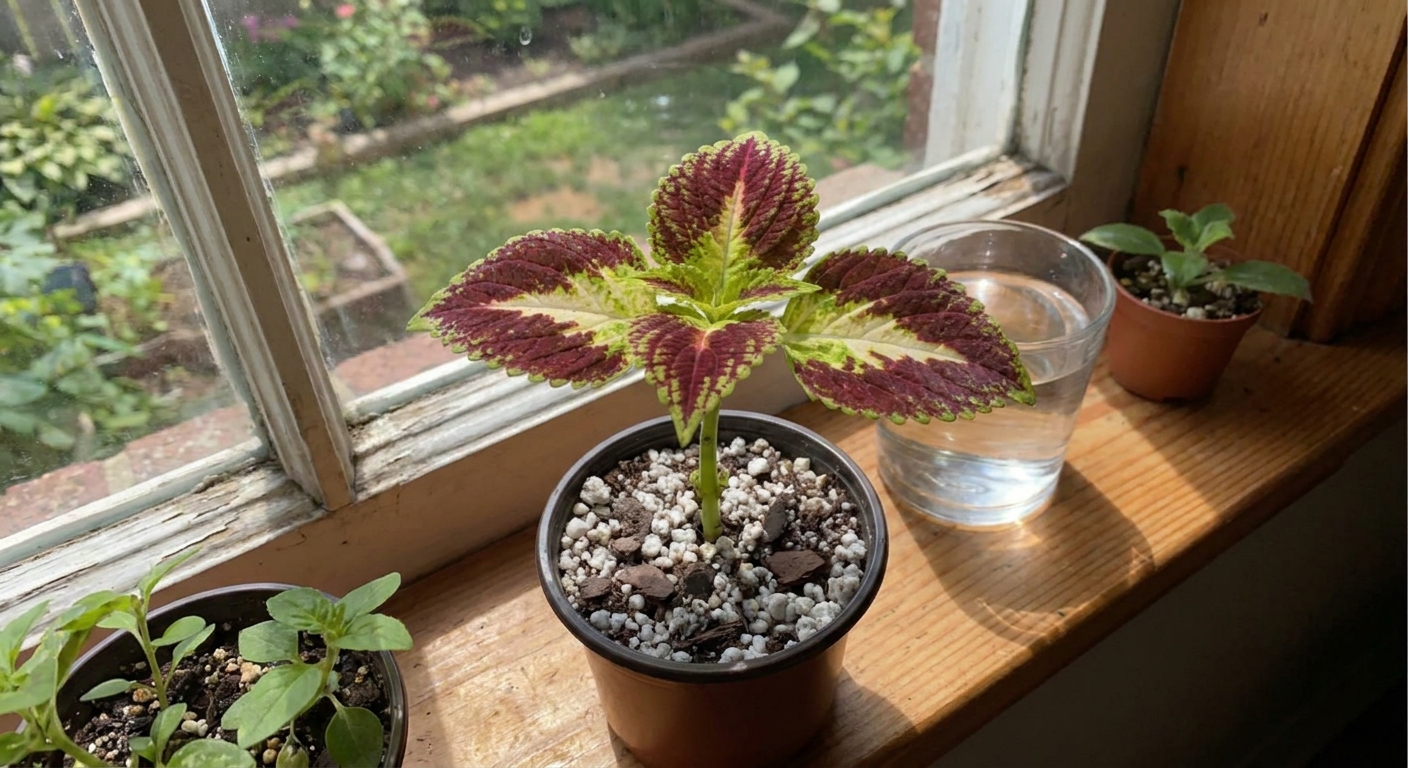
Give cuttings bright, indirect light. Too little light encourages limp stems. Too much direct sun dehydrates the cutting before it has roots.
Warmth
Warmth is the quiet secret. Aim for 70 to 80°F if you can. If you are rooting in mix and your house is chilly, a seedling heat mat on low can speed things up. Keep the medium airy, not soggy.
How long does coleus take to root?
In good conditions, coleus often forms roots in 7 to 14 days. Sometimes you will see roots in water even faster. In cooler or darker conditions, it can take closer to 2 to 4 weeks.
If your cutting is still green and perky, it is still in the game. If it is blackening at the base or collapsing, skip ahead to the troubleshooting section.
How to tell a cutting is rooted
Use these cues instead of guessing:
- Water method: visible white roots, ideally multiple roots branching from the node.
- Mix method: a gentle tug meets resistance, and you may see new leaf growth at the top.
- Overall: the cutting stops wilting between waterings and looks like it has “decided to live.”
When to pinch your rooted cutting
Pinching is how you turn one stem into a bushy, full coleus instead of a single lanky wand.
Timing
Pinch when:
- The cutting has a small but established root system (not just one skinny root), and
- You see new growth at the top or the plant is actively pushing leaves.
How to pinch
Snip or pinch out the top growth tip just above a leaf pair. That leaf pair’s nodes become your new branching points. I know it feels rude the first time, but coleus responds like, “Oh, you want me to be fabulous? Done.”
When to plant out or pot up
Once rooted, move your new coleus into its next home before it becomes cramped.
Potting up into a larger container
Transfer to a 4 to 6 inch pot when roots begin to fill the starter pot or when the cutting is drinking more quickly. Use a quality potting mix with good drainage. Water thoroughly, then let the top inch of mix dry slightly before watering again.
Planting outdoors
Only plant coleus outside after the last frost, once nights are reliably warm. As a rule of thumb, I wait until nights stay above about 60°F (15 to 16°C). Harden it off over several days by giving it outdoor shade for a few hours at a time, gradually increasing exposure.
After planting, keep it evenly moist for the first week while it settles in.
Troubleshooting common coleus cutting problems
My cutting is wilting
- Move it to brighter indirect light, not hot sun.
- Reduce leaf load by removing one or two large leaves.
- If it is in mix, check moisture. The medium should be lightly moist, never swampy.
The base turned black or mushy
This is classic rot behavior. Start over with a fresh cutting taken higher up on the plant, and switch to a cleaner setup with better airflow. If your coleus is collapsing suddenly at the soil line or multiple cuttings fail the same way, that can point to a disease issue rather than simple rooting trouble. Leafy Zen has deeper diagnosis help on our coleus downy mildew and coleus stem rot at the soil line pages.
Roots formed, but it stalled after potting
- Pot up sooner next time, when roots are 1 to 2 inches long.
- Keep the newly potted cutting in bright shade for a few days to reduce stress.
- Do not fertilize immediately. Wait until you see fresh growth, then feed lightly.
Water vs. mix: which method should you choose?
If you are torn, here is my real-life rule:
- Choose water if you want quick feedback, you are new to propagation, or you are only rooting a couple of cuttings.
- Choose a light mix if you want sturdier transplants, you are rooting many cuttings, or you tend to forget to refresh jar water.
Both work beautifully. Coleus is generous like that.
If you want to grow coleus from seed
Cuttings clone your plant exactly, which is perfect when you are trying to keep a favorite color pattern. Seeds are their own adventure and can be wonderfully surprising. If you are aiming for seed-starting instructions, head over to our coleus seed guide: How to Grow Coleus from Seed.
Quick checklist: coleus cutting success
- Take a 3 to 5 inch cutting from healthy, non-flowering growth
- Cut just below a node
- Remove lower leaves so no foliage sits in water or buried mix
- Keep one node submerged or buried
- Bright, indirect light
- Warmth around 70 to 80°F
- Pot up from water once roots are 1 to 2 inches long
- Pinch after rooting to encourage branching
If you want, tell me whether you are rooting in water or mix, and what your light setup is. I can help you fine-tune it so those little roots show up fast.