
How to Grow Coleus from Seed

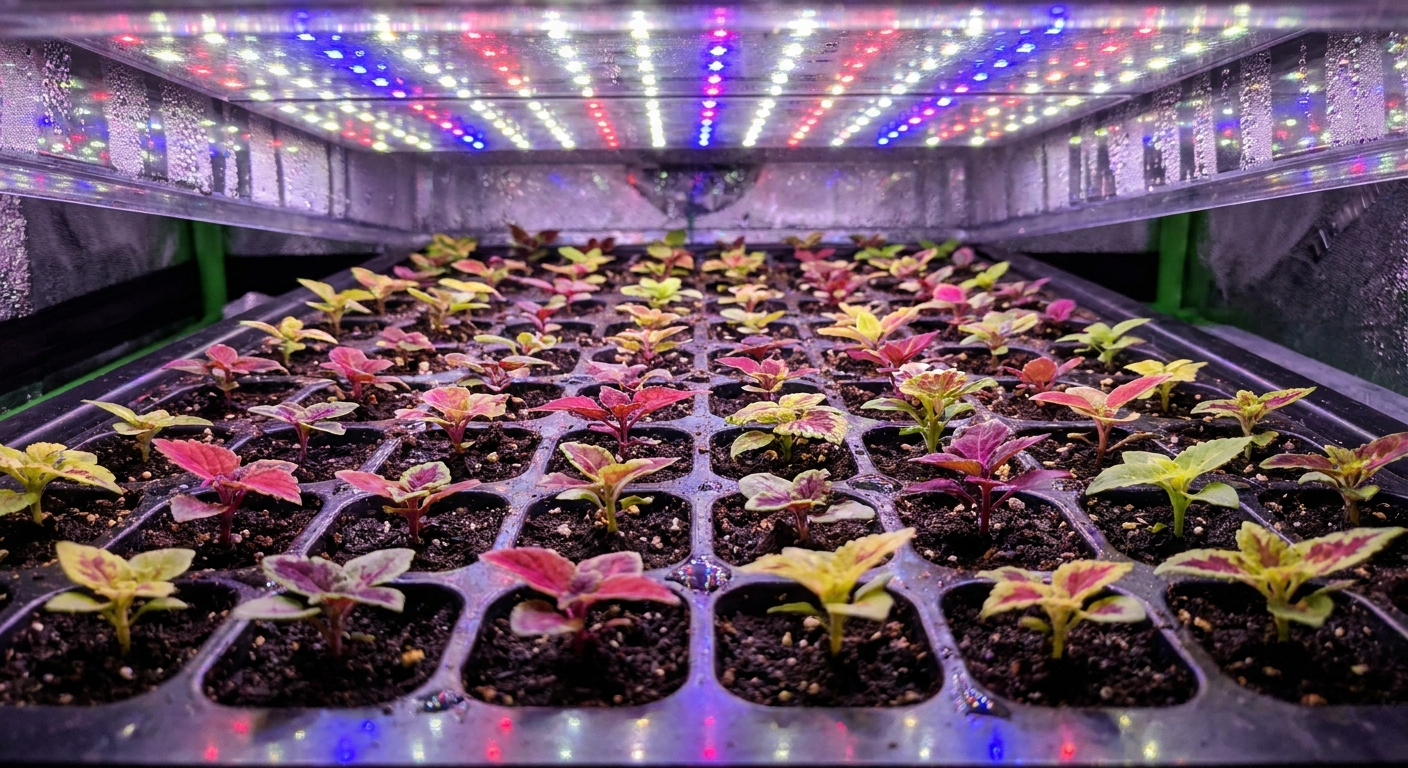
I fell in love with coleus the same way I fell in love with gardening: by accident, with dirt under my nails and a little bit of disbelief. As a kid I spent summers in my grandmother’s tomato patch, and I swear those tomatoes taught me patience. Coleus came later, in my apartment years, when I wanted big color in a small space. I started seeds on a sunny windowsill, fussed over them like they were tiny royalty, and then watched them take off once I finally gave them enough light.
If you have ever bought a single coleus plant and wished you could have ten more in different colors, starting from seed is your happy place. It is inexpensive, surprisingly fast, and honestly a little magical. Let’s do it step by step.
What to know before you start
Coleus (typically sold as Coleus scutellarioides) is usually grown as a tender perennial but treated like an annual in most climates. The good news is that it germinates readily indoors and grows quickly once it has strong light.
- Seeds are tiny. You will be sprinkling, not planting like you would beans.
- Light helps germination. Coleus is best surface-sown, and most seed germinates more reliably with light exposure. A dusting of fine vermiculite can work too, as long as you do not bury the seed.
- Seed-grown coleus can vary. Some varieties come fairly true, while mixed seed strains may surprise you. I consider that a feature, not a flaw.
When to sow coleus seeds indoors
Start coleus seeds indoors 8 to 10 weeks before your last expected frost date. That window gives you sturdy seedlings that are ready to pot up and then transition outside once nights are reliably warm.
If you start much earlier, seedlings can get leggy unless you have strong grow lights and space for potting up. If you start later, you will still get nice plants, just smaller later into the season.
Quick timing example
- Last frost in mid-May: sow indoors in mid-March to early April.
- Last frost in early April: sow indoors in late January to early February.
Supplies that make coleus seeds easier
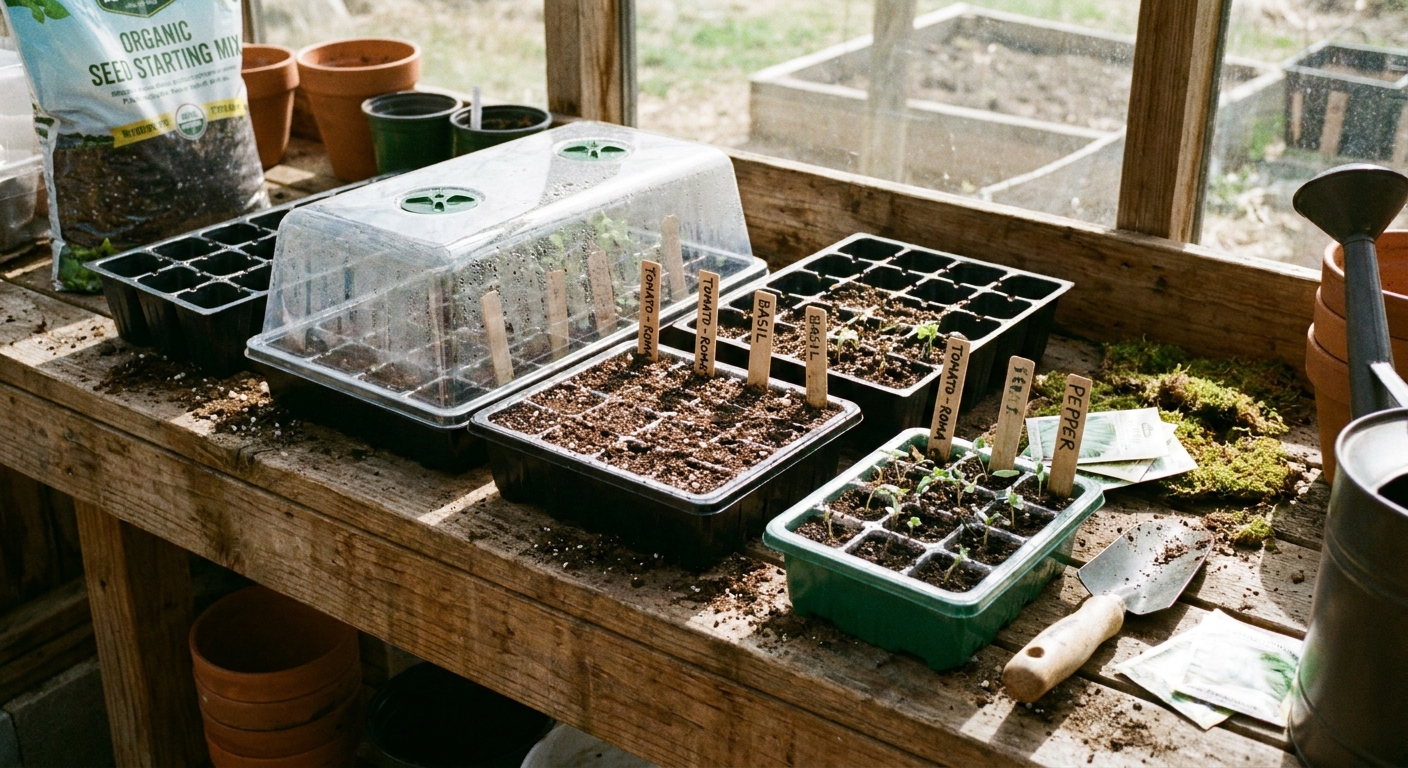
You do not need anything fancy, but a few basics prevent the most common seed-starting heartbreaks, like damping off, algae on the mix, and fungus gnats moving in like they pay rent.
- Seed-starting mix (lighter than potting soil and better for tiny roots)
- Shallow trays or cell packs with drainage holes
- Humidity dome or clear plastic wrap (temporary, just for germination)
- Spray bottle or gentle watering can
- Grow lights or a very bright window (grow lights are far more consistent)
- A small fan (optional but helpful for sturdy stems and airflow)
How to sow coleus seeds
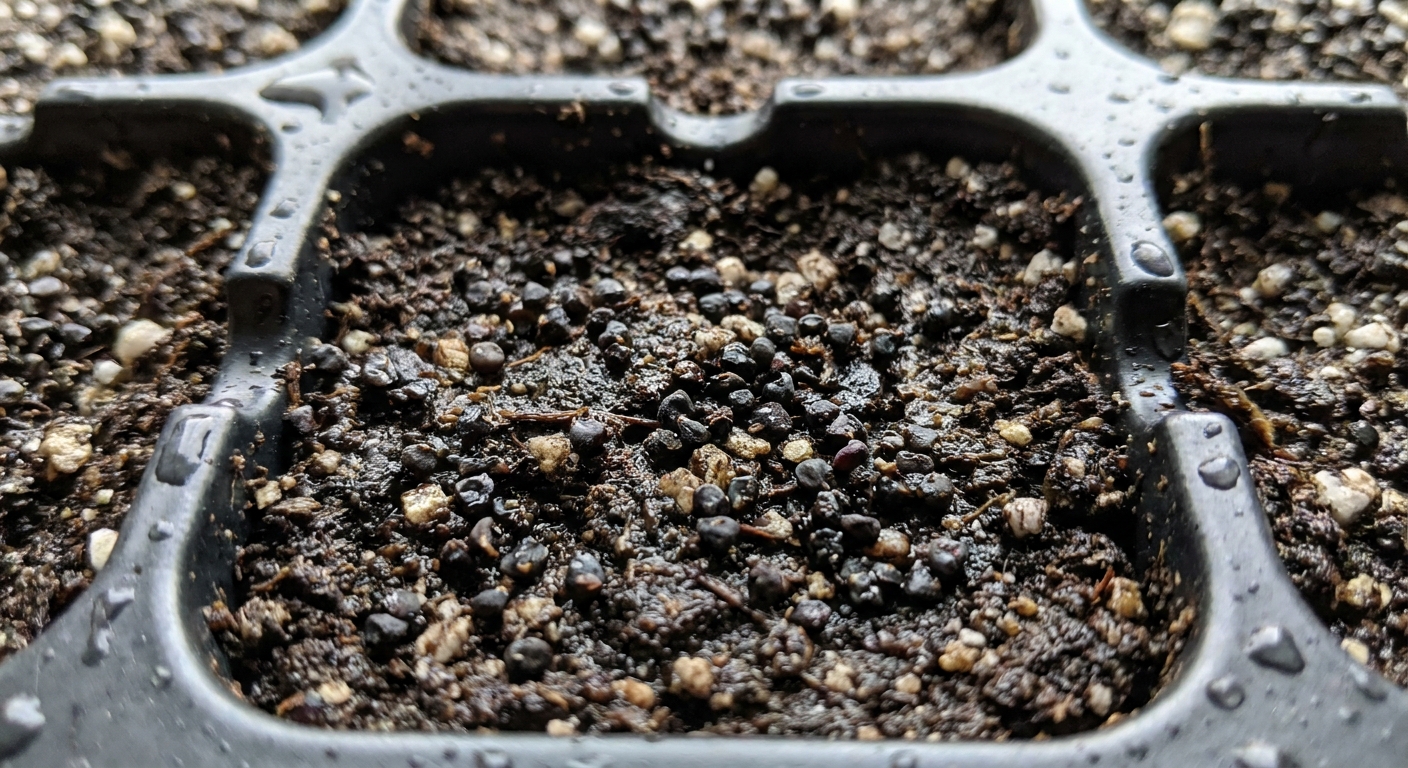
Coleus seeds are best sown on the surface because light improves germination. If you bury them under mix, you can dramatically reduce sprouting.
Step by step
Fill containers with moistened seed-starting mix. The mix should feel like a wrung-out sponge, damp but not dripping.
Level the surface. A flat surface helps seeds make good contact.
Sprinkle seeds on top. Try for spacing if you can, but do not stress. You can thin later.
Press seeds in gently. Use your fingertip or a small flat object to make firm contact with the mix without covering the seed.
Mist to settle. A spray bottle keeps seeds from washing into corners.
Cover for humidity. Place a dome or plastic wrap over the tray to hold moisture while seeds sprout.
Label your tray. Future you will be grateful, especially if you sow more than one variety.
Light and temperature for germination
Coleus seeds germinate best with warmth, steady moisture, and bright light.
- Temperature: Aim for 70 to 75°F (21 to 24°C). A warm room is often enough. A heat mat can help, but it is not mandatory if your home runs warm.
- Light: Provide bright light immediately. With grow lights, a common starting point is 2 to 4 inches above the tray for many seed-starting LEDs, with lights on for 14 to 16 hours a day. Adjust based on your fixture. If leaves bleach, curl, or look stressed, raise the light a bit. If seedlings stretch, lower it.
- Moisture: Keep the surface evenly damp, not soggy. Too wet invites fungus and weak seedlings.
You should see sprouts in about 5 to 14 days, sometimes faster with ideal warmth and fresh seed.
Right after sprouting
As soon as most seeds have germinated, remove the humidity cover. Seedlings need airflow and slightly drier conditions at the surface to avoid damping off.
My seedling rules of thumb
- Keep lights close. Leggy coleus is almost always a light issue.
- Add gentle airflow. A small fan on low, not blasting, makes sturdier stems.
- Water from the bottom when possible. Set trays in a shallow pan of water for 10 to 20 minutes, then let drain. This reduces stem and leaf wetness.
Thinning and potting up
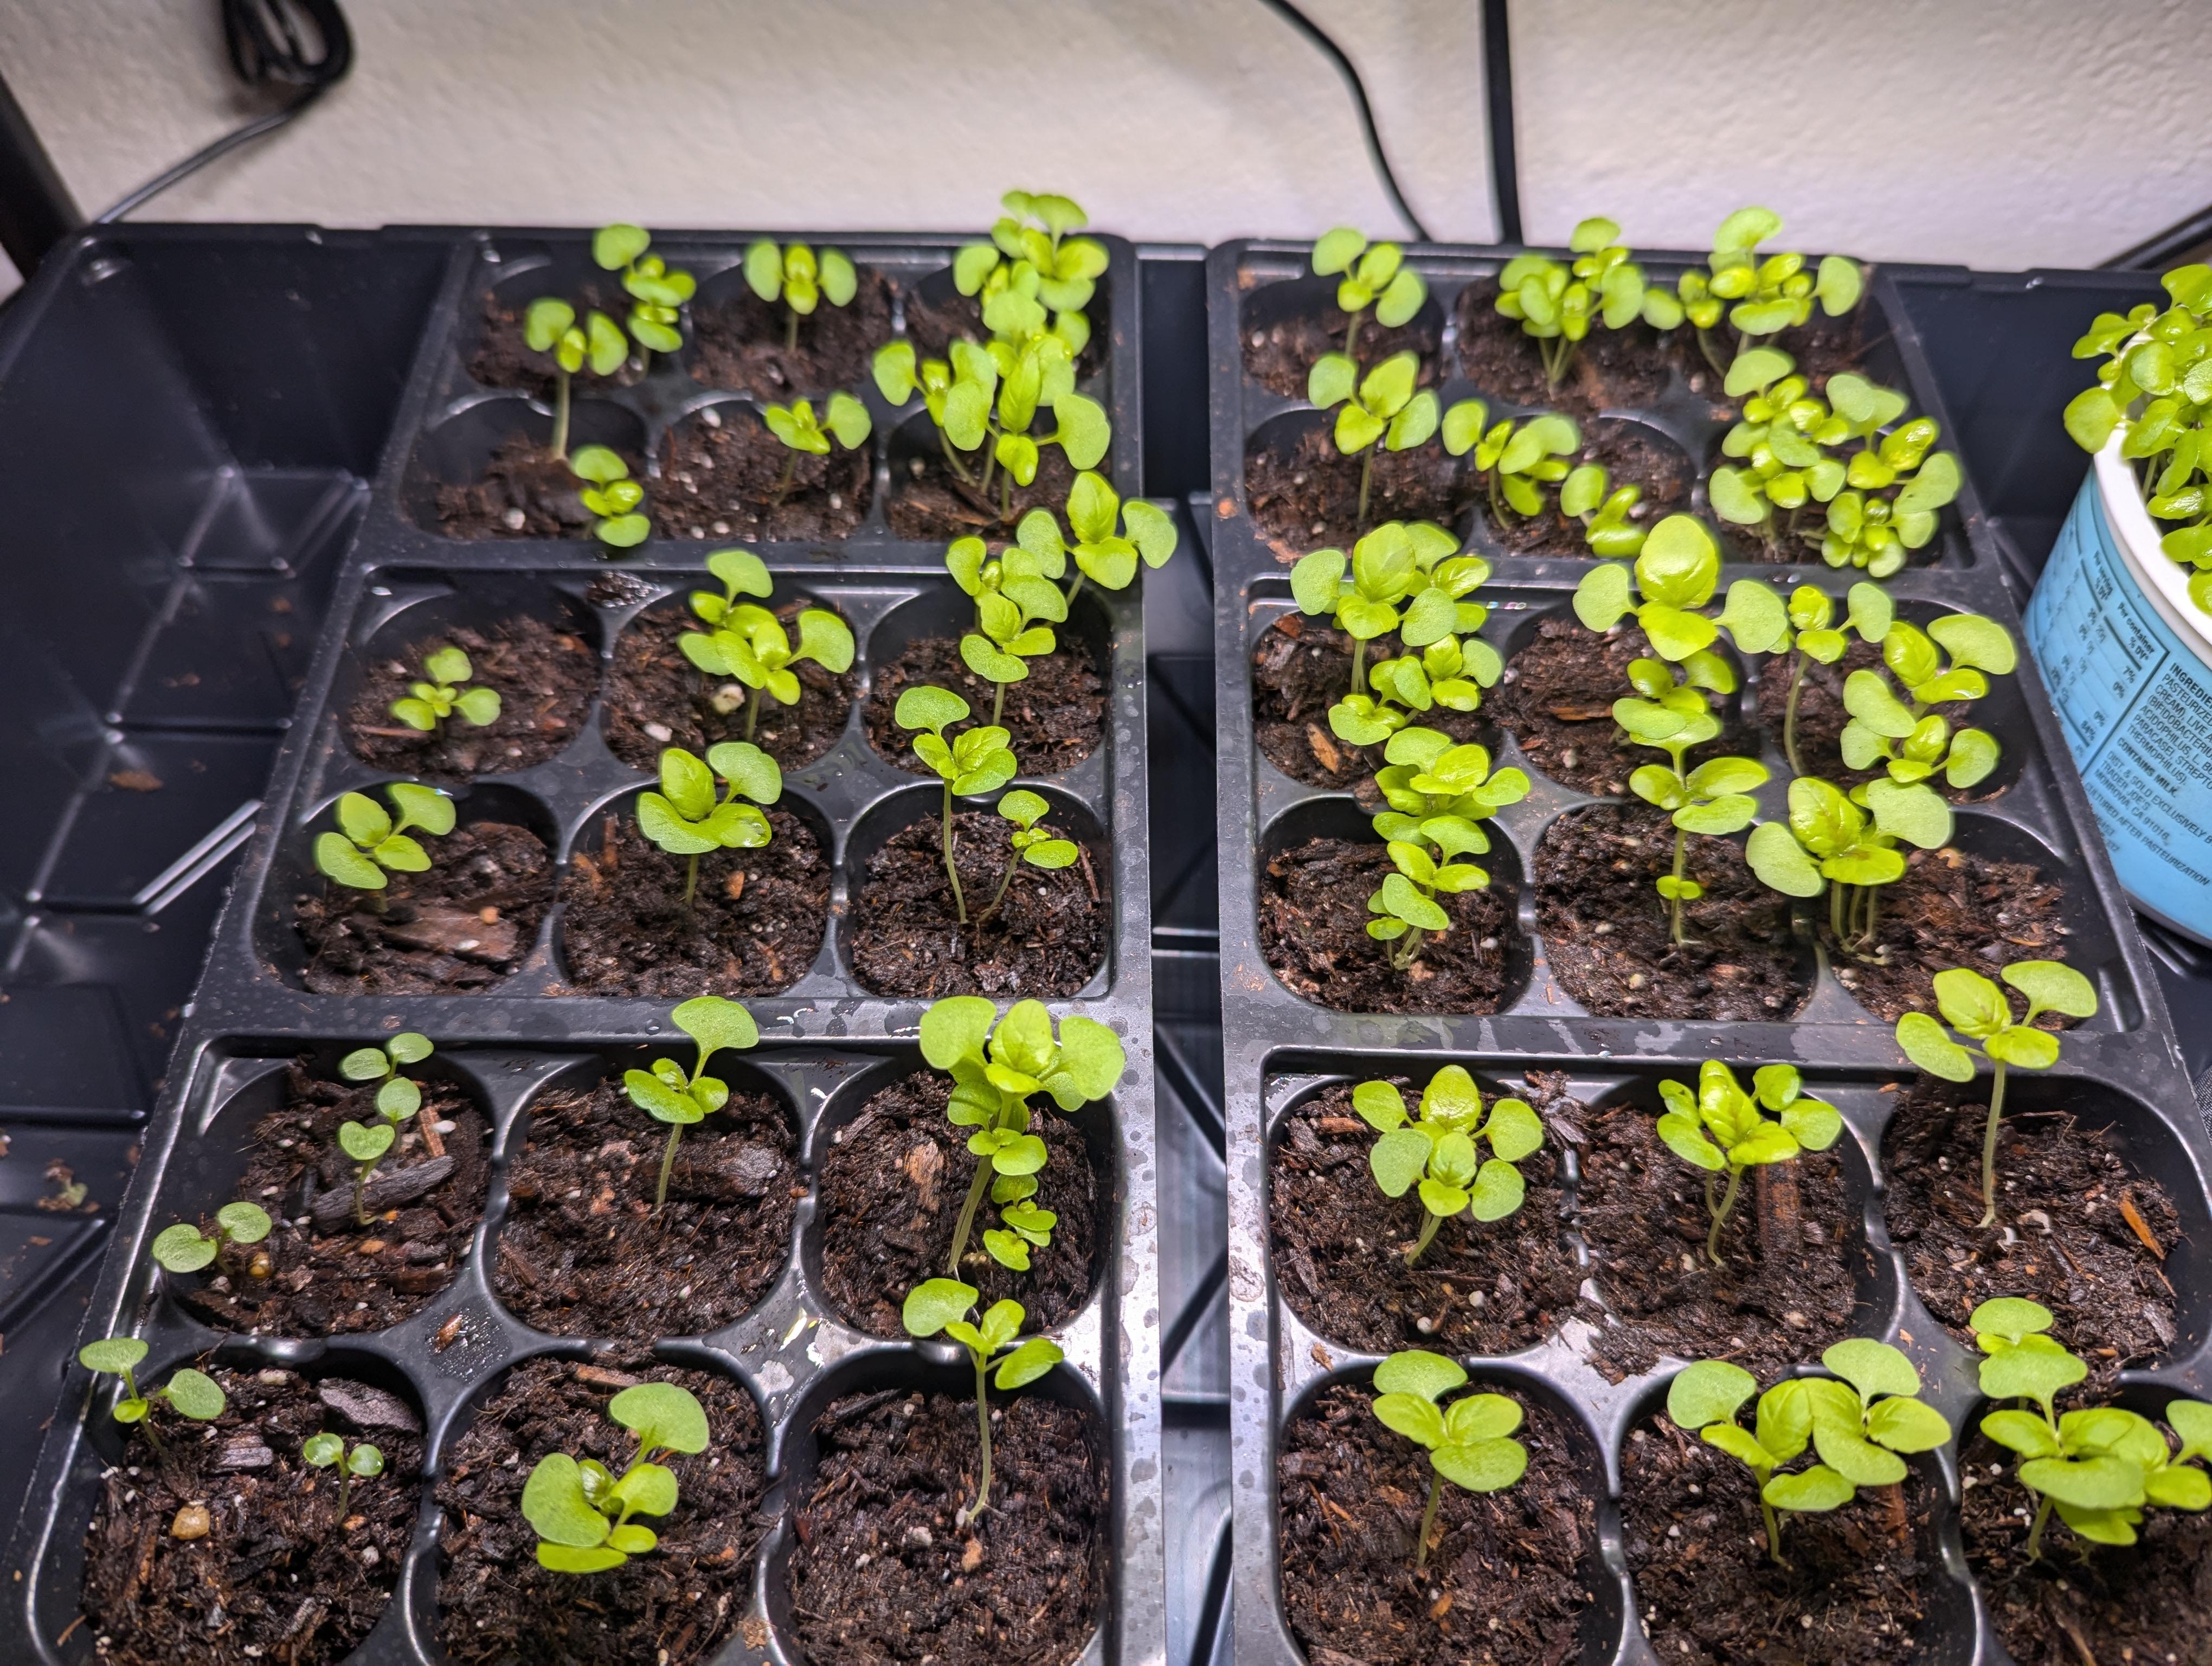
If multiple seedlings sprout in one cell, thin them so the strongest plant has room to grow. It feels ruthless, but it is a kindness.
When to thin
Thin once seedlings have their first true leaves (the leaves that look like coleus, not the initial smooth seed leaves).
When to pot up
Plan to move seedlings into roomier pots when they have 2 to 3 sets of true leaves or when roots start to fill the cell. For many homes, that is about 3 to 5 weeks after germination.
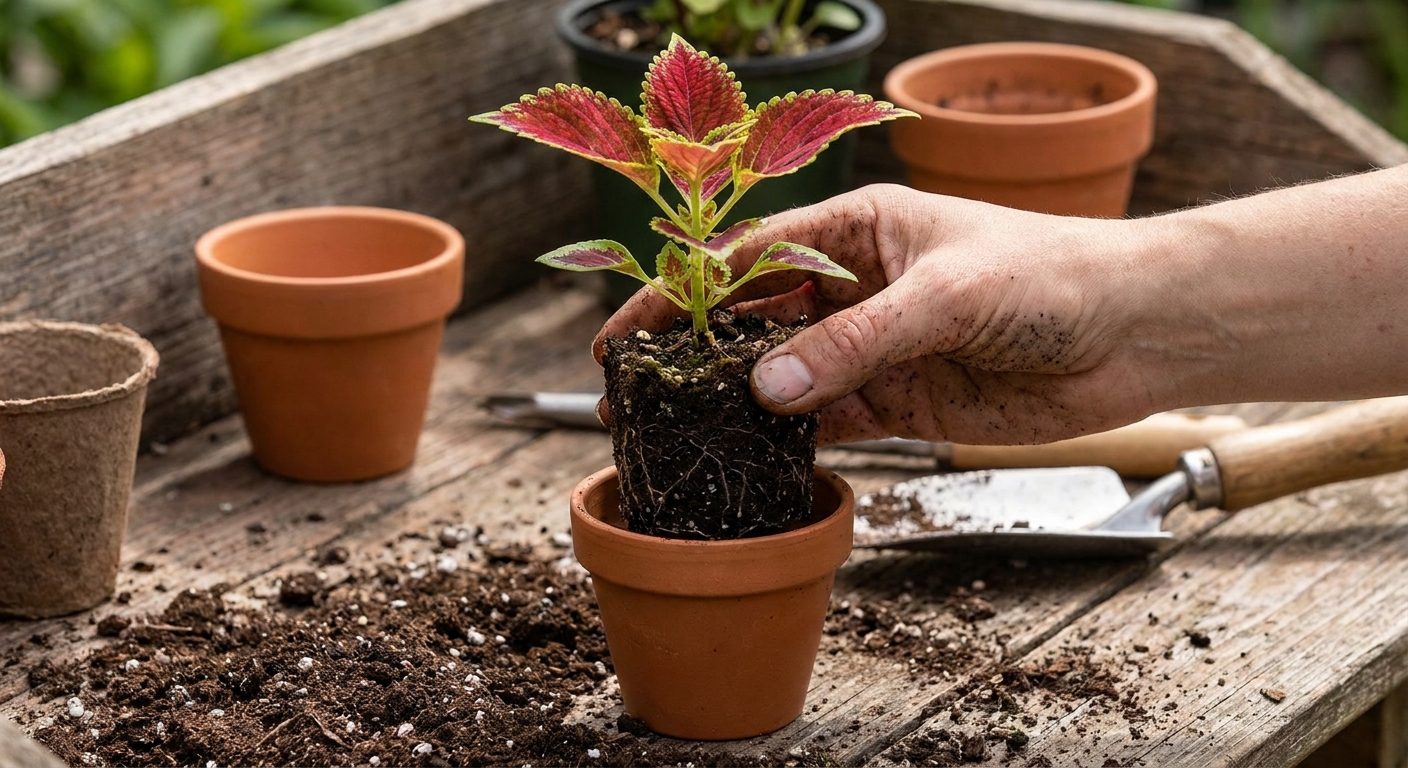
How to pot up: Lift seedlings by a leaf, not the stem, and move them into a small pot with fresh potting mix. Water in gently.
A simple feeding tip
Once seedlings settle into their new pots and start growing again, I like to use a half-strength balanced liquid fertilizer about every 1 to 2 weeks. Coleus is not fussy, but steady nutrition keeps color and growth moving.
Transplanting coleus
This is one of the biggest differences between coleus and some other easy seed-start plants. With tomatoes, we happily bury stems deep. With coleus, I want you to be more cautious.
Avoid burying the crown (the point where the stem meets the roots) and avoid creating a constantly wet stem at the soil line. That is where trouble tends to start.
That said, coleus can root from nodes. If you have a seedling that got leggy, you can plant it a little deeper in a light, well-aerated mix to stabilize it. The key is “a little,” plus good airflow and careful watering. I would still rather fix legginess with better light than with a deep plant-and-pray situation.
A safer way to support a floppy seedling
- Pot up into a container that is only slightly larger, so soil does not stay wet too long.
- Use brighter light to encourage thicker growth.
- If needed, use a tiny plant support or a small pinch of extra mix around the root ball, rather than packing wet mix high up the stem.
Hardening off
Coleus is tender. Even if the days feel warm, chilly nights can stall growth or damage leaves. Wait until all danger of frost has passed, and ideally until nighttime temperatures are consistently above 50 to 55°F (10 to 13°C).
How to harden off (7 to 10 days)
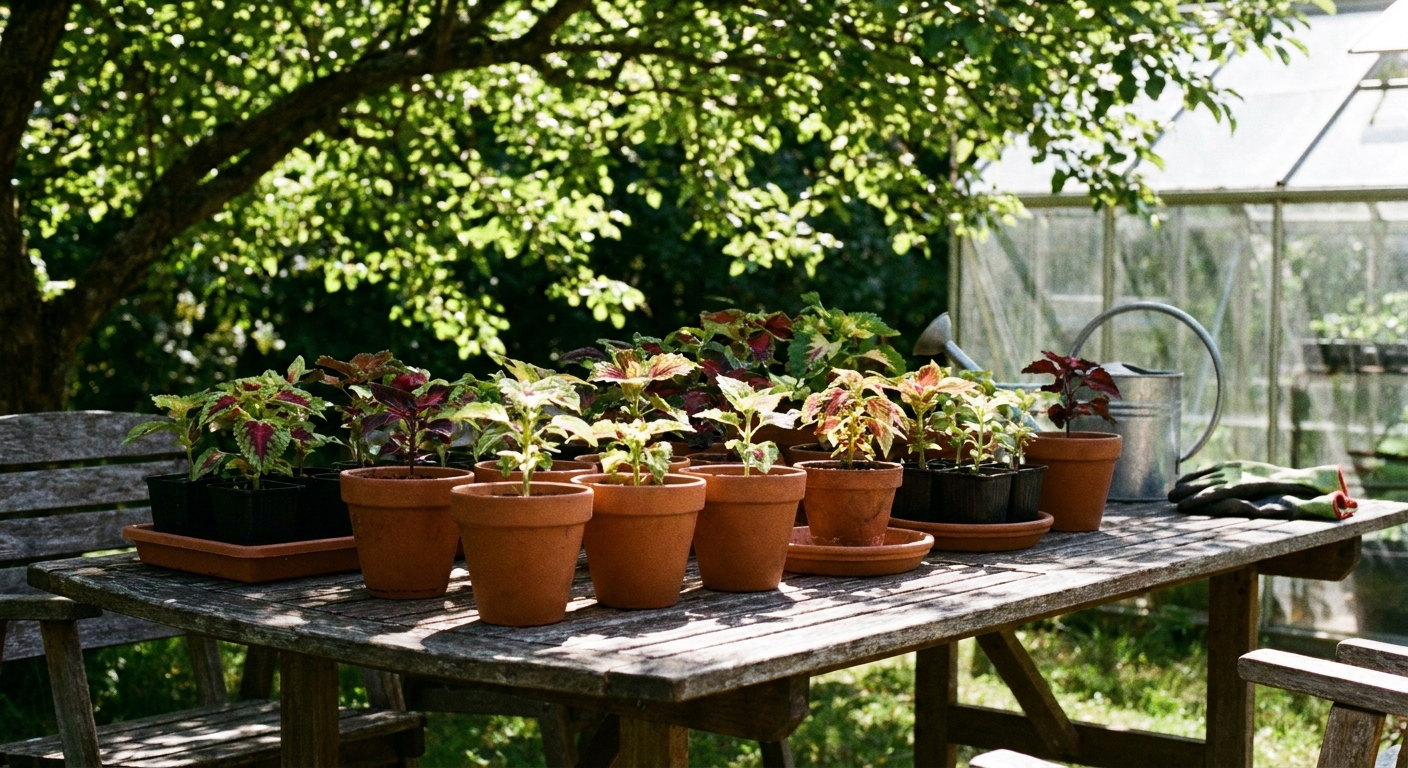
Day 1 to 2: Put plants outside in bright shade for 1 to 2 hours, then bring them back in.
Day 3 to 5: Increase outdoor time gradually, keeping them protected from harsh wind and hot midday sun.
Day 6 to 10: Introduce gentle morning sun. Increase exposure a bit each day.
If a day turns unexpectedly cold, windy, or blazing hot, pause and give them an easier day. Hardening off is not about toughness. It is about adjustment.
Planting outdoors or in containers
Once hardened off, coleus can go into garden beds or containers. Choose a spot based on your variety and your sunlight.
- Soil: Loose, well-draining soil enriched with compost is perfect.
- Spacing: Often 10 to 14 inches apart for many bedding types, but coleus sizes vary wildly. Check your seed packet or plant tag for the expected spread.
- Water: Water in well at planting time. For the first week or two, keep moisture steady while roots establish.
If you are growing in pots, use a quality potting mix and make sure the container drains freely. Coleus loves consistent moisture, but it does not like sitting in water.
Pinching for bushy coleus
Pinching is the secret handshake for coleus. It turns a single stem into a full, leafy plant, and it helps you grow that plush, color-soaked shape that makes coleus so irresistible.
When to pinch
Start pinching when the plant is about 4 to 6 inches tall and has several sets of true leaves.
How to pinch
Use clean fingers or snips to remove the top growing tip just above a leaf node. Two new stems will usually branch from that point.
About flowers
Coleus will eventually try to bloom. Some varieties do it more than others, especially in late summer. If you are growing coleus for the leaves (and I usually am), pinch off flower spikes as they form. Flowering can pull energy away from that lush leaf show, and once a plant gets serious about blooming, it can look a little tired.
Sun and color
Seedlings indoors want bright, consistent light to grow stocky and strong. Outdoors, coleus light needs depend on the variety and your climate.
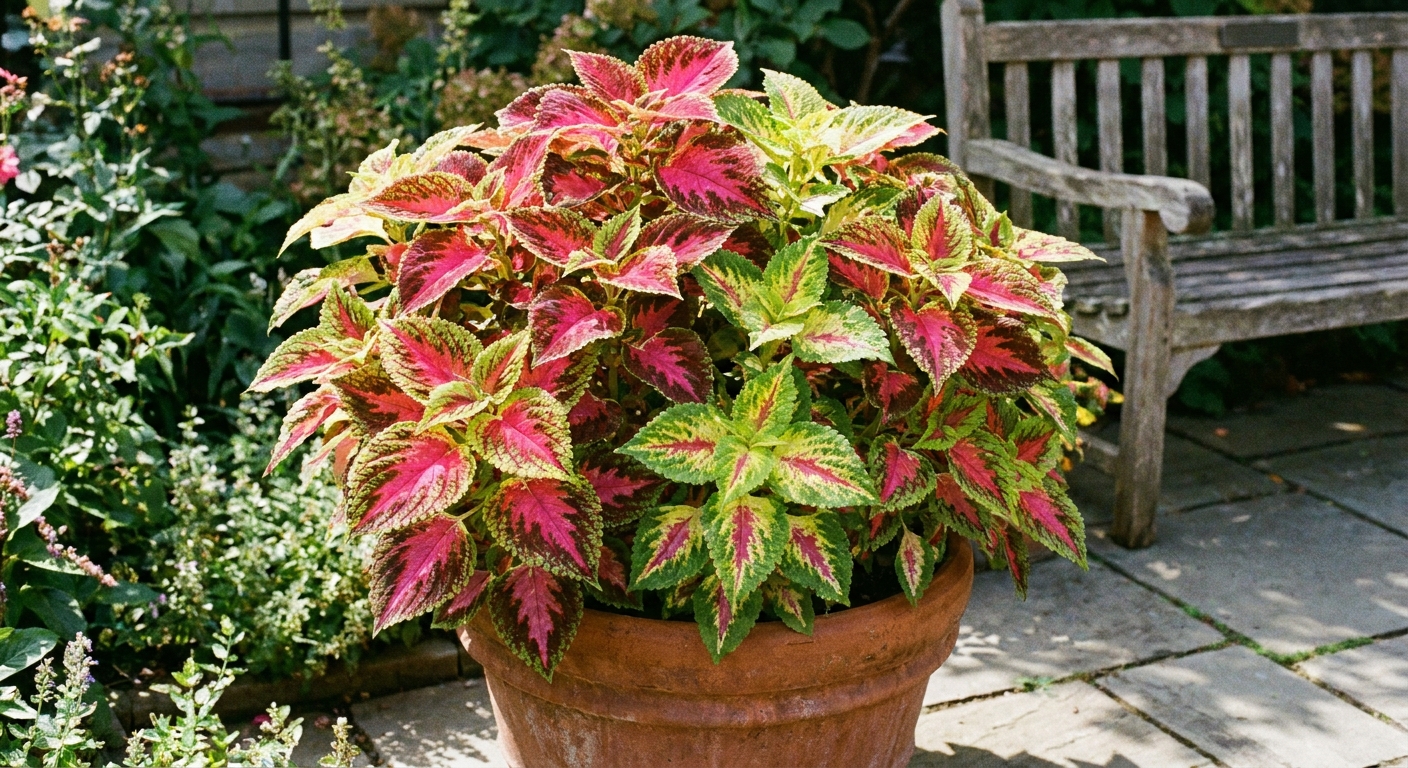
- More sun often means stronger color for many modern sun-tolerant varieties, especially reds and purples.
- Too much hot afternoon sun can bleach or scorch leaves, particularly in very warm climates or on bright patios.
- Part shade is a safe default if you are not sure, with a little morning sun and afternoon protection.
If you notice color fading, try a brighter location. If leaves look crisped or washed out, shift to more shade. Coleus is wonderfully responsive, and it will tell you when it is happier.
Common hiccups
Nothing germinated
- Seeds may be covered too deeply. Coleus is best surface-sown, and light helps.
- It may be too cold. Aim for 70 to 75°F.
- Seed may be old or stored poorly. Fresh seed plus even moisture makes a big difference.
Seedlings are tall and floppy
- Increase light intensity. Move grow lights closer, or use a stronger fixture.
- Run lights longer, 14 to 16 hours daily.
- Add gentle airflow with a fan.
Seedlings stall after potting up
- Check moisture. Small roots hate extremes.
- Make sure the pot drains well and is not oversized.
- Keep them warm and brightly lit while they recover.
FAQ
Do coleus seeds need light to germinate?
Light helps, and coleus is best surface-sown. Press seeds onto the mix rather than burying them. If you want to use vermiculite, keep it to a very light dusting.
How long does coleus take to grow from seed?
You will usually see germination in 5 to 14 days. Depending on variety and light, you can have nice transplant-sized plants in about 8 to 10 weeks from sowing.
Can I start coleus seeds in a sunny window?
You can, especially in a very bright south-facing window, but seedlings often stretch toward the glass. Grow lights make the process more reliable and compact.
Should I bury coleus stems when transplanting?
Avoid burying the crown and avoid leaving stem tissue sitting in wet mix. If a seedling is leggy, you can plant it a little deeper in a light mix for stability, but the best long-term fix is brighter light and good airflow.
A last little nudge from me
If you have ever called yourself a “black thumb,” coleus from seed is one of the sweetest ways to prove that label wrong. Tiny seeds become stained-glass leaves in a matter of weeks, and every tray feels like a small promise. Keep seeds on the surface, give them bright light, and pinch like you mean it. Your future self, standing in a sea of color, will be so glad you did.