
How to Grow Canna Lilies in Pots

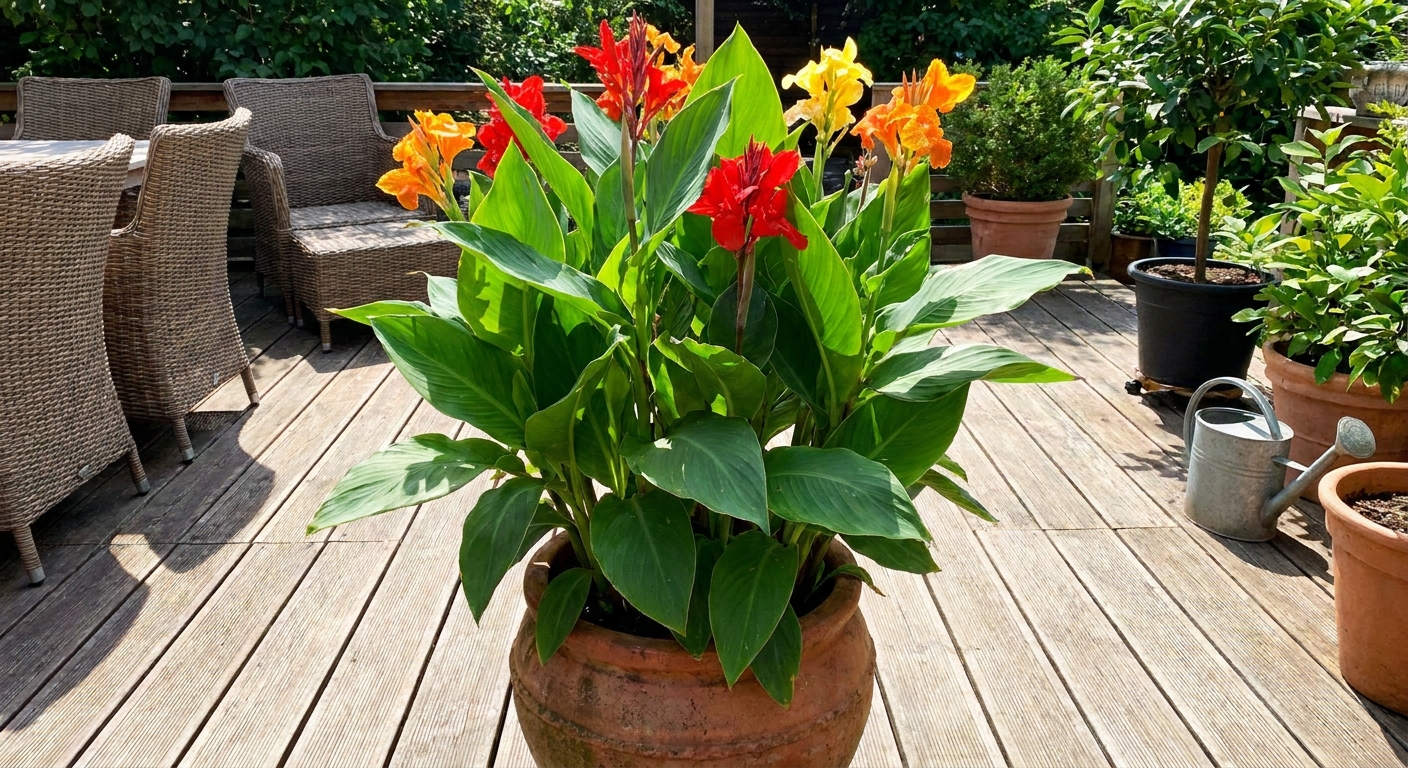
The first time I grew cannas in a pot, I treated them like “tropical drama queens” and watered them the way I water my thirsty porch ferns. The cannas loved the attention for about a week, then they sulked hard in soggy soil. Containers are their own tiny ecosystem, and cannas will absolutely thrive there, but they need a pot setup that breathes, plus a feeding rhythm that keeps up with their big-leaf energy.
This guide stays strictly container-only: choosing a pot size that matches a canna’s ambition, building a fast-draining mix, watering and fertilizing in limited root volume, giving them enough sun to actually bloom, and deciding what to do when frost threatens.

Pick the right pot
In the ground, canna rhizomes can roam. In a pot, they have to negotiate every inch. One of the most common reasons potted cannas underperform is a container that is simply too small, which leads to constant drying, stalled growth, and weaker flowering.
Good starting pot sizes
- One average canna division or rhizome: start with a pot about 16 to 18 inches wide and at least 16 inches deep.
- Tall or fast-growing varieties (often 4 to 7 feet): bigger is easier, 20 to 24 inches wide gives you a lot more buffer for water and nutrients.
- Planting multiple pieces in one pot: plan to size up. Two vigorous divisions in a 20 inch pot can be fine, but they will demand more frequent watering and feeding.
- Window boxes and small planters: usually not worth it. Cannas want real root room and steadier moisture.
If you are unsure, check the tag for mature height and spread. A dwarf canna and a tall canna do not live the same container life.
Best container types
- Heavy pots (ceramic, thick resin): my favorite for tall cannas because they resist tipping in wind.
- Fabric grow bags: drain beautifully and reduce overwatering mistakes, but they dry faster and may need daily watering in summer heat.
- Plastic nursery pots: practical and lightweight, but secure them against wind and consider double-potting inside a heavier cachepot.
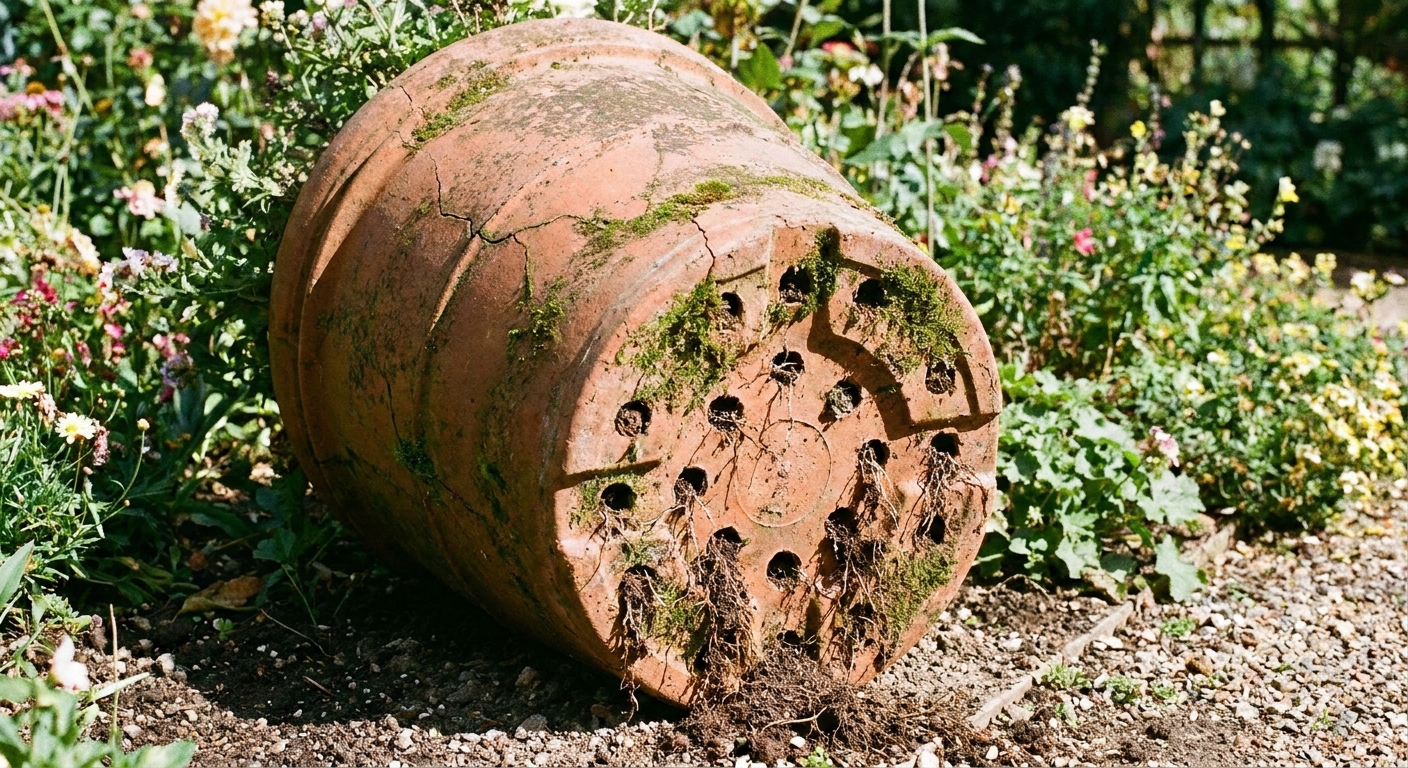
Drainage is non-negotiable. Use a pot with multiple drainage holes. Skip rocks or gravel layers at the bottom. They usually do not improve drainage in containers and can reduce effective soil volume, which leaves you with less mix to hold moisture and nutrients. Use an airy mix instead.
Sun and placement
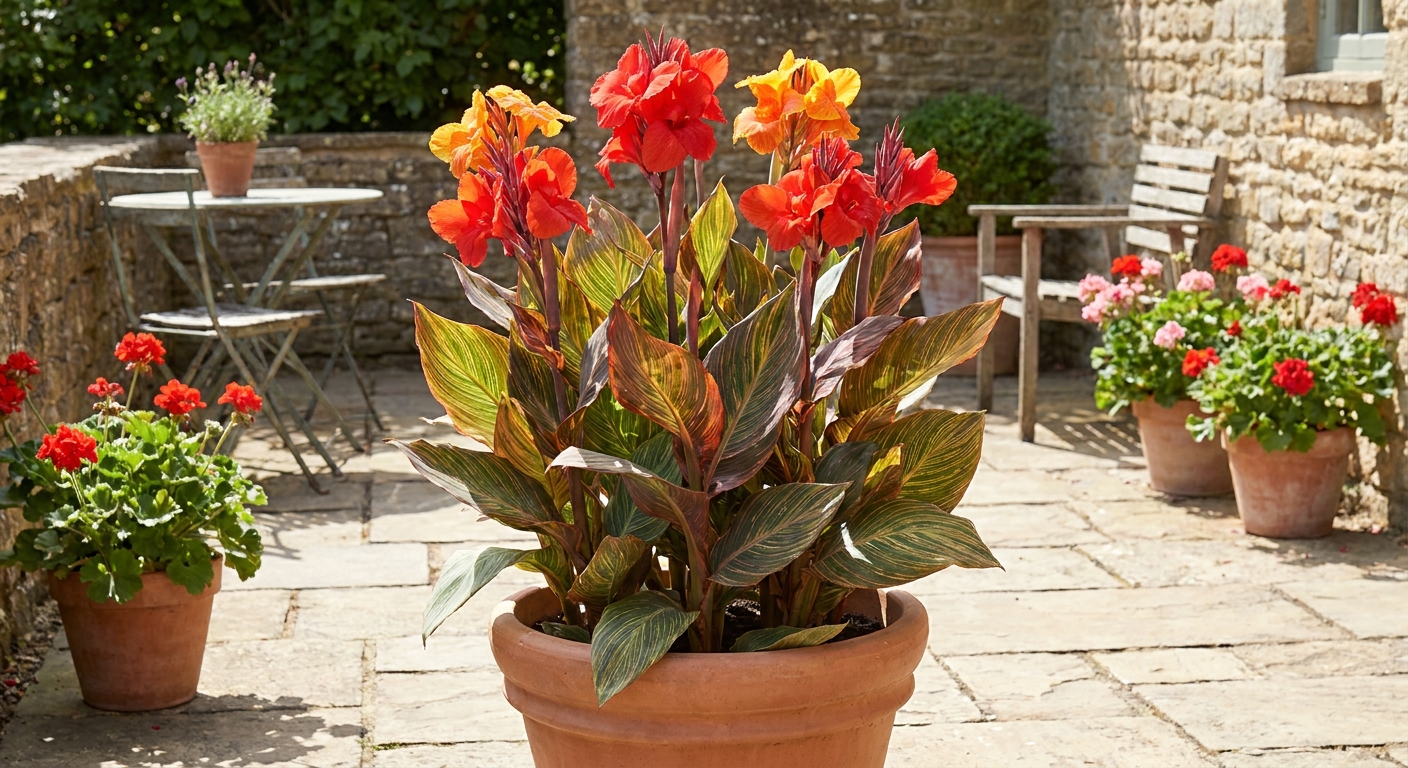
If you want flowers, light is the lever. In containers, cannas typically bloom best with full sun, around 6 to 8 hours a day.
- Cooler or mild summers: full sun all day is perfect.
- Hot climates: morning sun with a little afternoon shade can reduce leaf scorch and keep pots from drying quite so fast, especially on reflective patios.
- Low light reality: cannas may grow leaves in partial shade, but bloom production usually drops.
Use a fast-draining potting mix
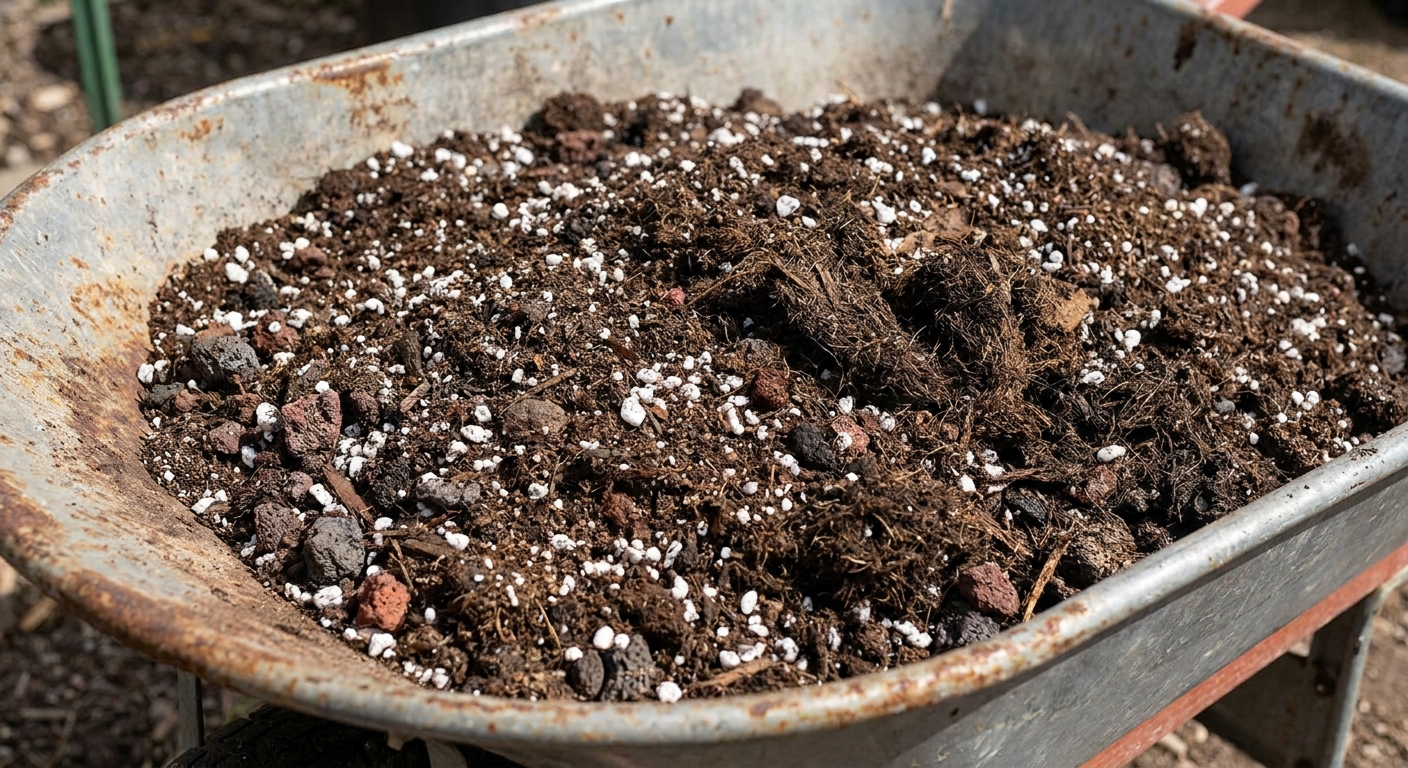
Cannas like consistent moisture, but they hate stale, airless conditions around their rhizomes. Your goal is a mix that holds water and drains quickly, so roots get oxygen.
A simple canna potting mix
- 60% high-quality potting mix (peat or coir based is fine)
- 25 to 30% perlite or pumice for airflow and drainage
- 10 to 15% compost for gentle nutrition and microbial life
If your potting mix is already labeled “moisture control” or feels heavy and spongy, add extra perlite or pumice. For cannas, I would rather water a bit more often than gamble on a dense mix that stays wet too long.
Optional: slow-release fertilizer
If you like a low-fuss routine, you can blend in a slow-release granular fertilizer at planting time, following label rates for containers. Think of it as baseline nutrition, not the whole meal.
How to plant canna rhizomes
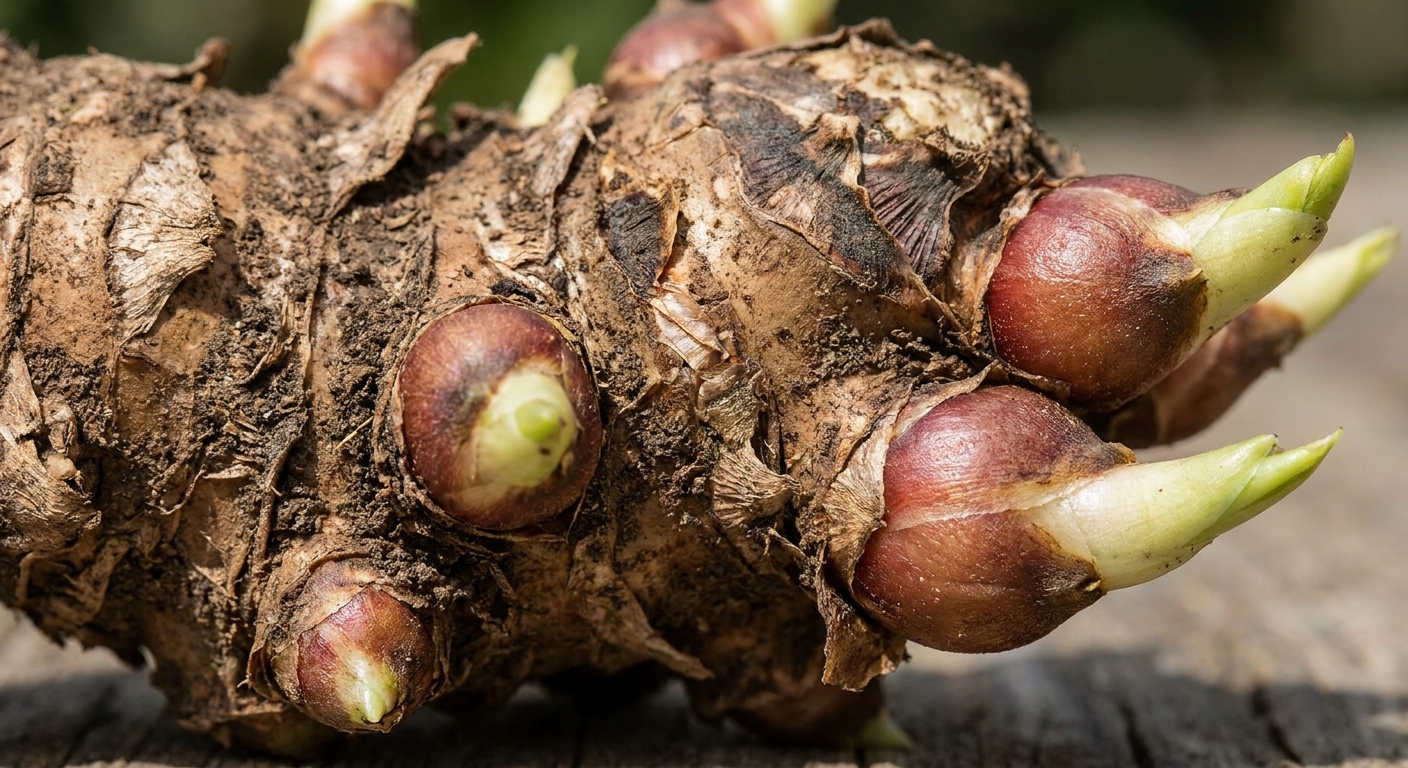
Planting depth and orientation are easy once you know what to look for. Rhizomes are thick, knobby, and usually have visible buds or “eyes” where shoots emerge.
Step-by-step
- Pre-moisten your mix so it feels like a wrung-out sponge.
- Fill the pot most of the way, leaving room for soil above the rhizome.
- Set the rhizome horizontally with any eyes facing up.
- Cover with about 2 to 3 inches of mix in most situations.
- Go a bit deeper (up to about 4 inches) if the weather is warm, you are planting later in the season, or you need extra stability for a top-heavy variety. In a cool spring pot, staying closer to 2 inches can help it wake up faster.
- Water once thoroughly until water drains out the bottom, then let the top inch dry slightly before watering again.
How many rhizomes per pot? In a 16 to 18 inch pot, one good-sized division is perfect. In a 20 to 24 inch pot, you can often do two, but only if you are committed to watering and feeding consistently.
Watering cannas in pots
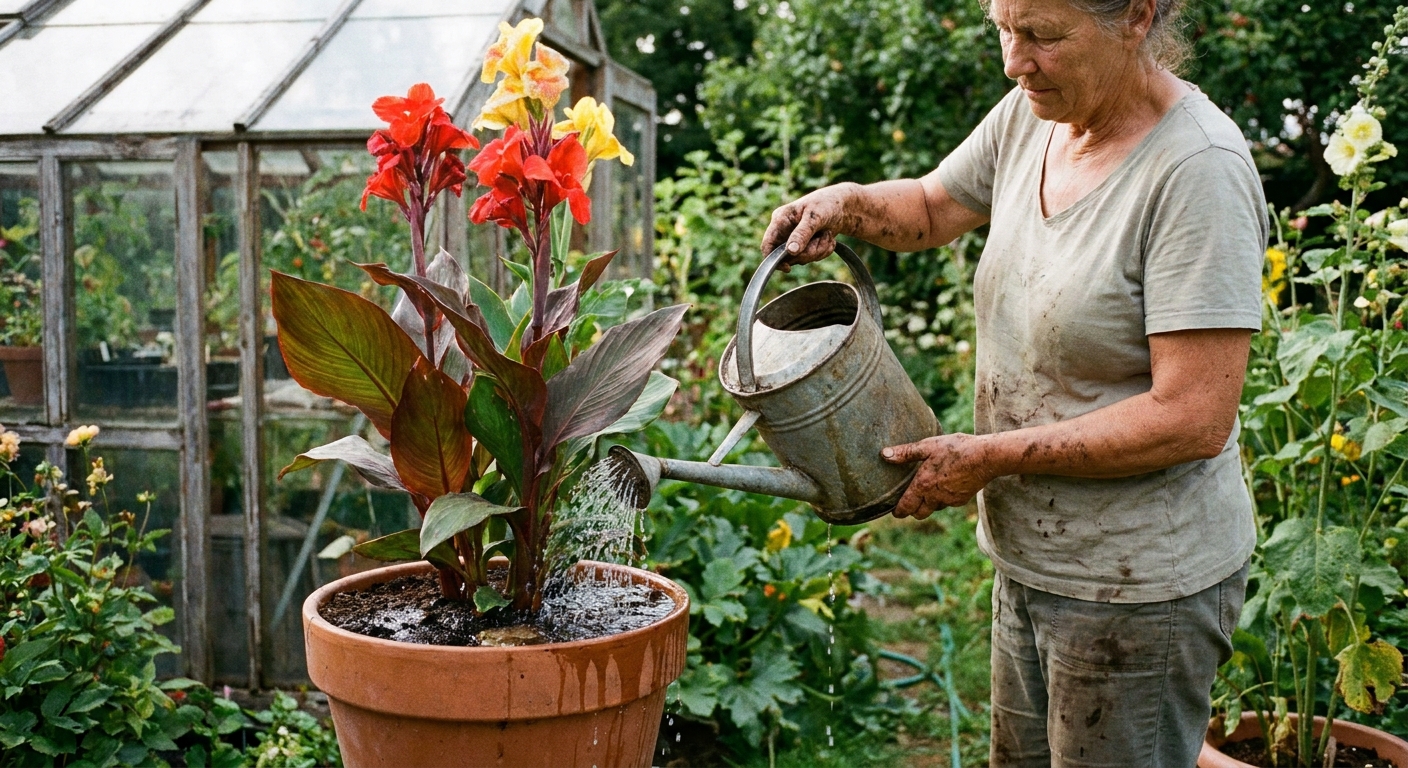
Container cannas are thirsty once they are actively growing, but watering is not just about frequency. It is about timing and saturation.
My watering rule
Water deeply, then wait until the top 1 to 2 inches are dry. Check with your finger, not your eyes. Leafy plants can look perky right up until they do not.
What changes through the season
- After planting and before sprouting: keep the mix lightly moist, not wet. Rhizomes can rot if kept soggy while dormant.
- Once leaves are 8 to 12 inches tall: water more generously. In hot spells, daily watering is normal for smaller pots.
- Peak summer growth: expect frequent watering, especially for fabric pots and any container in full afternoon sun.
Easy upgrades that prevent drought stress
- Mulch the surface with 1 to 2 inches of compost, shredded leaves, or fine bark to slow evaporation.
- Use a saucer thoughtfully: a saucer can protect patios, but do not let the pot sit in standing water for long stretches. Empty excess water after a deep soak if it lingers.
- Group containers to create a slightly more humid microclimate and reduce drying wind.
Feeding cannas in containers
Cannas are heavy feeders, and pots run out of nutrients fast. If you want strong stems, big leaves, and continuous flowering, you need a plan that fits container life.
A simple feeding schedule
- At planting: mix in slow-release fertilizer or plan to start liquid feeding once growth is underway.
- When shoots are 6 to 10 inches tall: begin feeding.
- During active growth: feed about every 7 to 14 days with a diluted liquid fertilizer, and follow the product label for containers.
- When light drops or temperatures cool: ease off. In lower light or early fall, feeding less often helps avoid weak, floppy growth and salt buildup.
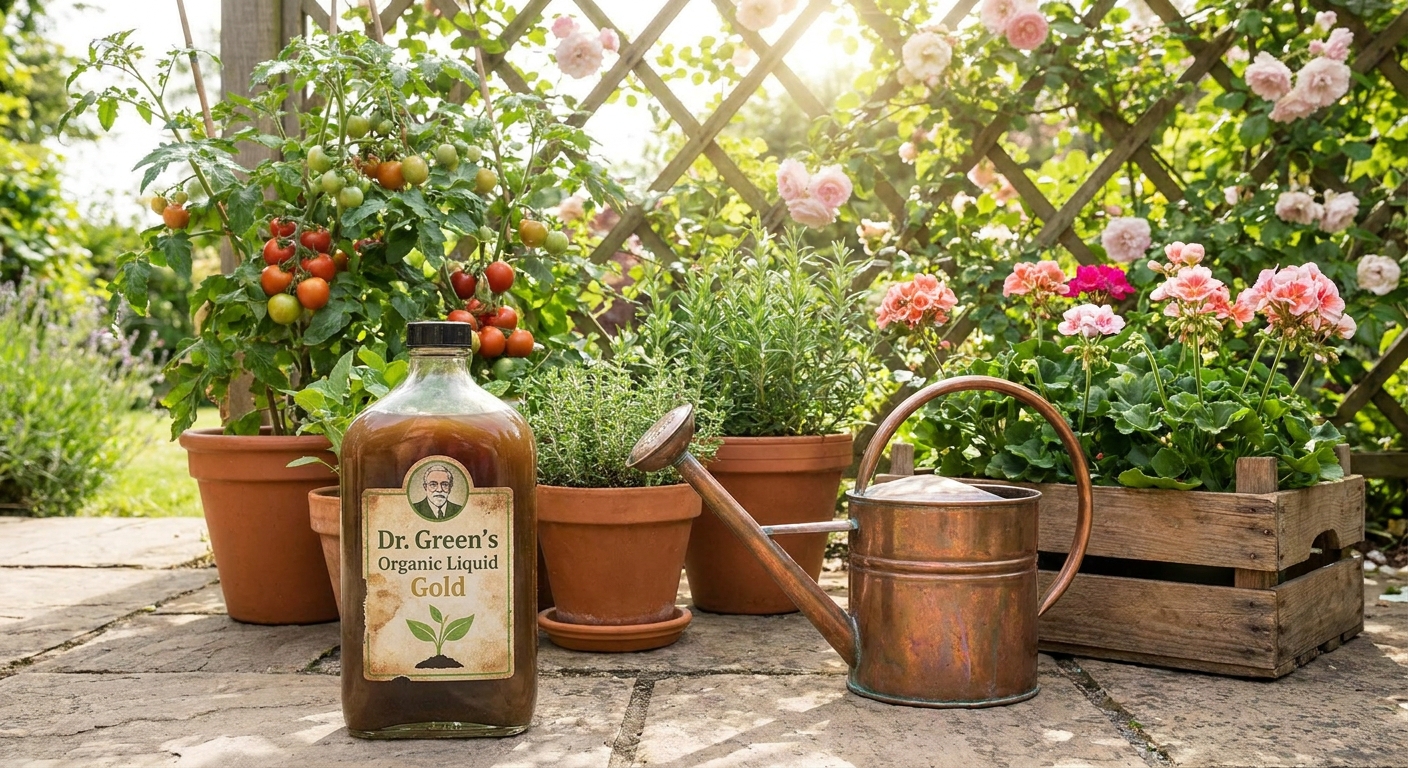
I like an organic approach in pots: a combination of compost in the mix plus a fish-seaweed style liquid feed, diluted, used regularly. It is gentle, and it supports soil life even in a container.
How to avoid fertilizer burn
- Feed after watering or with pre-moistened soil.
- Use half strength if you are feeding weekly.
- If leaf tips brown shortly after feeding, flush the pot with plain water until it drains freely, then pause feeding for a week or two.
Staking and wind
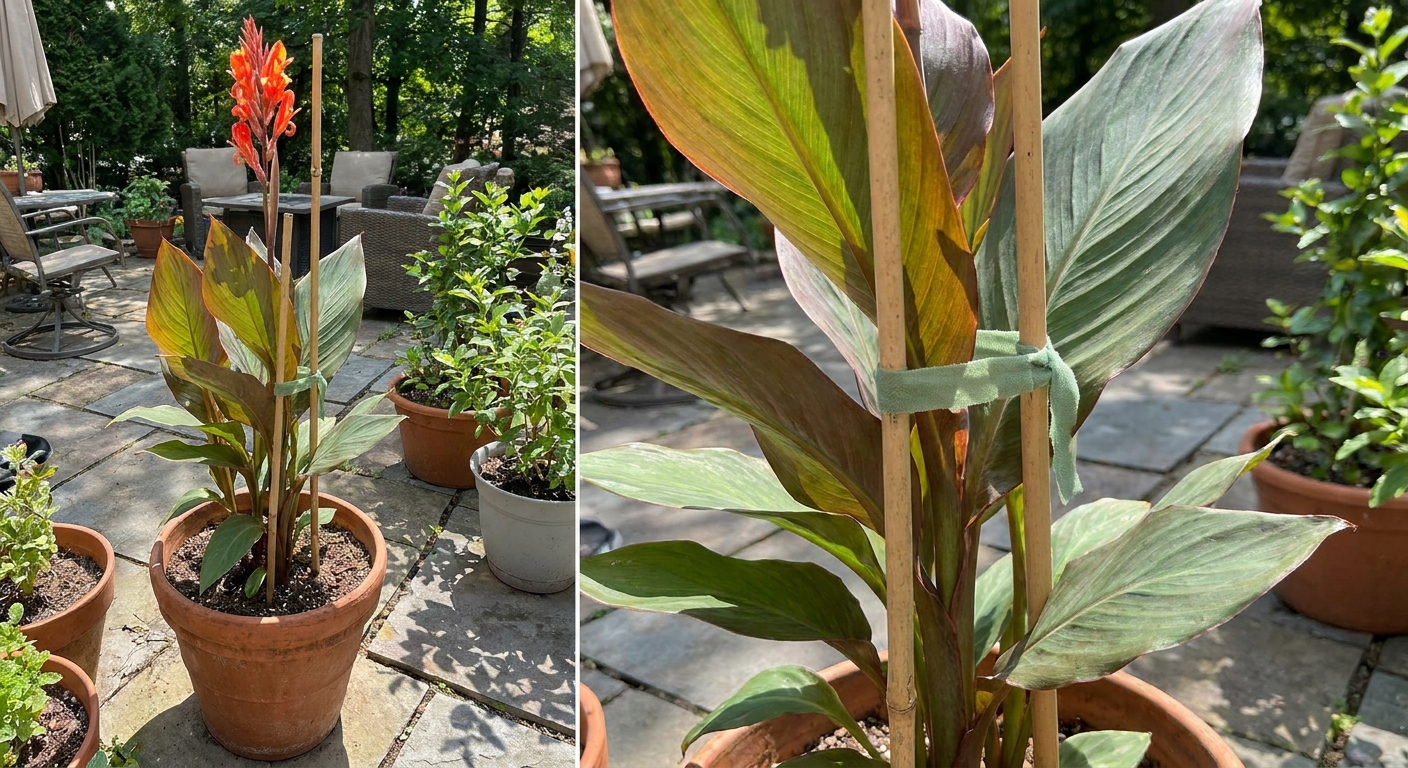
A canna in a pot is basically a sail. Tall stems plus big leaves plus a summer thunderstorm can equal a toppled container and snapped growth.
- Choose a heavy pot or add weight by setting a plastic nursery pot inside a heavier decorative container.
- Stake early if your variety is tall. Waiting until it leans makes it harder to correct without damage.
- Place smartly on patios and balconies: bright light with some shelter from the windiest direction is ideal.
Overwintering in pots
This is where container growing gets wonderfully flexible. When frost is coming, you can either store the whole pot or lift and store the rhizomes. Which one is better depends on your space and your tolerance for mess.
Cannas are tender perennials in warm climates, but in areas with hard freezes they are often grown like annuals unless you store the rhizomes.
Option 1: Store the whole pot
Why it works: less disturbance, fewer broken rhizomes, and it is quick.
- After foliage is knocked back by cold or when temperatures are consistently dropping, stop fertilizing and begin reducing water.
- Move the pot to a cool, frost-free place like an attached garage, basement, or unheated mudroom. A common target range is roughly 40 to 55°F (about 4 to 13°C).
- Let the potting mix go mostly dry. Check once a month and add a small splash of water only if the soil becomes bone-dry and pulls away from the pot.
- If storage is warmer, the plant may try to grow pale, stretchy shoots. If you see that, keep it cooler if you can, or give it brighter light and only modest moisture.
- In late winter or early spring, bring it into brighter conditions and resume watering gradually as you see new growth.
Option 2: Lift and store rhizomes
Why it works: you can store several rhizomes in a small box and refresh the potting mix each year.
- Tip the pot out and gently remove most of the potting mix from the rhizomes.
- Let rhizomes dry for a day or two in a cool, airy spot out of direct sun.
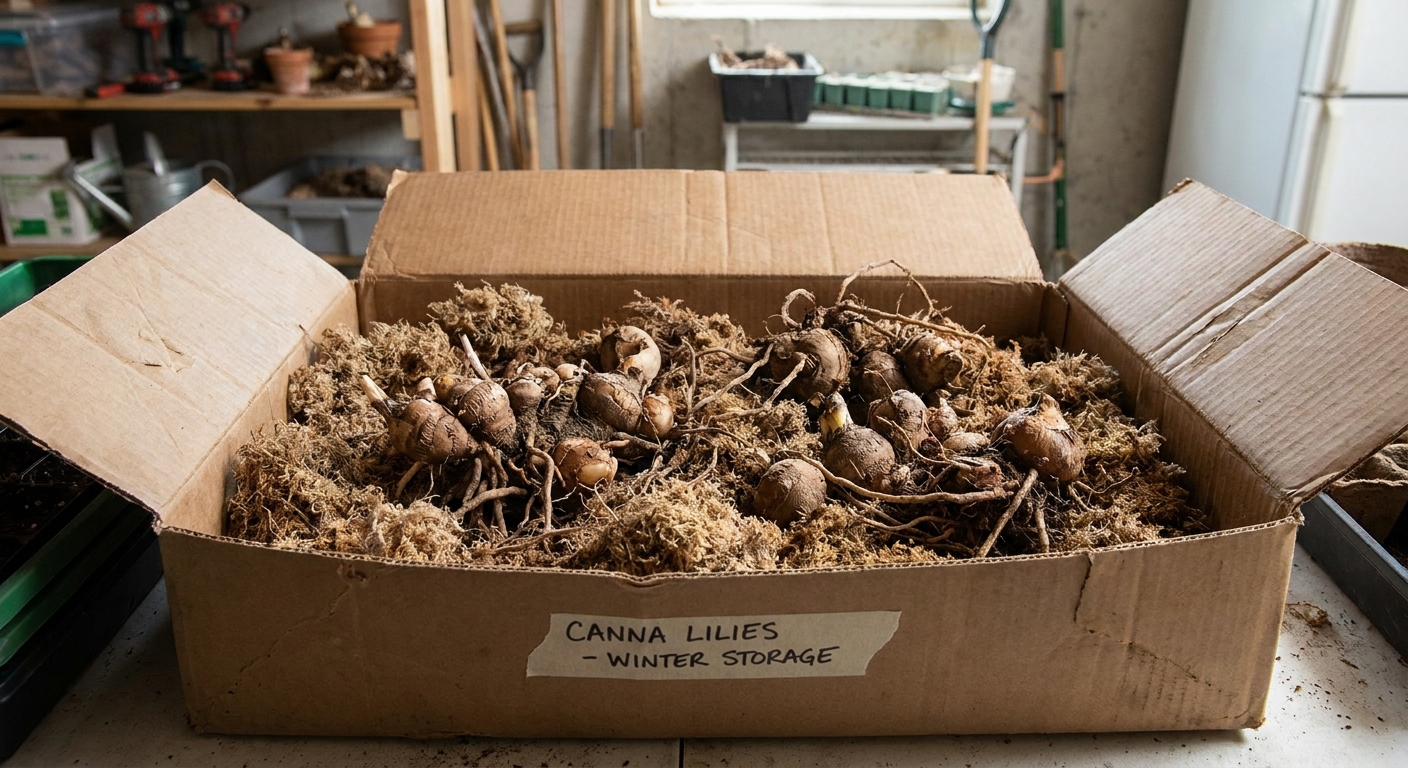
- Store in a breathable container (cardboard box works well) packed with dry peat moss, coco coir, or wood shavings.
- Keep them cool and dry, checking monthly. You are looking for shriveling (too dry) or soft spots (too wet).
A quick note on timing: do not rush storage while the plant is still actively growing. Let it wind down naturally as temperatures cool. The goal is dormancy, not a sudden eviction.
Common container problems
No blooms, just leaves
- Not enough sun: move to a brighter spot. For best bloom, aim for 6 to 8 hours of sun.
- Pot too small: size up next season.
- Not enough consistent feeding: switch to a regular liquid feed during active growth, following label rates.
- Too dry between waterings: deep water more consistently and add a surface mulch.
Leaves tearing or looking ragged
- Wind: move the pot to a more protected spot and stake tall stems.
- Hail or storms: mostly cosmetic, and new growth usually looks better.
Soil stays wet for days
- Mix too dense: repot into a lighter blend with more perlite or pumice.
- Drainage holes blocked: elevate the pot slightly on pot feet and clear any obstructions.
- Cool weather slowdown: a large pot can stay cold and wet in spring. Water lightly until growth speeds up.
Pests and rot
- Aphids and spider mites: check new growth and leaf undersides. A firm spray of water or insecticidal soap (used per label) usually handles early outbreaks.
- Chewed or rolled leaves: in some areas, canna leaf roller caterpillars are a culprit. Remove damaged leaves and look for the larva tucked inside a rolled section.
- Rhizome rot signs: foul smell, mushy rhizomes, and collapsing shoots. Let the mix dry more between waterings and repot into a faster-draining blend if needed.
Quick pot checklist
- Pot: about 16 to 18 inches minimum for one division, larger for tall varieties or multiple pieces
- Drainage: multiple holes, skip rock layers
- Mix: potting mix plus perlite or pumice plus a bit of compost
- Sun: 6 to 8 hours for best bloom
- Planting depth: about 2 to 3 inches (deeper only in warm conditions or for stability)
- Watering: deep soaks, then let top 1 to 2 inches dry
- Feeding: light, regular liquid feeding through active growth, following label rates
- Winter: store the whole pot cool and mostly dry, or lift and store rhizomes cool and dry
FAQ
Can I grow canna lilies indoors in a pot?
You can overwinter a potted canna indoors, but growing it as a full-time houseplant is tricky because cannas want very bright light and lots of food. If you try it, place it in your brightest window (or under a strong grow light), keep watering consistent, and expect a bigger feeding appetite than most indoor plants.
Do cannas like being root-bound in pots?
They tolerate a snug pot for a while, but true root-binding usually means faster drying and fewer blooms. If your canna needs water constantly and growth seems stalled, it is often a sign to size up or divide.
Should I divide potted cannas?
Yes, especially every couple of years. Division keeps the plant vigorous and gives you healthy new starts. If the pot is packed with rhizomes and the center looks crowded, it is time.
Can I leave my canna pot outside after frost?
If your winters freeze solid, do not leave the pot outside. A container freezes faster and harder than garden soil, which can damage rhizomes. Move the pot to a frost-free space or store the rhizomes.