
How to Propagate Mandevilla from Cuttings

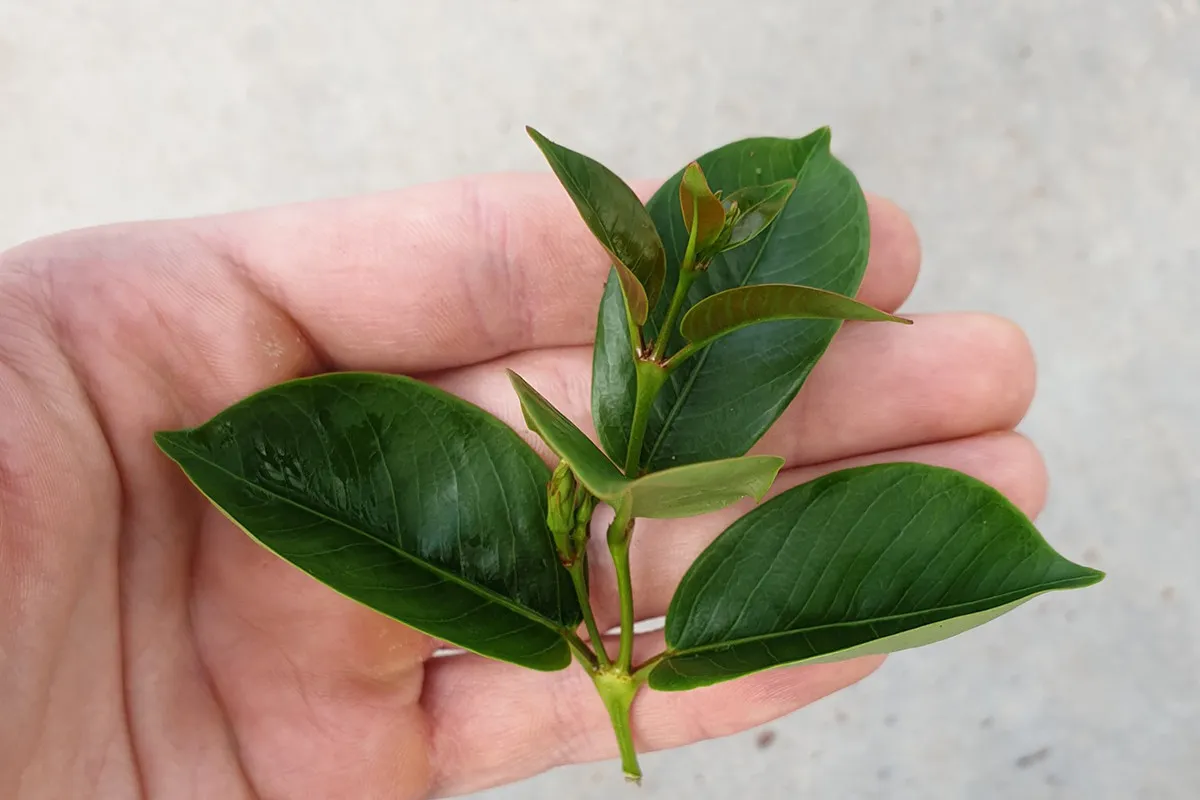
The first time I propagated mandevilla, I fussed over it like it was a tiny newborn vine. I misted. I hovered. I may have offered a pep talk or two. The good news is that mandevilla is very willing to root from stem-tip cuttings when you give it two things it craves: steady warmth and evenly moist, airy soil.
If you have a healthy plant with a few long, flexible shoots, you can turn one vine into several. Here is exactly how I do it, with the little details that make the difference between a cutting that sulks and one that takes off.

When to take mandevilla cuttings
The easiest time to root cuttings is when the plant is actively growing. In most homes and patios, that is from late spring through summer. You are aiming for stems that are firm but still flexible. If you bend the tip and it snaps like a twig, it is too woody. If it flops like cooked spaghetti, it is too soft.
Quick note on names: You will also see plants sold as “dipladenia.” Many are mandevilla types, and the propagation steps below work the same way.
- Best window: warm, bright months when your plant is pushing new growth
- Best time of day: morning, when stems are fully hydrated
- Avoid: taking cuttings from stressed plants (droughty, recently repotted, pest-infested, or sun-scalded)
What you need (simple, not fancy)
You do not need a lab. You need clean tools, the right rooting mix, and a way to keep things warm and slightly humid.
- Sharp scissors or pruners
- Rubbing alcohol or soap and water for cleaning blades
- Small pots or cell trays with drainage
- A clear plastic bag, humidity dome, or a clean plastic tote with a lid
- Rooting medium (see below)
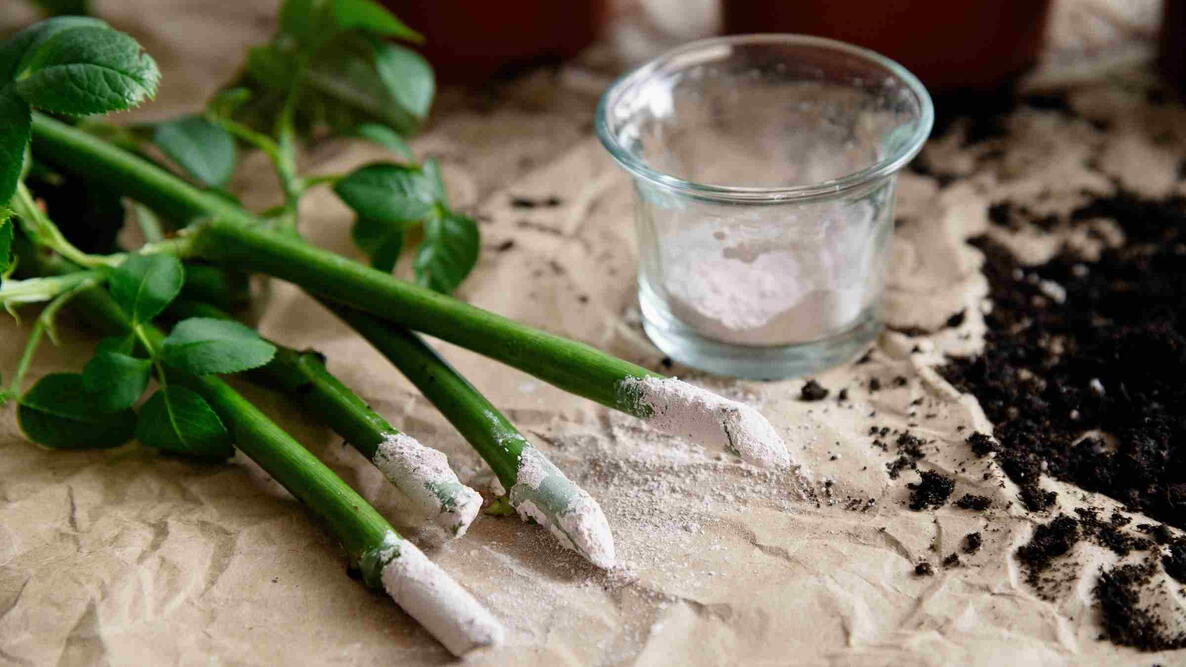
- Optional: rooting hormone (powder or gel)
- A heat mat (optional but very helpful)
Clean-up tip: I also like to wash pots and trays with hot soapy water, then rinse well. Starting with clean containers helps prevent rot and fungus issues while the cutting is at its most vulnerable.
Choose the right stem and find the nodes
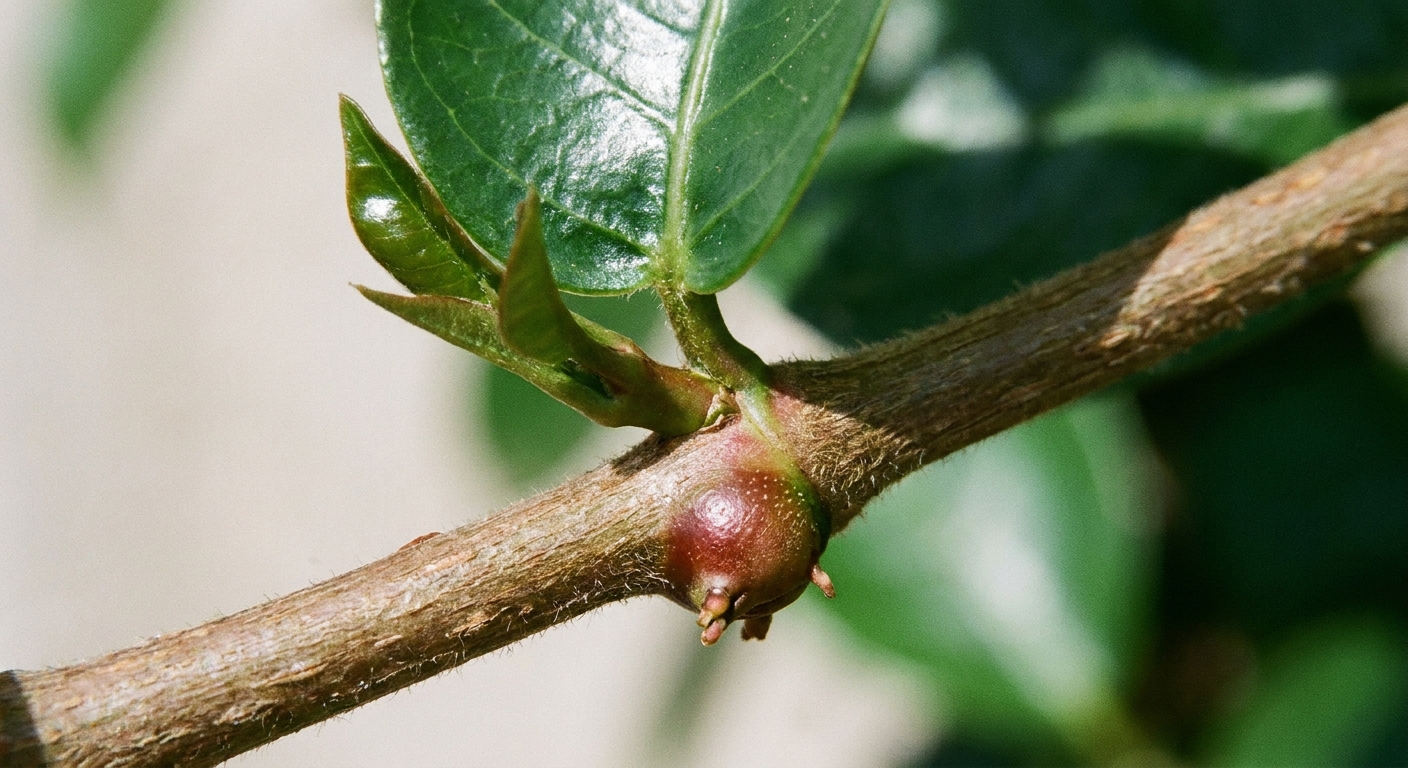
Mandevilla roots most reliably from stem-tip cuttings taken from non-flowering growth. The secret is the node, the little bump or joint on the stem where leaves attach. Nodes contain tissue that is most ready to turn into roots.
What to look for
- Healthy tip growth: glossy leaves, no yellowing, no spots
- No flowers or buds: flowering stems focus energy on blooms, not roots
- Length: about 4 to 6 inches is perfect
- Nodes: aim for at least 2 nodes on the cutting
How to take a mandevilla cutting
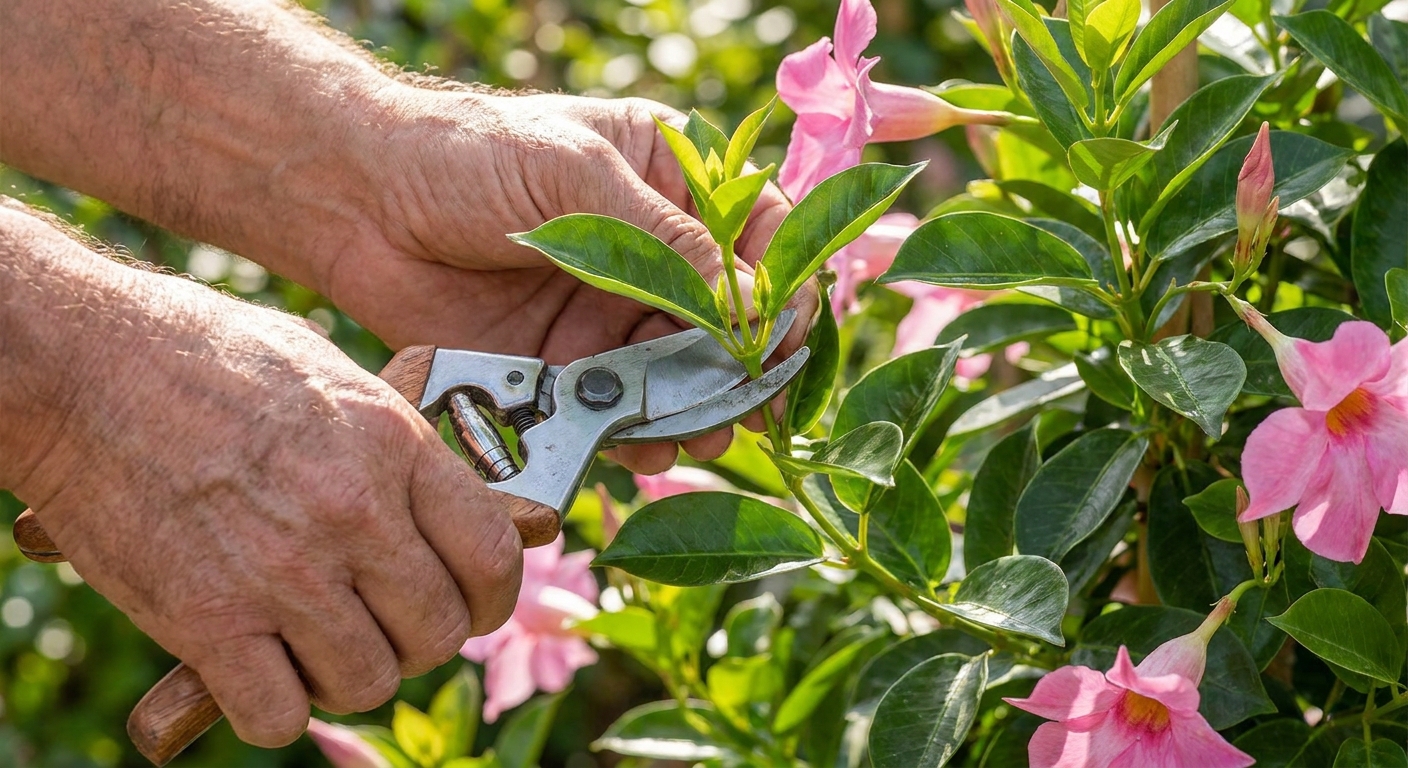
This is the part where precision pays off. Clean cuts callus better and resist infection.
Quick safety note: Mandevilla has a milky sap that can irritate skin and eyes for some people. I wear gloves when I am taking cuttings, and I keep my hands away from my face until I have washed up.
- Clean your pruners. A quick wipe with rubbing alcohol helps prevent rot and disease.
- Cut just below a node. Make your cut about 1/4 inch below a node on a non-flowering stem.
- Strip the lower leaves. Remove leaves from the bottom half of the cutting so no foliage will sit under the soil line.
- Keep 2 to 3 leaves at the top. Too many leaves means too much moisture loss. If the remaining leaves are large, you can snip them in half to reduce transpiration.
- Optional: dip in rooting hormone. Tap off excess. A light coating is enough.
Optional but helpful: If the cut end is actively “bleeding” sap, I sometimes let it air-dry for a few minutes before sticking it into the mix. It is not required, but it can make the cutting easier to handle.
Node placement matters: I like to bury one node in the rooting medium and keep at least one node above the surface. The buried node is the one most likely to sprout roots.
Best rooting medium
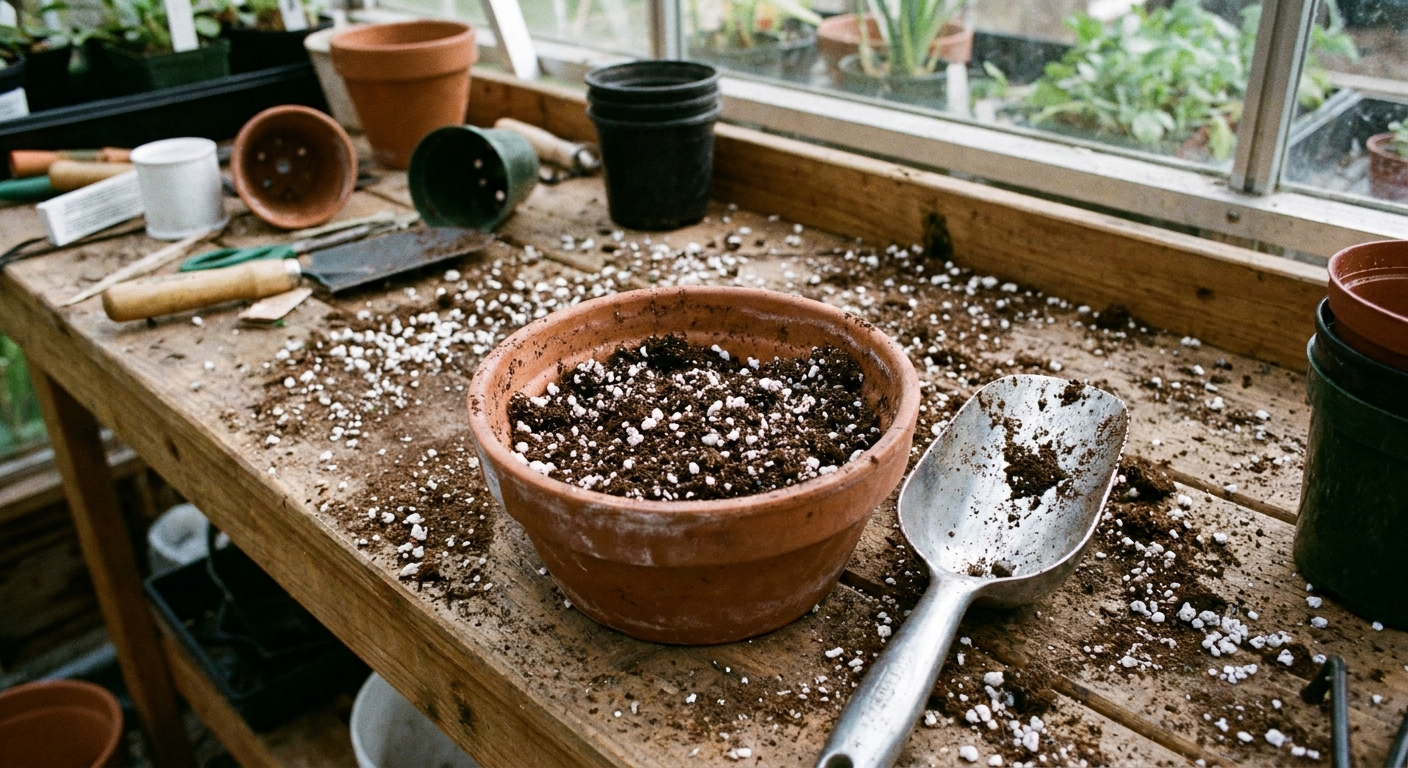
For cuttings, you want a mix that holds moisture but drains fast. Heavy potting soil can stay soggy and encourage stem rot.
Rooting mix options that work well
- Perlite + peat moss (or coco coir): airy, evenly moist
- Perlite + seed-starting mix: easy and widely available
- Fine orchid bark + perlite: extra air flow if you tend to overwater
Moisten the mix before you plant. It should feel like a wrung-out sponge: damp, not dripping.
Plant at the right depth
Use a pencil or chopstick to make a pilot hole, then tuck the cutting in. This keeps rooting hormone from rubbing off and prevents you from crushing the node tissue.
- Depth: bury 1 node, sometimes 2 if the cutting is long
- Firm gently: press the mix around the stem so it stands up
- Water in lightly: just enough to settle the medium
If you are rooting several cuttings, give them a little elbow room so air can move between leaves.
Warmth and humidity
Mandevilla cuttings root fastest when the root zone stays warm and the leaves lose as little moisture as possible.
Temperature target
- Ideal: 75 to 85 F (24 to 29 C)
- Slow rooting: below about 70 F (21 C)
These targets are for the general environment and especially the rooting medium. A heat mat is my favorite shortcut to success because it keeps the root zone warm even when the room is cooler.
Humidity target
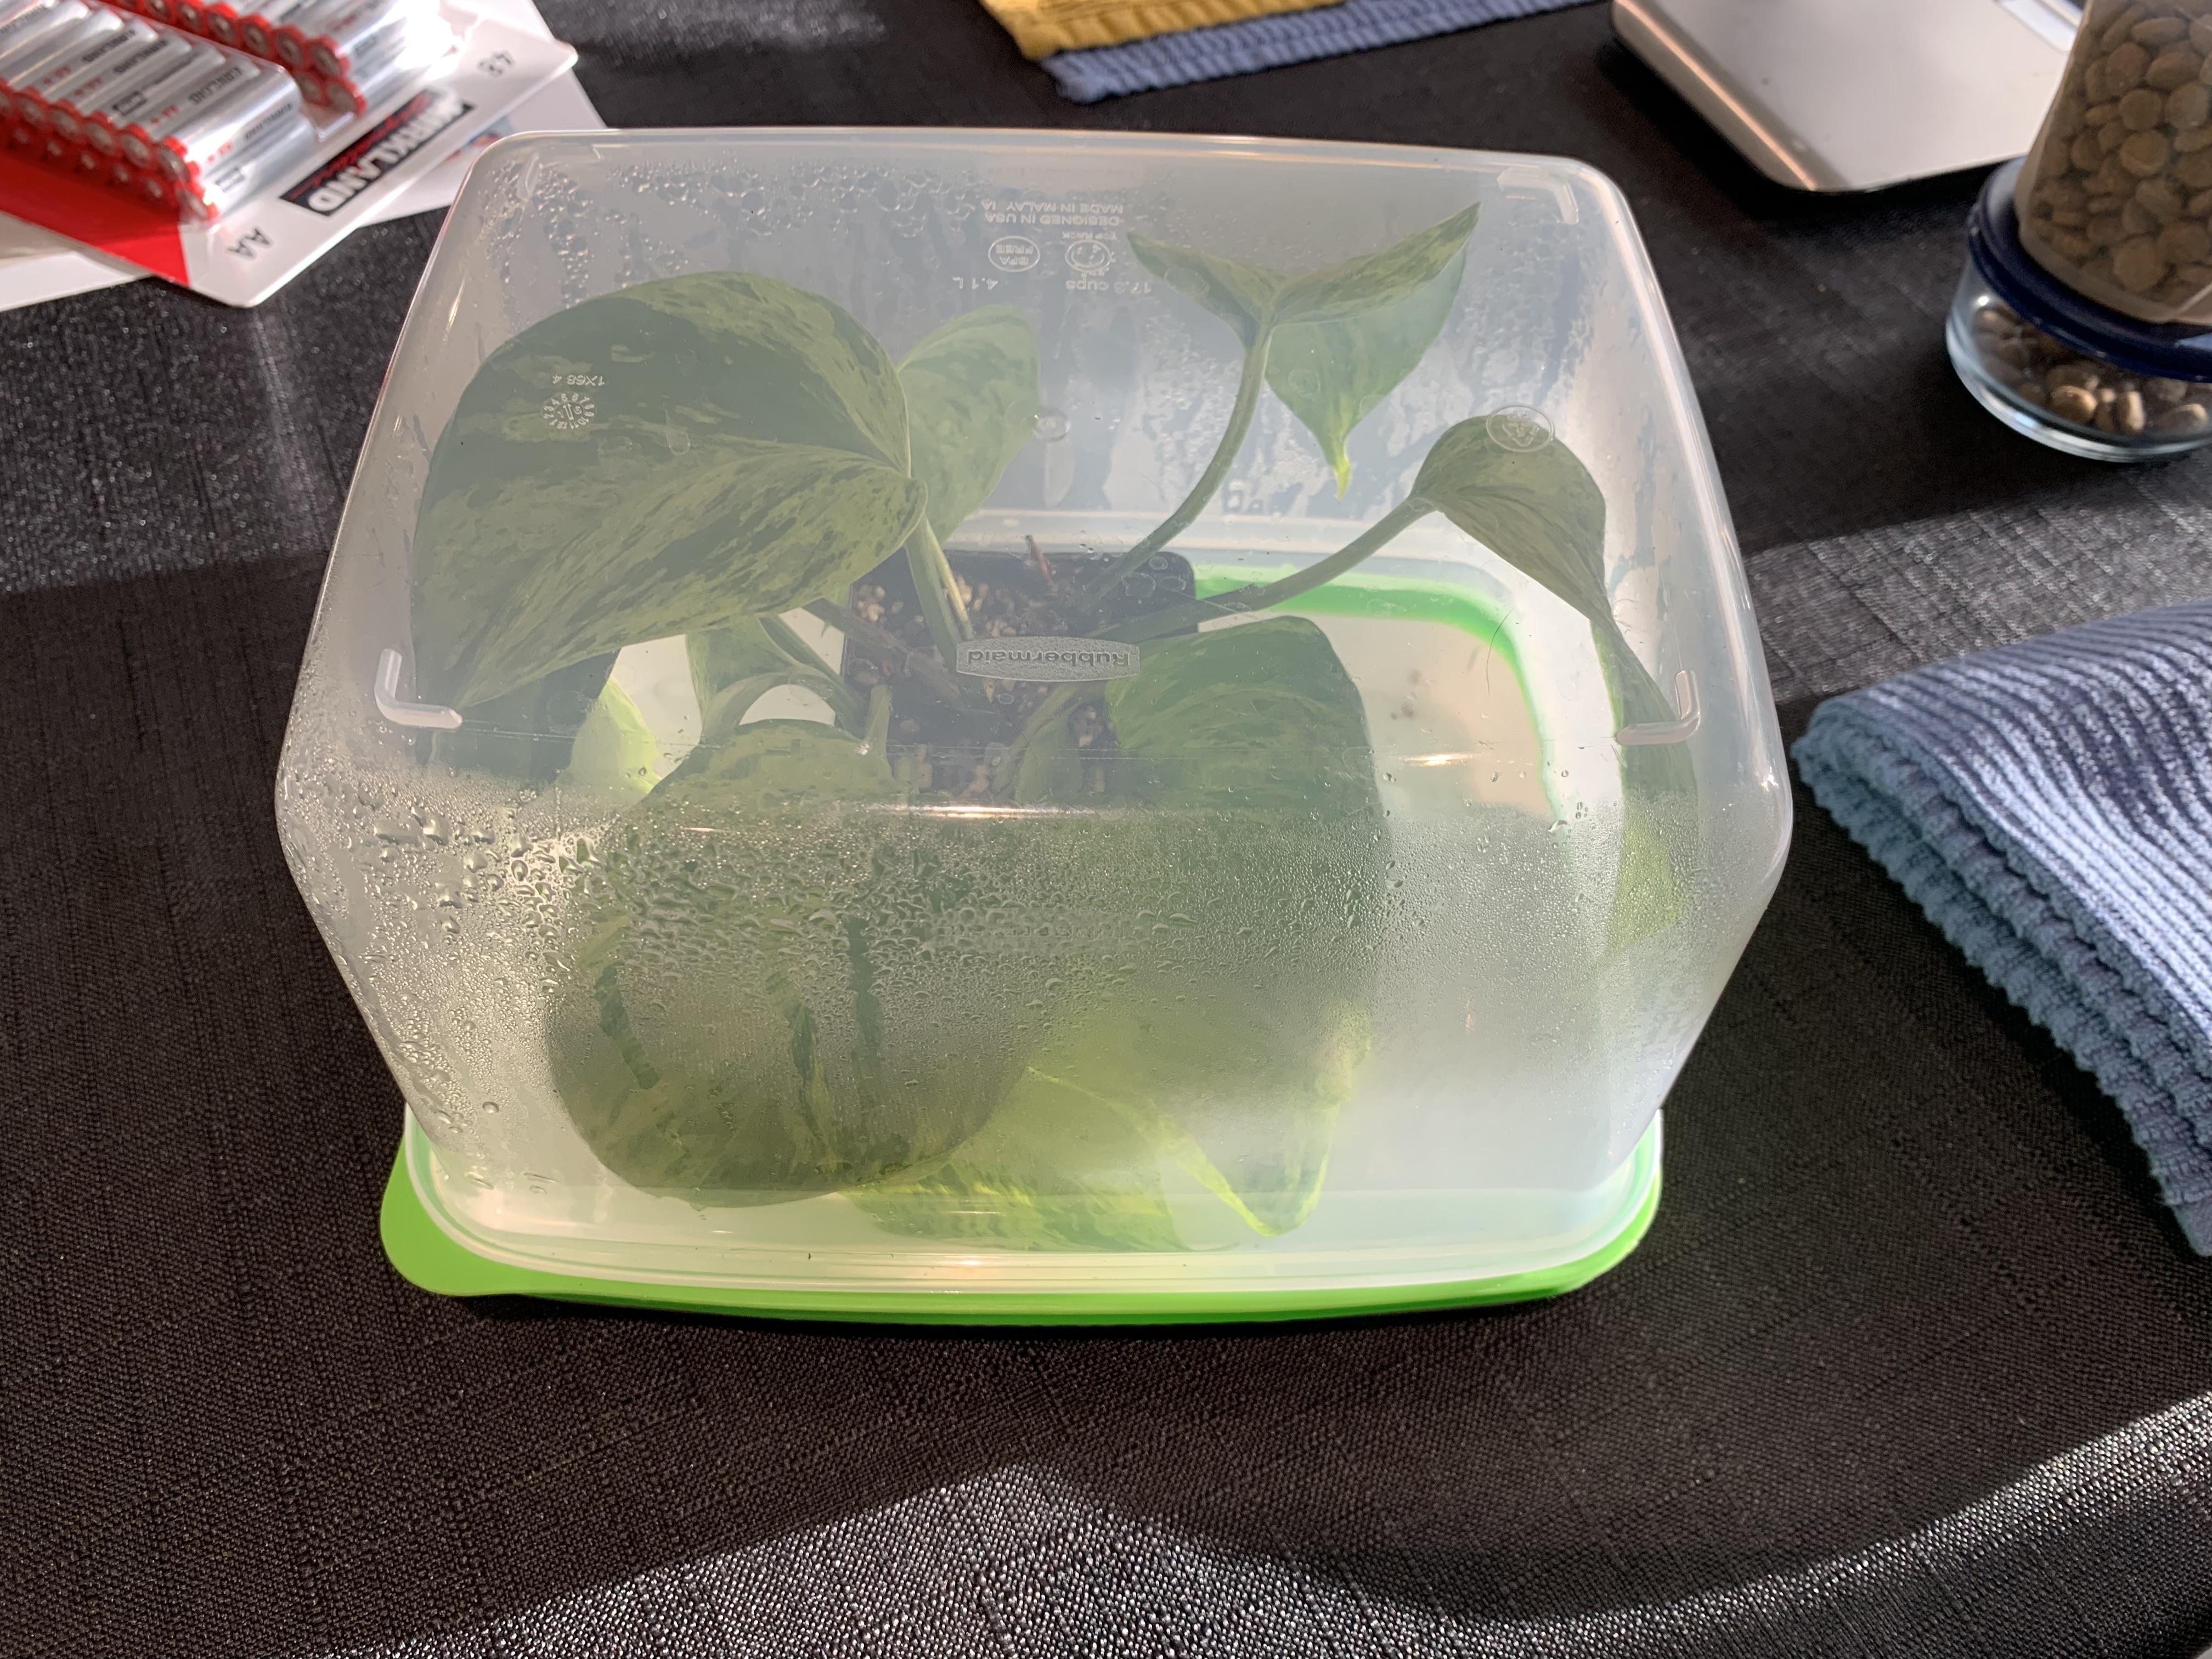
Cover the pot with a clear plastic bag or place it under a humidity dome. You want a gently humid environment, not a swamp.
- Keep plastic from touching leaves (use skewers as little tent poles if needed).
- Open the cover daily for a minute or two to refresh air.
- If you see heavy condensation dripping, vent more.
Light while rooting
Give bright, indirect light. Direct hot sun can cook a covered cutting fast.
- Best: bright shade outdoors, or an east window indoors
- Okay: a grow light set a comfortable distance above the leaves
- Avoid: harsh midday sun, especially under plastic
Watering schedule
Most failed mandevilla cuttings fail from kindness. Too much water, too little air.
- Keep the medium evenly moist, never soggy.
- Check moisture with a fingertip. If the top 1/2 inch feels dry, water lightly.
- Always let excess water drain away. No standing water in saucers.
If a cutting turns black at the base or gets mushy, remove it right away so it does not spread rot to the others.
How long to root?
In warm conditions, you will often get roots in 3 to 6 weeks. Cooler temperatures can push it to 8 weeks or more.
Signs your cutting is rooting
- New leaf growth at the tip
- The cutting stays perky between waterings
- Gentle resistance when you tug very lightly
I do not recommend yanking to check. If you want an easy way to peek, root in a clear pot so you can watch for white roots along the edges. Otherwise, I wait for new growth plus a little resistance before I assume roots are forming.
Aftercare once roots form
This transition is where you turn a rooted cutting into a real plant. Think of it like weaning a baby vine off the humidity dome.
Step 1: Harden off
- Day 1 to 3: crack the dome or bag open for a few hours a day
- Day 4 to 7: leave it open most of the day, cover at night if air is very dry
- After a week: remove the cover completely
Step 2: Pot up
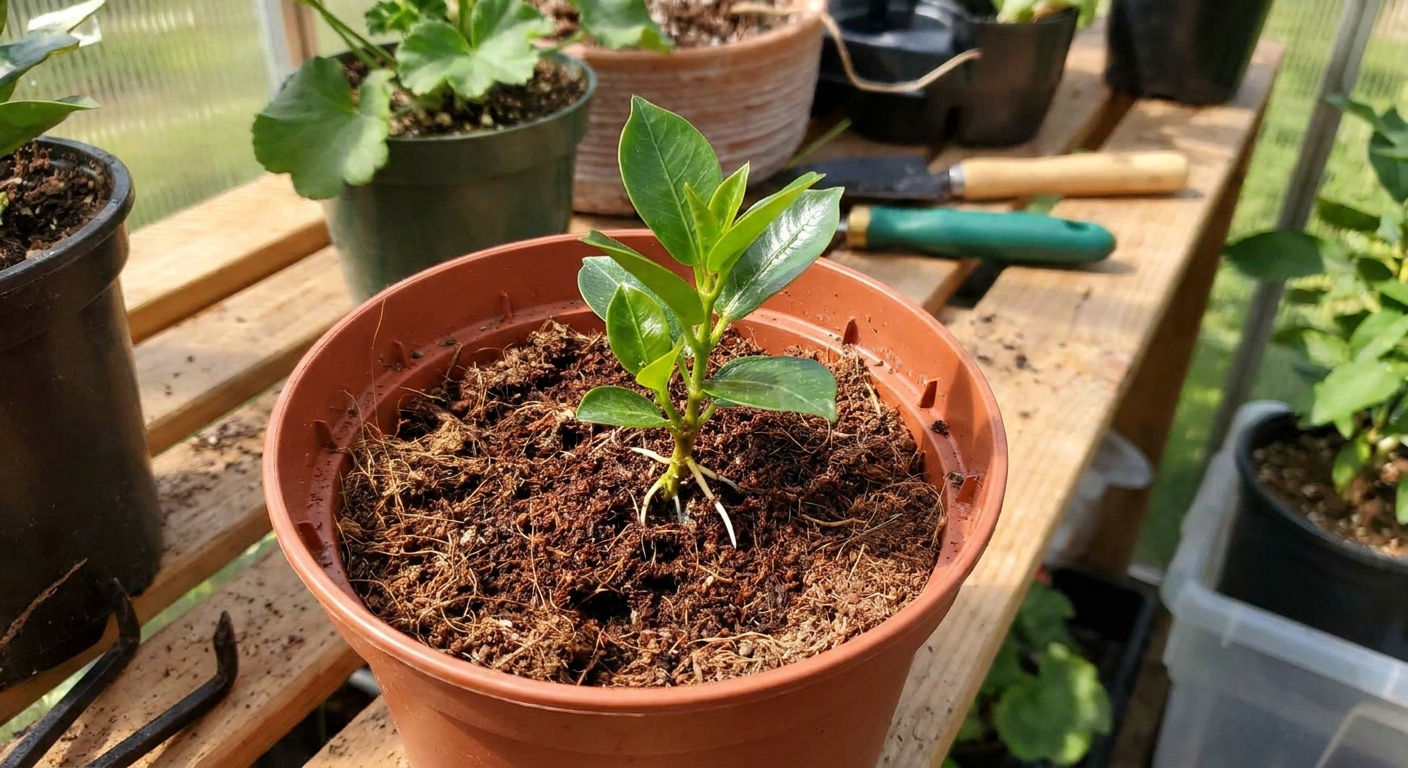
When you see several roots that are an inch or two long, move the cutting into a small pot with a high-quality, well-draining potting mix. Do not jump to a huge container. Extra soil stays wet longer and can stall growth.
If you like a simple recipe, I use a quality indoor or container potting mix amended with a generous handful of perlite for extra drainage.
Step 3: Feed lightly
Wait until you see new growth after potting up, then use a diluted balanced fertilizer. Half-strength is plenty at first.
Keep the plant warm and in bright, indirect light for a couple of weeks after potting up. It helps the new roots settle in without stress.
When to add a trellis
Do not rush this. A fresh cutting has a small root system and will topple or dry out faster if it is forced to climb before it is ready.
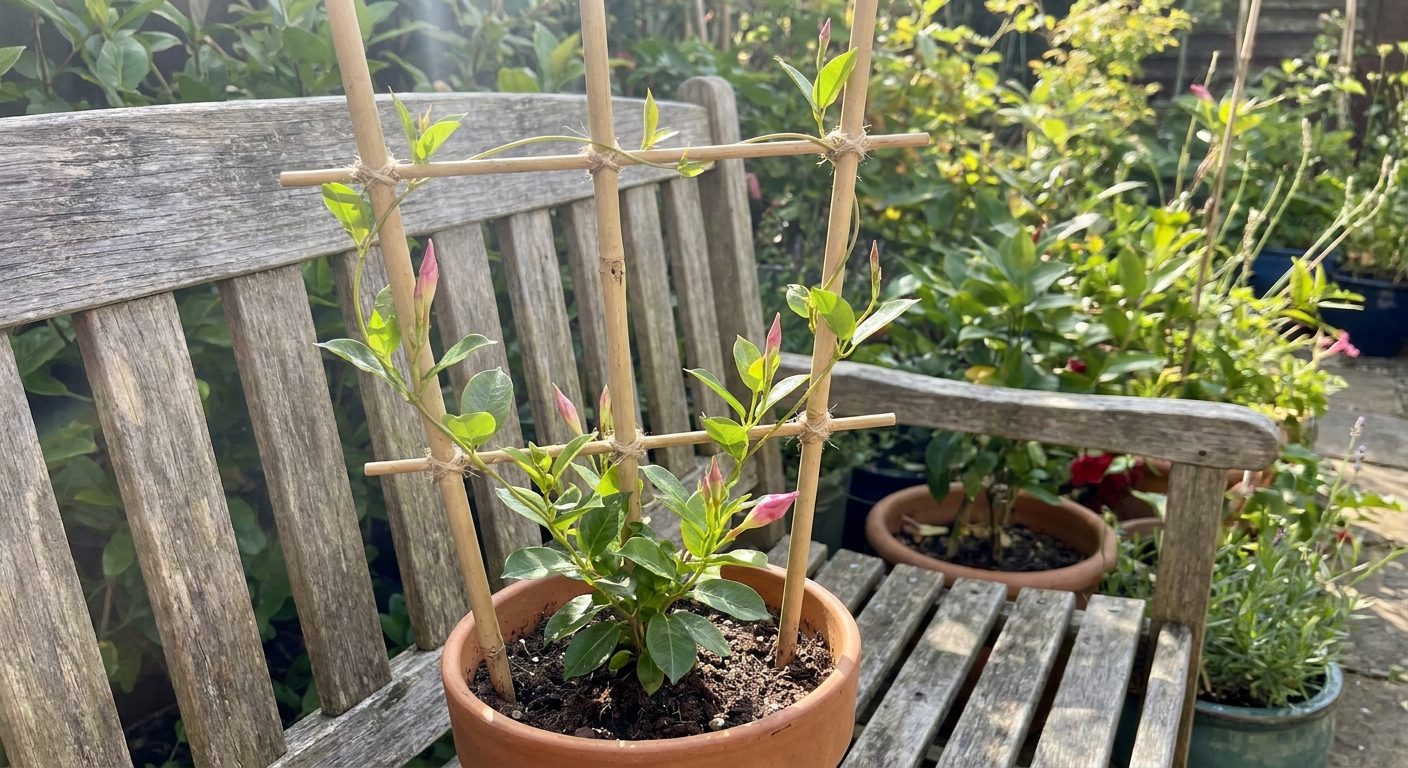
Your mandevilla is trellis-ready when:
- It has new growth that is several inches long
- Roots are holding the soil together when you lift the plant gently
- It dries out a bit faster between waterings (a sign roots are filling in)
Start with a small trellis or a few bamboo stakes, and loosely tie the vine with soft plant tape. The goal is support, not constriction.
Common problems and quick fixes
The cutting wilts immediately
- Cause: too much leaf area, low humidity, or a dehydrated stem
- Fix: remove one more leaf pair, increase humidity, and keep out of direct sun
The base turns black or mushy
- Cause: medium too wet, poor airflow, or a dirty tool or container
- Fix: start over with fresh medium, smaller sips of water, and daily venting
No roots after 6 to 8 weeks
- Cause: not warm enough, cutting too woody, or node not buried
- Fix: add bottom heat, take a fresher tip cutting, and ensure a node is below the surface
Leaves yellow while rooting
- Cause: stress is normal, but sogginess is not
- Fix: let the surface dry slightly between waterings, and make sure the mix drains fast
FAQ
Can I root mandevilla cuttings in water?
You can sometimes get roots in water, but I see more losses when transferring to soil. Mandevilla roots formed in water can be fragile and struggle with the switch. If you try water rooting, change the water often, keep it warm, and pot up as soon as you see small roots starting.
Do I need rooting hormone?
Not always, but it improves consistency, especially if your home is cooler or your stems are a bit more mature. I consider it helpful, not mandatory.
Should I remove all the leaves?
No. Leaves help the cutting photosynthesize and power root growth. Remove the leaves that would sit below the soil line, and keep a couple at the top.
Can I propagate from a woody stem?
Woody stems can root, but they are slower and more likely to rot. For the best success, choose semi-soft growth that is firm but still green and flexible.
A final little pep talk
Propagation is equal parts technique and patience. If one cutting fails, it does not mean you failed. It just means you learned which conditions your mandevilla likes in your particular space. Keep it warm, keep it lightly humid, and remember that roots happen quietly, long before you see anything up top.