
How to Divide Canna Rhizomes

The first time I divided cannas, I treated the clump like a delicate houseplant and ended up with a handful of sulky, slow sprouts. Turns out cannas are not delicate. They are bold, fast, and forgiving as long as you give each piece a growing point and you do not tuck fresh cuts into cold, wet soil.
If your canna patch is getting crowded, flowering less, or creeping outward like it owns the whole bed, dividing the rhizomes is the tidy little reset that gives you more plants and better blooms.

What you are dividing
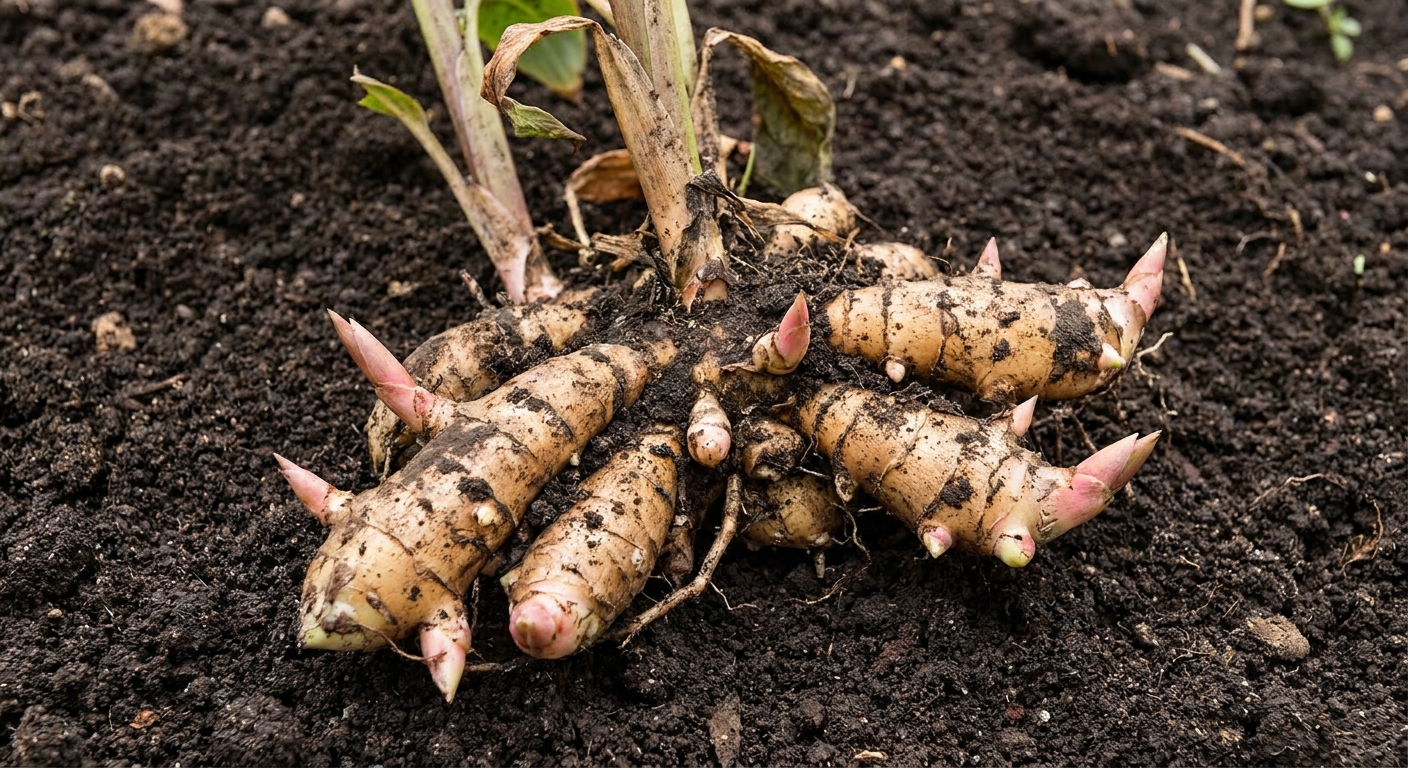
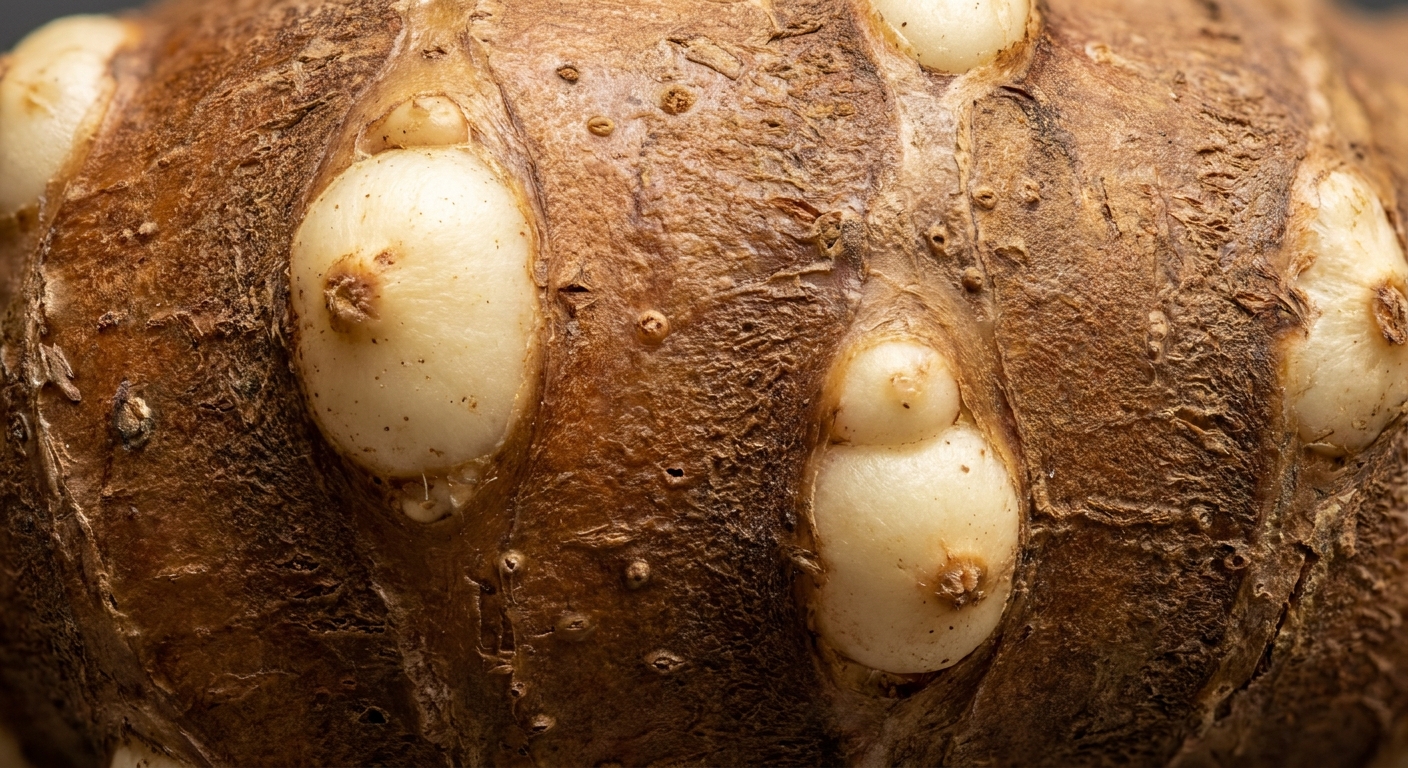
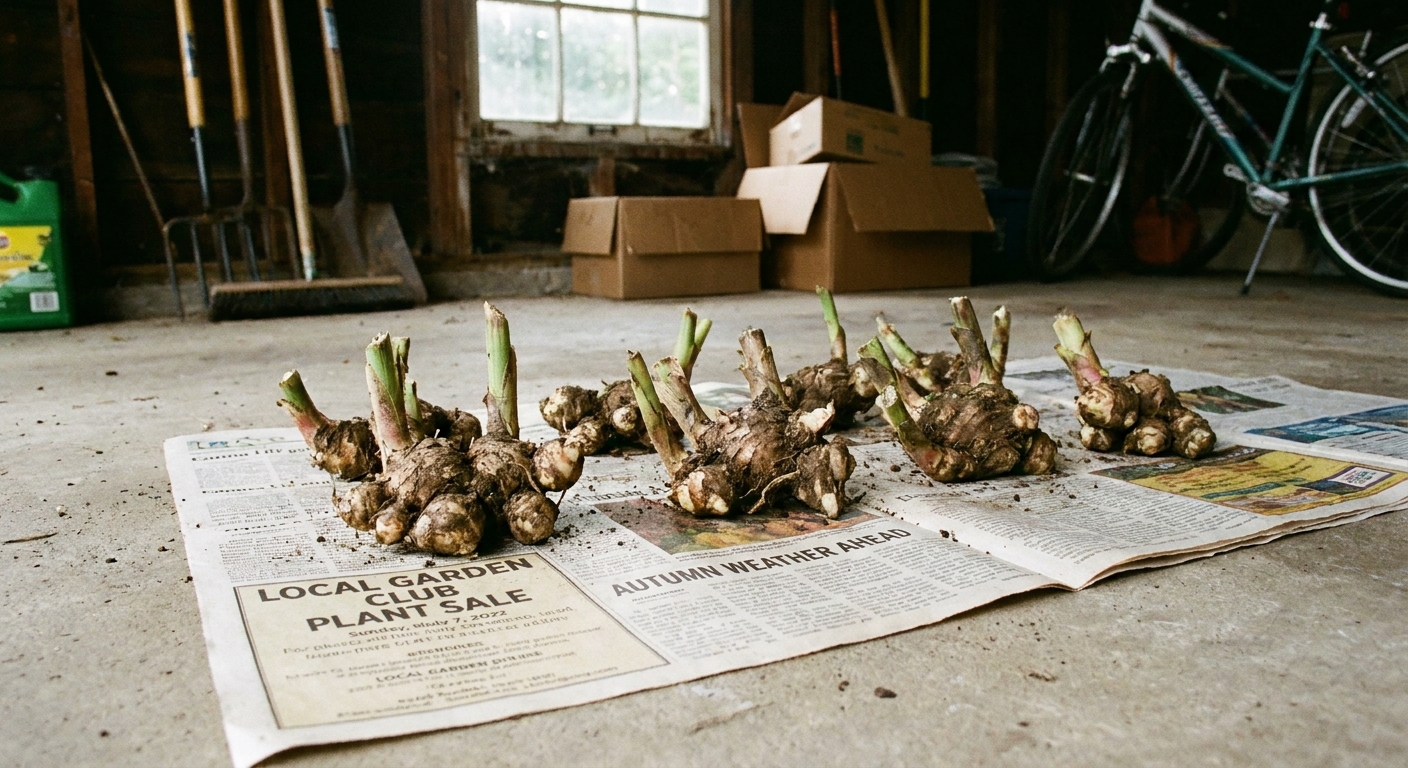
Cannas grow from rhizomes, which are thick, knobby underground stems. Along the rhizome you will see little bumps or pointed nubs called eyes. Each eye is a growth bud that can send up a new shoot.
When you divide, your goal is simple: separate the clump into smaller pieces, each with at least one healthy eye, plus enough rhizome mass to fuel early growth.
When to divide a canna clump
You have two good windows, and which one is best depends on how you overwinter cannas where you live.
Quick zone cue: In many gardens, cannas can overwinter in the ground in USDA Zones 8 to 11 (sometimes Zone 7 with heavy mulch and a sheltered spot). In colder zones, plan to lift and store rhizomes before winter.
Option 1: Early spring
This is my favorite when I can. In spring, you can clearly see which eyes are waking up, and divisions go straight into warming soil or pots.
- Timing: After danger of hard frost is mostly past and the ground is warming. Nights above about 50°F (10°C) is a workable rule of thumb, but I pay more attention to soil warmth. If the soil is still chilly, cannas tend to sulk and can rot. Many gardeners have the smoothest success once soil is closer to 60°F (15 to 16°C).
- Best for: Gardeners who leave cannas in the ground in mild climates, or those who overwinter rhizomes and want to divide right before replanting.
Option 2: Fall
If you live where cannas cannot stay in the ground over winter, fall division can save space in storage and makes spring planting faster.
- Timing: After the first light frost has blackened foliage, or when growth is slowing and you are ready to lift.
- Best for: Cold-winter climates where rhizomes are dug and stored dry.
My rule of thumb: If your fall weather turns cold and wet quickly, I prefer to lift in fall, store the clump mostly intact, and divide in spring. Cold plus fresh cuts plus moisture is the rotting trifecta.
Tools and supplies
- Garden fork or spade
- Pruners and a sturdy knife, or a hori hori
- Gloves
- Bucket of water or hose for rinsing soil
- Rubbing alcohol or a disinfecting wipe for tools
- Paper towels or a clean rag
- Optional: powdered sulfur (or cinnamon) to dust cuts
- For storage: cardboard box, paper bags, or a crate plus dry peat moss, coconut coir, or wood shavings
Small disease-prevention habit that matters: If you find any soft rot in a clump, sanitize your blade before you move on to the next division or the next clump. It is a quick way to avoid spreading problems.
How to divide canna rhizomes
1) Cut back foliage
If you are dividing in fall, trim stems down to about 2 to 4 inches. In spring, you may have old, dry stalks attached. Snip them off so you can see the rhizome structure clearly.
2) Dig up the clump
Slide a fork or spade in a good 6 to 10 inches away from the stems and lever up. Cannas often spread wider than you expect. Work around the clump, then lift.
If you are dividing an in-ground clump in a warm climate, you can also slice off outer sections with a spade and leave the center in place. This is easiest when the soil is warm and the plant is actively growing. Water well afterward to reduce stress.
3) Shake off soil and find the eyes
Gently knock loose soil away and rinse if needed. You do not need it spotless, but you do want to see where the eyes are and where natural separations occur.
4) Pull apart natural joints first
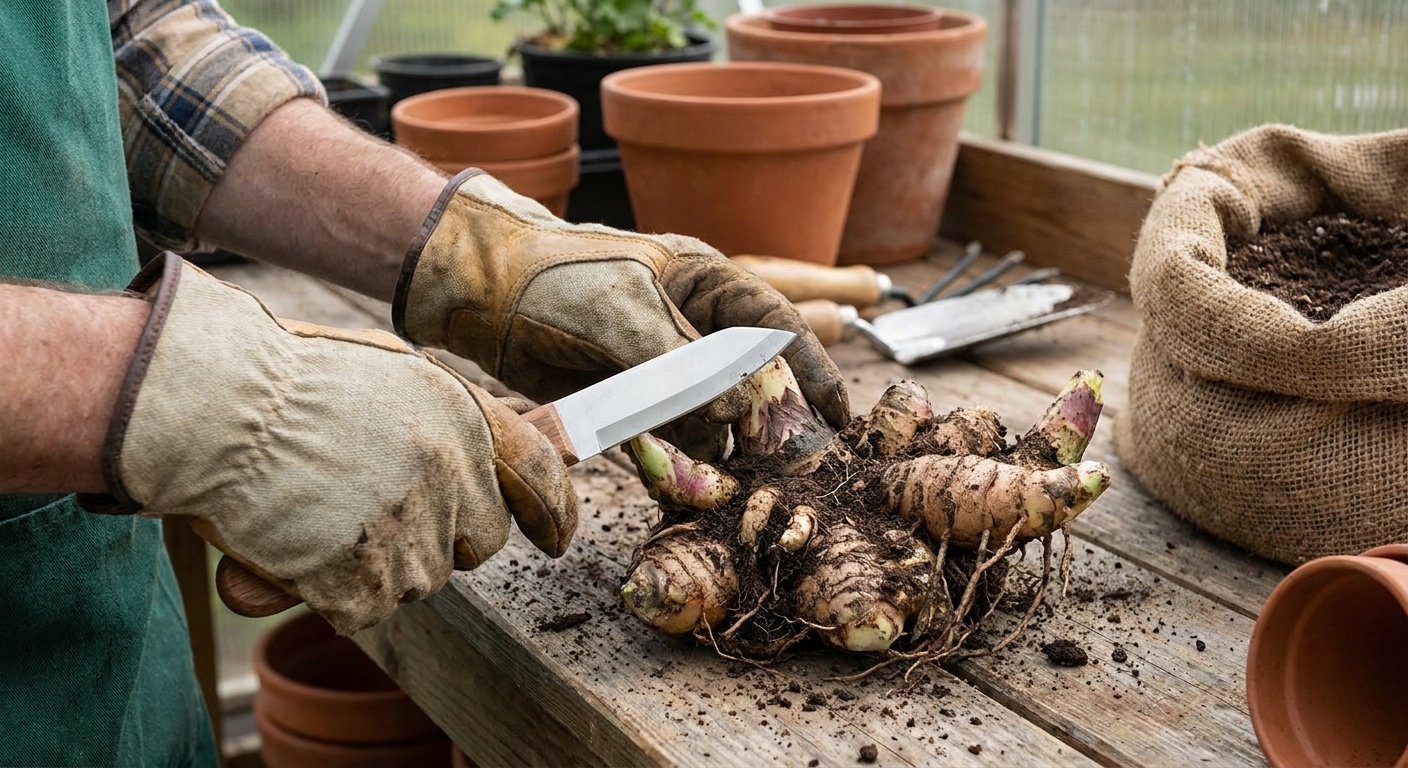
Many clumps will pull apart with a firm twist, especially along older, woody connections. Use your hands first, then your knife for clean cuts where needed.
5) Make clean cuts and choose a good division size
Cut through rhizomes with a smooth, decisive motion. Ragged tears take longer to dry and can invite rot.
How many eyes to leave on each piece?
- Minimum: 1 healthy eye per division.
- Better: 2 to 3 eyes per division for faster, fuller plants.
- Very large divisions: 4+ eyes can work, but you will get fewer new plants and the clump can crowd again sooner.
Size matters: Tiny pieces with one eye can grow, but they are slower and fussier. If you are after quick summer impact, aim for divisions about the size of your hand, with 2 to 3 eyes and some firm, plump rhizome behind them.
6) Toss anything questionable
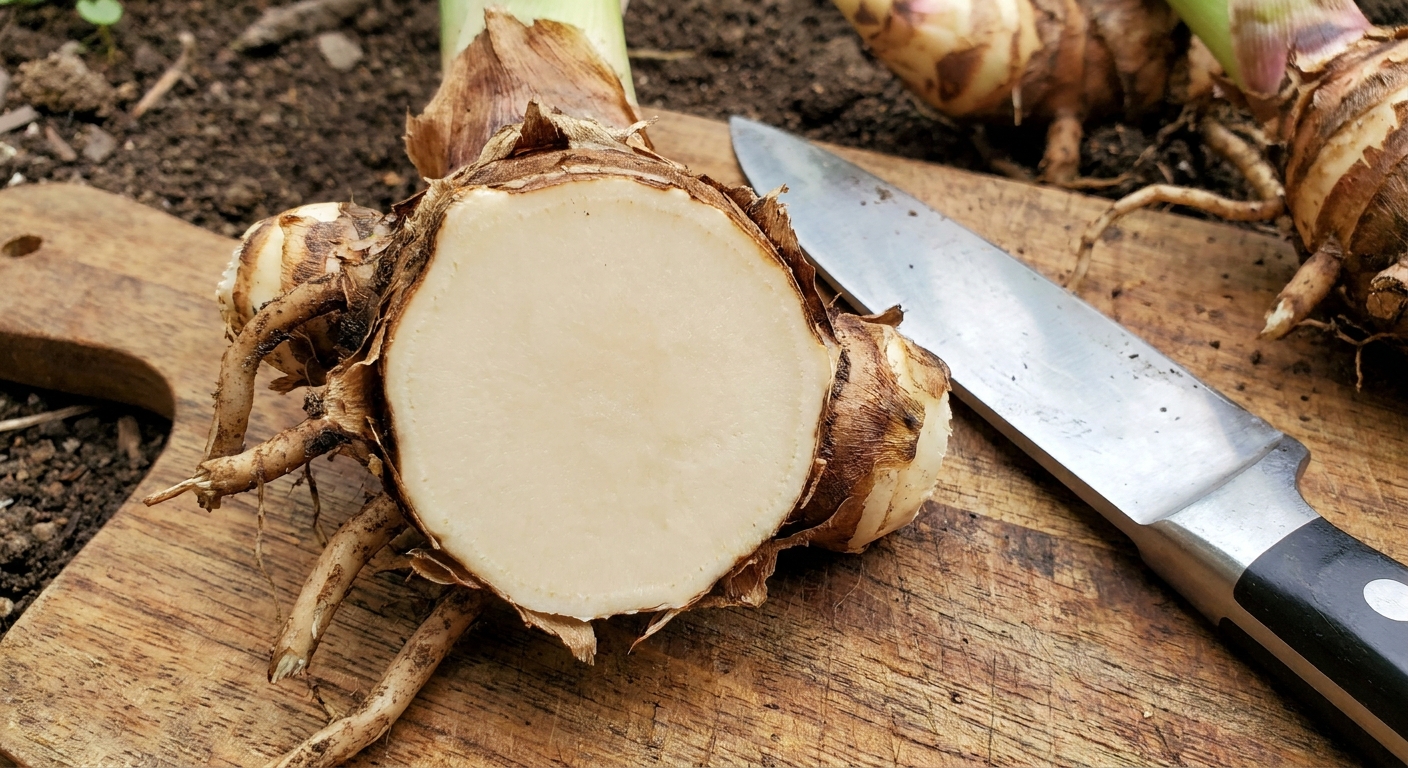
Healthy canna rhizomes feel firm, not squishy, and look clean inside when cut. Discard pieces that are:
- Soft, hollow, or foul-smelling
- Heavily shriveled with no firm sections
- Dark and water-soaked throughout
Cure the cuts
Fresh cuts need time to dry and callus over, especially if you are storing rhizomes or planting into cool soil.
For spring planting
- Lay divisions out in a single layer in a shaded, airy spot.
- Let cut surfaces dry for a few hours to overnight.
- If your soil is still cool or your garden runs wet, give them a full 24 hours.
For fall division and storage
- Dry divisions for 1 to 3 days in a frost-free, well-ventilated place.
- Turn them once a day so all cut surfaces dry evenly.
Optional dusting: A light dusting of powdered sulfur can help discourage fungal issues on fresh cuts. In a pinch, some gardeners use cinnamon, but I treat that as a folk tip, not a guarantee. Either way, the real work is done by clean cuts and proper drying.
Replanting divisions
Cannas love sun and rich soil. Give them warmth, moisture, and fertility, and they move fast.
Where to plant
- Light: Full sun is best, especially for flowering.
- Soil: Fertile, well-draining soil amended with compost. Cannas like consistent moisture but hate sitting in cold muck.
How deep and which way up
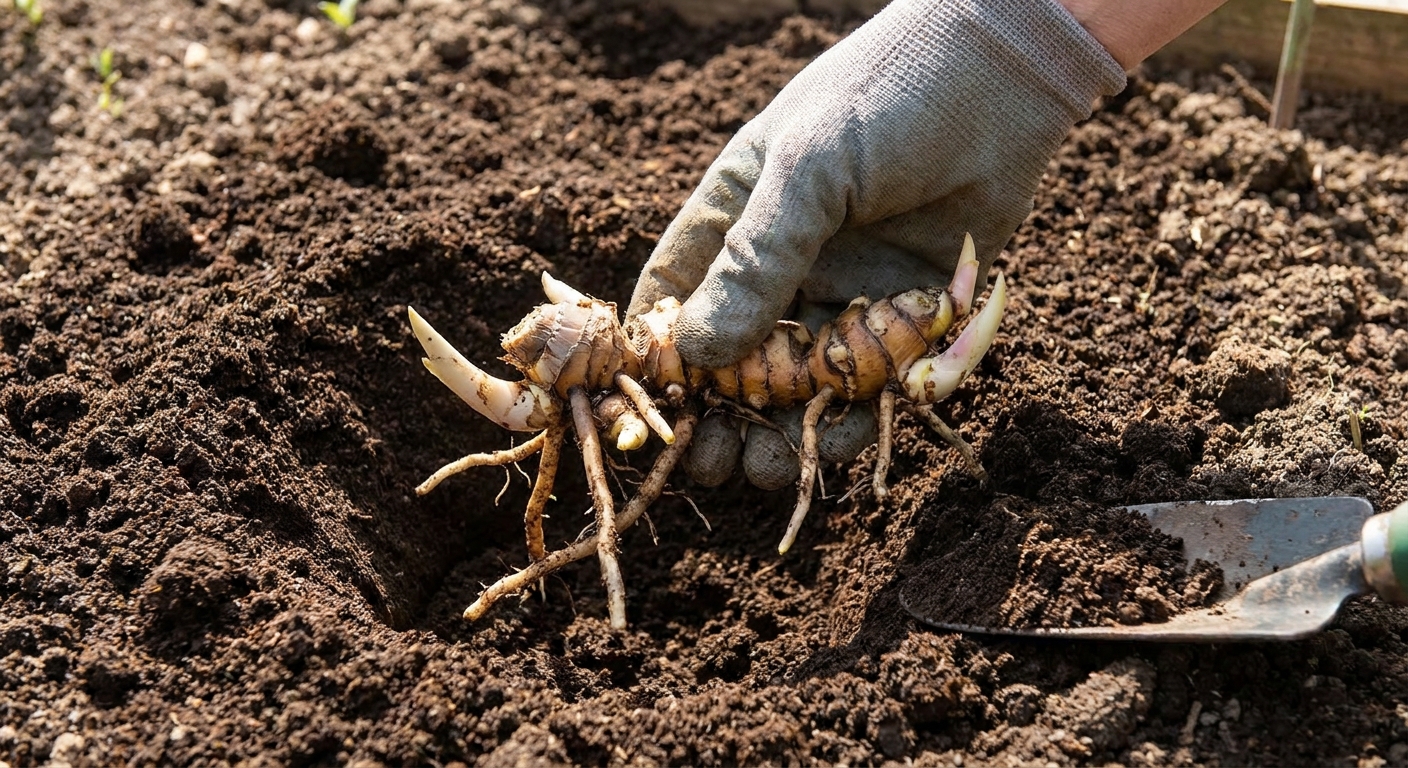
- Plant rhizomes about 2 to 4 inches deep in most garden soils (a little shallower in heavy soil, a bit deeper in sandy soil).
- Set the rhizome horizontally, with eyes facing up or slightly angled up.
- Space divisions about 18 to 36 inches apart, depending on the variety. Compact types can be closer, and tall, broad-leaved types appreciate more room.
Watering after planting
Water in well, then keep soil evenly moist, not swampy. If spring is chilly, go easier on water until you see growth. Warmth plus oxygen in the soil is what prevents rot.
Planting in pots
If your season is short, pot divisions up indoors or in a greenhouse a few weeks before your last frost date. Use a roomy container with drainage holes and a rich potting mix. Keep them warm and bright, and do not drown them while they are waking up.
How to store divisions
If you have real winter, storage is the difference between free plants next year and a mushy surprise in April. The sweet spot is cool, dark, and barely dry.
Storage conditions to aim for
- Temperature: About 40 to 55°F (4 to 13°C), with 45 to 50°F (7 to 10°C) being a nice middle zone if you can manage it
- Humidity: Moderate. Too dry shrivels. Too damp rots.
- Darkness: Helps keep them dormant
- Airflow: Helps prevent mold
Simple storage method
- After curing, brush off loose soil. Do not wash right before storage unless you can dry thoroughly.
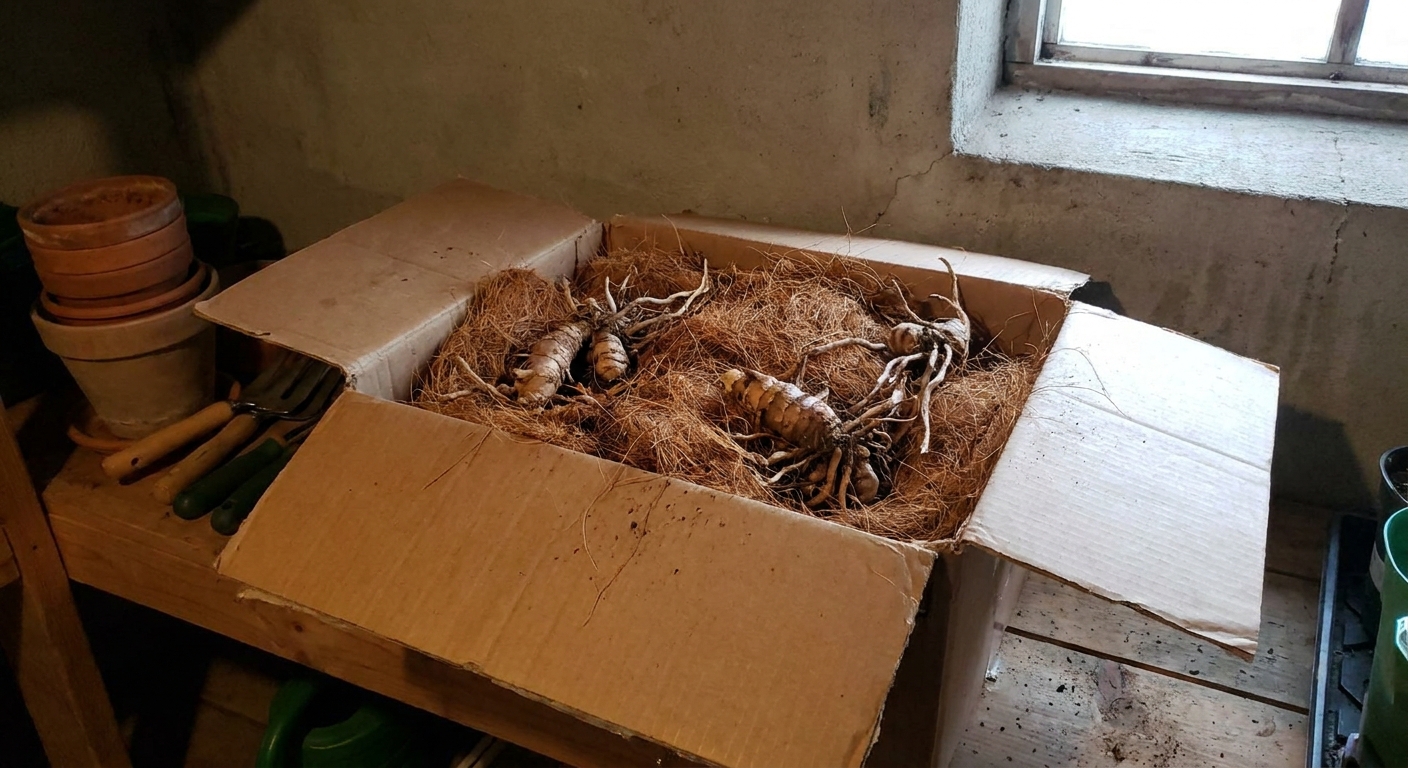
- Place rhizomes in a cardboard box, crate, or paper bag.
- Surround them with dry peat moss, coconut coir, or wood shavings so they are cushioned and not touching.
- Store in a basement, garage, or crawl space that stays above freezing.
Check monthly
Take five minutes once a month:
- If rhizomes are shriveling, mist the packing material very lightly or add a barely damp handful of coir.
- If you see soft spots or mold, cut away bad tissue, re-cure the cut for a day, and replace packing material with fresh, dry material.
Common mistakes
- Planting pieces with no eyes: No eye means no shoot. Always locate the buds before cutting.
- Making divisions too tiny: One-eye pieces can work, but 2 to 3 eyes makes success more likely and growth faster.
- Skipping the curing step: Fresh cuts plus wet soil is an open invitation for rot.
- Overwatering in cool weather: Wait for warmth or pot up in a controlled spot.
- Storing wet rhizomes in sealed plastic: They need to breathe. Use breathable containers and dry packing material.
Troubleshooting
No sprouts
- Too cold: Rhizomes may sit without rotting and still do nothing until soil warms. Patience, and warmer conditions, often fix it.
- Too deep: Dig gently and reset shallower if needed, especially in heavy soil.
- Rot: If the division feels soft or smells off, cut back to firm tissue, re-cure, and replant in warmer, better-drained conditions.
Weak or leggy growth in pots
- Not enough light: Move to a brighter window, greenhouse, or under a grow light.
- Too much warmth and not enough sun: A warm, dim room can stretch seedlings and sprouts fast.
FAQ
Do I have to divide cannas every year?
No. In warm climates where cannas stay in the ground, many gardeners divide every 2 to 4 years, or whenever clumps get crowded and flowering drops. If you dig and store each fall, dividing as needed is enough.
Can I divide a canna while it is actively growing?
You can, but it is stressful and you will likely sacrifice flowers for a while. If you must, take an outer section with a spade, keep as many roots attached as possible, and water consistently while it re-establishes.
What does a healthy eye look like?
It is usually a firm bump or pointed nub, often pink, reddish, or pale green, not mushy or black. In spring it may look swollen as it wakes up.
How long do divisions take to sprout?
In warm soil, cannas can sprout in 1 to 3 weeks. In cool soil, they can sit quietly much longer. Warmth is the difference maker.
A final bit of encouragement
If dividing feels intimidating, remember this: cannas are built for persistence. Give each piece an eye, let your cuts dry, and do not rush them into cold, soggy soil. The rest is just time, sun, and a little patience. I talk to my ferns, but I let my cannas do their own thing, and they always do.