When to Transplant a Mature Clematis

A little green. A lot of curiosity.
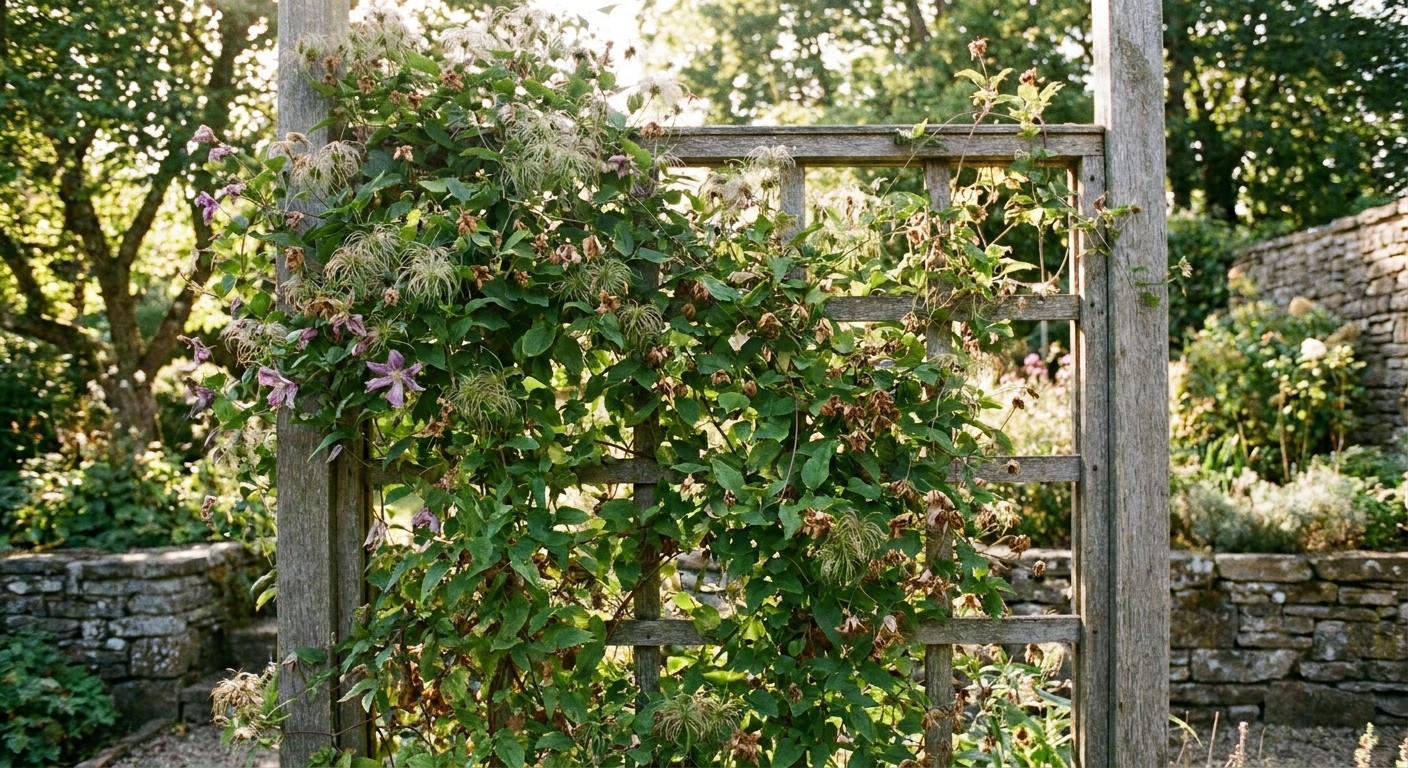
Sometimes a clematis outgrows its trellis, gets swallowed by a shrub, or ends up in the exact spot you now need for a path. If the vine is healthy and this is a planned move (not a wilt rescue and not a newly layered stem), timing and technique matter more than brute force.
Best season to transplant a mature clematis
The gentlest time to move a healthy, established clematis is when it is not pushing hard top growth and the weather is cool enough to reduce water stress.
Top pick: early fall
Early fall is often ideal because soil is still warm (roots can regrow), sun is less intense, and the plant is naturally slowing down. Aim for a window when daytime temperatures are mild and you still have several weeks before the ground freezes.
Also good: early spring
Early spring works well too, especially in cold winter climates where fall freezes arrive fast. Transplant just as the soil is workable and before the clematis has produced long, tender shoots. Smaller shoots mean less breakage and less water demand.
Avoid if possible: late spring and summer
Moving clematis during late spring or summer is possible, but it is the hardest on the plant. Heat plus active growth can lead to wilting, leaf scorch, and a longer recovery. If you must move it then, plan on heavier shade protection and very consistent watering for several weeks.
Do not confuse this with other clematis tasks
- This is not clematis wilt recovery. Wilt is a sudden collapse of stems, commonly associated with fungal pathogens. A wilted vine needs different triage than a planned relocation.
- This is not moving a layered stem. Layering creates a new, young plant with its own small root system that can be severed and potted up. A mature clematis has an older crown and a wider root network, so the approach is very different.
How big a root ball to take
Clematis roots can run farther than you expect, and older plants do not love having their roots disturbed. The goal is to capture enough feeder roots to keep the plant hydrated while it reestablishes, even though you will not be able to get every root an older vine has sent out.
A practical root ball size
- Aim for at least: 12 to 18 inches (30 to 45 cm) out from the crown in all directions (think radius, not diameter).
- Better for large, old plants: 18 to 24 inches (45 to 60 cm) out, if you can manage the weight.
- Depth: dig at least 12 to 18 inches (30 to 45 cm) deep, deeper if your soil is loose and the plant lifts easily with more root attached.
If you hit thick, woody roots, do not panic. Clean cuts with a sharp spade or pruners are less stressful than tearing. Work slowly and pry from multiple sides.
How deep to replant a clematis
Clematis planting depth is one of those details that feels small, then turns out to matter a lot.
General rule: sometimes a little deeper
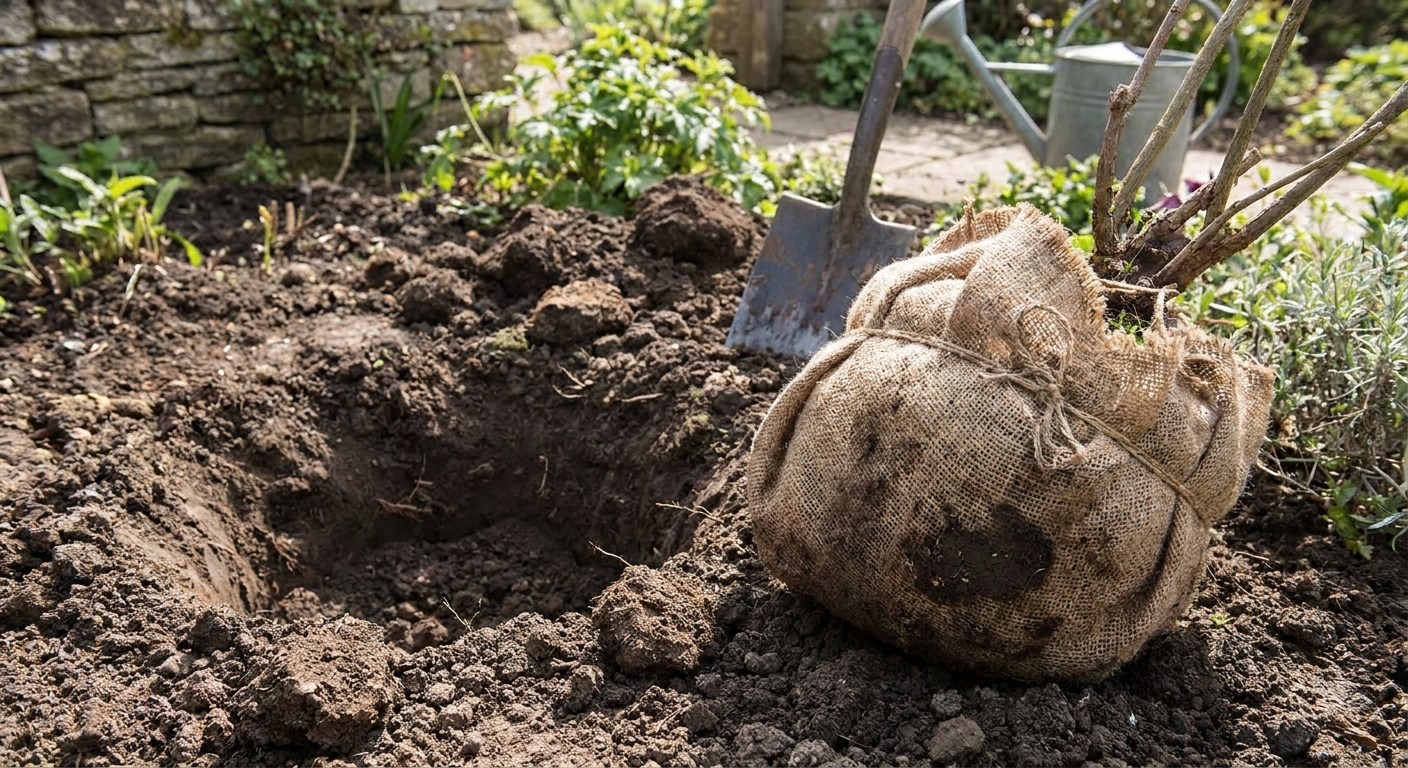
For many large-flowered hybrid clematis, it is commonly recommended to set the crown slightly deeper than its previous soil line. A typical target is 2 to 4 inches (5 to 10 cm) deeper, so that a couple of leaf nodes on the lower stems are below the soil surface.
Why gardeners do this: deeper planting can encourage additional shoots from below the soil line and offers a bit of insurance if a stem is damaged.
When to stick closer to the original depth
- Species clematis and some non-hybrid types: these are often fine replanted at the same depth they were growing. If you are not sure what you have, err on “not too deep,” especially in heavier soils.
- Heavy clay or poorly drained sites: do not bury the crown deeply if water sits in the hole. In wet soil, too-deep planting can raise rot risk.
- Grafted clematis: deeper planting is often used to help the clematis grow on its own roots over time. If you can see an obvious graft union, many gardeners aim to keep it below soil level, but drainage still comes first.
Step that matters as much as depth: keep roots cool
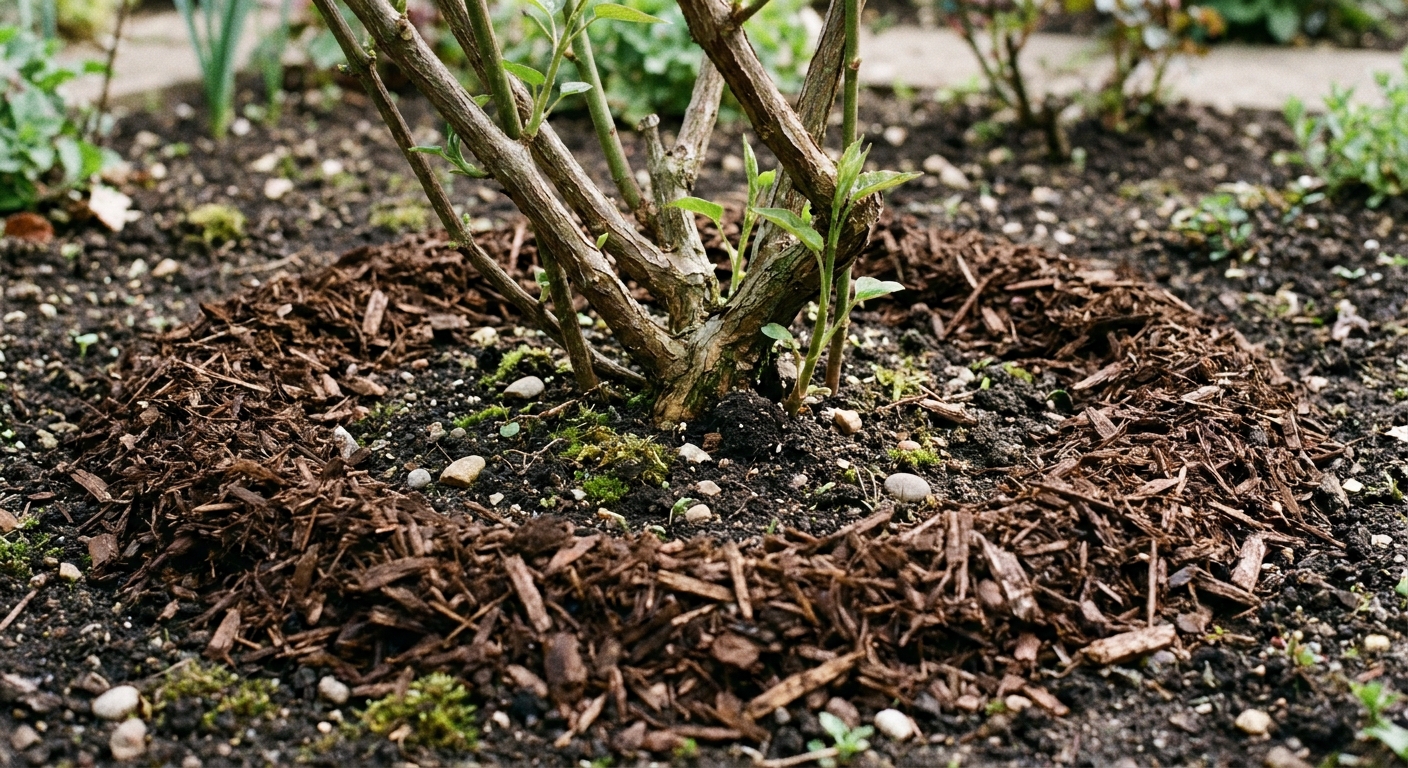
Clematis likes “cool feet.” After planting, mulch 2 to 3 inches deep, and consider shading the root zone with a low perennial or a flat stone. Just keep mulch from piling directly against the stems.
How to transplant without snapping everything
Mature clematis stems are surprisingly easy to kink or break, especially when you are untangling them from a trellis. This is a “slow hands” job.
Prep the new site first
- Match the light if you can. Clematis generally likes its tops in sun and its roots shaded, so try not to move a sun-loving vine into deep shade (or vice versa) unless you are intentionally changing conditions.
- Fix drainage now. If the area holds water, amend with organic matter and consider planting slightly proud of grade rather than deeper.
- Set up support. Having a trellis or wires ready means less fumbling with stems while the roots are exposed.
Before you dig
- Water the day before so the root ball holds together better.
- Prune for manageability. For a planned move, it is reasonable to cut stems back so you can handle the vine. How far you cut depends on the clematis type, but for transplanting purposes, many gardeners reduce top growth significantly to balance the root loss.
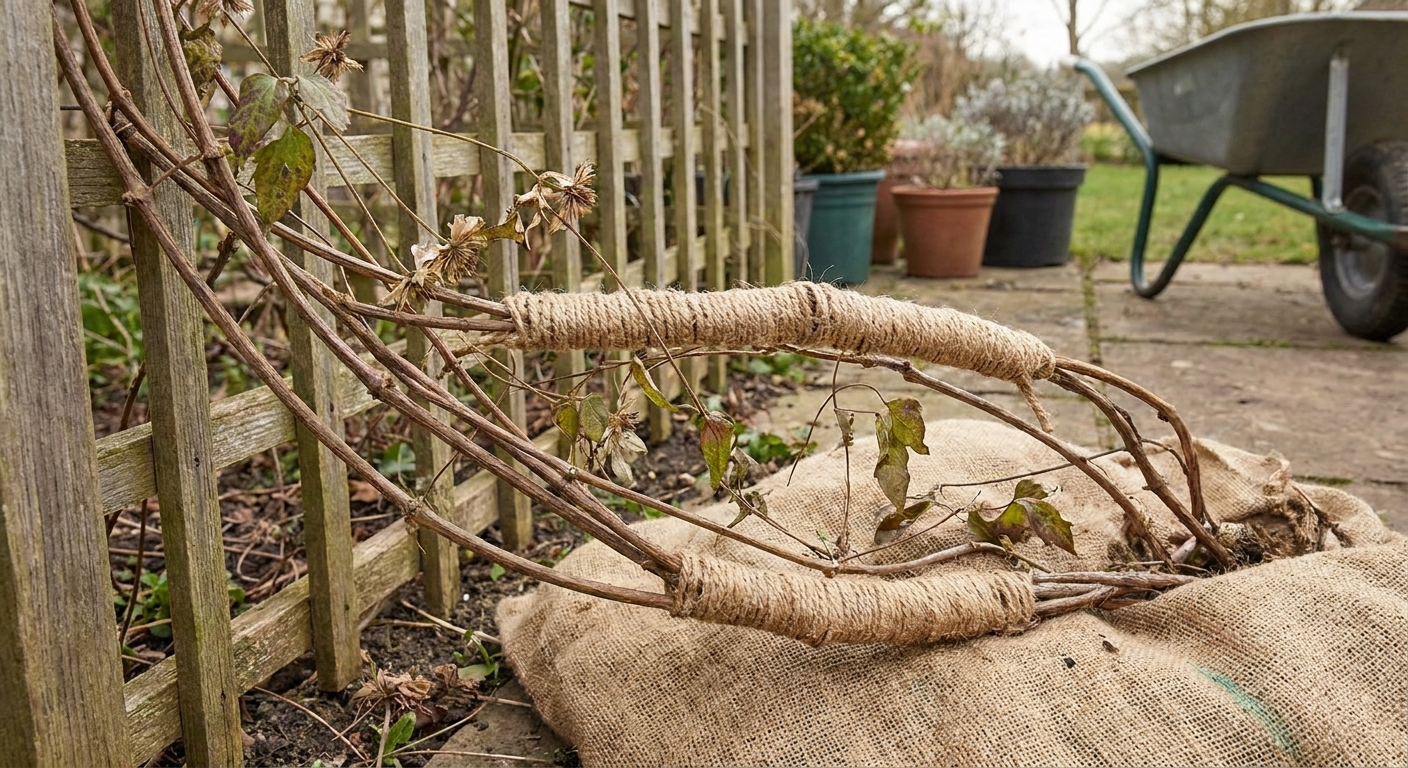
- Bundle, do not wrestle. Gather stems loosely with soft twine to reduce tangling and breakage.
If pruning groups make your head spin
If you know your pruning group, follow it when possible. If you do not, keep it simple: cut back just enough to make the plant movable, and accept that you may trade some flowers for a safer transplant.
- Group 1 (blooms on old wood): hard pruning can reduce blooms the next season.
- Group 2 (old and new wood): moderate pruning is usually the least disruptive, but moving may still reduce the first flush.
- Group 3 (new wood): these are typically pruned hard anyway, so cutting back for a move is less of a bloom issue.
Digging and lifting
- Dig a wide circle first, then go deeper, undercutting the root mass.
- Lift from underneath, not by pulling the stems.
- If the plant is large, slide burlap or a tarp under the root ball to drag it with less crumbling.
Replant quickly
Try to move the root ball from old hole to new hole with minimal time exposed to drying air and sun. If there is a delay, keep roots shaded and damp.
What bloom loss to expect next year
Here is the honest part: even a careful transplant can mean fewer blooms the following season. Clematis usually prioritizes rebuilding roots over producing a full flower show.
Typical expectations
- Next season: often reduced flowering, later flowering, or smaller blooms. Some plants may skip a big flush and give only a modest display.
- Second season after the move: bloom performance often improves noticeably if aftercare has been steady.
For very old, very large vines, full recovery can take 2 to 3 seasons, especially if a lot of root had to be left behind.
What affects bloom impact most
- How much root you kept: a bigger root ball usually means less setback.
- Heat and dryness after transplant: stress during the first 6 to 10 weeks can reduce bud formation.
- When you moved it: fall or early spring typically recovers faster than summer.
- Clematis pruning group: the pruning timing and where buds form can influence what you see the next year, especially if you had to cut stems back hard for the move.
Aftercare that helps a transplanted clematis rebound
Watering
Keep soil evenly moist, not soggy. A deep soak is better than frequent sprinkles. In the first month, check moisture often, especially in windy spots and sandy soils.
Mulch and shade at the base
Mulch helps keep roots cool and reduces watering swings. Shade the root zone if the site is hot.
Skip heavy fertilizer at first
After transplanting, focus on root recovery. Rich feeding can push soft top growth before roots are ready to support it. If your soil is poor, a light topdressing of compost and a balanced, gentle fertilizer later in the season is usually plenty.
Support and training
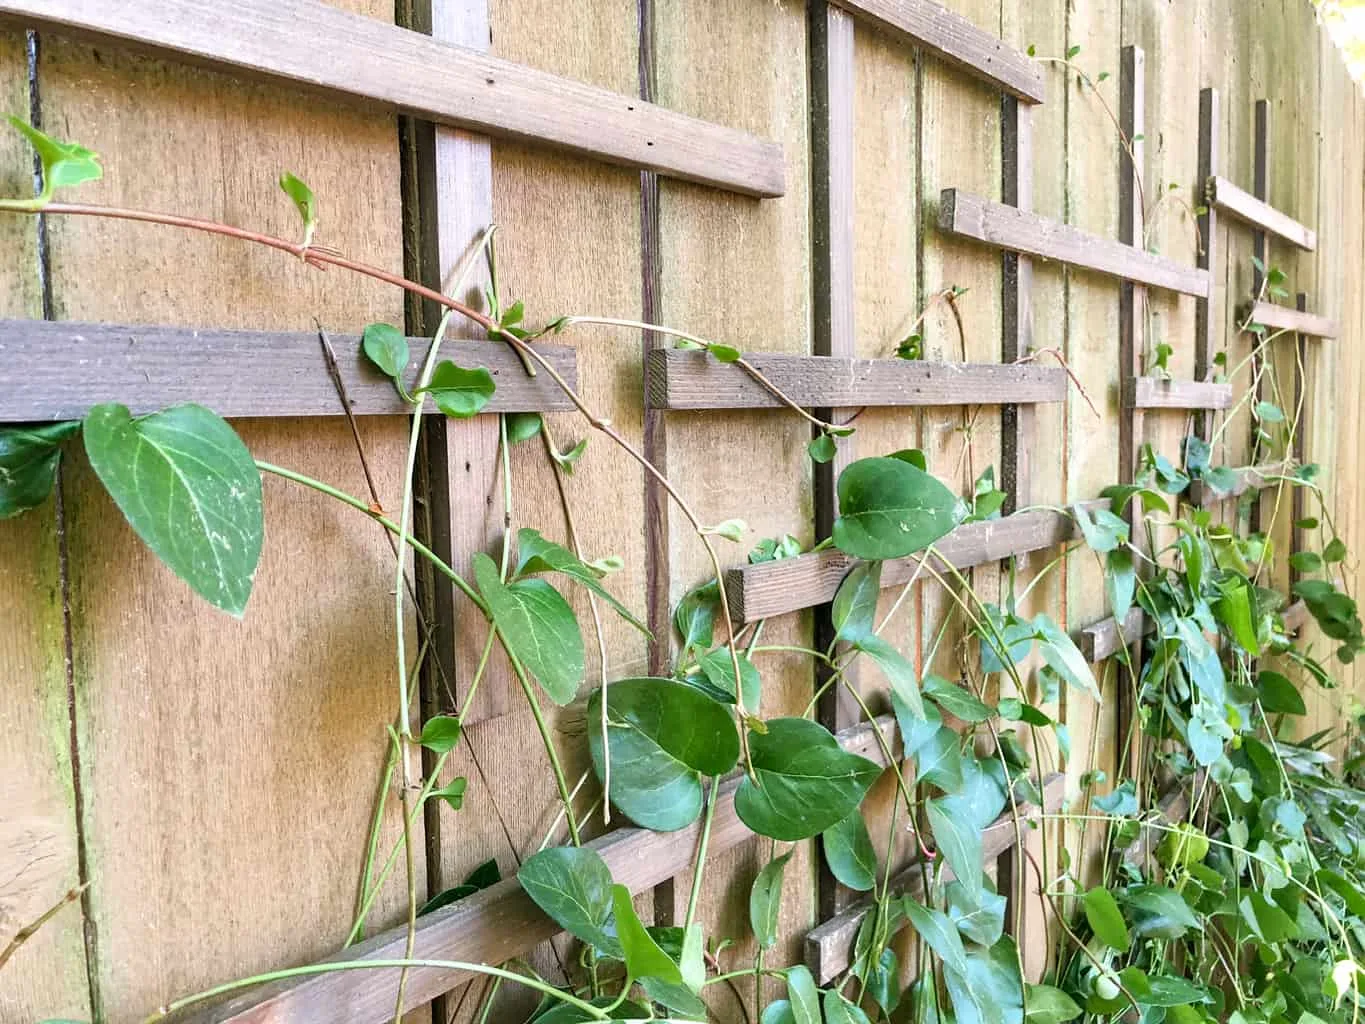
Give the plant something to climb right away. Clematis does best when its leaf petioles can wrap around slender supports.
Quick checklist for a planned clematis move
- Pick early fall or early spring if you can.
- Prep the new hole and support before you dig.
- Water the day before digging.
- Cut back enough vine to handle it without snapping stems.
- Dig a wide, deep root ball, aiming for 12 to 24 inches out from the crown depending on plant size.
- Replant at the same depth or up to 2 to 4 inches deeper depending on type and drainage.
- Water deeply and mulch to keep roots cool.
- Expect some bloom loss next year, with improvement often starting the following season.
FAQ
Can I transplant a clematis while it is blooming?
You can, but it is not ideal. Blooming means the plant is actively spending energy above ground. If you must move it, reduce top growth, keep the root ball as large as possible, and protect it from heat and afternoon sun while it recovers.
Should I prune my clematis before transplanting?
For transplanting, pruning is mainly about reducing stress and preventing breakage. Even if you normally prune at a different time for flowering, a mature vine often benefits from being cut back enough to balance the inevitable root loss during digging.
How long does transplant shock last?
Plan for a full season of “settling in.” Many clematis look a bit sparse or bloom lightly the first year after a move. With steady moisture and a stable site, they often rebound by the second season, though very old plants can take longer.
Do I need to divide a clematis when I transplant it?
Usually, no. Clematis is not commonly divided like a clumping perennial. The goal is to move the whole crown with as much root as possible, not to split it into sections.