Pruning Clematis
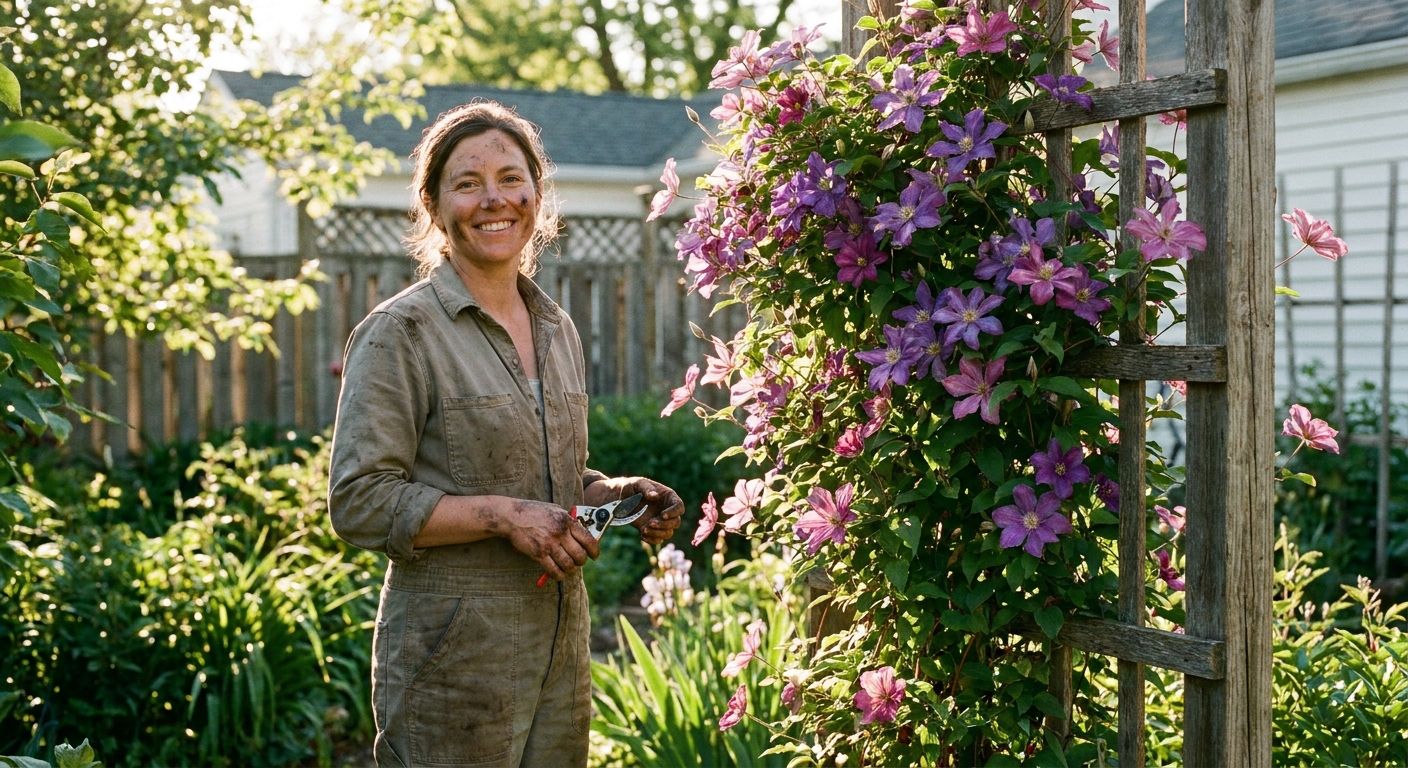
Clematis pruning has a reputation for being confusing, but here is the comforting truth: you do not have to be perfect. Clematis are tough, and many “mistakes” simply shift when you get flowers, not whether you get them at all. The one big exception is timing on spring bloomers. A hard prune at the wrong time can mean fewer (or no) blooms for a season. The real secret is learning which pruning group your clematis belongs to, then making a few confident cuts at the right time.

Below, I will walk you through how to identify your clematis group, when to prune, and how much to cut (with simple ranges), plus a few soil and support tips that make every prune “stick” with healthier regrowth.
Why pruning matters
Pruning is not just about tidiness. For clematis, it helps you:
- Get more blooms by encouraging new flowering shoots.
- Prevent bare stems at the bottom and flowers only at the top.
- Reduce disease pressure by removing dead, damaged, or mildewy growth.
- Keep vines manageable so they do not swallow a railing, shrub, or neighborly fence line.
Think of pruning like guiding energy. You are telling the plant where to put its effort this season.
Find your pruning group
Clematis are commonly sorted into three pruning groups. If you know the group, you know the timing and intensity of the cut. Bloom time is a helpful clue, but it varies by cultivar and region, so use it as a hint, not a rule.
Quick clue: when does it bloom?
- Blooms in spring (often early to mid spring): usually Group 1.
- Blooms in late spring to early summer, sometimes with a lighter repeat: often Group 2.
- Blooms in summer into early fall: usually Group 3.
Common examples (helpful, not required)
- Group 1 (no regular pruning): montana types, alpine and macropetala types.
- Group 2 (light to moderate pruning): many large-flowered hybrids like ‘Nelly Moser’, ‘Niobe’, ‘Henryi’.
- Group 3 (hard pruning): viticella types, texensis types, ‘Jackmanii’, sweet autumn clematis (often sold as Clematis terniflora; also listed as Clematis paniculata syn. C. terniflora).
Tag tip: If you still have the plant label or can look up your exact cultivar from the grower, do it. Some large-flowered hybrids get listed differently depending on parentage and local nursery guidance.
If you are unsure, do not panic. You can use the “safe reset” options further down, then observe bloom timing next season and adjust.

Tools and quick prep
You do not need fancy gear, just clean cuts.
- Bypass pruners for most stems.
- Loppers for thick, older vines.
- Gloves and a little patience for untangling.
- Disinfectant (70% isopropyl alcohol or a disinfecting wipe) to clean blades between plants, and especially after cutting any diseased tissue.
Sanitation note: Wipe blades to remove sap and debris, then apply 70% alcohol. It works well with short contact time, so a good wipe-down is usually enough.
Prep tip: Before you cut, trace a few stems down to the base and look for fat, healthy buds. Clematis buds can be surprisingly easy to miss when you are nervous.
Group 1 pruning
Group 1 clematis bloom on old wood, meaning they set flower buds on last season’s growth. If you prune hard in late winter, you will remove this year’s flowers.
When to prune
Right after flowering, usually in late spring (timing varies by region).
How to prune
- Skip routine pruning unless the vine is too large or tangled.
- After blooms fade, remove dead or damaged stems back to healthy wood.
- To reduce size, thin a few of the oldest stems at the base to open airflow.
- Lightly shape and shorten long whips as needed, but avoid a full haircut.
If your Group 1 clematis has become a woody bird’s nest, you can do a gradual renovation: remove about one third of the oldest stems at the base right after bloom each year for three years.
Group 2 pruning
Group 2 can feel the trickiest because they bloom on a mix of old and new wood. The goal is a gentle prune that keeps plenty of older flowering stems while encouraging fresh growth.
When to prune
- Late winter to early spring (as buds swell): your main prune. In many climates this is Feb to Apr.
- After the first flush of flowers: optional tidy and encouragement for a second wave.
How to prune (late winter to early spring)
- Start by removing dead, weak, or broken stems.
- Then, on each remaining stem, prune back to a pair of strong, healthy buds. Most gardeners remove only the top portion that is thin, tangled, or damaged, often leaving roughly 2 to 4 feet of stem on established plants. On smaller plants, you may leave less.
- If the plant is young or bare at the base, prune a bit lower to encourage bushiness.
After first flowering
- Deadhead spent blooms to a healthy set of leaves.
- Lightly shorten overly long shoots if you want a tidier trellis and more branching.
My favorite Group 2 mindset: think “tidy and thin,” not “chop.”

Group 3 pruning
Group 3 clematis bloom on new wood, which is wonderful news because you can prune them hard without sacrificing flowers. In fact, hard pruning usually improves flowering and keeps the plant from turning into a tall, bare-bottomed vine.
When to prune
Late winter to early spring, before strong new growth takes off.
How to prune
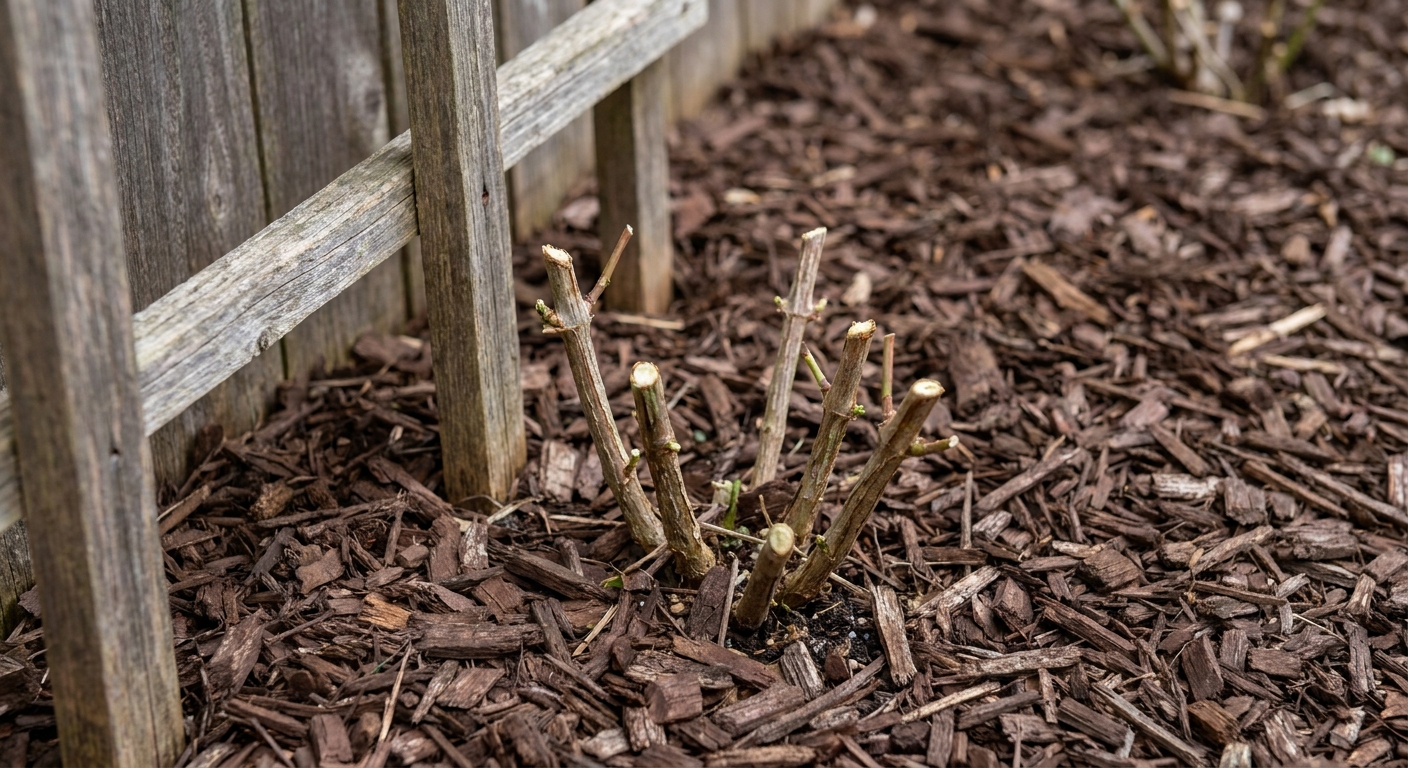
- Cut all stems back to 8 to 18 inches above soil level.
- Make cuts just above a pair of healthy buds.
- Remove thin, weak stems entirely so energy goes into the strongest shoots.
If your Group 3 clematis looks dramatic after pruning, you did it right. Give it a few weeks of spring warmth and you will see fresh shoots racing upward.
If you do not know the group
Sometimes you inherit a clematis with no label, or you planted it years ago and the tag has vanished into the compost pile of history. Here are three low-stress ways to proceed.
Option 1: Observe one season
Avoid major pruning for now. In late winter, remove only dead or broken stems. Note when it blooms and use that to assign Group 1, 2, or 3 next year.
Option 2: The gentle compromise
In late winter, prune back by about one third, cutting to strong buds. This rarely harms the plant, and it often improves shape while you gather clues. Note: if it turns out to be a true spring bloomer (Group 1) or a shy Group 2, this can reduce spring flowers for that year.
Option 3: The reset
If the plant is a mess, you can cut it down to 12 inches in late winter and accept that bloom timing may shift for a year. Many clematis rebound beautifully, especially vigorous types. Afterward, feed lightly and keep soil evenly moist as it regrows.
Confession: I have done the reset more than once, and the vine forgave me faster than I forgave myself.
First-year pruning
This surprises people, but a little toughness early on often pays off later. In the first spring after planting (or at planting time if you bought a lanky vine), many gardeners prune young clematis back to encourage basal breaks and a fuller plant. A common approach is to cut back to the lowest strong pair of buds, often around 6 to 12 inches from the soil.
If your plant is a known Group 1 and you are determined to keep every spring flower, you can skip the hard first cut. Just know you may trade a few early blooms for a better-shaped vine long-term. Gardening is full of these bargains.
How to prune step by step
Start at the top, then follow stems down. Untangle gently so you can see what is alive and what is just last year’s spaghetti.
Remove dead wood first. Dead stems are brittle and brown inside. Live stems show green when lightly scratched.
Cut just above a bud pair. Aim for about 1/4 inch above the buds, angled slightly so water does not sit on the cut.
Thin for airflow. If the center is crowded, remove a few stems at the base. Better airflow helps reduce mildew.
Tie in the survivors. Clematis climb by leaf petioles that grab thin supports. Gently secure stems to trellis wires or twine so they do not whip in wind.
When you finish, step back. If the plant looks a little sparse, that is often exactly what sets it up for a fuller season ahead.
Aftercare
Pruning is a stress, even when it is a helpful one. Aftercare makes the difference between “it lived” and “wow, look at that.”
Water
Keep soil evenly moist, especially in spring as new shoots elongate. Deep, infrequent watering is better than daily sprinkles.
Mulch and cool roots
Clematis love “head in the sun, feet in the shade.” Add 2 to 3 inches of mulch over the root zone, keeping it a couple inches away from the stems. You can also shade the base with a small perennial or a flat stone.
Feeding
In early spring, top-dress with compost. If your soil is lean, use a balanced organic fertilizer. Avoid heavy, high-nitrogen feeding that pushes lots of leafy growth with fewer blooms.
Support
Make sure your support is something the leaf stems can grab. Thin trellis slats, wire, twine, or a small grid works better than thick posts.
Common problems
- “I pruned my spring bloomer in winter and it did not flower.” You likely have a Group 1. Let it grow this season, then prune right after bloom next year.
- “My clematis is bare at the bottom.” Next pruning season, cut a bit lower (especially for Group 2 and Group 3) and consider layering: gently pin a flexible stem to the soil under mulch to encourage rooting and new basal growth.
- “It is a tangled mass and I am scared.” Start with dead wood removal and thinning at the base. You can renovate over time, or do a reset if you can tolerate one odd season.
- “I see powdery mildew.” Improve airflow with thinning, avoid overhead watering, and clean up fallen leaves. Healthy soil and steady moisture help plants resist disease.
- “A stem suddenly collapsed.” That can be clematis wilt. Cut the affected stem(s) back to healthy tissue (sometimes all the way to the base), bag and remove the debris, and disinfect pruners. Many plants resprout from below even when the top growth fails.
Quick calendar
- Group 1: prune after flowering in late spring.
- Group 2: prune late winter to early spring lightly, then tidy after first bloom.
- Group 3: prune late winter to early spring hard, down to 8 to 18 inches.
If you want to make this even easier, snap a photo of your clematis in bloom and write the month in your garden notes. Next year, your pruning decision will feel obvious.
Final encouragement
If you take only one thing from this page, let it be this: clematis are more forgiving than their reputation. Start by figuring out bloom timing, make clean cuts above healthy buds, and do not be afraid to remove what is dead or weak. Each season you prune, you will understand your vine a little better. That is gardening, really. A relationship, one spring haircut at a time.