When to Cut Back Hostas in Fall

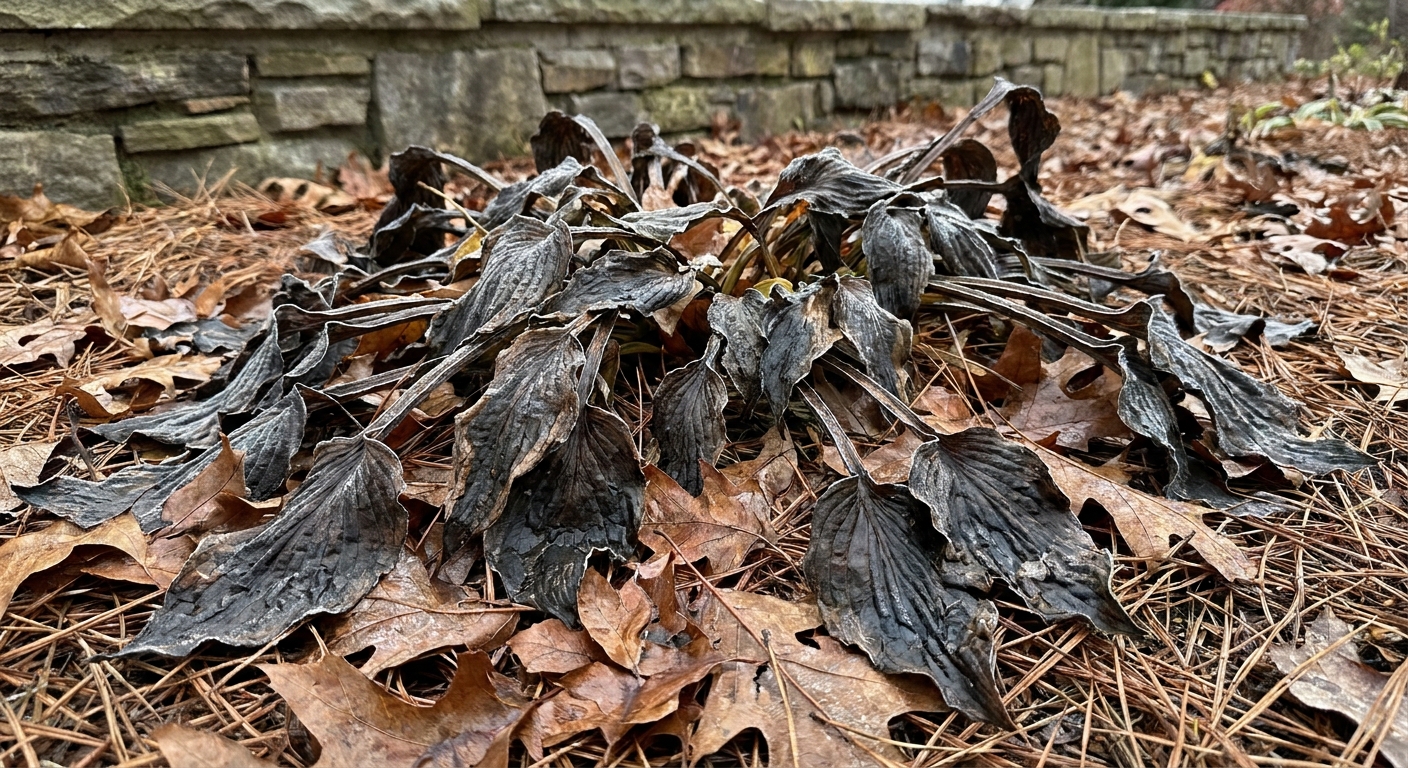
Every autumn I stand over my hosta clumps with pruners in hand, having the same tiny debate with myself: do I tidy everything up now, or let the leaves melt into winter like they want to?
Here is the honest answer: most hostas do best if you wait until a hard frost knocks the foliage down, then cut the leaves back and clean up. If you garden where a true hard frost is rare, you can still use the same idea: wait until the foliage has naturally yellowed and collapsed on its own. There are a couple of good reasons to leave them longer, and a couple of times I cut sooner. Let’s make the decision easy.

The best time to cut back hostas
Cut hostas back after the foliage has been hit by a hard frost and has collapsed. In most gardens, that means you wait until the leaves look flattened, translucent, or blackened and they no longer stand up on their own.
I like to give it a little breathing room. Not because the hosta needs it, but because it makes cleanup easier. Once the leaves have truly softened, they pull and snip away without you having to wrestle the plant.
What you are watching for
- After a hard frost: leaves flop and turn mushy, yellow-brown, or black.
- Before consistent snow cover: you can still see what you are doing, and you are less likely to accidentally step on the crown area while digging around later.
Avoid cutting back too early while leaves are still mostly green and firm. It will not kill the plant, but you are removing working foliage that is still doing its end-of-season job. Plus, early cutbacks can leave you staring at a bare patch for weeks.
One reassuring note: hostas are herbaceous perennials. Their foliage is meant to die back. Ugly fall leaves are normal, not a sign you failed.
Leave the leaves or cut them down?
If you only remember one rule, make it this: hosta foliage often makes poor winter mulch. Once frozen, it tends to collapse into a wet mat, especially in damp winters or tight beds. That can shelter pests and hold moisture right over the crown area.
Cut back in fall if
- You had slug damage and the leaves are tattered, holey, or full of chew marks.
- The clump is in a tight planting where wet debris sits against the crown area.
- You want a cleaner spring with fewer soggy leaves to peel away around emerging shoots.
Leaving leaves can be okay if
- You are short on time and prefer to do cleanup in late winter or early spring, before new shoots get tall.
- The bed is very exposed and you rely on snow cover and light debris to reduce soil temperature swings. Even then, I prefer using clean mulch rather than a pile of hosta leaves.
My personal approach is: I cut back after frost, then protect the crown with a light, breathable mulch if the site needs it. It gives me the best of both worlds without leaving a slimy leaf blanket all winter.
How to cut back hostas safely
Hostas store their growing points at the crown. That crown sits right at soil level, and it is tougher than it looks, but it is not the place you want to nick with dull blades.
Step-by-step
- Wait for the flop: Let frost or natural dieback do the hard work of collapsing the leaves.
- Gather the foliage: Hold the leaves in a loose handful like a ponytail.
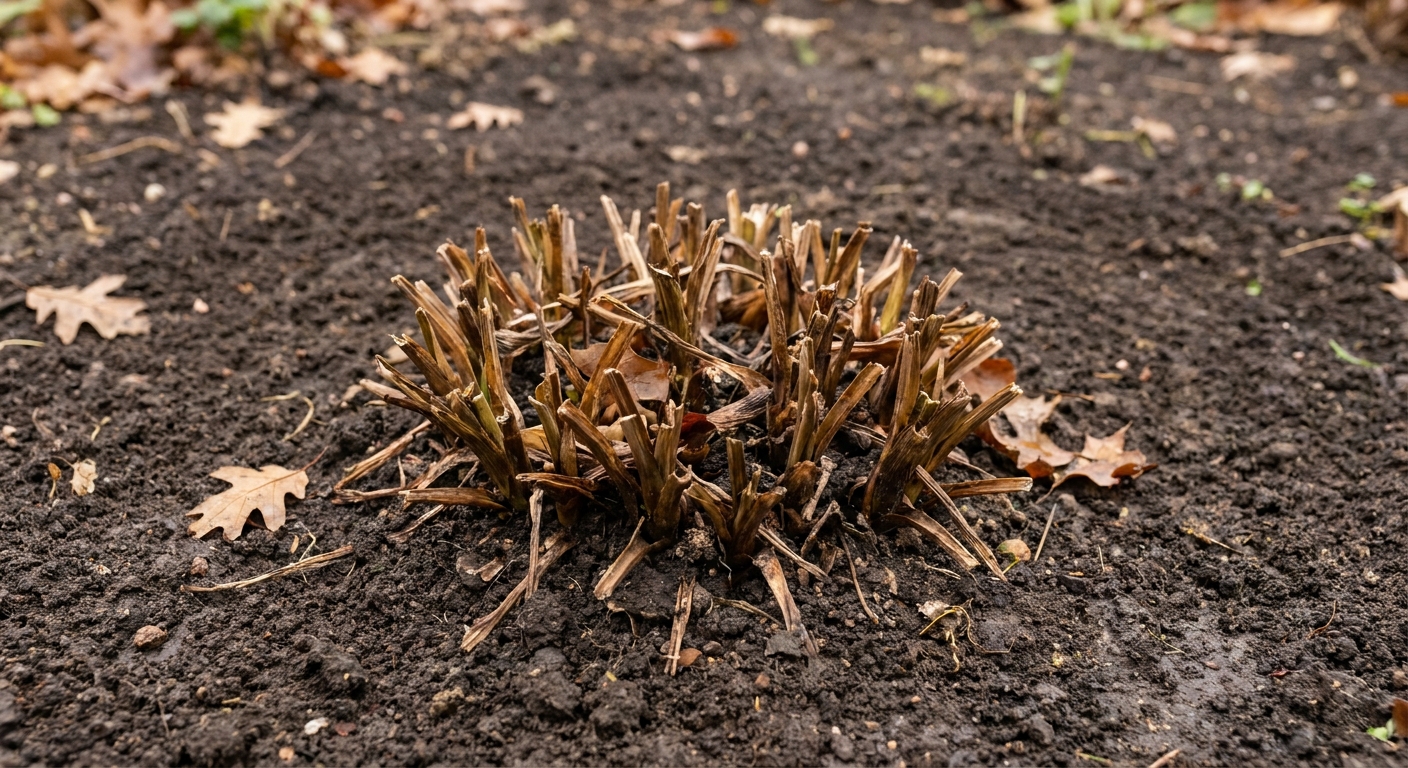
- Cut low, but not scraping: Snip leaves down to about 1 to 2 inches above soil level, or close to the soil without gouging the crown. You will see advice that ranges from “about an inch” to “very close to the ground.” The main goal is clean removal without damage.
- Lift debris away from the crown: Remove any slimy leaf bases sitting right over the center.
- Clean your tools: For healthy plants, a quick wipe is fine. If you suspect disease (soft, rotting crowns; persistent spotting; anything that looks off), disinfect blades between plants with alcohol or a bleach solution and do not compost the material.
If you are working in cold, damp conditions, you will notice the leaf bases can get slippery. That is normal. I keep a small bucket nearby so nothing drops back onto the plant.
Protecting the crown for winter
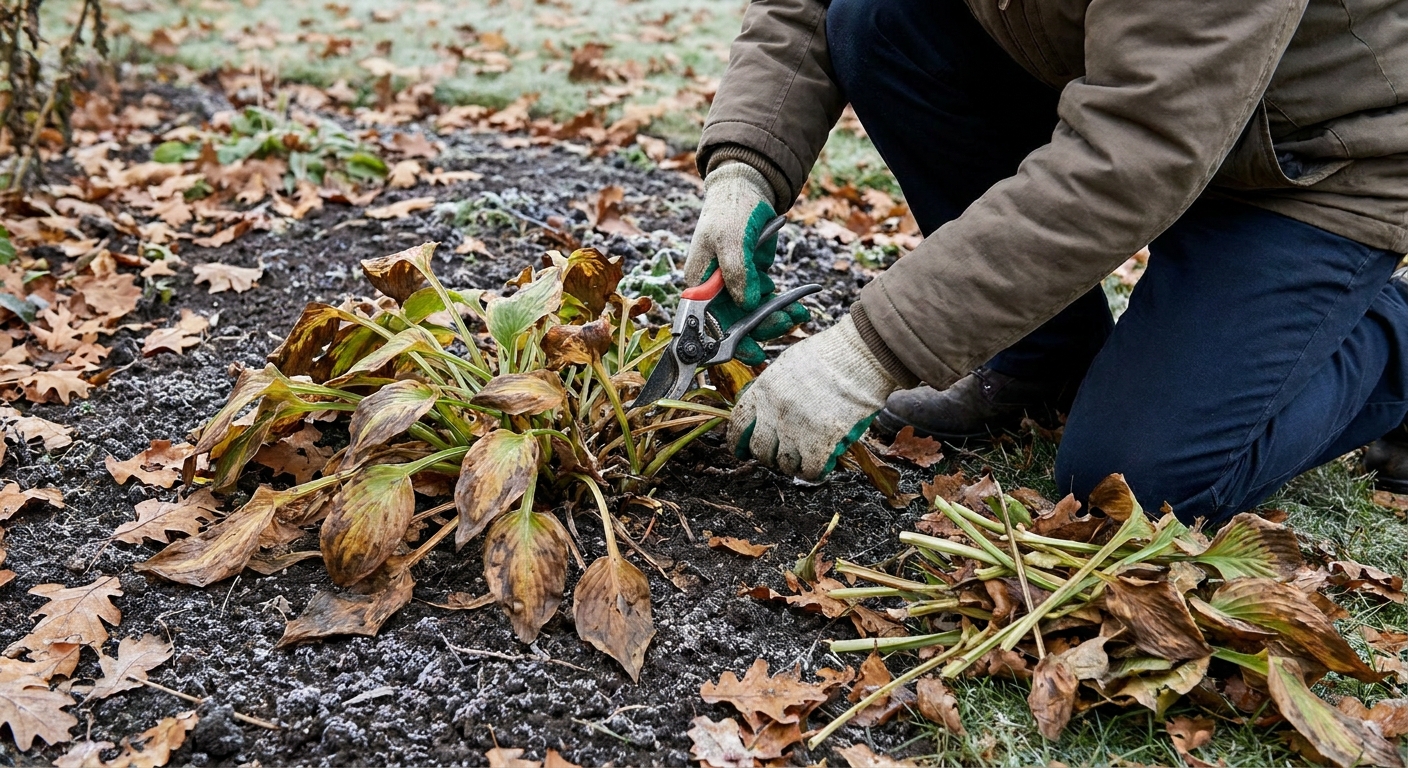
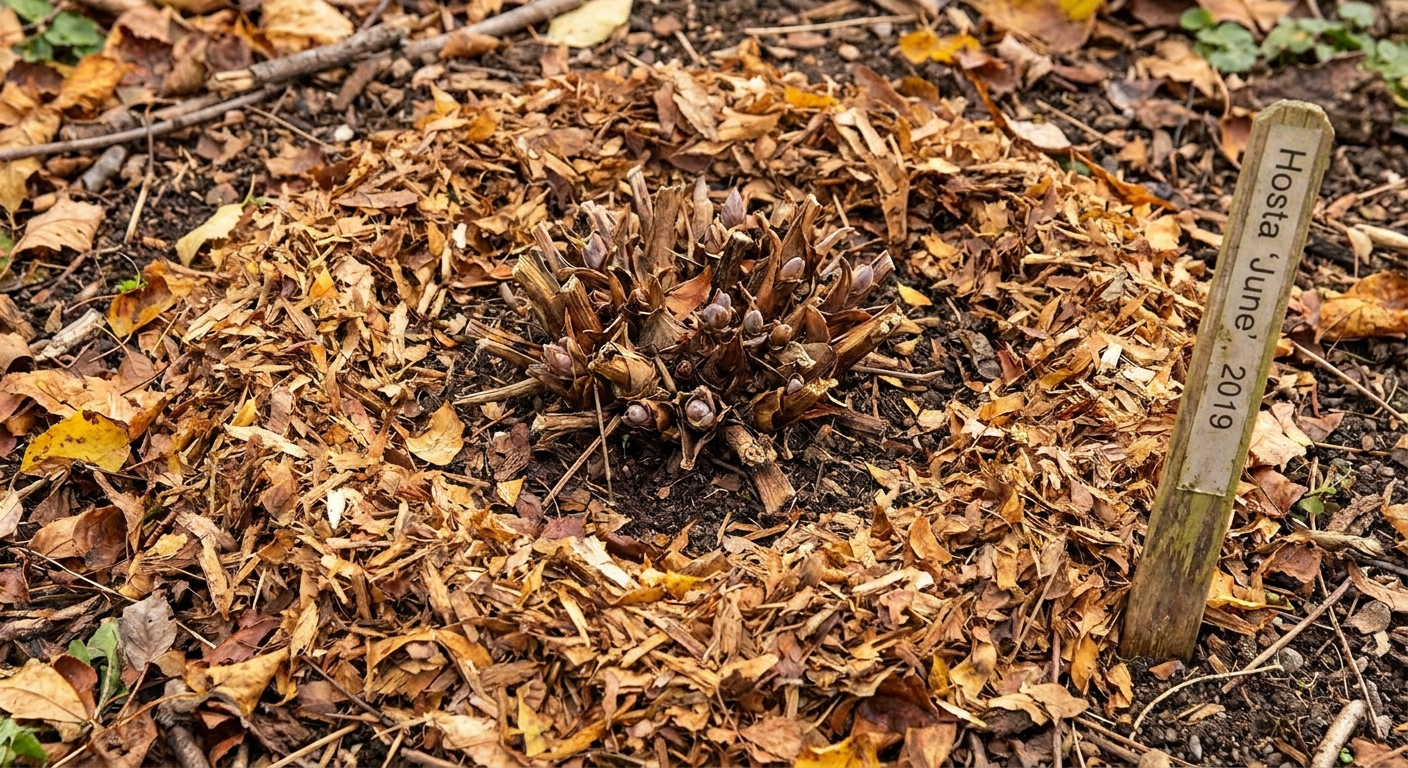
The crown is where next year’s growth starts. Your job in fall is not to smother it. Your job is to help it ride out freeze and thaw cycles without being pushed up and exposed.
Do this after you cut back
- Keep the crown area clear: No thick, wet piles of leaves pressed directly on the center.
- Add a light mulch layer if needed: About 1 to 2 inches of clean, fluffy mulch around the plant is plenty. Think “blanket,” not “burial.”
- Pull mulch back in early spring: As soon as you see points pushing up, move mulch aside so the shoots are not struggling through a crusty layer.
If your garden gets repeated freeze and thaw spells, a consistent cover helps. Snow is perfect insulation when you get it. If you do not, a modest mulch layer can reduce temperature swings around the crown.
What to do with slug-damaged leaves
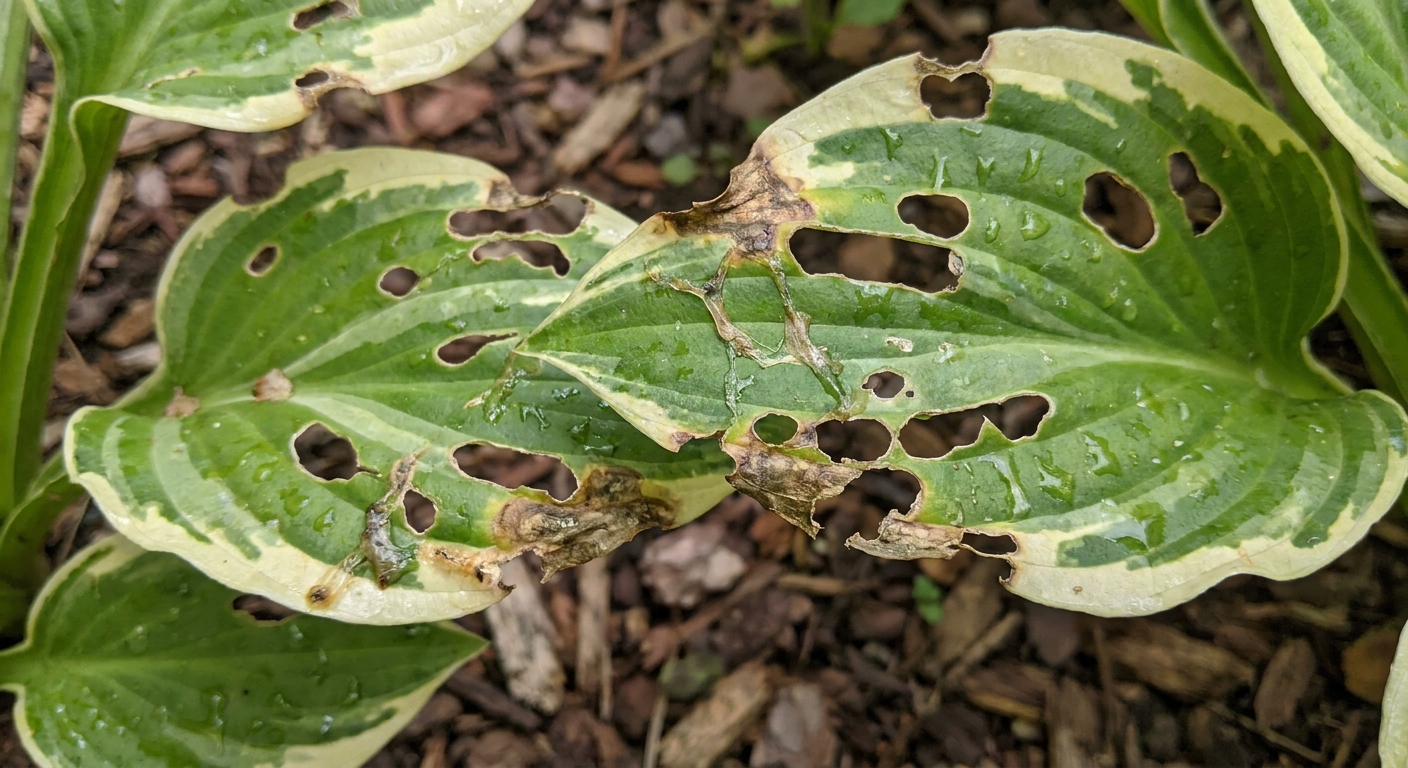
If your hostas looked like lace by August, do not feel bad. Slugs love hostas the way I love ripe tomatoes. The key is what happens next.
In fall, slug-damaged leaves are a good reason to cut back and remove debris. Chewed foliage breaks down fast, turns slimy, and creates cozy shelter for slugs and other pests. It can also leave more protected spots in the bed where slugs can hide and overwinter.
Best disposal choices
- Trash or municipal yard waste: My go-to for heavily slugged, slimy foliage.
- Hot compost only: If you truly run a hot pile, you can compost it. If your compost is more of a slow, cool heap, skip it.
- Do not use as mulch: Avoid chopping it up and spreading it back around hostas.
If you want to do one small, satisfying thing: after cleanup, gently rake the soil surface around the clump to disturb hiding spots. Then mulch lightly if you mulch at all.
Common timing mistakes
- Cutting back at the first hint of yellow: Wait for a real frost knockdown or full natural collapse for easier, cleaner removal.
- Leaving a wet pile on top of the plant: Debris should not sit thickly against the crown.
- Cutting so low you scrape the crown: Leaving a short stub helps you avoid accidental damage.
- Waiting too long in spring: If you leave foliage over winter, remove it very early, before the “noses” (shoot tips) elongate. Those new shoots snap easily.
Quick fall checklist
- Wait for a hard frost to collapse the foliage, or for natural yellowing and flop in mild climates.
- Cut leaves back to about 1 to 2 inches above soil level.
- Remove soggy debris from the crown area.
- Dispose of heavily slug-damaged leaves off-site if possible.
- Add a light mulch ring around the plant if your winters swing wildly.
FAQ
Can I cut hostas back before the first frost?
You can, but it is usually not ideal. If you must cut early for tidiness or access, leave a short stub and keep the crown area clean and uncovered by wet debris.
Should I cut hostas back after the first frost or wait for a hard freeze?
Wait until the foliage is clearly collapsed and mushy. A light frost may only nip the tips. A harder frost (or a longer cold spell) does the full knockdown and makes cleanup simpler.
What if I never get a hard frost?
In warm-winter climates, go by the plant, not the calendar. Cut back once the foliage has mostly yellowed and collapsed and is no longer holding itself upright.
Do I need to cover hosta crowns for winter?
Often, no. If your garden experiences lots of freeze and thaw cycles, a light mulch around the plant can help stabilize soil temperatures. Keep it off the center of the crown.
What if snow comes before I cut them back?
If the ground is accessible and you can see the clump, you can still cut back. If everything is buried, wait until late winter or early spring cleanup before the shoots get tall.