
Bearded Iris Soft Rot: Mushy Rhizomes and the Sour Smell

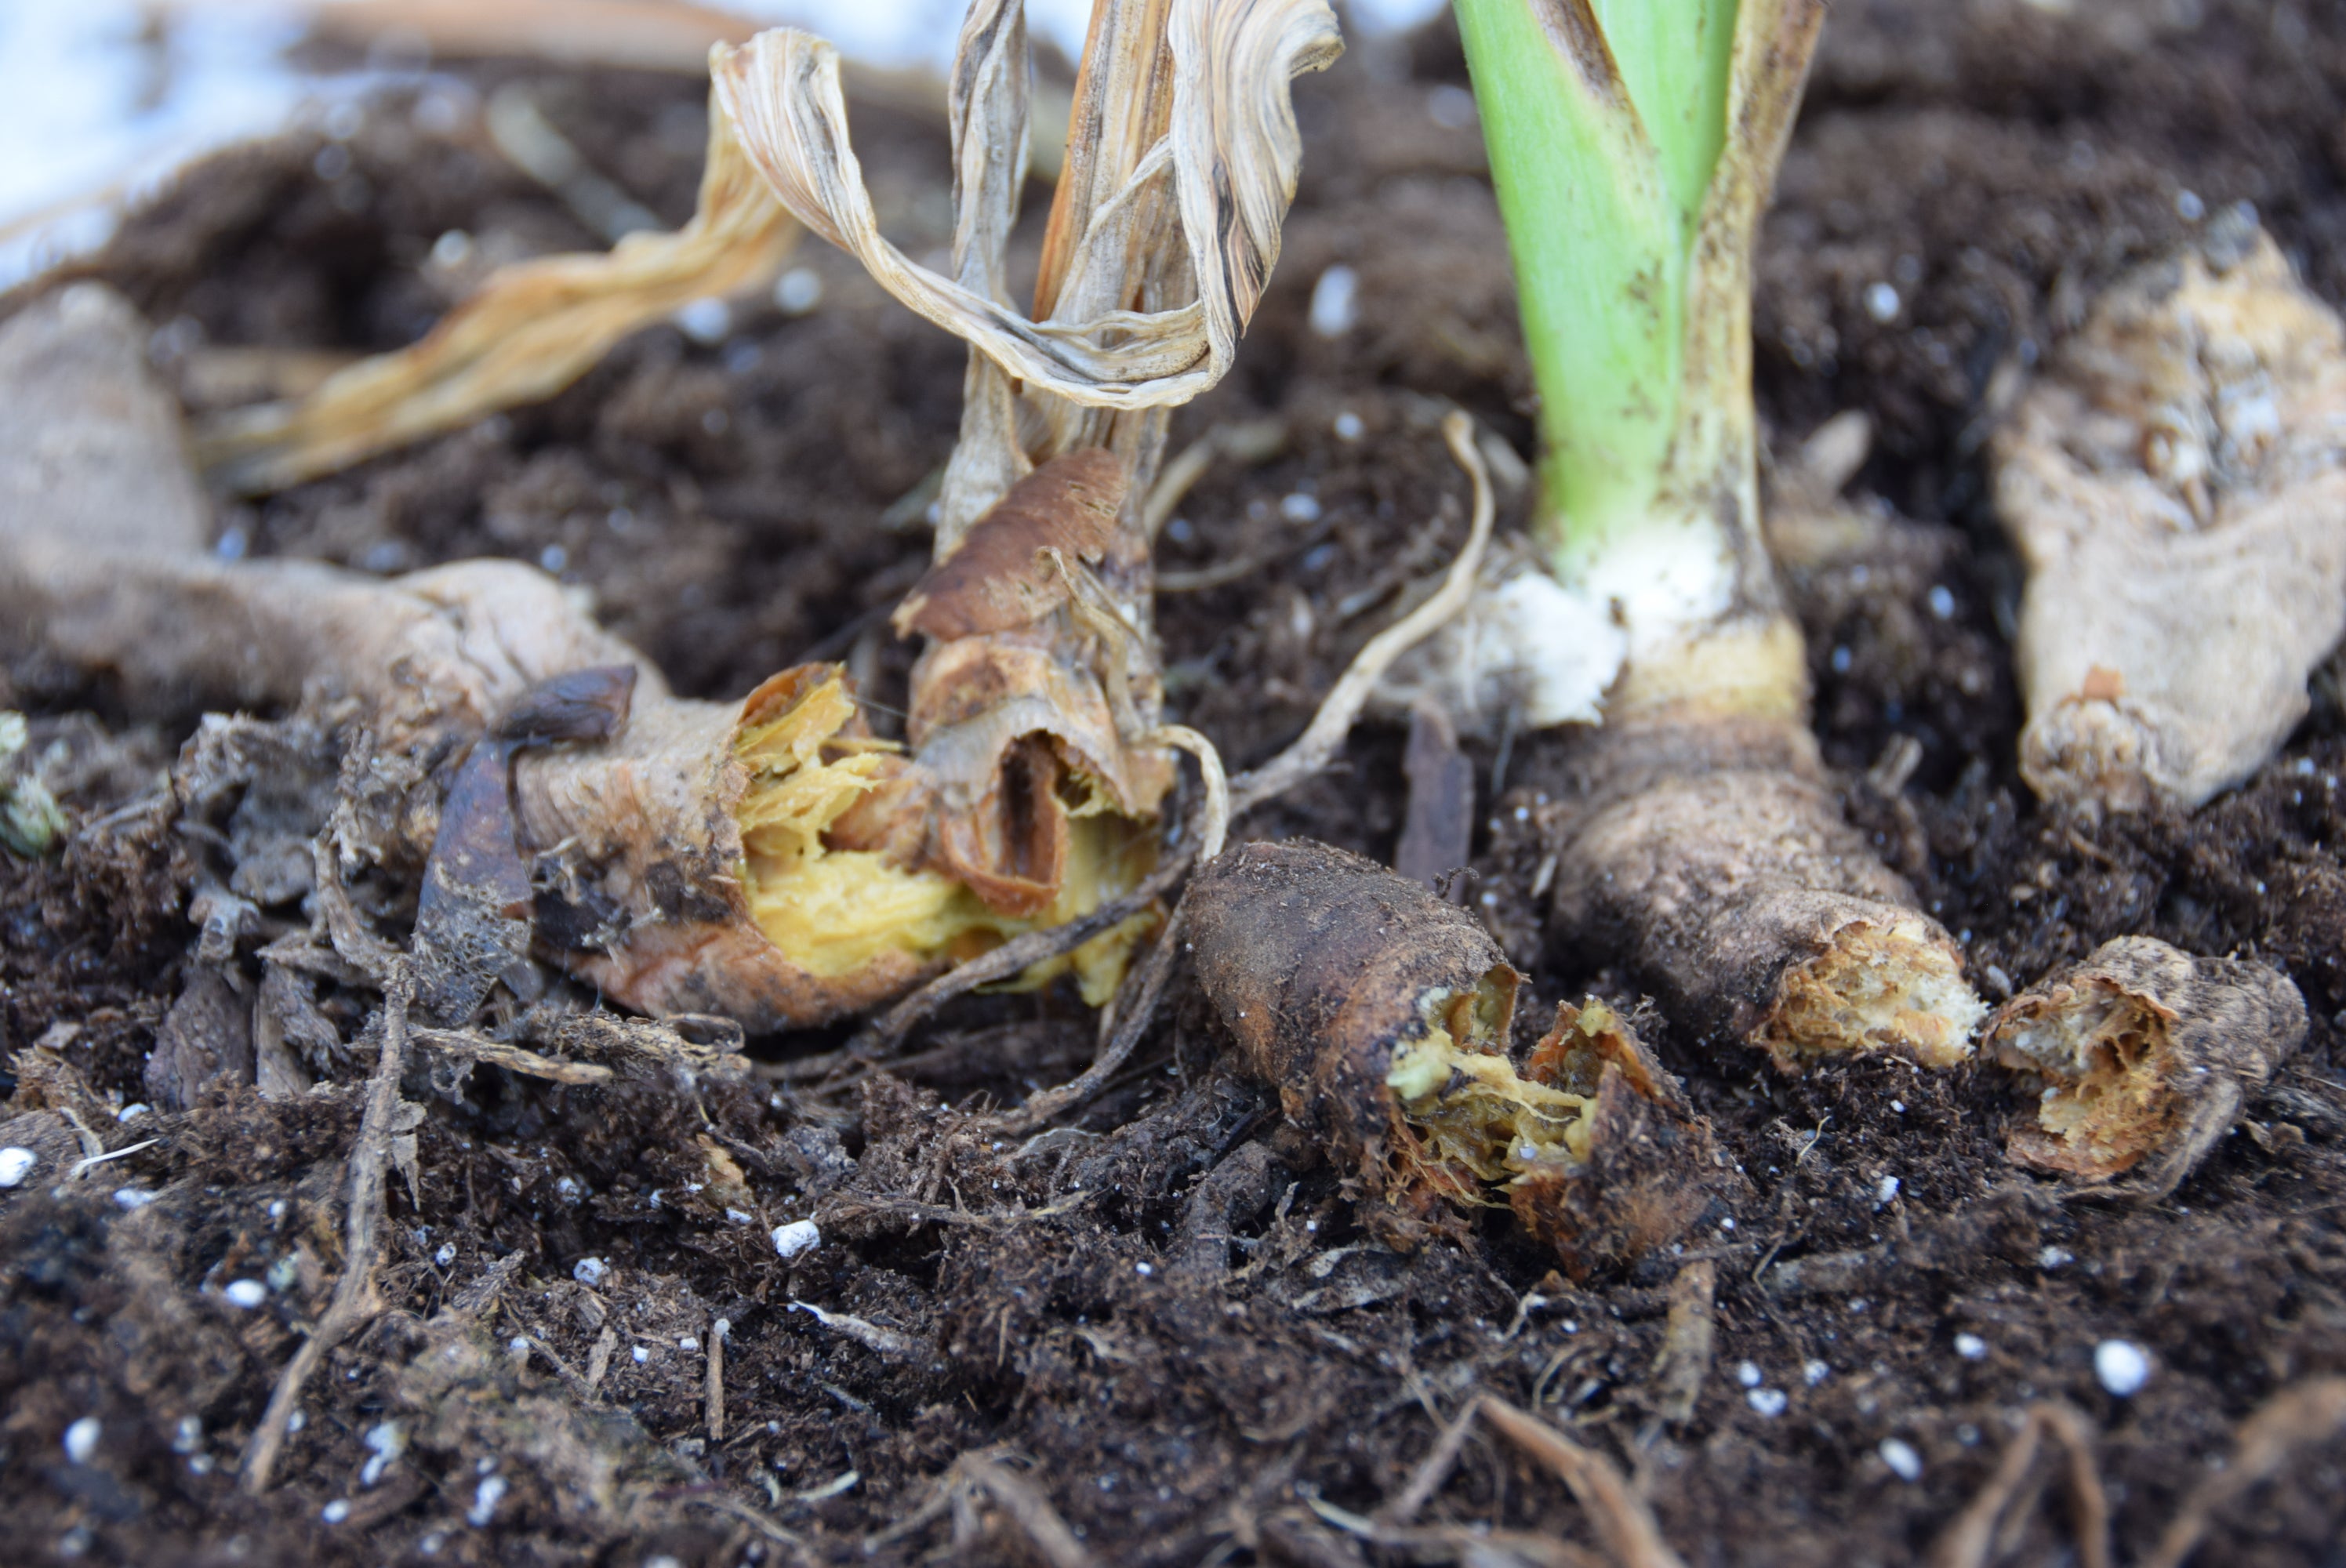
The first time I met bearded iris soft rot, I thought a raccoon had played a prank on me. The rhizome looked fine one day, and the next it was slumped, oozing, and smelling like something you definitely do not want on your gloves. That sour, rotten odor is the biggest clue that you are dealing with bacterial soft rot, not just “a little too much rain.”
The good news is that you can often save part of the plant, especially if you catch it early. The trick is making a calm, clean decision: what stays, what gets cut, and what should never go back into that bed until conditions improve.

What it looks and smells like
Bacterial soft rot on bearded irises is exactly what it sounds like. The rhizome, which should be firm like a fresh ginger root, turns watery and collapses. When you press it, it gives way. When you cut it, the inside can look creamy, tan, or brown and may smear on your knife.
Classic signs
- That sour, fermenting stink when you get near the crown or cut into the rhizome
- Mushy, wet tissue that you can scoop out with a finger
- Fans that tip, pull loose, or topple because the base has turned to pudding
- Leaves yellowing from the base and collapsing quickly rather than slowly aging
Soft rot bacteria love warmth and moisture, and they are most likely to take off when rhizomes stay wet, buried too deeply, shaded, crowded, or injured.
Soft rot vs borers vs wet soil
I like to think of iris problems as three different crime scenes. They can look similar at first glance, but the clues are different once you know what to check.
Soft rot (bacterial)
- Smell: strong sour, rotten odor
- Tissue: wet, slimy, collapses into mush
- Pattern: spreads from an injured spot or the crown and can take down multiple attached fans
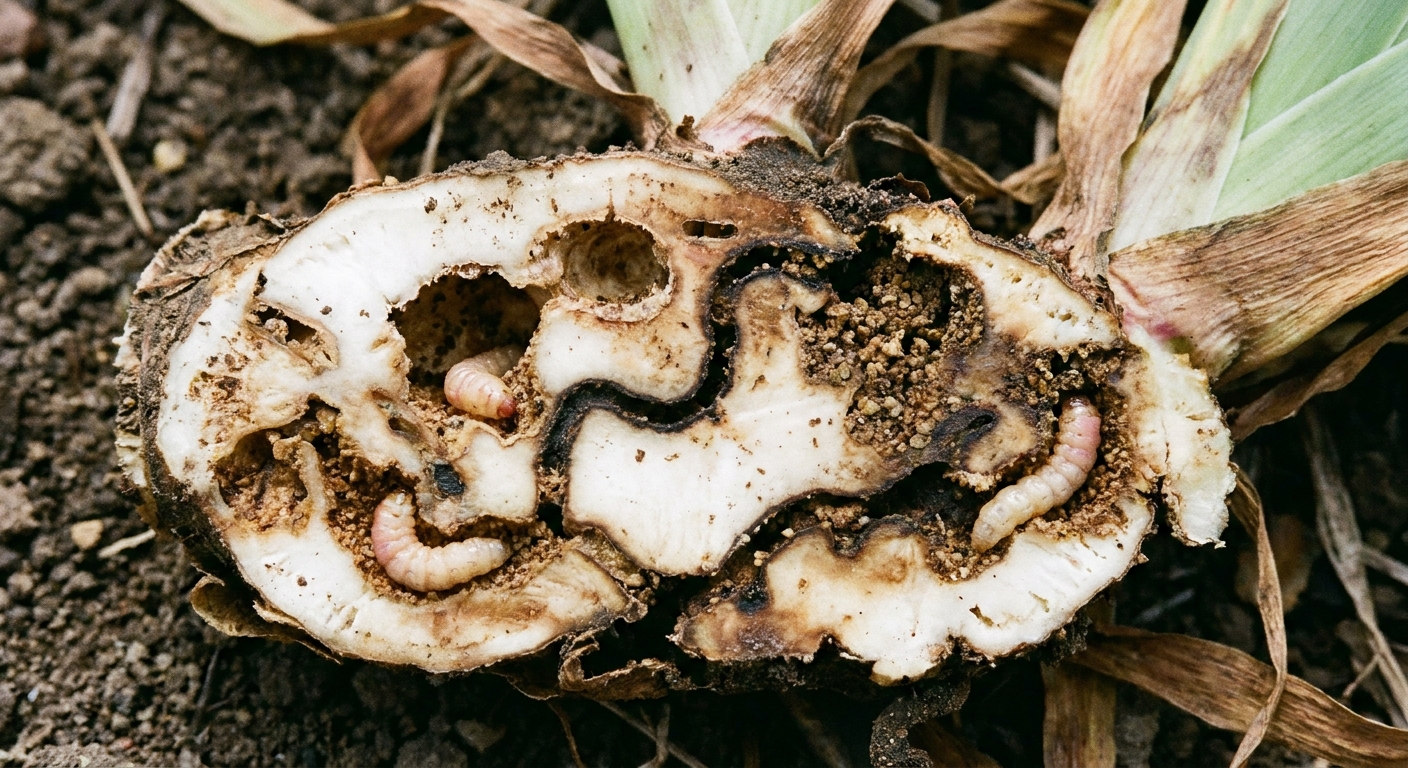
Iris borer damage
- Smell: may smell bad if secondary rot sets in, but borers start as a chewing problem
- Tissue: tunnels, hollowed sections, sawdust-like frass, and sometimes the borer itself
- Leaves: early sign is often water-soaked streaking or ragged chewing in leaves, then collapse later
Rhizome too wet (no rot yet)
- Smell: usually earthy or mildly unpleasant, not that sharp sour punch
- Tissue: can be soft on the underside, especially where it touches soggy soil or mulch, but not fully liquefied
- Fix: often improves with better drainage, shallower planting, and more sun and airflow
Important nuance: overly wet conditions are often what invite soft rot. A rhizome can start as “too wet,” then tip into true bacterial rot once tissue is stressed or nicked.
Quick triage
When you lift the clump, do a gentle tug test fan by fan.
- Likely savable: fans attached to rhizome sections that are firm, with no odor, and with clean white to pale green tissue when cut.
- Questionable: fans that look okay up top but are attached to a rhizome that has any squish near the crown. These can crash fast.
- Not worth saving: fans that pull away easily, smell sour at the base, or have brown, watery tissue at the attachment point.
If there is one thing I want you to take from this page, it is this: do not feel guilty tossing a rotted piece. Soft rot is not a character flaw. It is bacteria doing what bacteria do in a warm, wet buffet.
How to cut back to firm tissue
This is hands-on, a little gross, and completely doable.
1) Lift and expose the rhizome
Use a garden fork if you can, not a shovel. You want to pry up and lift with minimal slicing. Shake off soil so you can see what you are dealing with.
2) Remove rotten sections
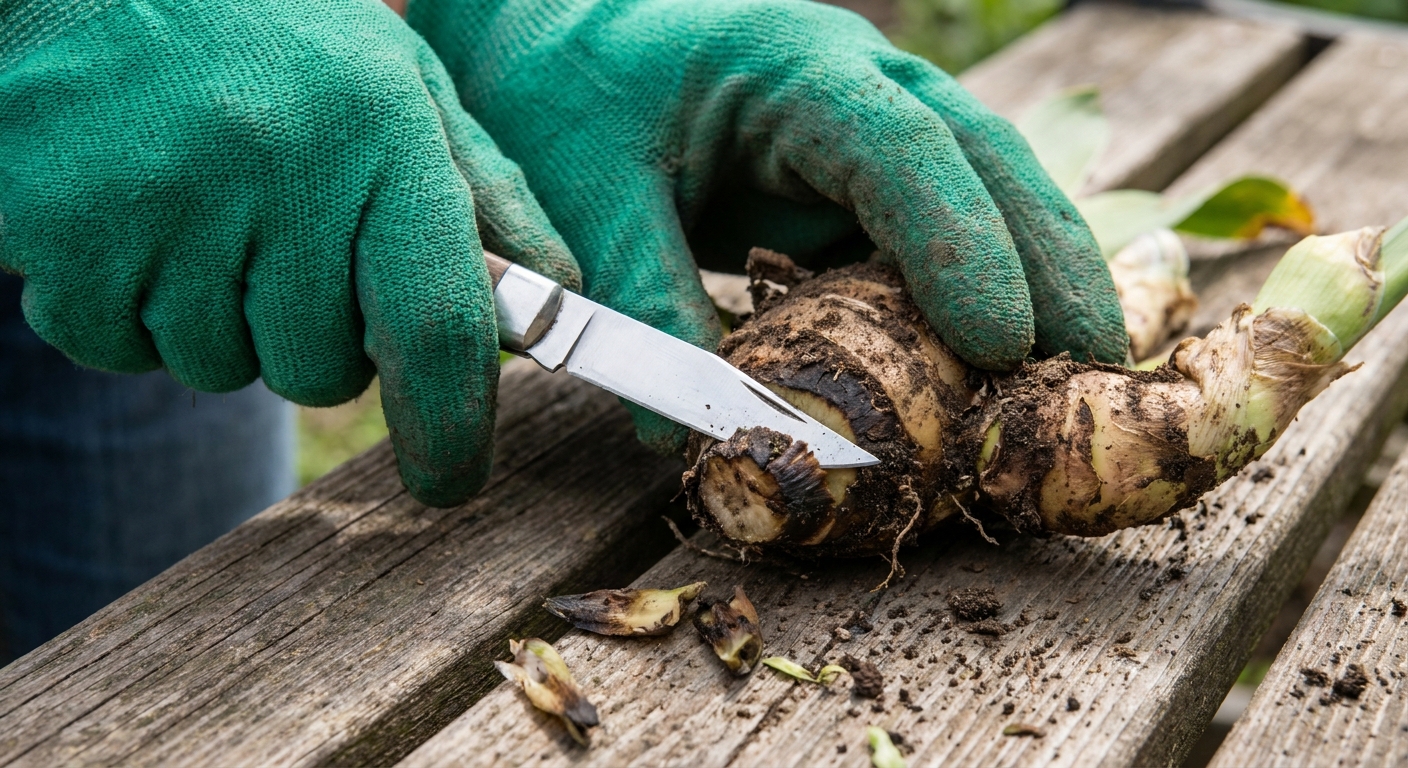
Cut away any mushy, stinky, collapsing parts. Keep cutting until you reach tissue that is firm. On a healthy cut surface, you should see solid, crisp-looking tissue, not wet or glassy.
3) Be generous with the cut
Do not just shave the surface. If the rot is inside, you need to carve it out completely. I treat it like carving a bad spot out of an apple, except I do not try to save the apple if it is mostly gone.
4) Separate healthy fans
If a fan is connected to a rotted bridge of rhizome, detach it and evaluate the base. If you cannot get to firm, clean tissue, compost is not the right place. Trash is safer for heavily rotted material.
5) Sanitize your blade
This matters. Soft rot organisms can move on tools. Disinfect between plants and between major cuts.
- Simple option: spray or wipe the blade with 70% isopropyl alcohol and let it air-dry.
- If you use bleach: it works, but it is corrosive. Use it carefully, keep it labeled for tools, and rinse and dry your blade afterward.
Whatever you use, keep it away from kids and pets.
Should you dry it out?
After you have cut back to firm tissue, letting rhizomes dry for a short period can help the cut surfaces callus. I like a shady, airy spot for a few hours, or up to a day if conditions are humid.
Gardeners have different traditions here. Some dust cut surfaces with drying agents. The key is not the powder, it is dryness plus airflow and getting the plant out of the conditions that caused the problem in the first place. If the bed stays soggy or the rhizome is buried, the rot usually returns.
What not to replant
This is where a lot of well-meaning gardeners accidentally re-infect the bed or set themselves up for repeat rot.
- Do not replant any rhizome section that still smells sour, even faintly.
- Do not replant pieces with soft spots, “a little squish,” or translucent tissue. Soft rot is fast and unforgiving.
- Do not replant rhizomes that were badly tunneled by borers unless the remaining tissue is truly solid and the fan is vigorous. Even then, I only keep the best pieces.
- Do not replant into the same wet pocket of soil without fixing drainage, reducing irrigation, and removing heavy mulch from direct contact with the rhizome.
- Do not tuck rhizomes deep to “protect them”. Bearded iris rhizomes want their tops exposed to sun and air. Planting too deep is an open invitation to rot.
- Do not force lush regrowth with high nitrogen. Soft, fast growth can be more vulnerable, and heavy feeding is not the solution to a drainage and airflow problem.
If you are unsure about a piece, err on the side of discarding it. One iffy rhizome can become a problem that spreads through a whole bed.
Replanting after soft rot
Once you have only firm, healthy pieces left, your main goal is to make the rhizome a place bacteria do not enjoy living.
Sun and airflow
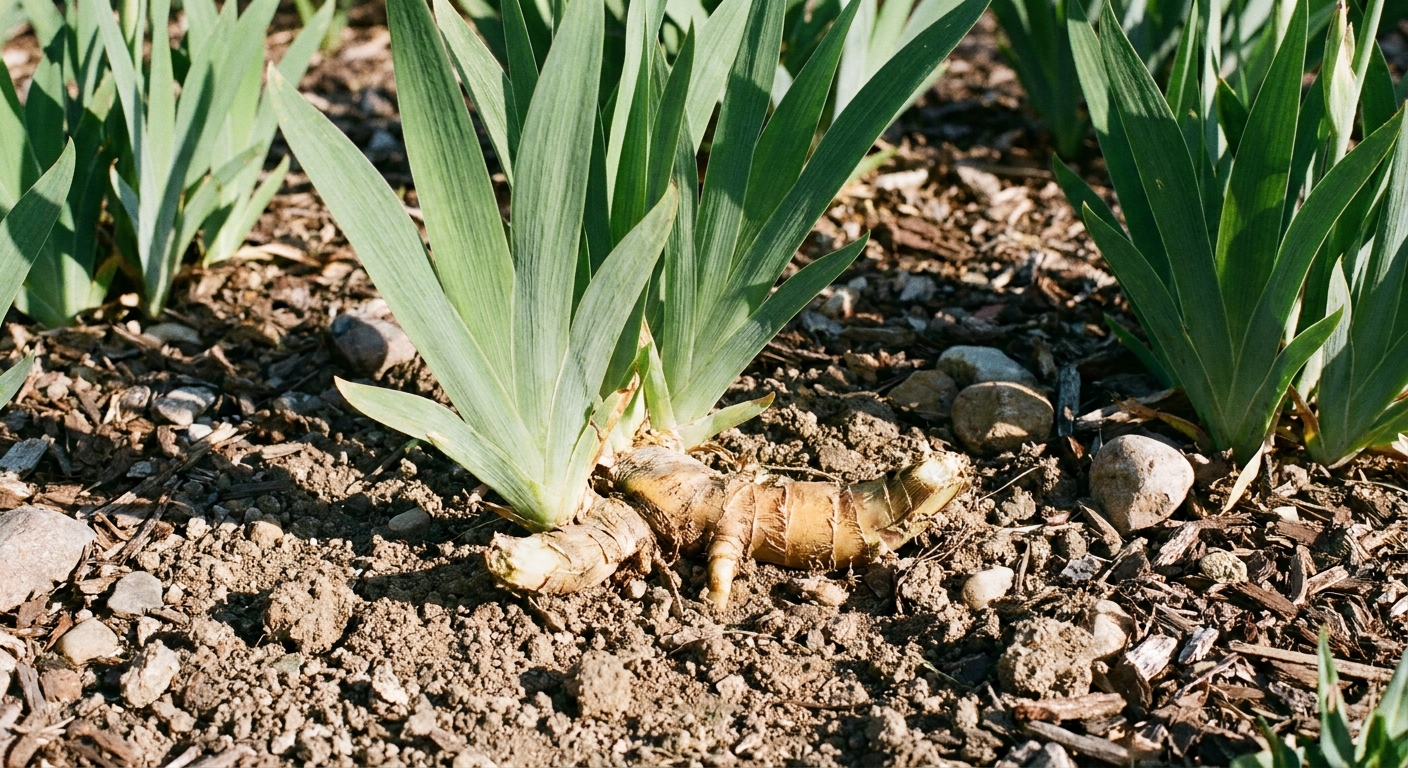
Full sun is ideal for bearded irises, and good airflow helps surfaces dry quickly after rain or watering. If nearby perennials have crowded the clump, it might be time to give your irises elbow room.
Drainage first
If water puddles where your irises live, consider raising the bed, amending with coarse material, or relocating the healthiest rhizomes to a drier spot. Irises can handle drought far better than soggy feet.
Plant shallow
Set the rhizome so the top is at or just above soil level, with roots tucked in and soil firmed around them. Keep mulch away from direct contact with the rhizome.
Preventing a repeat
- Water at the soil line instead of constantly splashing the crown
- Avoid overmulching around rhizomes
- Divide crowded clumps so air and light reach the rhizomes
- Clean up dead leaves and remove rotting debris that holds moisture
- Be gentle with tools to avoid cuts and nicks that invite bacteria
If you have had iris borers in the past, stay on top of sanitation. Borers and soft rot are frequent partners because borer damage opens the door for bacteria. I keep it basic: in fall or very early spring, I cut down and remove old iris foliage and get it out of the garden, since borer eggs can overwinter on debris.
For crowding, a practical rhythm is dividing and replanting after bloom when the plant is done performing, often in mid to late summer. It is the easiest way to reset spacing, sun, and airflow before the next season.
FAQ
Can an iris recover without digging it up?
If it is true soft rot with mush and odor, waiting rarely works. The bacteria are already breaking down tissue, and the rot spreads. Digging, cutting back to firm tissue, and improving conditions is the most reliable route.
Should I compost rotted iris rhizomes?
I do not compost slimy, foul-smelling rhizomes from soft rot. Home compost piles often do not get hot enough, consistently enough, to be worth the risk. I bag and trash the worst pieces.
Will surviving fans bloom next season?
Sometimes yes, sometimes not. A fan that keeps a firm, healthy rhizome section and gets replanted correctly can bloom on schedule. But if you had to cut a lot away, the plant may spend a season rebuilding before it puts energy into flowers.
Is soft rot contagious to other plants?
The bacteria involved are common in soil and plant debris. The bigger issue is spreading it plant-to-plant on tools, or creating wet, crowded conditions that let it explode. Keep tools clean and keep rhizomes dry and sunny.