Amaryllis Care for Beginners
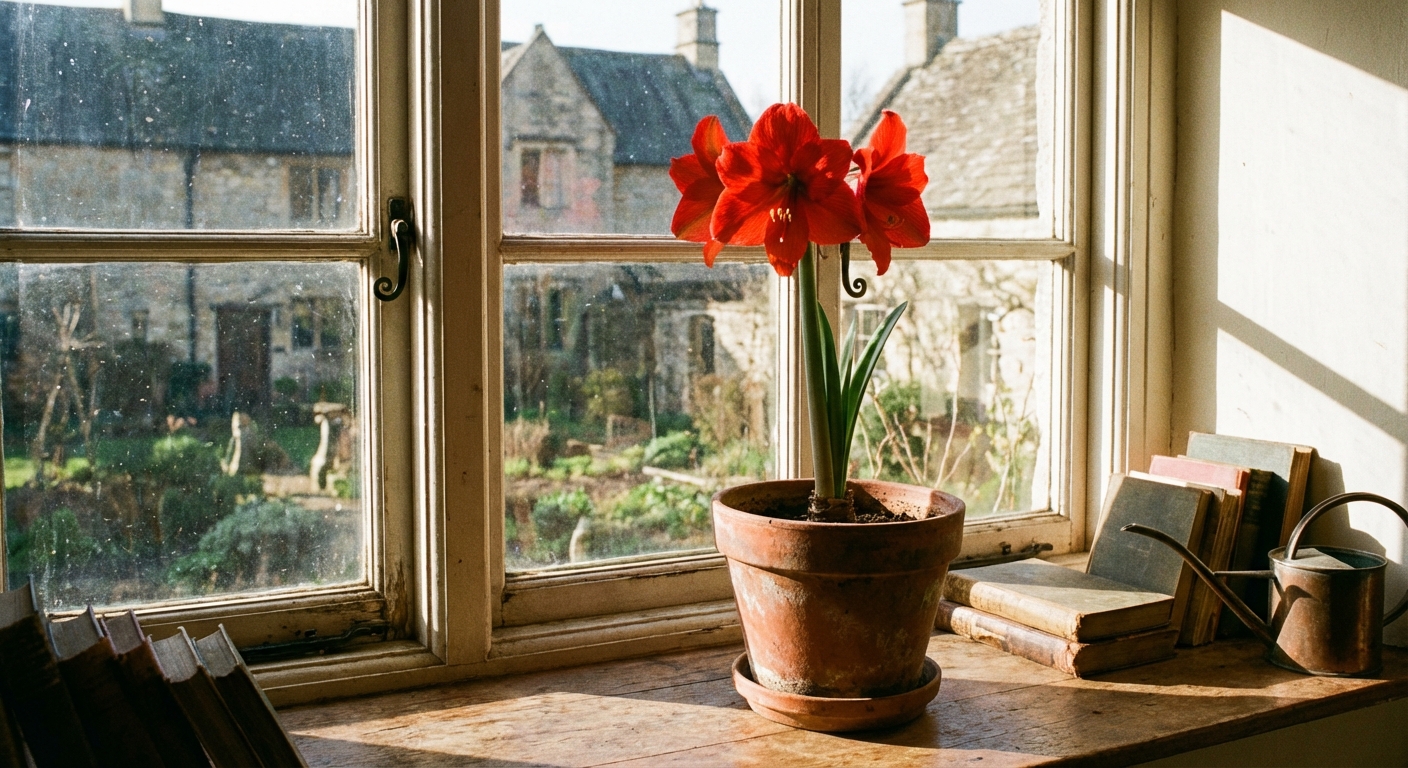
If you have ever looked at an amaryllis bloom and thought, there is no way I can pull that off, let me gently take your hand and guide you to the easy win. Amaryllis is one of the most beginner-friendly flowering bulbs you can grow indoors because it stores so much energy in that big, onion-like bulb. Your job is mostly to give it a stable home, bright light, and a watering routine that is more “sip” than “soak.”
This guide walks you through the whole beginner cycle: choosing a healthy bulb, potting, light and watering during growth, feeding, and the key concept that makes amaryllis make sense: bloom timing is tied to dormancy.
Quick safety note: Hippeastrum (commonly sold as amaryllis) is toxic if ingested. Keep bulbs and chewed leaves away from pets and small kids.

Choosing a healthy amaryllis bulb
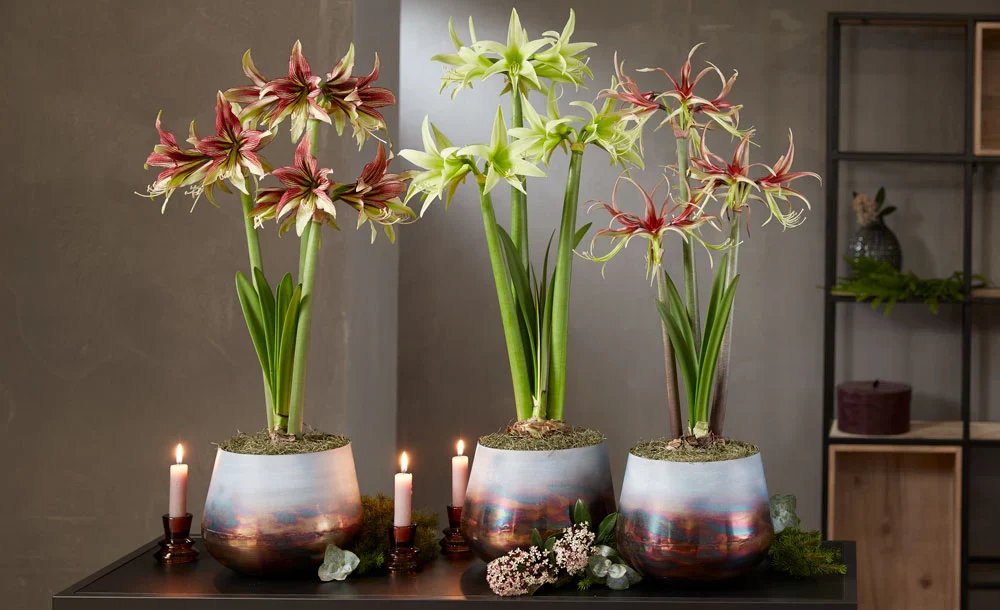
Most amaryllis sold for indoor growing are Hippeastrum hybrids (commonly called amaryllis). Bigger bulbs generally mean more stored energy and a better chance of multiple flower stalks.
What to look for at the store
- Firm and heavy: Pick up the bulb. It should feel solid and weighty for its size.
- Dry outer “tunic”: Papery layers are normal. Avoid bulbs that feel damp or slimy.
- No soft spots: Press gently near the base. Soft, mushy areas can signal rot.
- Healthy basal plate and roots: The basal plate is the flat bottom where roots emerge. It should be intact. A few dried roots are fine.
- Minimal mold: A tiny bit of surface fuzz can happen in packaging, but heavy mold or a sour smell is a no.
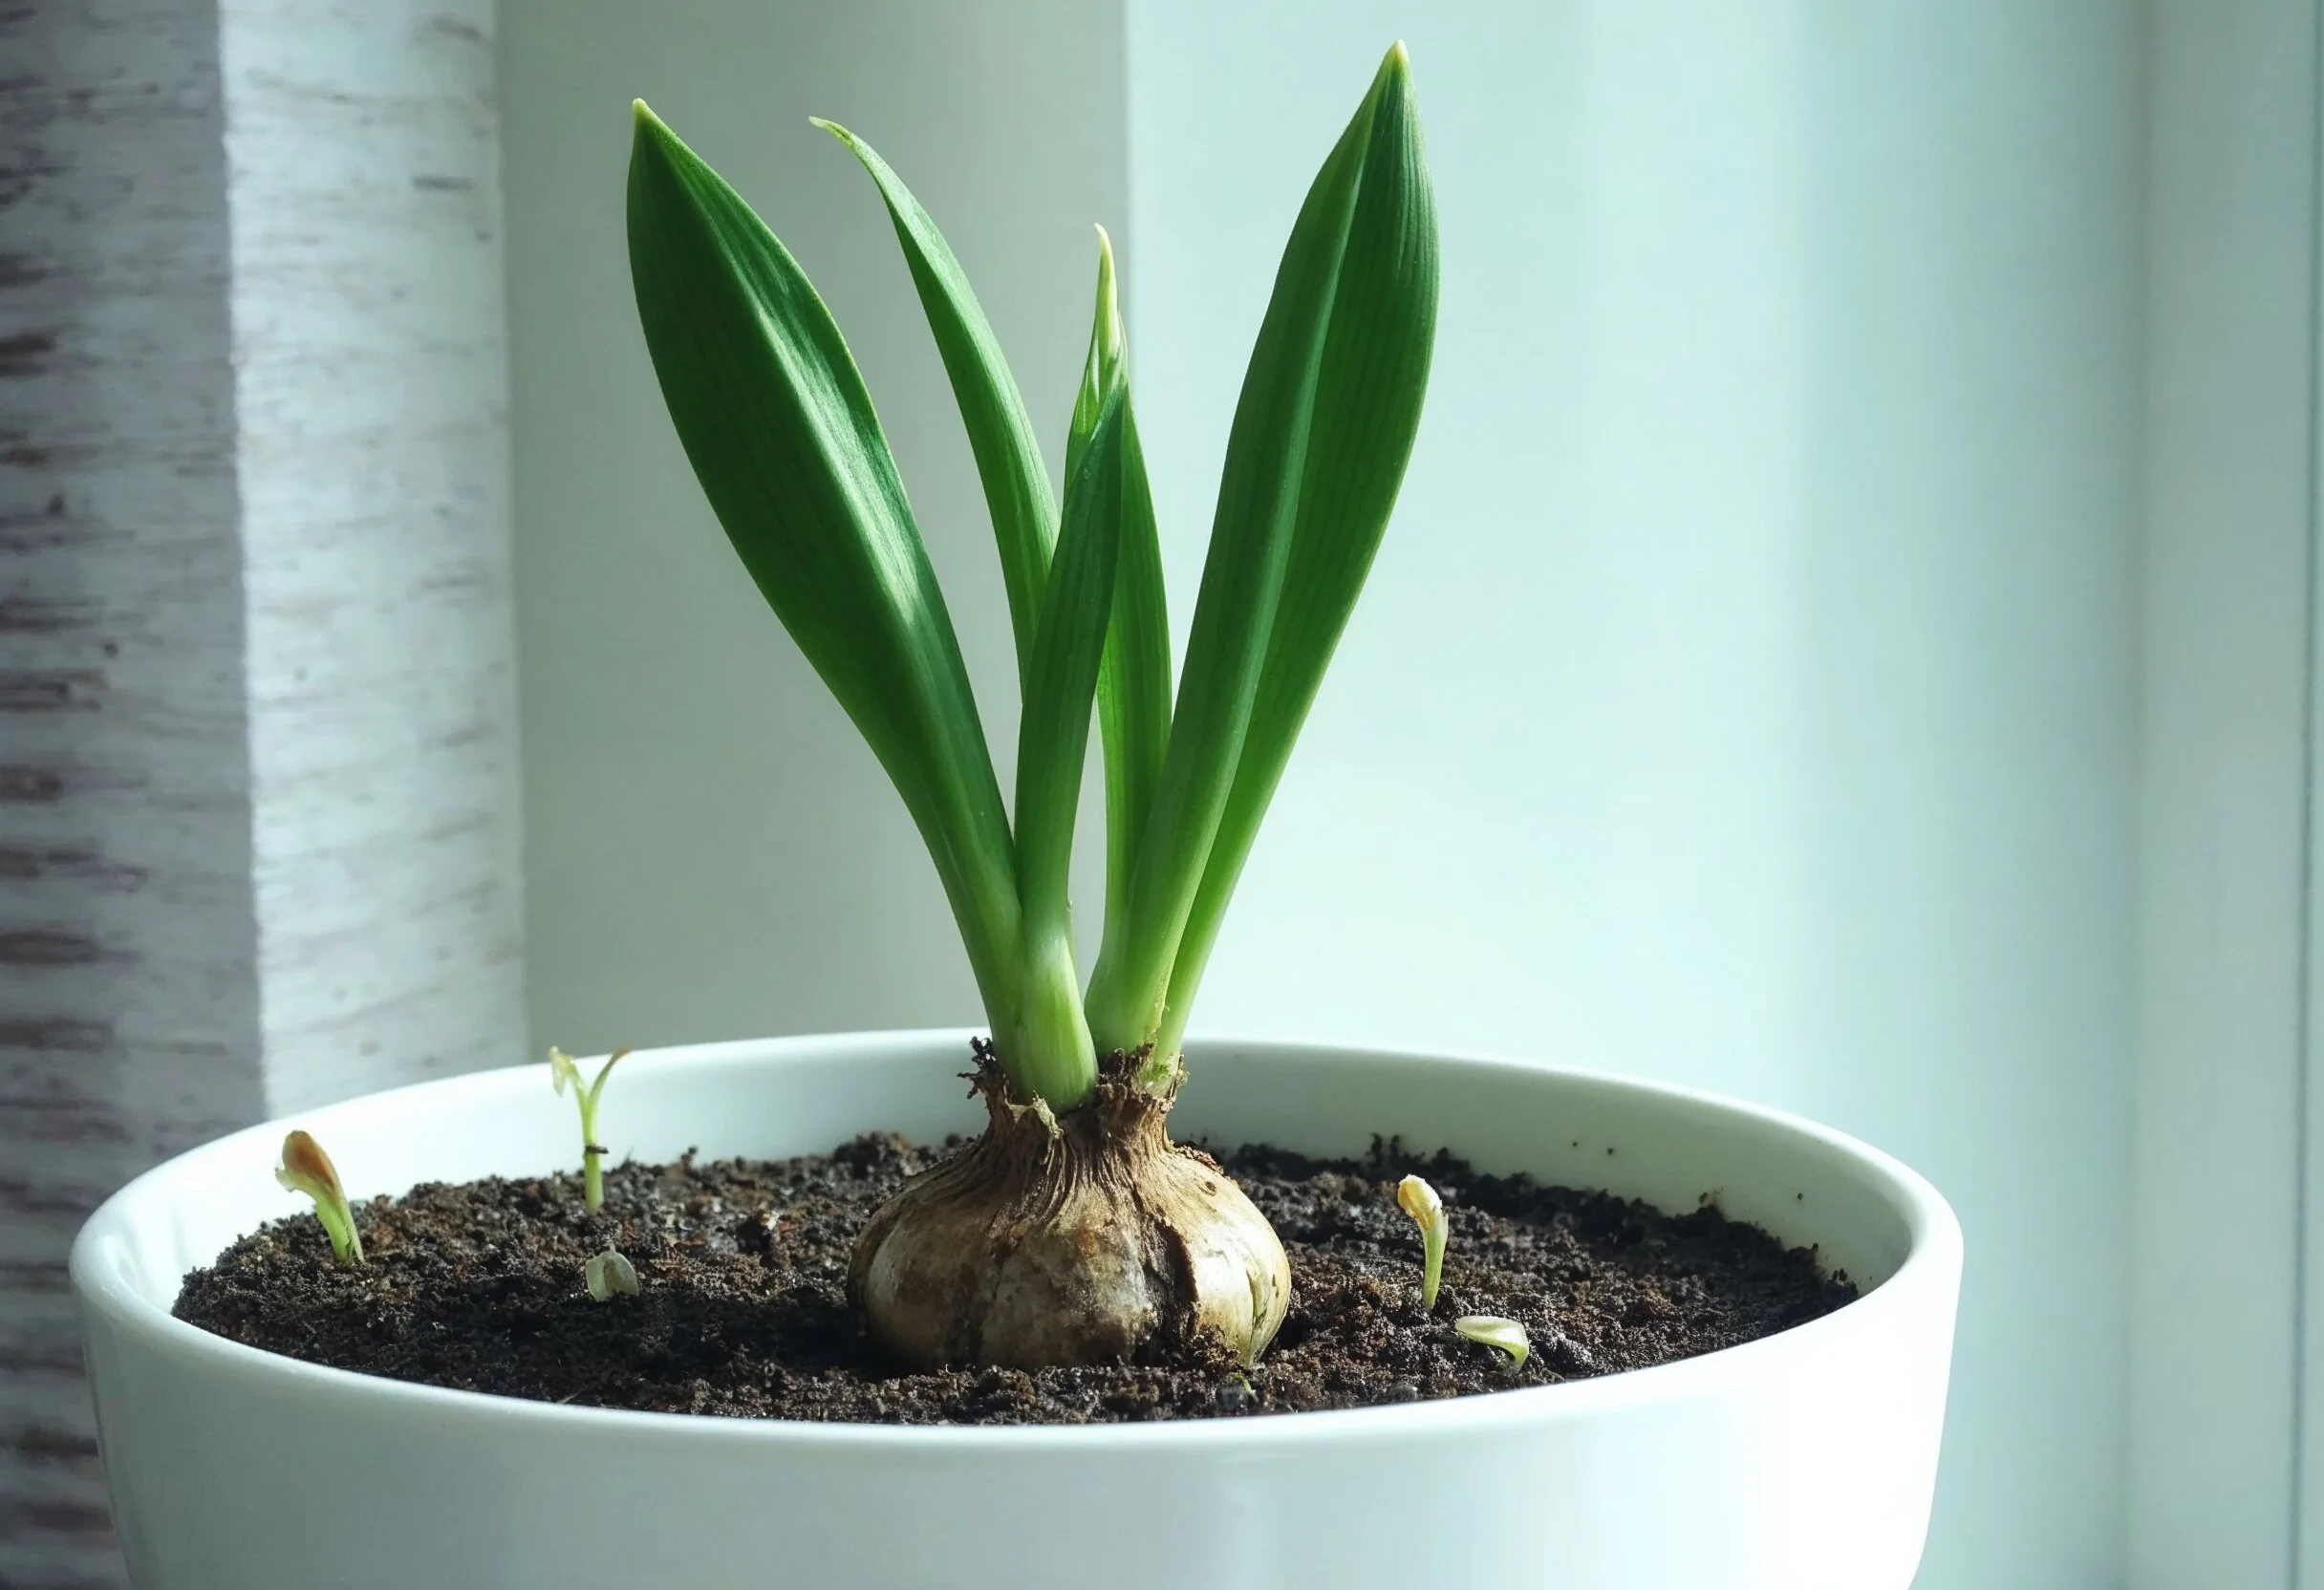
Should it already be sprouting?
Either is fine. A bulb with a visible green tip or flower bud is simply further along. If you want blooms for a specific date, sprouting bulbs are easier to time.
Pot size and potting mix
Amaryllis likes to be a little snug. Oversized pots hold too much wet soil, and wet soil is the fastest route to bulb rot.
Choose the right container
- Drainage holes are non-negotiable. If it cannot drain, it will rot.
- Pot width: Choose a pot that is only 1 to 2 inches wider than the bulb (total), which is about 1/2 to 1 inch of clearance on each side.
- Helpful example: A 5 to 6 inch bulb usually does best in a 6 to 8 inch pot, depending on shape and root room.
- Pot weight matters: Amaryllis can get top-heavy in bloom. A ceramic pot or a heavier cachepot helps prevent tipping.
Use a fast-draining mix
You want a mix that holds some moisture but never stays soggy. These options work well:
- Quality indoor potting mix plus extra perlite or pumice for drainage.
- Cactus and succulent mix (often a good off-the-shelf choice) plus a little compost for nutrition.
Avoid heavy garden soil indoors. It compacts, drains poorly, and invites fungus gnats and rot.
How to pot an amaryllis bulb
- Pre-moisten the mix: Slightly damp, like a wrung-out sponge. Not wet.
- Add soil to the pot: Fill so the bulb will sit with its shoulders above the surface.
- Set the bulb: Center it, basal plate down.
- Backfill: Cover the lower two-thirds of the bulb, leaving the top third exposed. This helps prevent rot and keeps the neck dry.
- Firm gently: Press the soil lightly to remove big air pockets.
- Water lightly: Give a small drink to settle the soil (or water just enough to see a little moisture reach the lower mix), then let it drain completely.
If your bulb came with long, dried roots, you can trim only the completely dead, brittle pieces. Do not aggressively prune healthy roots.
Rot-avoidance tip: Until you see growth, treat watering like a cautious first date. Small sips only.
Light and temperature
Amaryllis will bloom in less-than-perfect conditions, but the difference between “floppy” and “wow” usually comes down to light.
Best light
- Very bright light is ideal. Bright, indirect light works, but several hours of direct sun (especially morning sun) often produces sturdier stems.
- A bright south or west window can be perfect. If you are moving it into stronger sun, acclimate over a few days so leaves do not scorch.
- Place near a bright window, then rotate the pot every few days so the stalk grows straighter instead of leaning.
Temperature tips
- 60 to 75°F (roughly 16 to 24°C) is a comfortable range for growth and bloom.
- Cooler temps can help blooms last longer, while very warm rooms can shorten flowering time.
- Keep it away from heating vents and cold drafts. Sudden swings make stems stretch and leaves sulk.
Watering during growth
If I could stand in every beginner’s kitchen and gently move their watering can two inches away, I would. Amaryllis bulbs rot when they sit in wet soil, especially before the root system is established.
Watering rules that work
- Right after potting: Water lightly to settle soil, then wait.
- Before active growth: Keep the mix mostly dry. Check with a finger: if the top 2 inches are dry, give a small drink. If you are unsure, wait one more day.
- Once leaves are growing: Water more regularly, but still let the top layer dry between waterings.
- Never let it sit in a saucer of water: Empty drainage trays after 10 to 15 minutes.
How much is “enough”?
During active growth, water until you see a small amount drain out the bottom, then stop. Consistency matters more than volume. Amaryllis forgives a little dryness far more easily than soggy roots.
Feeding for bigger blooms
The first bloom cycle relies heavily on energy stored in the bulb. Feeding becomes most important once leaves are up and photosynthesizing, because your goal is to recharge the bulb for future flowering.
When to start fertilizing
Begin when you have 2 to 3 inches of green growth (leaf or stalk). If you fertilize before roots wake up, the nutrients simply wash out or can stress the bulb.
What fertilizer to use
- A balanced houseplant fertilizer (for example, something in the neighborhood of 10-10-10 or similar) works well.
- Use it at half strength every 2 to 4 weeks during active leaf growth.
My sustainable-gardener preference: gentle, consistent feeding beats heavy doses. You want steady leaf production, not a burst of soft, floppy growth.
Bloom timing and dormancy
Here is the secret that makes amaryllis feel less mysterious: amaryllis blooms are scheduled by rest.
Typical timing
- After potting, many bulbs bloom in about 6 to 10 weeks, depending on variety, bulb size, and temperature.
- Warmer rooms often speed things up. Cooler rooms slow it down but can improve stem strength and bloom longevity.
What dormancy does
In nature, these bulbs go through a dry, cooler rest. That pause helps trigger the next bloom cycle. Indoors, dormancy is how you can nudge a bulb to bloom again, often timed for winter holidays or late winter brightness.
If you remember one thing: leaves are not just decoration. They are solar panels that refill the bulb. A strong leaf-growing season sets you up for better blooms next time.
Simple re-bloom checklist
- After flowering: Keep the leaves growing in bright light. Water and feed for at least 8 to 12 weeks (often longer) to rebuild the bulb.
- Start dormancy: In early fall (or when you want to time it), stop fertilizer and gradually reduce watering until the leaves yellow.
- Rest period: Store the pot or bulb in a cool, dark place for 8 to 10 weeks. Keep it mostly dry.
- Restart: Bring it back to bright light, refresh the top layer of mix if needed, and begin watering lightly once growth starts.
- Expect blooms: Usually 6 to 10 weeks after restarting, depending on conditions.
Quick troubleshooting
Leaves but no flowers
- Bulb may be too small or depleted from a previous bloom cycle.
- Not enough bright light during growth.
- No dormancy period for re-blooming varieties that require it.
Tall, floppy stalk
- Increase light intensity, add a few hours of direct sun if possible, and rotate the pot regularly.
- Keep temperatures moderate, not overly warm.
- If needed, use a simple stake and soft tie. It is not cheating, it is plant insurance.
- Make sure the pot is heavy enough to stabilize the plant.
Soft bulb or foul smell
- This is often rot from overwatering or poor drainage and it needs a stronger response than “water less.”
- Unpot and inspect: Remove soggy soil and check the basal plate.
- Trim rot: With a clean blade, cut away mushy tissue until you reach firm, healthy flesh.
- Let it dry: Allow cuts to air-dry for several hours (or overnight) so they callus.
- Repot: Use fresh, dry, fast-draining mix in a snug pot. Water sparingly until new growth resumes.
- If the rot is extensive or the basal plate is collapsing, the bulb may not be salvageable.
After it blooms
Once your amaryllis flowers fade, the next steps determine whether it can bloom again next season.
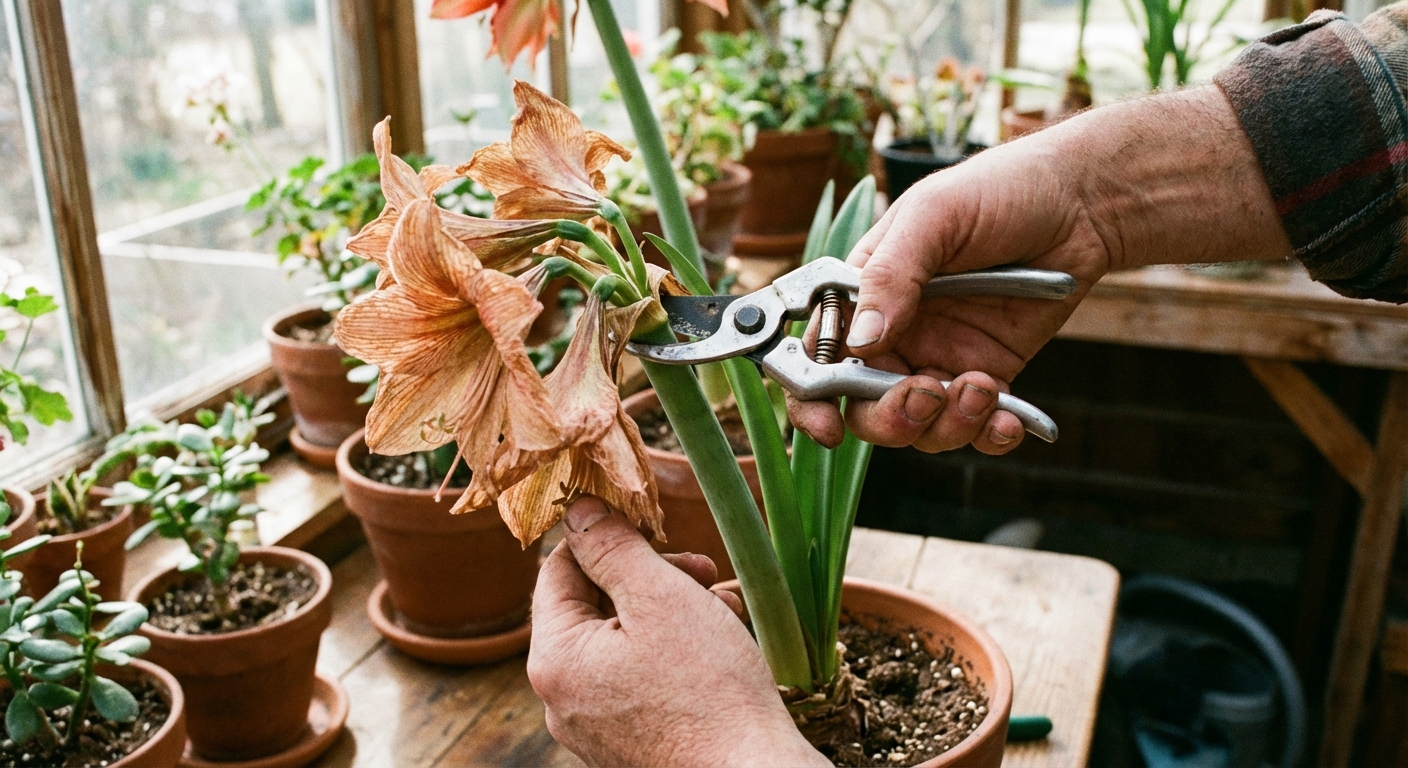
- Deadhead: Snip off each spent flower as it fades so the plant does not waste energy making seeds.
- Stalk decision: If the flower stalk stays green and firm, you can leave it until it yellows. If it starts to soften, cut it back to about 1 to 2 inches above the bulb.
- Keep the leaves: Continue bright light, watering, and gentle feeding to recharge the bulb.
For a complete walkthrough, including exactly how to handle the flower stalk, how long to keep feeding, and when to begin the rest period, head to our dedicated guide: Amaryllis After Blooming.
A simple routine
- Pot snugly in a draining container, with the top third of the bulb above soil.
- Give bright light, rotate the pot, avoid heat blasts and cold drafts. A little direct sun often helps.
- Water lightly until growth starts, then water when the top layer dries.
- Feed gently once you have green growth, then keep leaves happy for months.
- Plan dormancy later if your goal is re-blooming on purpose.
If you make a mistake, you are in good company. I have personally loved a bulb a little too much with the watering can. Plants are forgiving teachers, and amaryllis is one of the kindest.