Amaryllis After Blooming
When your amaryllis finishes its big holiday show, it can feel like the party is over. But this is actually the start of the part I love most: quietly rebuilding the bulb so it can bloom again next year. These holiday “amaryllis” are usually Hippeastrum bulbs (true Amaryllis are a different genus), and they are generous plants. If you give them light, food, and a real reset, they will repay you with those trumpet blooms again and again.

What to cut after blooming
Cut the stalk, not the leaves
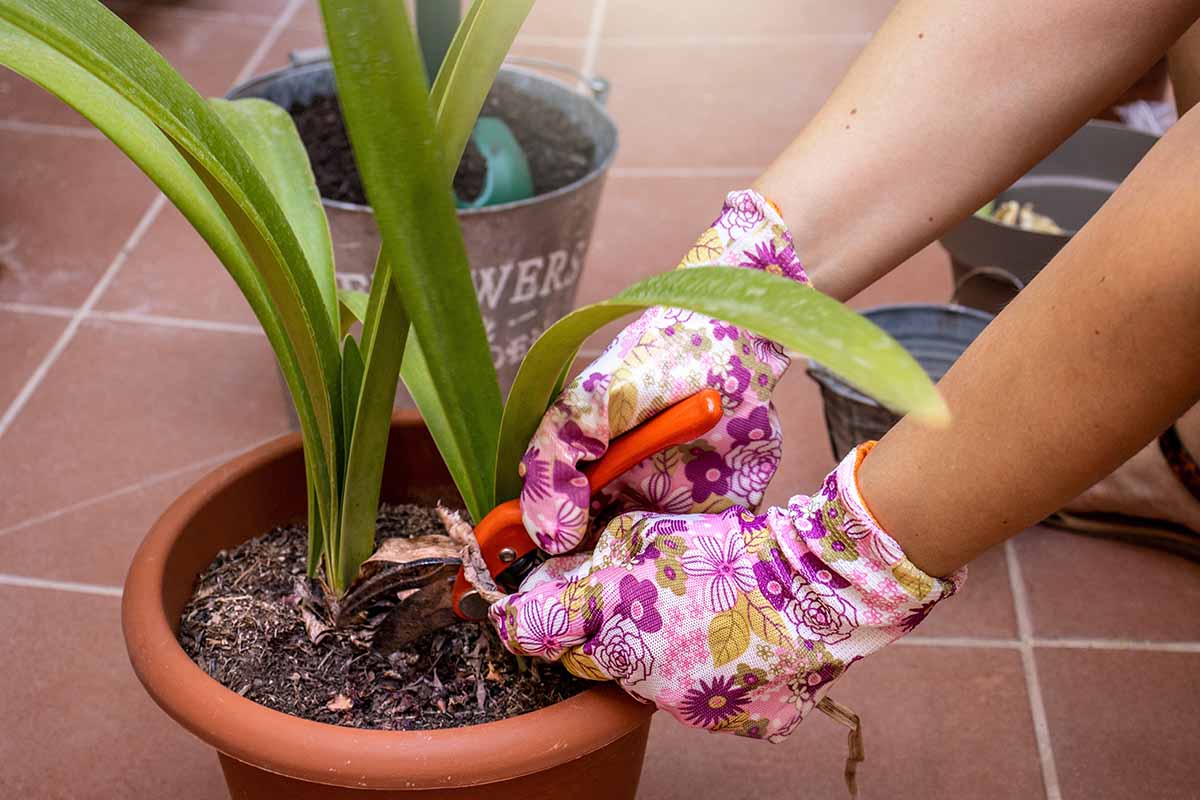
Once the last flower fades, your goal is to stop the plant from spending energy on seeds and redirect that energy back into the bulb.
- Flower stalk: Cut it back when blooms are finished. Use clean pruners and cut the stalk as close to the bulb or soil line as practical without nicking the bulb or leaves (typically about 1 to 2 inches above the bulb, depending on how your bulb sits in the pot).
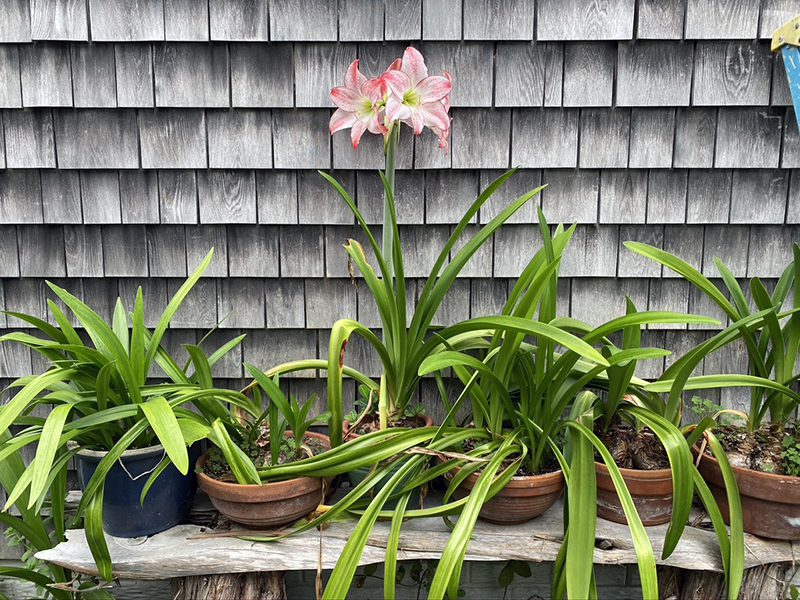
- Leaves: Leave them alone. Those strappy leaves are solar panels, and they are how the bulb “recharges” for next year.
Should you deadhead the flowers?
Yes. If you still have a few flowers fading while others look fine, you can snip off the spent blossoms so the pot stays tidy. But once the whole stalk is done, go ahead and cut the entire stalk.
What if the stalk is hollow and oozes?
Hippeastrum flower stalks are often hollow. A little sap is normal. Avoid getting sap on fabrics since it can be sticky, and wash your hands after handling. Keep cut pieces away from pets and children, since the sap and bulb can be irritating if chewed.
Leaf care in spring and summer
Think of spring and summer as the “bulb-building season.” This is where next year’s bloom is made, leaf by leaf.
Light: brighter than you think
- Indoors: Place in your brightest window. South or west exposure is ideal.
- Outdoors (after frost): These bulbs love a summer vacation. Move it outside once nights reliably stay above about 50°F.
If you move the plant outdoors, do it gradually over 7 to 10 days so leaves do not sunburn. Start in bright shade, then dappled light, then morning sun.
Water: steady, not soggy
- Water when the top 1 inch of potting mix feels dry.
- Water deeply, then let excess drain away.
- Never let the pot sit in a saucer of water for more than 10 to 15 minutes.
- Make sure the pot has a drainage hole. If your pot sits inside a decorative cachepot, always empty any collected water.
Fertilizer: feed the bulb, not just the leaves
During active growth, fertilize to help the bulb store energy.
- Frequency: Every 2 to 4 weeks in spring and summer.
- Type: A balanced houseplant fertilizer (for example 10-10-10 or similar) works well. If you prefer organic, a gentle liquid fish and seaweed blend is my go-to.
- How: Always apply to already moist soil to avoid root burn.
Do you need to repot right after blooming?
Usually, no. Hippeastrum bloom best slightly snug. If your bulb is healthy and the pot is stable, you can keep it in the same container through summer and repot later (often right before the next forcing cycle).
When to stop watering
To rebloom reliably, Hippeastrum often do best with a rest period. Some will flower again without a hard dormancy if they keep growing strongly, but a planned rest tends to make timing and flowering more dependable.
Timing: count backward from blooms
Hippeastrum typically need:
- 8 to 10 weeks of rest (cooler, drier conditions)
- 6 to 10 weeks of growth from wake-up to bloom (variety dependent)
That means you often start the rest period in late August through October for winter blooms.
How to start rest (gentle dry-down)
- Stop fertilizing about 4 to 6 weeks before you plan to dry it down.
- Reduce watering gradually. Let the potting mix dry more between waterings.
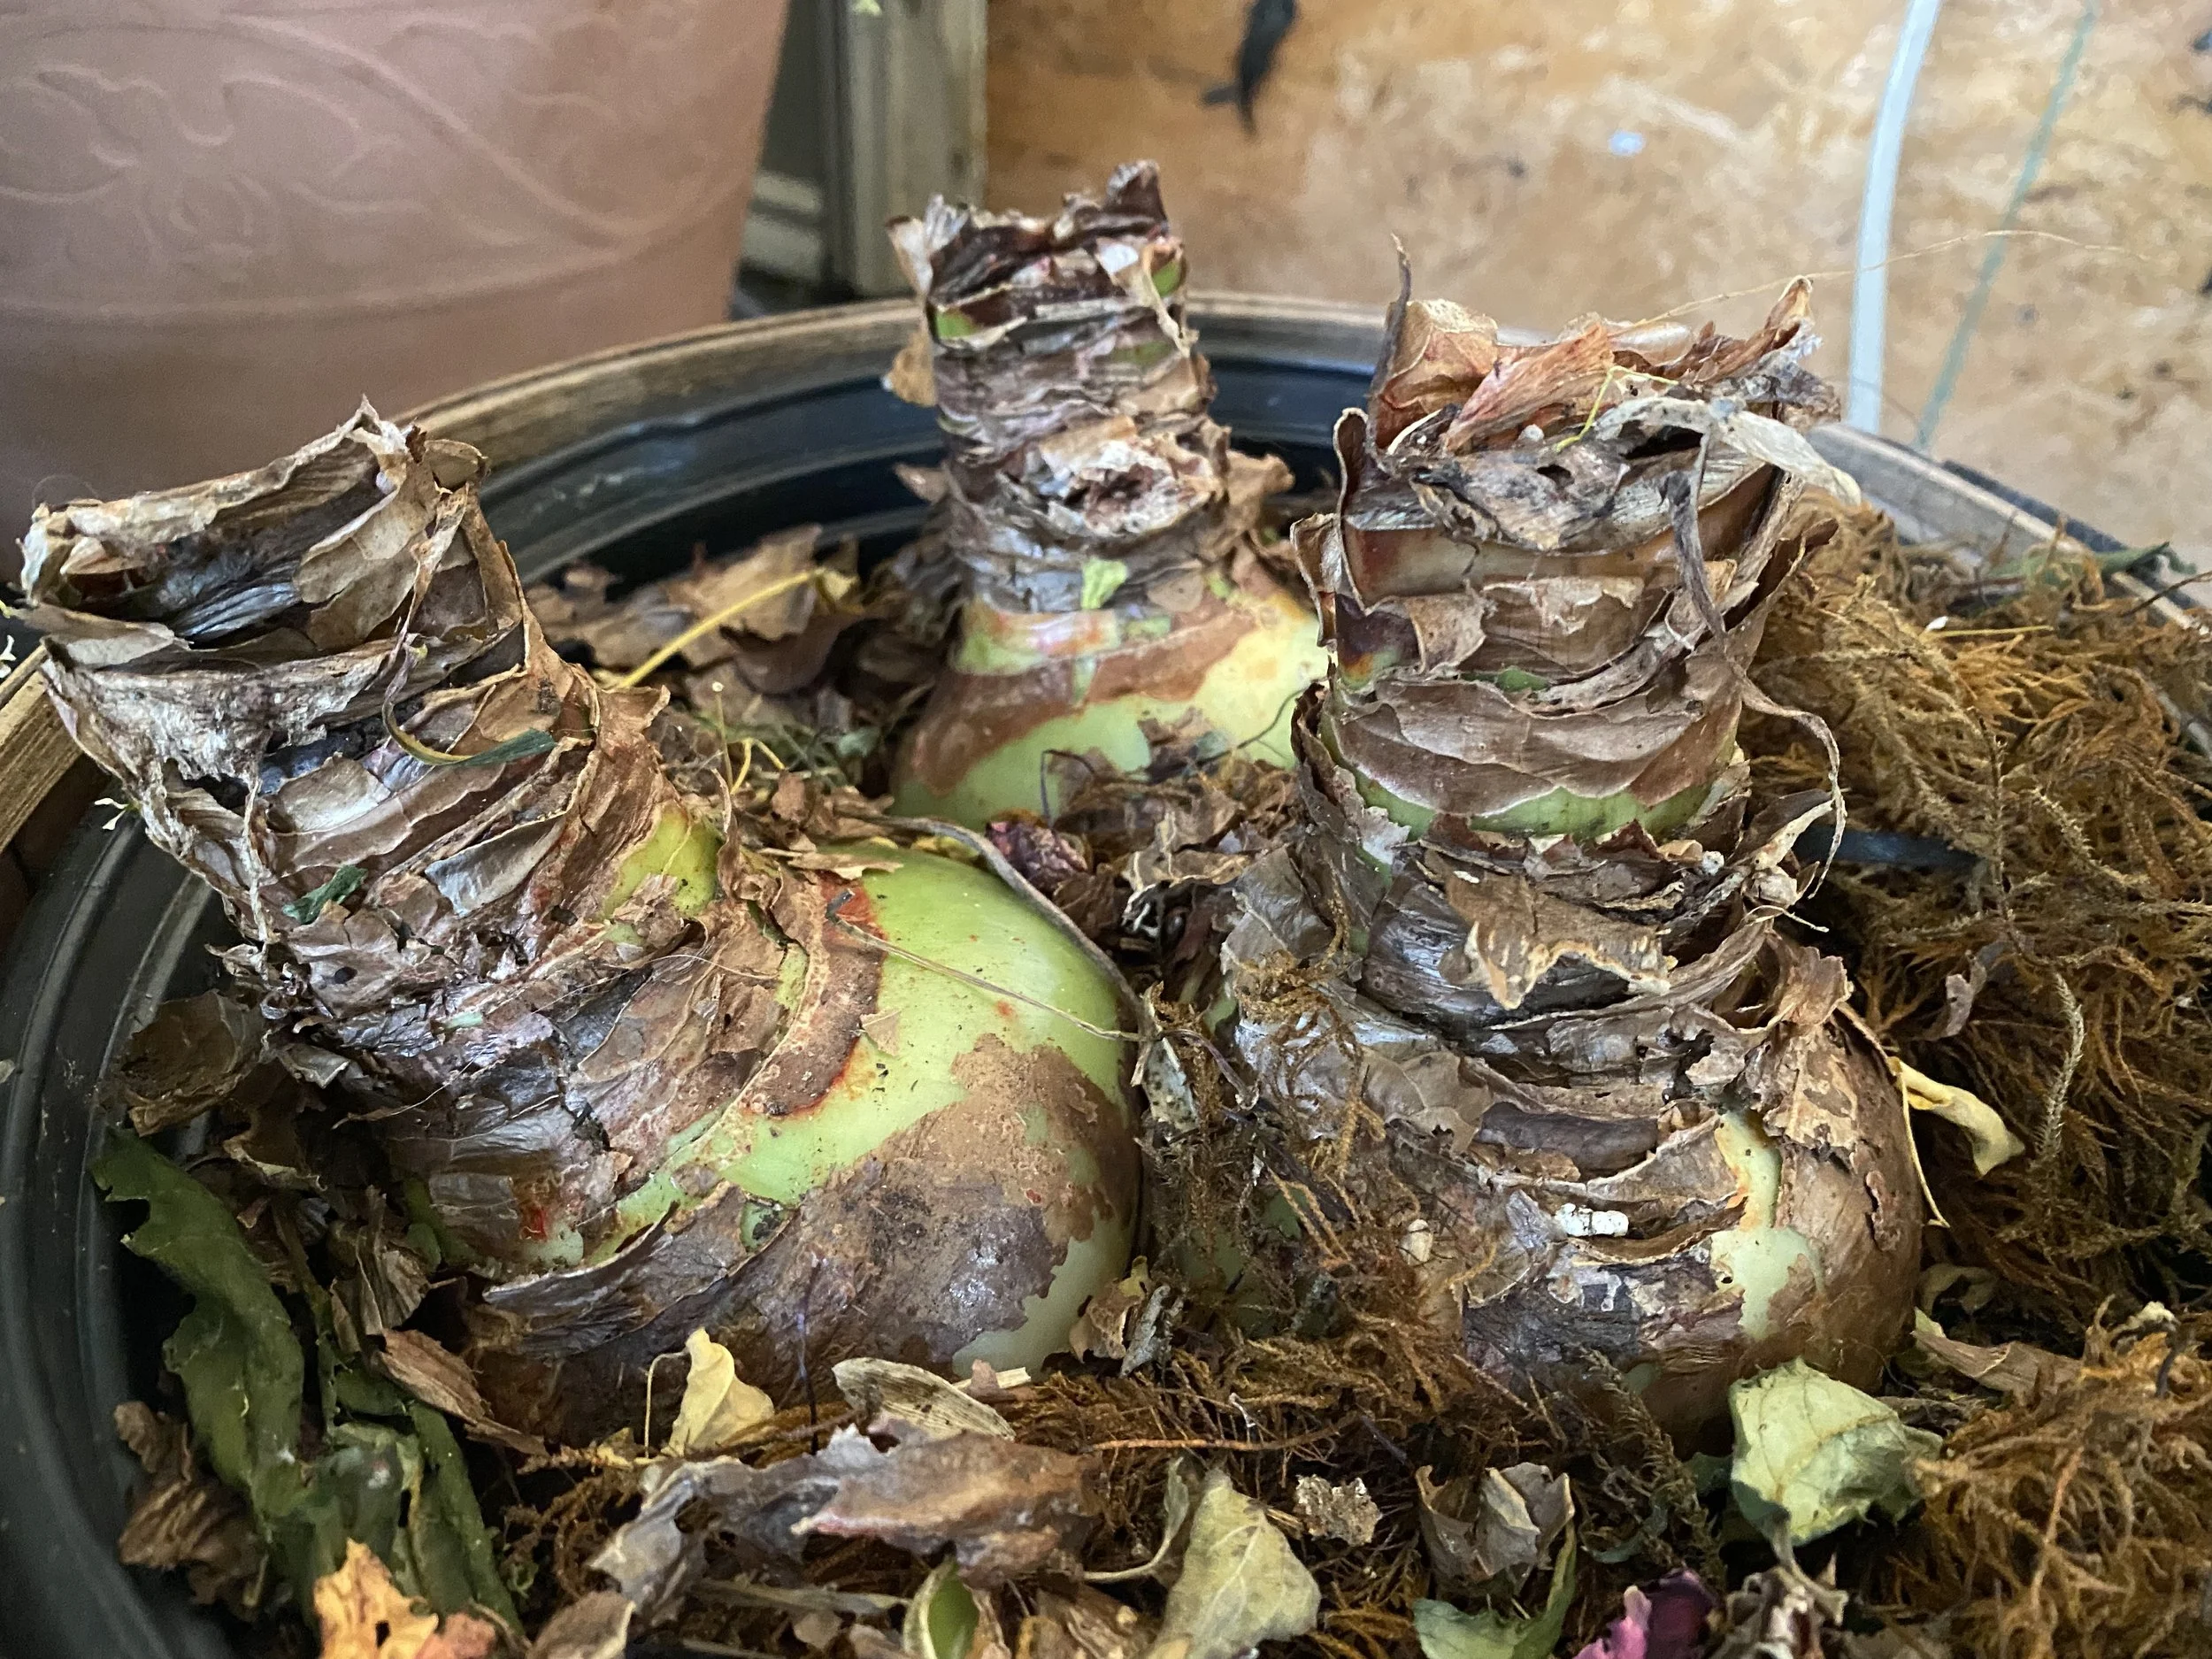
- When leaves start to yellow naturally, stop watering completely.
- Once leaves are fully yellow and limp, trim them off near the bulb.
If your plant is stubbornly green, you can still initiate rest by withholding water. It can feel mean, but it is effective. Just make sure the bulb is firm and healthy first.
What not to do
- Do not cut green leaves early “to tidy up.” It shortens the recharge period.
- Do not keep watering a bulb you are trying to rest. That often leads to weak growth, rot, or a no-bloom year.
Rest storage basics
You have two common paths, and both can work. The main goals are: dry-ish soil and a consistent temperature that matches your chosen method. Darkness is convenient, but it is not strictly required if conditions are cool and dry.
Option 1: Cool storage
This is the most reliable for reblooming, especially for bulbs that skipped rest last year.
- Temperature: about 50 to 55°F. Cooler can work for short periods, but try not to go much below 50°F, and never let it freeze.
- Where: unheated basement, cool closet on an exterior wall, insulated garage that does not freeze
- Light: dark is easiest
- Duration: 8 to 10 weeks
Keep the bulb in its pot or take it out and store it dry. If you store in the pot, make sure the soil is not damp.
Option 2: Room-temperature rest
Some bulbs can rest at typical indoor temps, especially if your home has a naturally cooler spot. This can work, but it is a little less predictable for flowering, and it often takes longer.
- Temperature: about 60 to 70°F (cooler within that range helps)
- Where: a closet, under a bed, or a pantry shelf away from heat sources
- Duration: often closer to 10 to 12 weeks
Important warning: skip the produce drawer
Do not store bulbs in the refrigerator near apples or other ripening fruit. Ripening fruit releases ethylene gas, which can interfere with flower development. Also, many fridges run cold and damp enough to invite bulb problems.
Repotting and offsets
If your bulb has been happy, it may produce offsets. These little bulblets are a sign you are doing something right, even if they make the pot look crowded.
When to repot
- Best time: after the rest period, when you are ready to wake the bulb.
- Also fine: early summer if the pot is tipping or the bulb is pushing itself out.
Pot size and soil
- Pot size: choose a pot that leaves about 1 inch of space around the bulb. Too large holds extra moisture.
- Soil: use a well-draining potting mix. I like adding perlite or pine bark fines for extra airflow.
- Planting depth: keep the top one-third to one-half of the bulb above the soil.
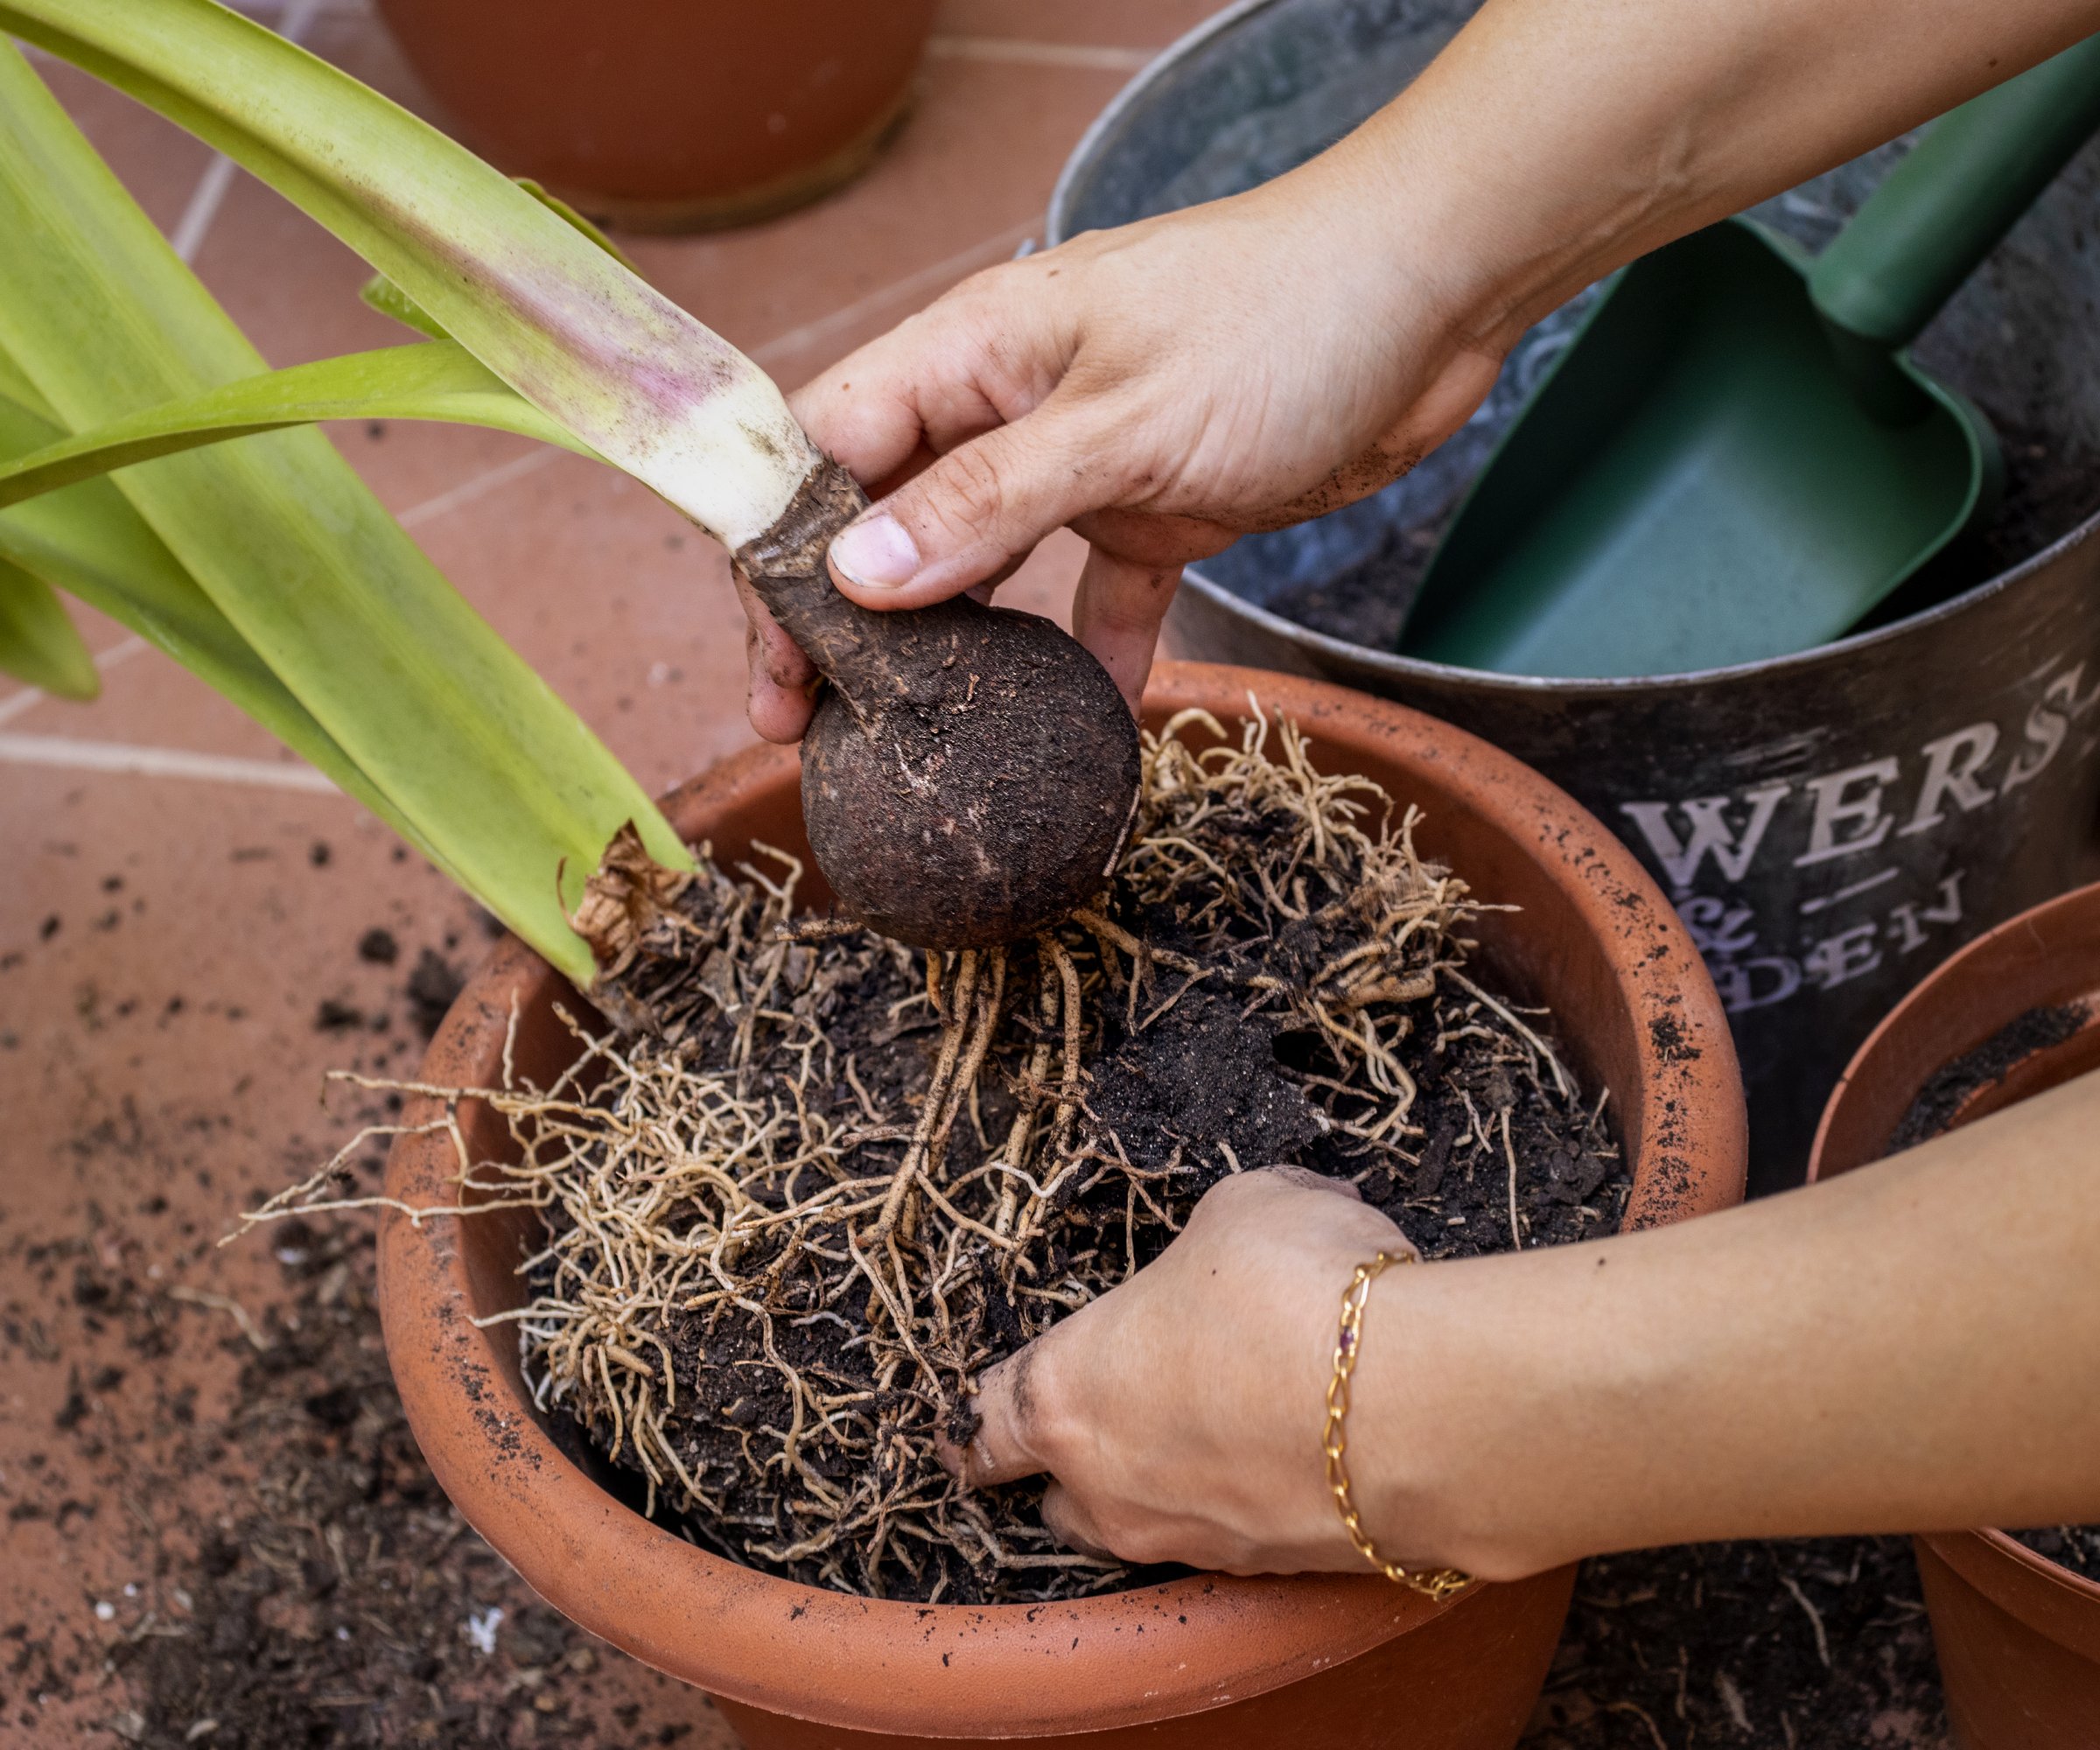
How to separate offsets
- Gently unpot the plant and brush away loose soil.
- Look for offsets with their own roots.
- Twist or tease them away. If needed, use a clean knife to separate where they attach.
- Pot offsets in small containers with good drainage.
Offsets often take 2 to 5+ years to bloom, depending on size and care. They are the long game, but what a satisfying one.
Month-by-month timeline
This timeline assumes a typical holiday bloom (December to January). Adjust a month or two in either direction depending on when your plant actually bloomed and when you want flowers next year.
January to February
- Cut the spent flower stalk down near the bulb.
- Keep leaves growing in bright light.
- Water when the top inch of soil dries.
March to May
- Increase light as days lengthen.
- Fertilize every 2 to 4 weeks.
- Rotate the pot weekly so growth stays even.
June to August
- If possible, move outdoors after frost risk passes and nights are above 50°F.
- Keep watering consistent and feeding regularly.
- Watch for pests like aphids or spider mites, especially if it is hot and dry.
Late August to October
- Stop fertilizing.
- Gradually reduce watering, then stop once leaves yellow.
- Trim dead leaves and place the bulb in rest storage for 8 to 10 weeks.
October to December
- Bring the bulb out of storage.
- Repot if needed into fresh, well-draining mix.
- Water lightly once, then wait to water again until you see a green tip, a bud, or a new root push. This usually happens within 1 to 2 weeks, sometimes a bit longer.
- Move to bright light and moderate warmth, ideally 65 to 75°F. Warmer speeds growth, but too warm and too low light can lead to floppy stems.
Once the flower stalk appears, water a bit more regularly. Turn the pot every few days so the stalk grows straight, and stake it if needed.
Troubleshooting
- All leaves, no flowers: Usually too little light during spring and summer, or fertilizer was skipped. Next season, increase sun and feed consistently.
- Soft or smelly bulb: Overwatering or poor drainage. Let it dry, remove rotted tissue if minor, and repot in a grittier mix. Severely rotten bulbs usually cannot be saved.
- Leaves yellowing early in summer: Often inconsistent watering, root stress, or a pot that bakes in hot sun. Give afternoon shade outdoors and water more evenly.
- Stalk is short or flops: Low light during bud formation, too much heat, or the bulb did not store enough energy. Next year, prioritize summer sun and feeding. When forcing, keep light strong and temperatures moderate.
- Pests keep showing up: Check leaf joints and the bulb neck for mealybugs, and watch for bulb mites if growth looks distorted. Isolate the plant and treat early.
- Red streaks on leaves or scapes: This can be red blotch (also called red scorch). Improve airflow, avoid wetting foliage, and remove badly affected growth. Severe cases may need targeted treatment or discarding the bulb.
Aftercare checklist
If you want the quick version to bookmark, here it is.
- After blooms fade, cut the flower stalk and keep the leaves.
- Spring and summer: bright light + regular watering + fertilizer.
- Late summer or early fall: stop feeding, then stop watering as leaves yellow.
- Rest bulb 8 to 10 weeks in a cool, dry-ish spot if possible.
- Wake, repot if needed, water lightly, and move to bright light for blooms.
By counting backward from your ideal bloom date, you can master the magic of amaryllis timing.