
Growing Hostas in Pots

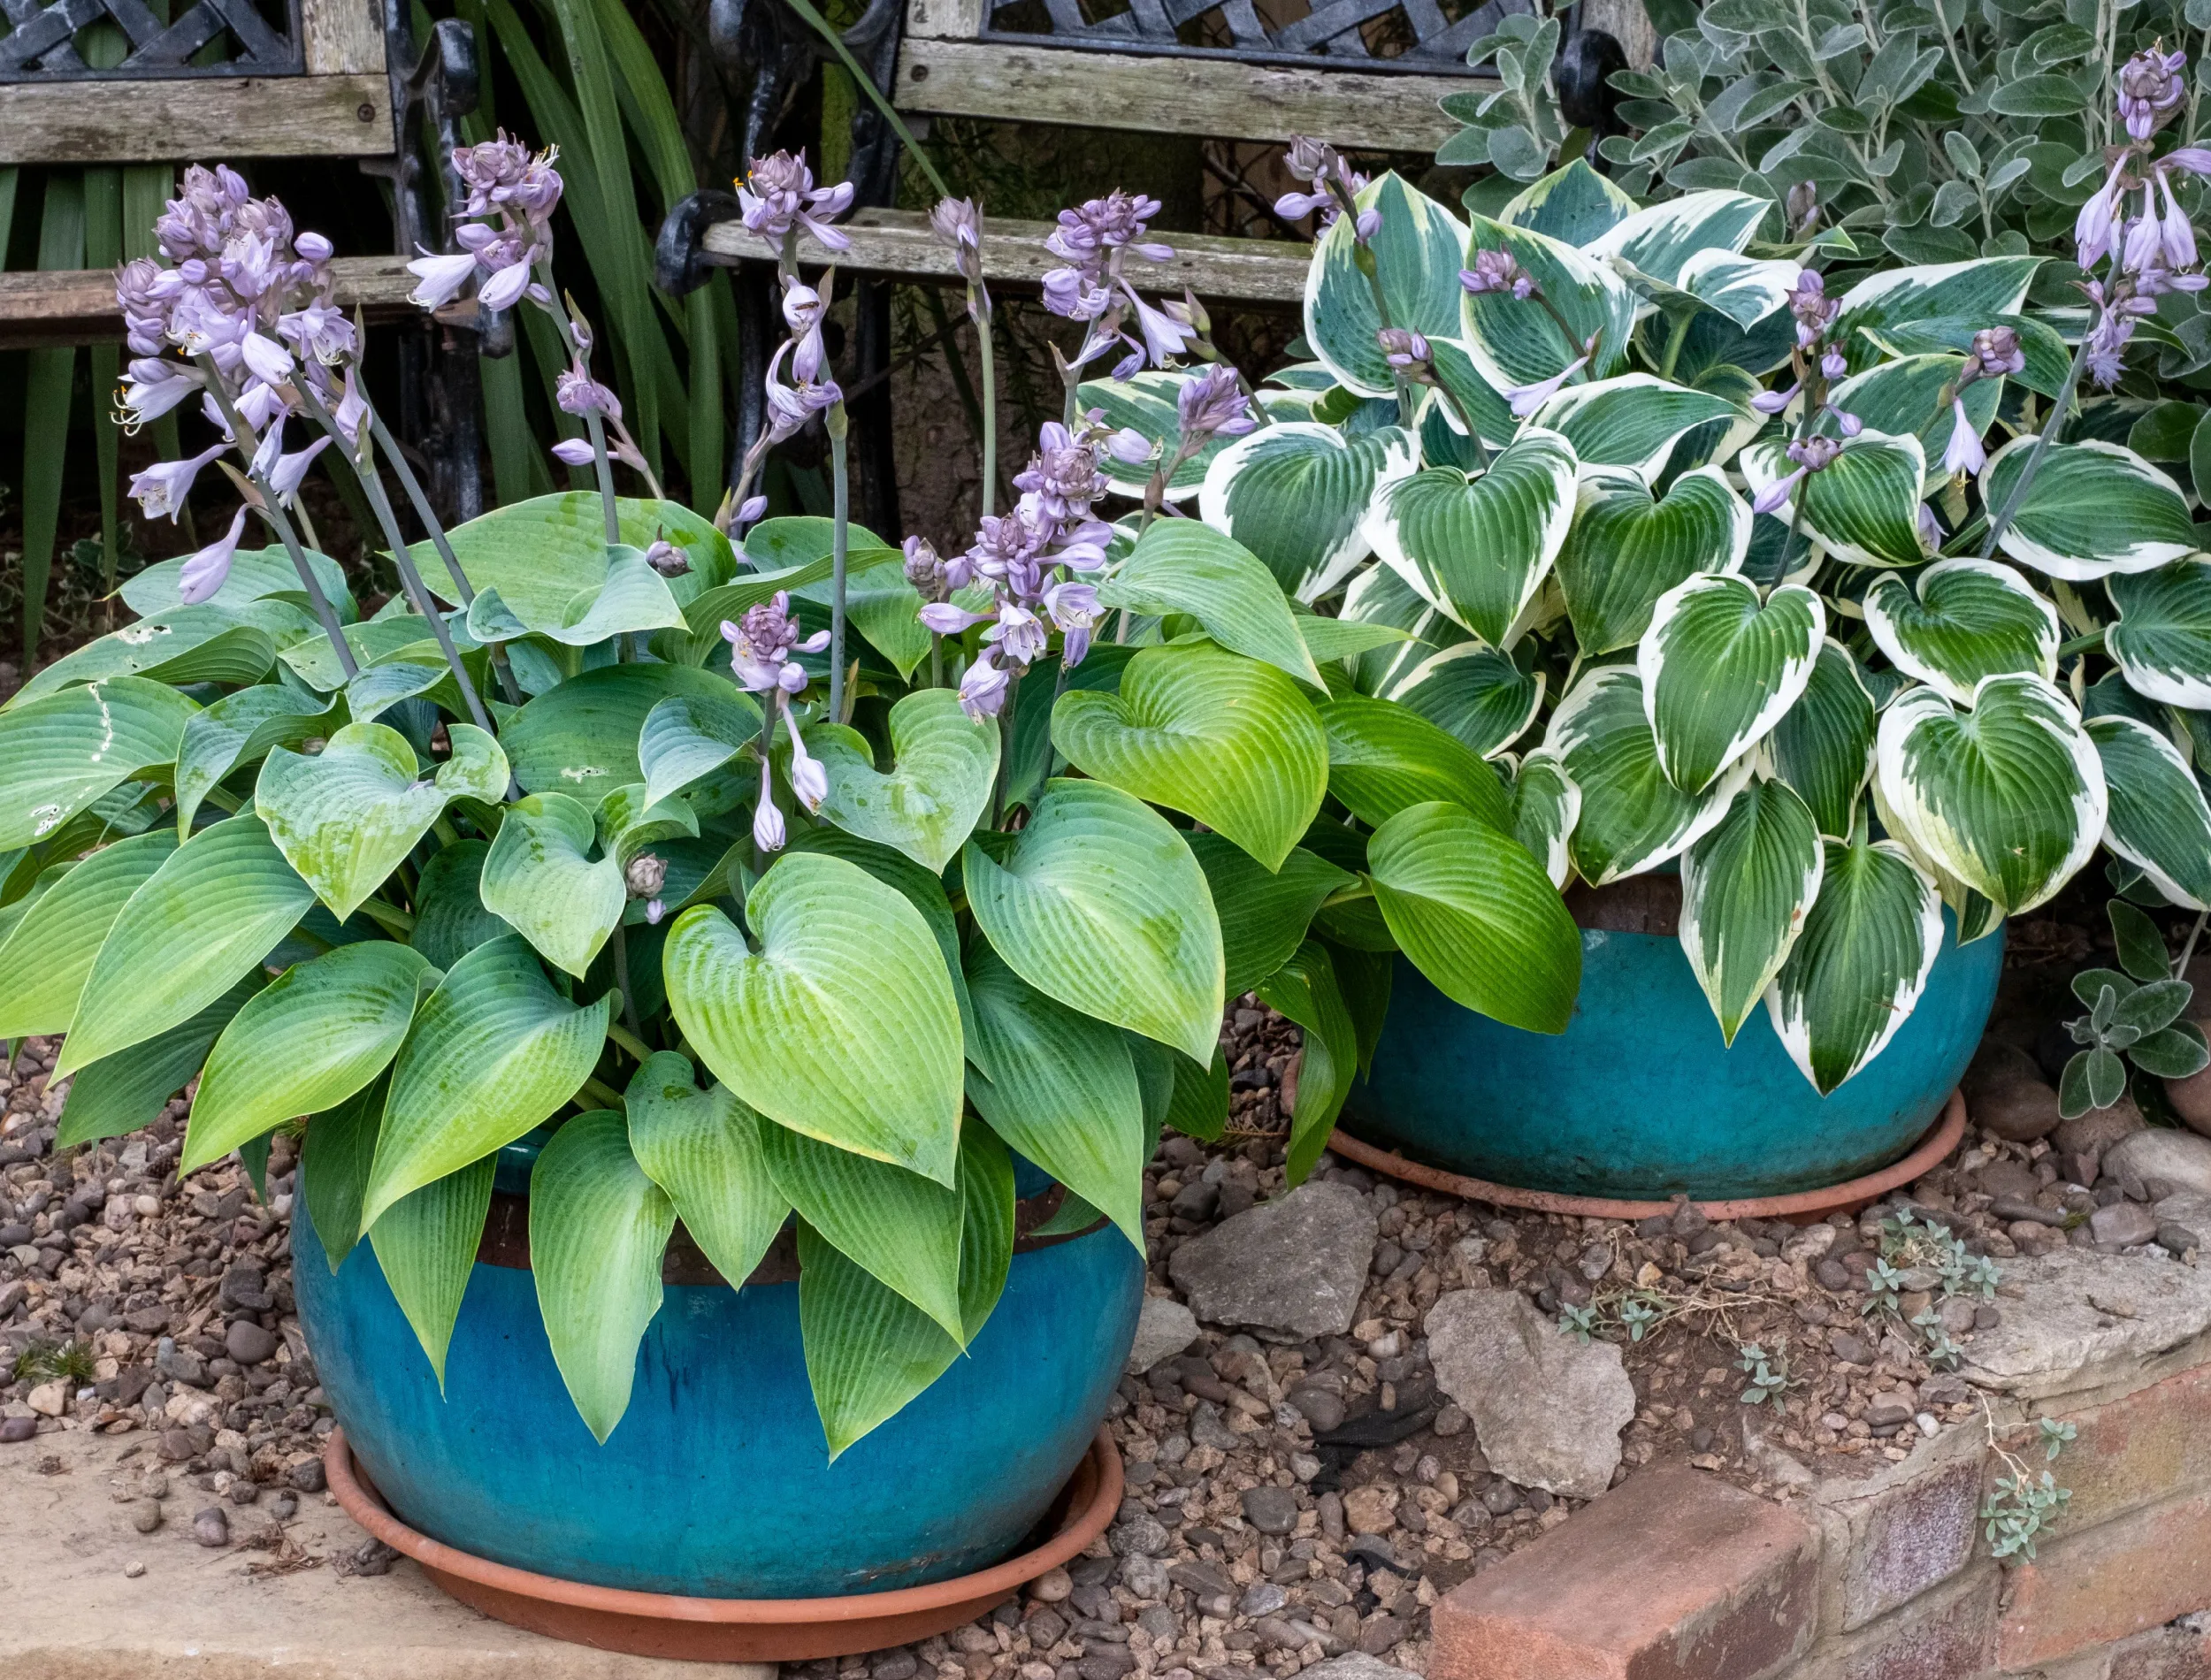
A little green. A lot of curiosity.
Hostas have a talent for looking calm and composed even when the weather is not. In the ground, their roots can roam and buffer temperature swings. In a pot, everything happens faster: the soil dries faster, heats up faster, and freezes harder. The good news is that container hostas can be downright gorgeous with a few container-specific tweaks.
Choosing the right pot
If there is one container rule for hostas, it is this: give them more width than you think. Hostas spread outward from the crown, and cramped pots dry quickly and tip easily once the leaves fully unfurl.
Pot size (a simple starting point)
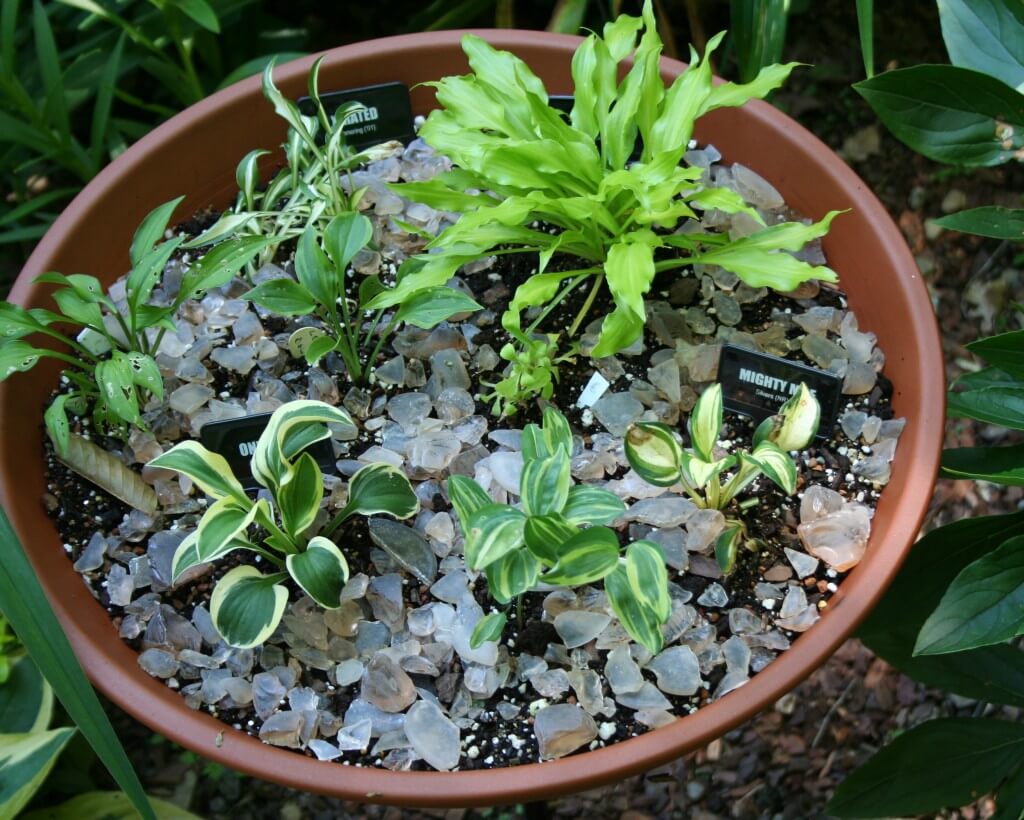
- Mini hostas: 8 to 10 inch wide pot, at least 8 inches deep.
- Small to medium hostas: 12 to 16 inch wide pot, 10 to 12 inches deep.
- Large hostas: 18 to 24 inch wide pot, 12 to 16 inches deep.
Consider these comfortable starting points, not hard limits. Mature size, root vigor, and how quickly a variety bulks up can vary a lot. When in doubt, choose the wider option.
Wider pots are more stable and hold moisture more evenly. Depth matters too, but width is usually the limiter for long-term happiness.
Drainage matters
Hostas like consistent moisture, not soggy roots. Choose a pot with drainage holes, and avoid letting the container sit in a saucer of water for long stretches. In cool shade, standing water can quietly invite rot.
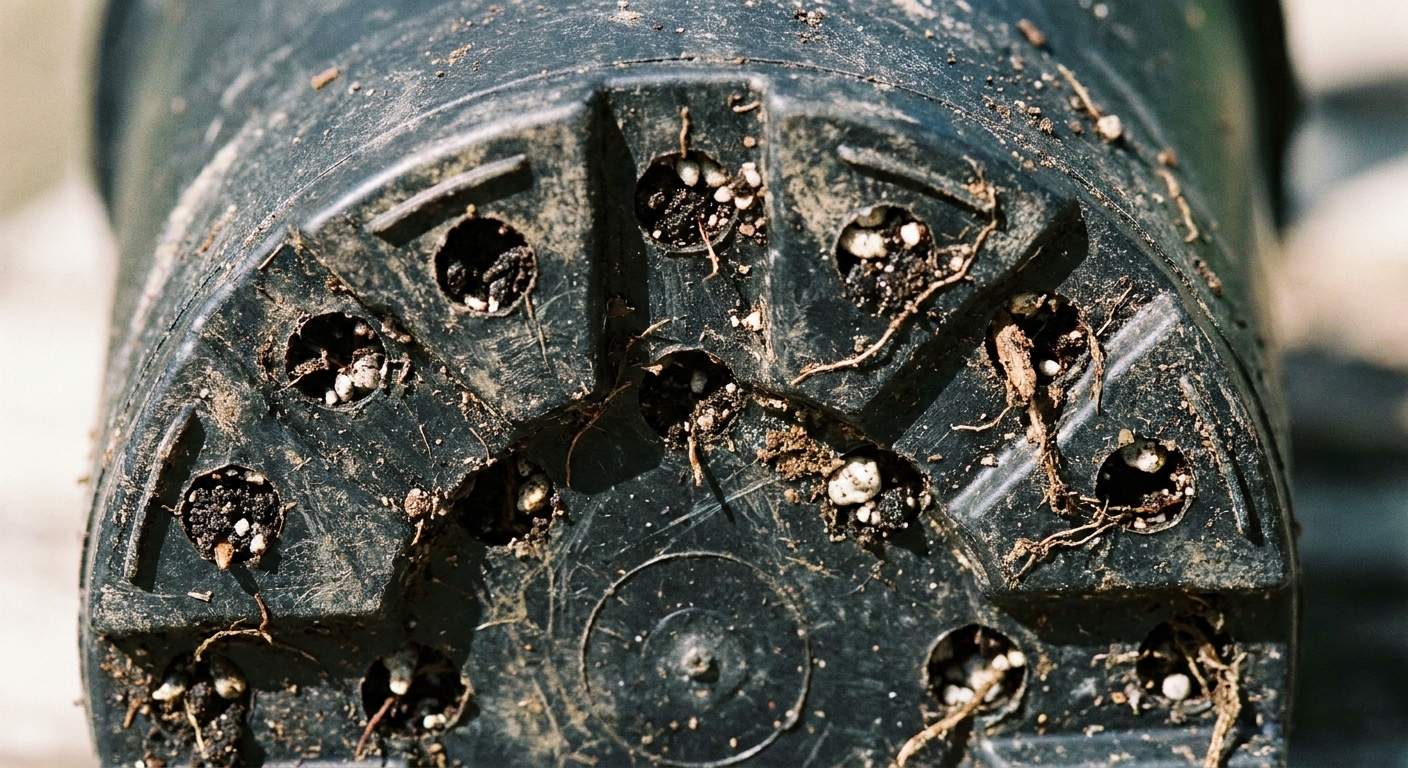
A potting mix that holds moisture
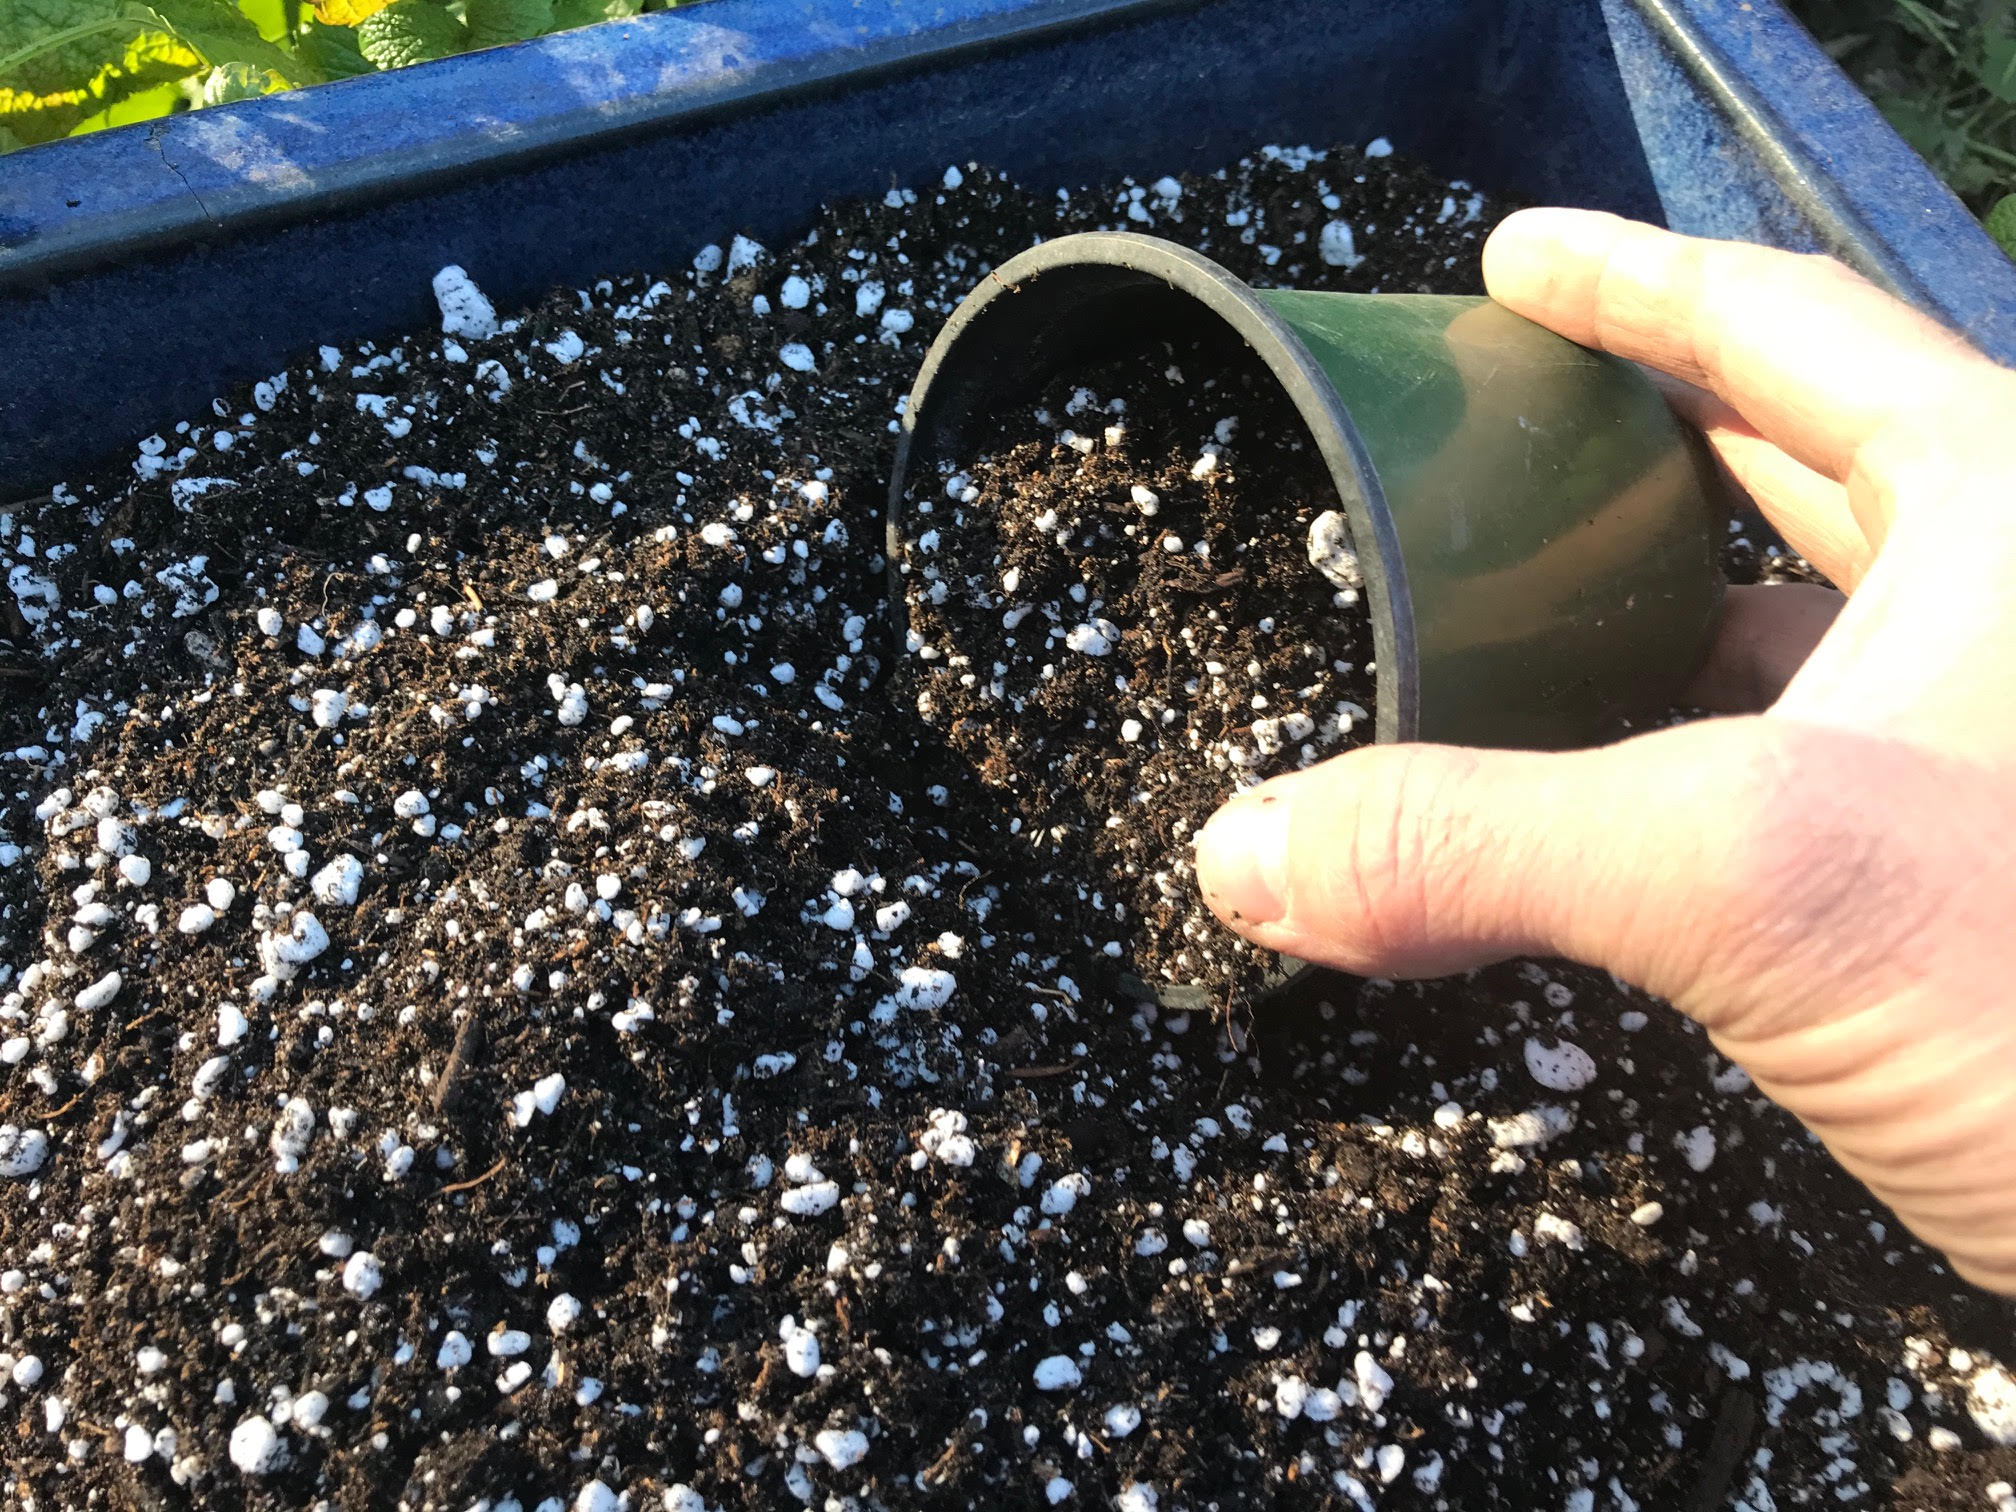
Garden soil is usually too heavy for containers and can compact into a wet brick. For potted hostas, aim for a mix that holds moisture but leaves plenty of air pockets for roots.
A practical container mix
- Base: Quality all-purpose potting mix (not topsoil).
- Moisture support: Add fine pine bark or compost to help the mix hold water without turning swampy.
- Drainage insurance: Add perlite or pumice if your potting mix feels dense or stays wet for days.
You are looking for soil that feels springy and dark, not slick and muddy. After watering, excess water should run out within a minute or two.
When you plant, keep the crown at the same height it was growing before, with the eyes near the soil line. Burying it too deep invites rot and weak growth.
Mulch, but keep the crown clear
A thin layer of shredded bark or leaf mold on top can slow evaporation in summer. Keep mulch pulled back from the crown so the growing points are not sitting in a constantly damp collar.
Light and placement
In containers, hostas often tolerate a touch more morning sun than they do in the ground because you can place them precisely. The trouble is hot afternoon sun reflecting off walls, patios, or railings. That heat can scorch leaves quickly.
- Best container spot: Bright shade or morning sun with afternoon shade.
- Avoid: Full afternoon sun, especially near heat-reflecting surfaces.
- Wind note: Large-leaf hostas can shred in strong wind. A sheltered corner helps.
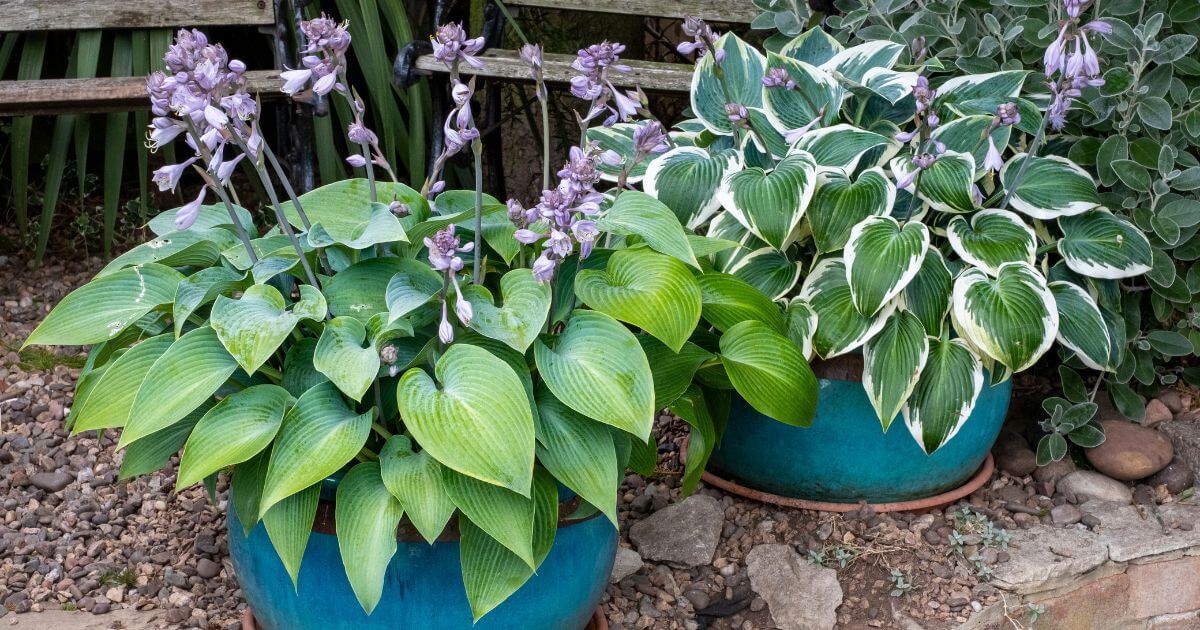
Summer watering
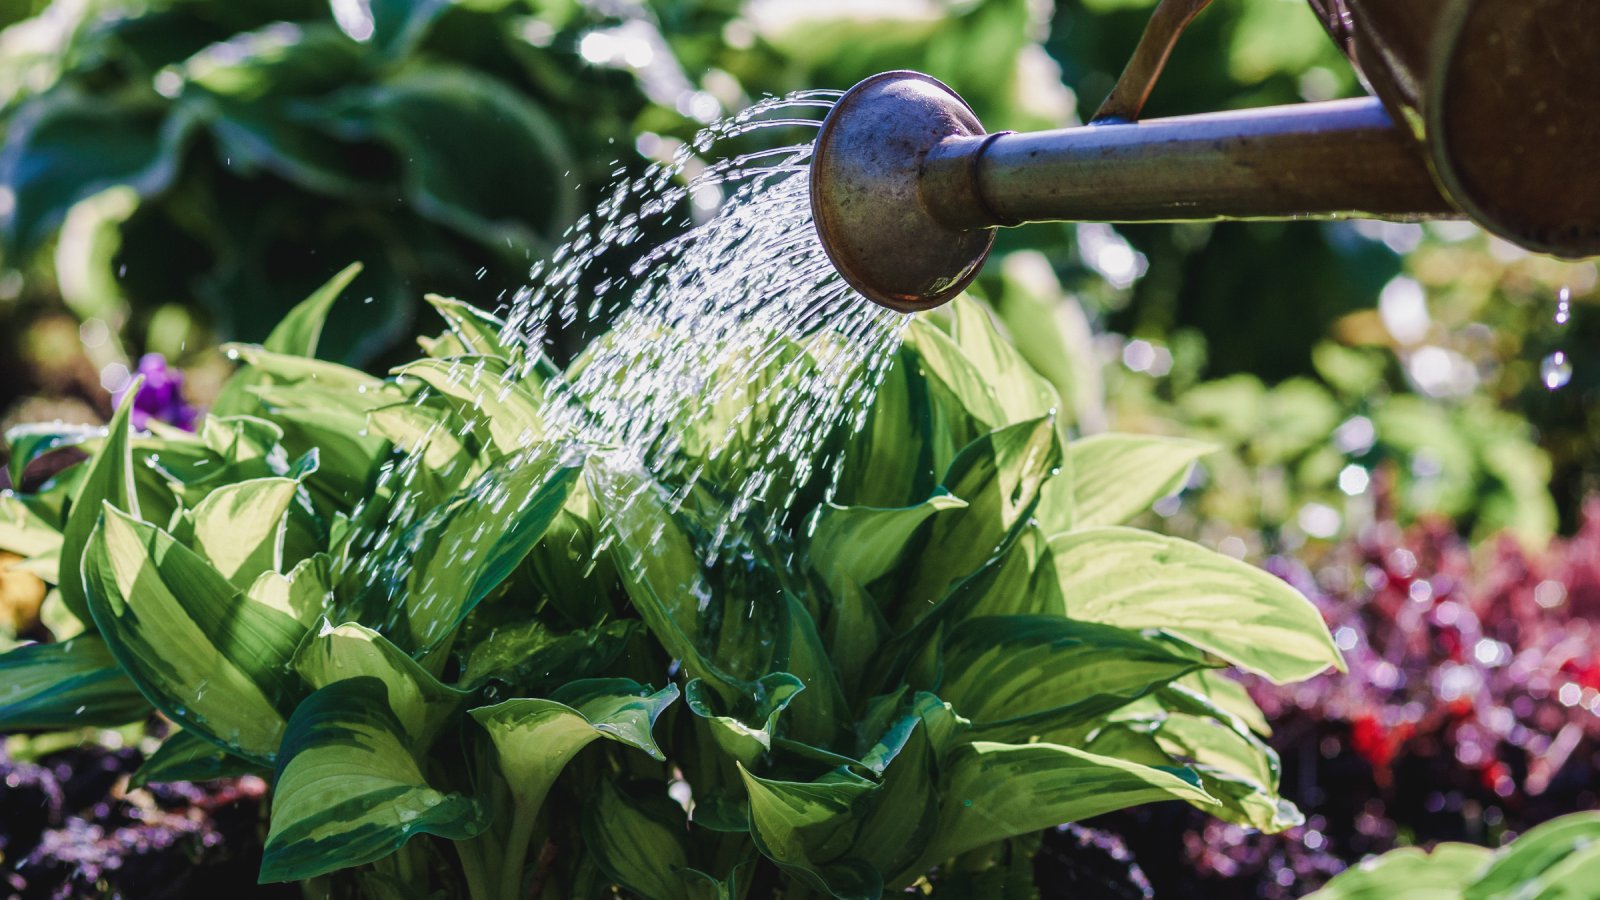
Hostas are famously thirsty, and containers exaggerate that thirst. The goal is even moisture with slight drying between waterings, not a swing from bone-dry to soaked.
How to water
- Water deeply until water drains from the bottom.
- Check moisture by feeling the soil 1 to 2 inches down. If it is dry there, it is time.
- In heat waves, expect to water more often. A large hosta in a pot can go from content to crispy fast.
Signs your pot is drying too fast
- Leaf edges browning or curling during warm afternoons
- Leaves drooping that do not perk up after evening shade returns
- Soil pulling away from the pot edges
If you are watering daily in moderate weather, that is usually a sign the container is too small, too porous (like unglazed terracotta in a hot spot), or the mix is too fast-draining. Terracotta can be a beautiful choice, just expect to check moisture more often than you would with plastic or glazed ceramic.
Feeding in containers
Container nutrients wash out more quickly than garden beds. You do not need anything fancy, just consistency.
- Slow-release option: Apply a balanced slow-release fertilizer in spring as new leaves emerge.
- Liquid option: Use a diluted balanced liquid feed every 3 to 4 weeks in late spring and early summer.
- When to stop: In cold-winter climates, ease off by mid-summer so the plant can harden off. In milder climates with a longer growing season, late summer is often fine.
If your hosta looks pale despite good watering, it may be hungry, or it may be root-bound and struggling to take up nutrients efficiently.
Slugs in pots
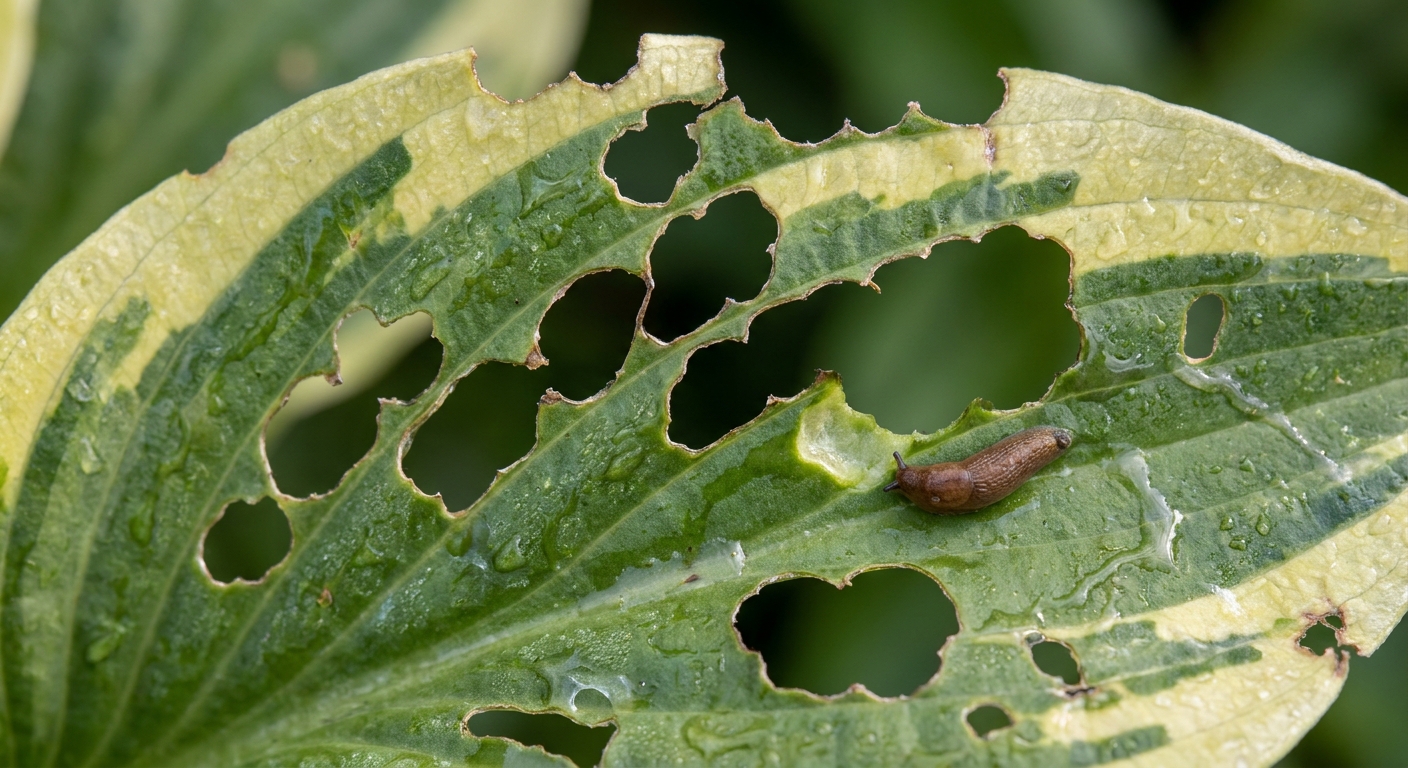
Hostas and slugs have an unhelpful pen-pal relationship. Planting in a pot changes the slug situation, but it does not eliminate it.
How containers can reduce slug pressure
- Slugs often travel through ground cover and moist mulch. A pot on a patio can be a tougher commute.
- Elevating the pot on feet or a stand can reduce easy access.
- Dry, open surroundings around the pot are less slug-friendly than dense shade beds.
How containers can make slug damage worse
- A pot is a small island. If one slug finds it, there is nowhere else for it to snack.
- Rims, saucers, and stacked pots can create damp hiding spots during the day.
- Pots tucked into tight, humid corners can be just as sluggy as a garden bed.
What to do about it
- Night check: Peek with a flashlight after dark and remove any slugs you find.
- Keep the area tidy: Clear soggy leaves and debris around the pot.
- Water timing: Water in the morning so the surface dries a bit by nightfall.
- Barrier help: Copper tape on a clean, dry pot rim can deter slugs, but it needs good contact and occasional cleaning.
Winter protection
Hostas are cold-hardy in the ground, but in pots the roots and crown face sharper temperature swings. The biggest container winter risk is not cold alone. It is freeze-thaw cycling that heaves the crown, damages emerging buds and eyes, and dries roots while the plant is asleep.
The timing that matters
Let the plant go dormant naturally. After hard frost, foliage collapses. That is your cue to shift from growing season care to winter survival mode.
Three reliable overwintering options
- Sink the pot: If you have garden space, place the pot in the ground up to the rim. This uses the earth as insulation.
- Shelter the pot: Move it to an unheated garage, shed, or cold frame where temperatures stay cold but swings are gentler.
- Insulate in place: Group pots together in a protected spot, wrap containers with burlap or bubble wrap, and mound leaves or straw around the outside of the pot.
Moisture in winter
Even dormant hostas should not be bone dry for months. If your overwintering spot stays dry and temperatures are above freezing, check soil occasionally and add just enough water to keep it barely moist. Avoid watering when the potting mix is frozen, since that water can turn to ice around the crown. Damp is fine. Sopping is not.
Exposed crowns
If you see the crown lifting or roots showing after repeated freeze-thaw, gently top up with potting mix in late winter during a mild spell, keeping the growing points just at or slightly below the soil line.
When to repot or divide
Hostas can live in pots for years, but they will eventually tell you they want more room or a more stable home.
Signs a potted hosta needs attention
- Water runs straight through and the plant wilts quickly afterward
- Roots circling densely at the bottom or pushing up at the surface
- Fewer or smaller leaves compared to last season
- The crown has expanded to the pot edge with little soil showing
Divide or just move up a pot?
Move up a pot if you want a bigger specimen and the plant is healthy but crowded. Step up 2 to 4 inches in pot diameter rather than jumping to something enormous, which can stay wet too long.
Divide if you want more plants, or if the clump is so tight that water cannot penetrate evenly. Division is also helpful when a big hosta becomes top-heavy in a container.
Best time to do it
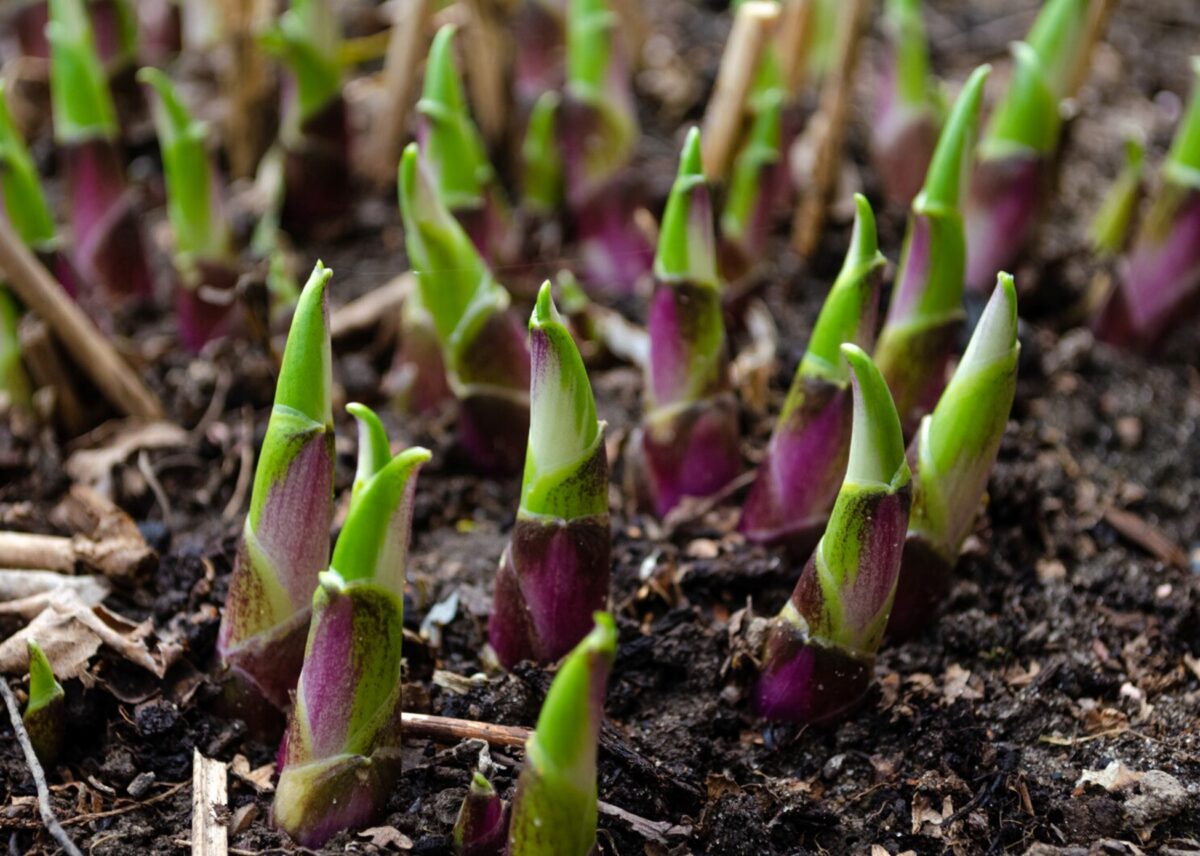
Early spring, just as the eyes are swelling, is a gentle time to repot or divide. Early fall can work in many climates too, but pots cool faster than garden beds. If your winters are sharp, spring is usually the safer bet.
When in-ground makes sense
- You want a low-maintenance hosta that needs less frequent watering
- You have repeated winter losses or crown damage in containers
- The variety is large and outgrowing pots every 1 to 2 seasons
Think of pots as premium seating. Beautiful, flexible, a bit more work. In-ground is the long-term membership plan.
Quick troubleshooting
My hosta is wilting but the soil feels wet
That is often a drainage problem or a pot that stays too cool and saturated. Make sure the container drains freely and consider a lighter mix. If the pot sits in a saucer, empty it after watering.
Leaves have holes overnight
Slugs are the usual suspects. Check after dark, tidy hiding spots, and consider a barrier on the pot rim.
Brown edges in summer
In containers, this is usually inconsistent watering, hot afternoon sun, or wind. Shift to morning sun only, shelter from wind, and water deeply before hot spells.
Container hosta checklist
- Choose a wide pot with drainage holes
- Use a moisture-retentive, airy potting mix
- Plant at the right depth, with the crown near the soil line
- Place in bright shade or morning sun, afternoon shade
- Water deeply, check soil often in summer
- Reduce slug hiding spots, inspect at night when needed
- Protect the pot in winter to reduce freeze-thaw damage
- Repot, divide, or plant in-ground when the container fills
If you grow hostas in pots, I would love to hear what works in your yard. Tell us your rough climate or zone, what kind of container you use (terracotta, plastic, ceramic, whiskey barrel), and how you overwinter. Readers always have clever setups, and it helps to compare notes.