Zinnia Care After They Sprout
Your zinnias have sprouted, and that is the moment I start hovering like an excited plant parent. Seed-starting is the spark, but post-sprout care is what turns those tiny, earnest seedlings into sturdy plants that bloom like they mean it.
This guide picks up right where How to Grow Zinnias from Seed leaves off. We are focusing on the weeks after germination: thinning, optional pinching, deadheading, feeding, and watering habits that keep flowers coming until frost.

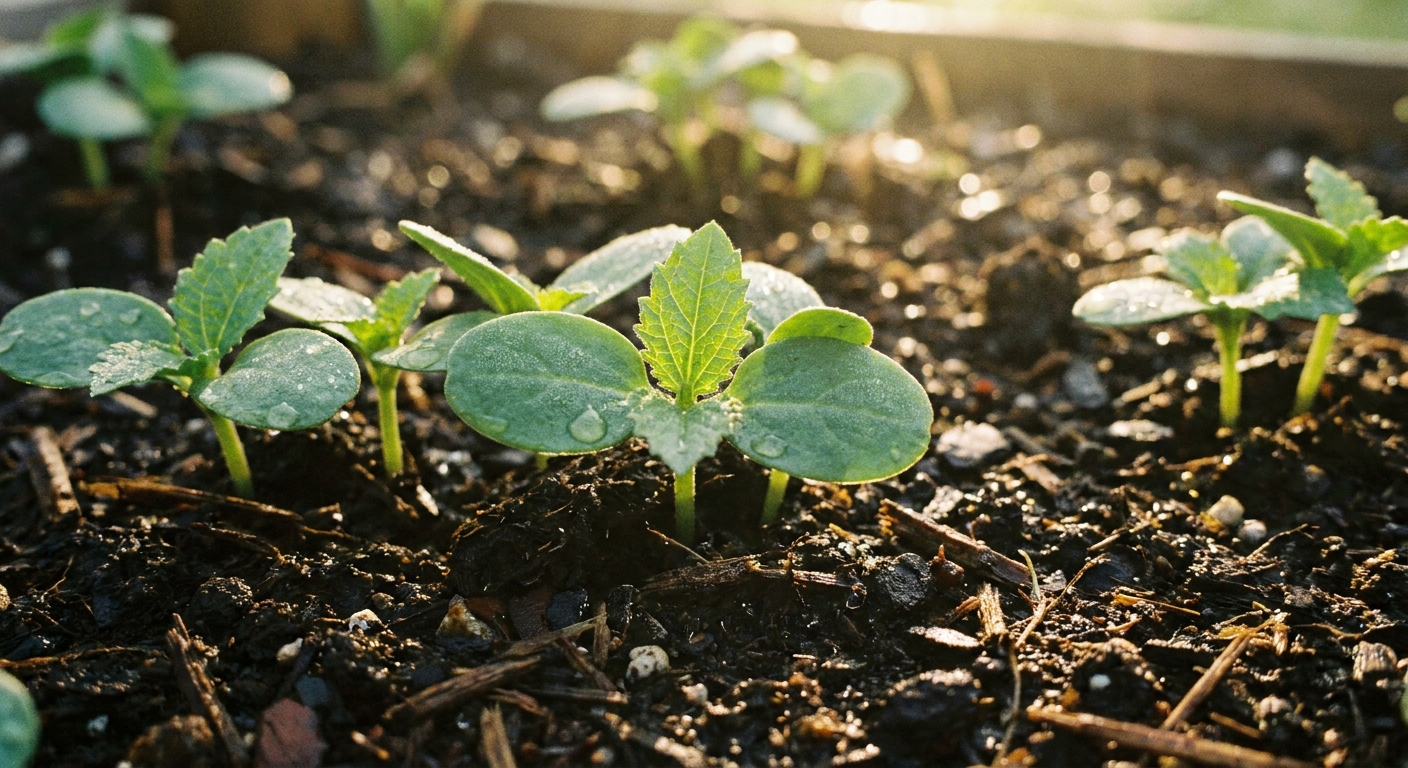
The first 2 weeks: what to do once seedlings stand up
Give them light and airflow right away
Leggy zinnia seedlings are basically asking for trouble later. Whether you started indoors or direct-sowed outside, the goal is compact, sturdy growth.
- Indoors: Keep lights close to the seedlings and run a small fan nearby for gentle movement.
- Outdoors: Make sure they are in full sun, and avoid crowding so leaves dry quickly after rain or dew.
Keep soil evenly moist (not soggy)
Right after sprouting, seedlings need consistent moisture, not constant wetness. Think “wrung-out sponge,” not “puddle.” Overwatering is the fastest way to invite damping off and weak roots.
Hardening off and transplanting
Harden off indoor seedlings
If your zinnias started indoors, they need a little boot camp before living outside full time. About 7 to 10 days before transplanting, set them outdoors in bright shade for a short time, then gradually increase sun and wind exposure each day. Bring them in if nights are cold.
Transplant when it is truly warm
Zinnias love heat and sulk in cold conditions. Transplant after your last frost when days are warm and the soil has warmed up. If you are still wearing a jacket to water the garden, your zinnias may vote “not yet.”
Handle roots gently
Zinnias can be a bit touchy about root disturbance. Transplant carefully, keep the root ball intact, and water them in well. If seedlings are leggy, you can set them slightly deeper than they were in the pot, but avoid burying the crown and do not pack soil tightly against the stem.
Thinning: the not-so-fun step that makes everything better
If you direct-sowed or planted multiple seeds per cell, thinning is your first big bloom-season decision. It feels ruthless, but crowded zinnias are more prone to powdery mildew, they flower less, and they topple more easily.
When to thin
Thin when seedlings have 1 to 2 sets of true leaves and you can tell who is thriving. True leaves look like tiny versions of adult leaves, not the first smooth seed leaves.
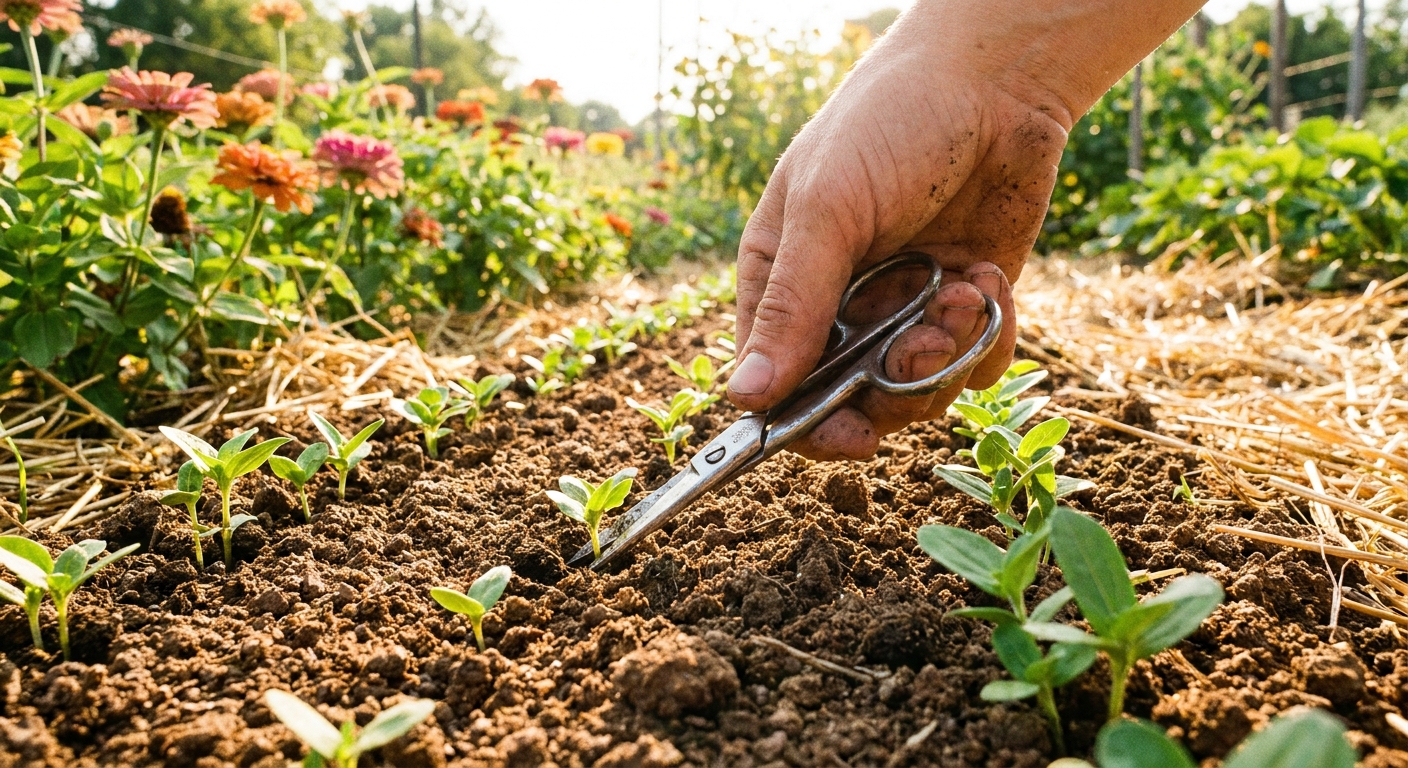
How to thin without disturbing roots
- Use clean scissors or snips.
- Cut the extras at soil level instead of pulling.
- Leave the strongest seedling in each spot.
Spacing guidelines
Spacing depends on variety, but these ranges work well for most home gardens:
- Small varieties: 6 to 8 inches apart
- Medium garden zinnias: 8 to 12 inches apart
- Tall or large-flowered types: 12 to 18 inches apart
If powdery mildew is common in your area, lean toward the wider end of spacing.
Pinching: more stems, more flowers (optional)
Pinching is the classic move for bushier zinnias. You remove the growing tip so the plant branches into multiple stems. More stems usually means more blooms and often sturdier plants that handle wind better.
When to pinch
A good general window is when plants are about 6 to 12 inches tall and have several sets of true leaves. Variety matters here. Some compact types branch like they are trying to win an award, while some cut-flower growers pinch earlier for more stems.
If you pinch very early, growth may slow briefly as the plant redirects energy into branching. If you pinch very late, you lose some time that could have gone into side shoots.
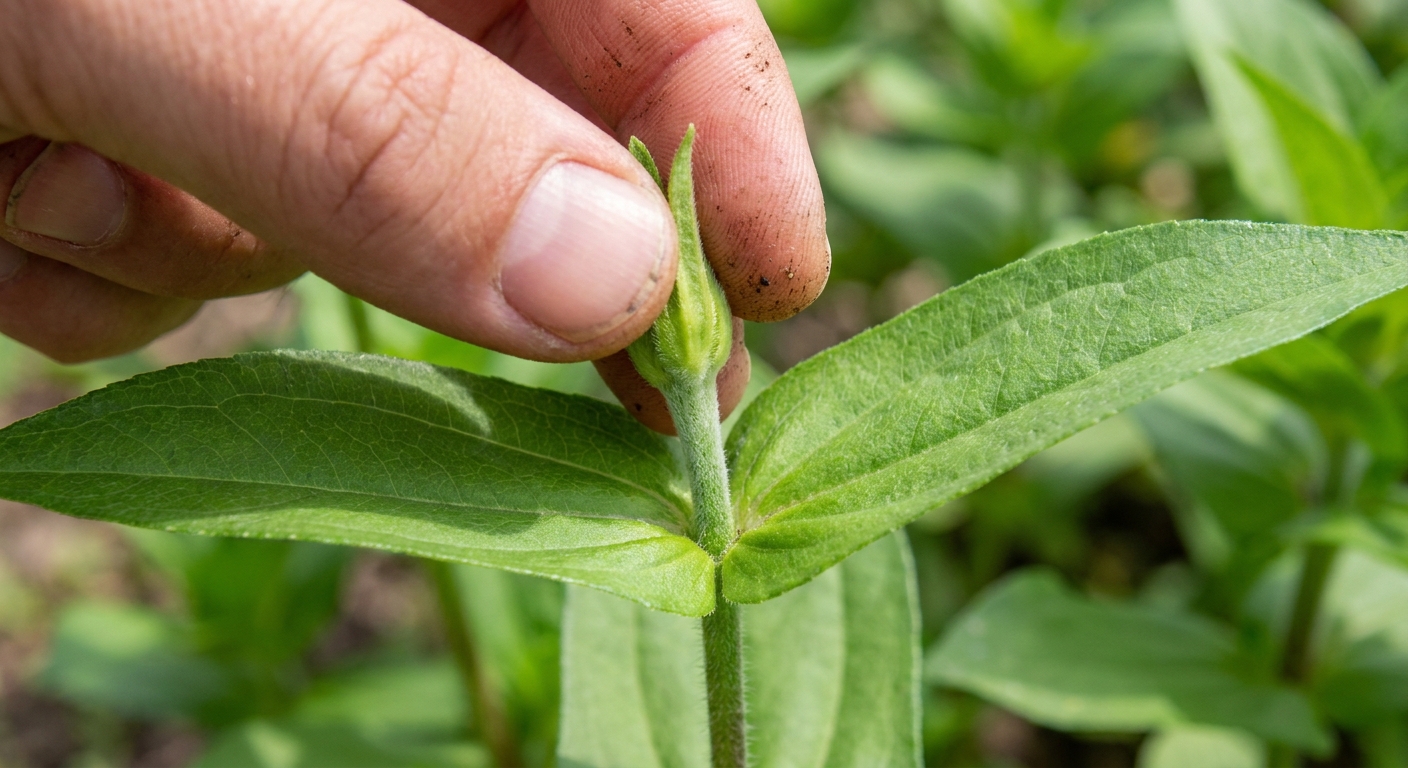
How to pinch
- Find the top growing point above a leaf node.
- Use clean fingers or snips.
- Remove the top 1 to 2 inches, cutting just above a set of leaves.
When not to pinch
- If you want earlier blooms and do not mind fewer stems.
- If you are growing short, compact varieties bred to branch well on their own.
- If your growing season is very short and you cannot spare a short recovery pause.
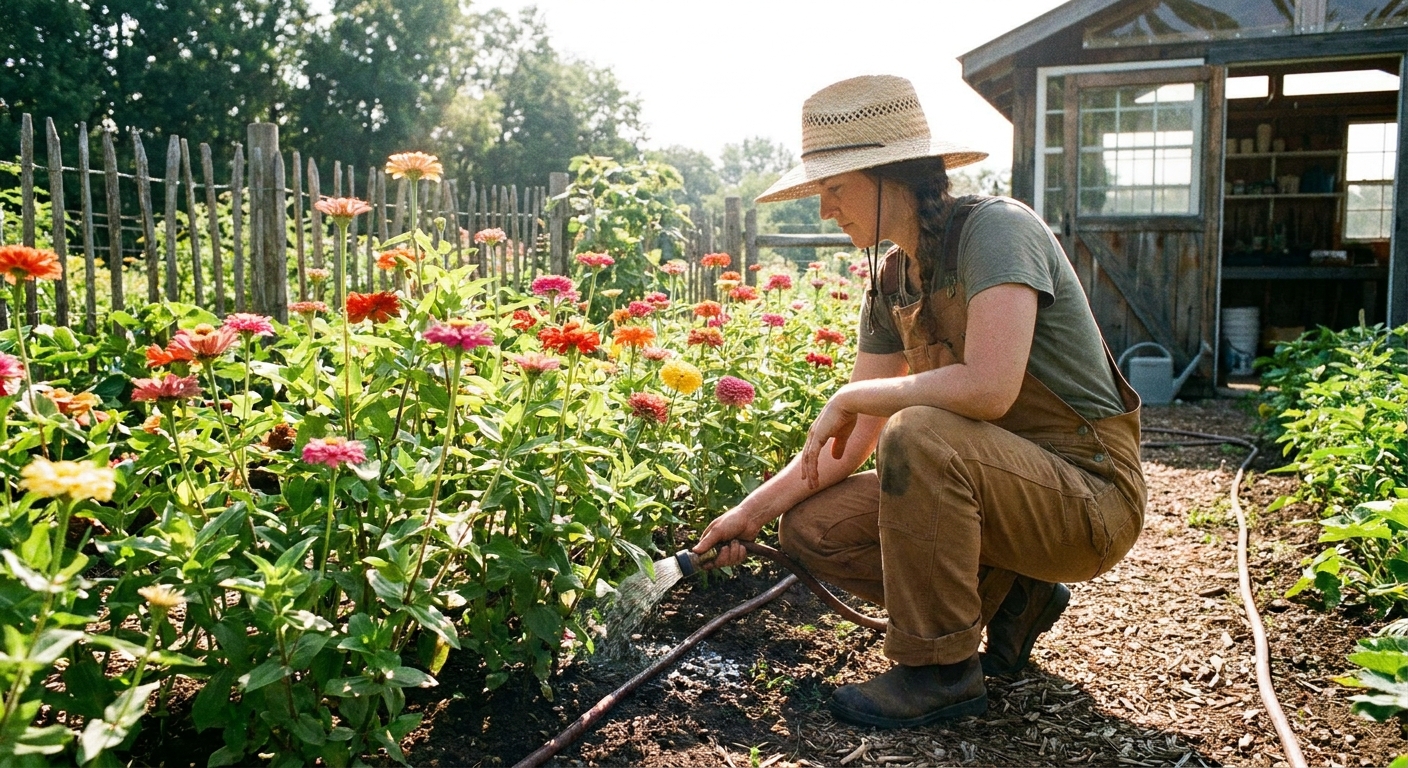
Watering for nonstop blooms
Zinnias are wonderfully tolerant once established, but their best bloom performance comes from a steady rhythm: water deeply, then let the surface dry slightly. That pattern encourages roots to travel downward instead of lounging at the surface.
Best watering habits
- Water at the base whenever possible. Wet leaves are an open invitation to fungal issues.
- Water early in the day so any splashed foliage dries quickly.
- Soak, do not sprinkle. A slow, deep watering is better than daily sips.
How often should you water?
There is no single schedule because heat, soil type, and plant size change everything. A practical rule: water when the top 1 to 2 inches of soil feels dry. Let the surface dry a bit between waterings, but do not let plants wilt repeatedly, especially while they are still establishing.
Mulch, but leave breathing room
A 1 to 2 inch layer of clean straw, shredded leaves, or fine bark helps keep moisture even and reduces soil splash onto leaves. Keep mulch pulled back an inch from the stems to prevent rot.
Feeding zinnias: steady nutrition, strong stems
Zinnias are not heavy feeders, but they do appreciate fertile soil and gentle, consistent nutrition. The goal is blooms and strong stems, not a leafy jungle.
Start with soil first
If you worked compost into the bed when planting, you are already ahead. Compost supports soil structure and microbial life, which helps plants access nutrients over time.
When to fertilize
- In-ground beds: If soil is reasonably fertile, a light feeding once plants are established and again after the first big flush of blooms is often enough.
- Containers: Feed more regularly because nutrients wash out. A diluted liquid fertilizer every 2 to 4 weeks is a common sweet spot.
What to use
- Compost top-dressing: My favorite low-drama option. Sprinkle a half-inch around plants and water it in.
- Balanced fertilizer: Choose a gentle, balanced blend. Avoid overdoing nitrogen, which can delay blooms and invite pests.
Signs you are overfeeding
- Lots of lush green growth but fewer flowers
- Soft stems that flop over
- Plants that look “too happy” in leaves and “too stingy” with buds
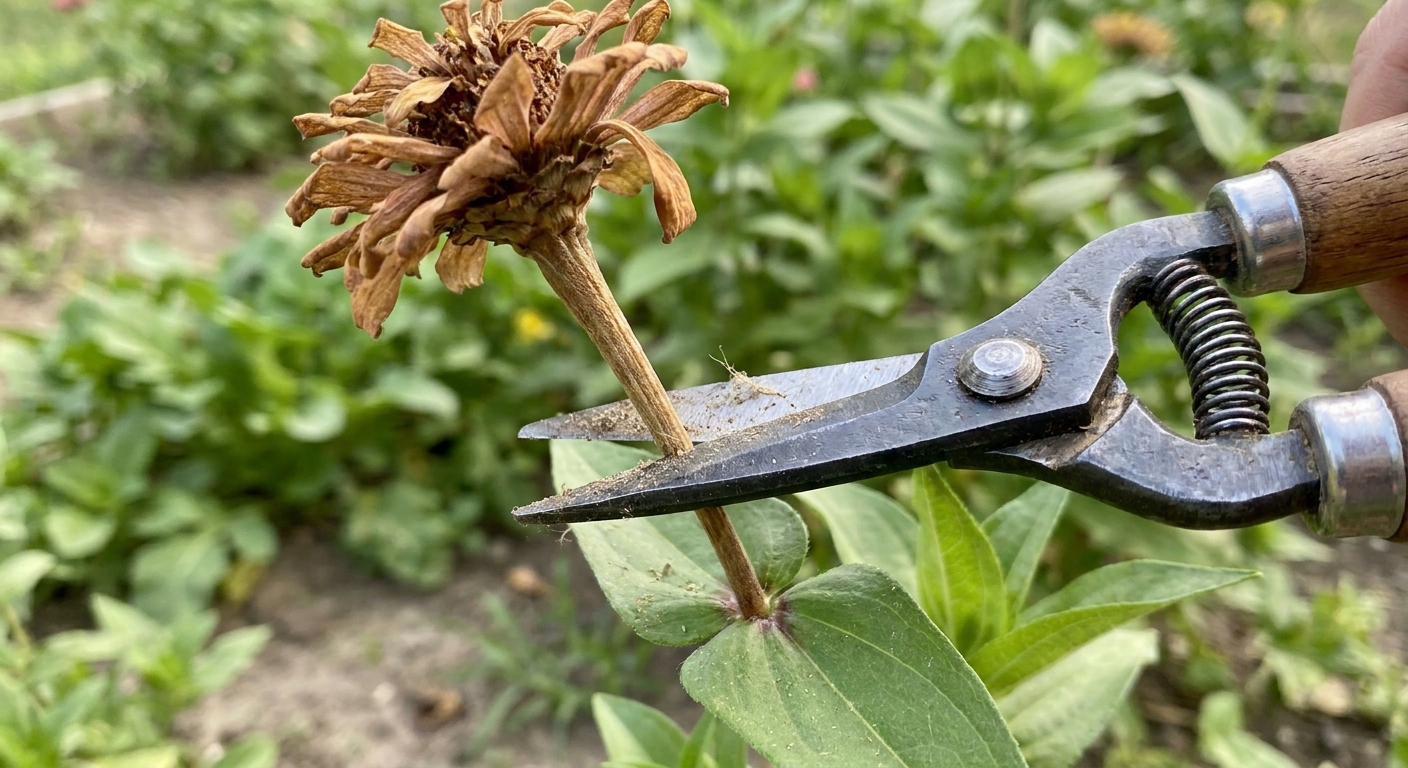
Deadheading: the habit that extends the season
If I could give every zinnia grower one superpower, it would be deadheading . Zinnias are eager to set seed. When you remove spent flowers, you redirect energy back into new buds and branching.
When to deadhead
Deadhead as soon as blooms start fading, browning, or looking tired. In peak season, that can be a quick stroll through the patch every few days.
How to deadhead
- Follow the flower stem down to the next set of leaves or a side shoot.
- Cut just above that leaf node so the plant can branch from there.
- Use clean snips for a tidy cut.
Deadheading vs cutting for bouquets
Good news: cutting flowers is basically premium deadheading. For long vase life, harvest when blooms are firm and fully open. Here is a quick test: gently wiggle the stem 8 to 12 inches below the bloom. If it flops, it is too early. If it stays stiff, it is ready.
Support for tall varieties
If you are growing tall zinnias, especially for cutting, a little support keeps stems straighter and flowers cleaner.
- Plant in blocks instead of single rows so plants can help hold each other up.
- Stake early or use flower netting so you are not wrestling stakes into roots later.
- Avoid heavy nitrogen if your plants keep flopping. Sometimes it is not wind, it is the fertilizer.
Keep zinnias blooming longer: 7 small habits
- Space plants well for airflow and healthier leaves.
- Pinch once if you want more branching and more stems.
- Deadhead often, or cut bouquets regularly.
- Water deeply at the base, especially during heat.
- Mulch lightly to reduce splash and stabilize moisture.
- Feed gently, especially in containers.
- Remove problem leaves if they yellow or show heavy spotting, then improve airflow and watering habits.
Quick troubleshooting after sprouting
Seedlings are tall and floppy
- Give stronger light or more sun.
- Reduce crowding and add gentle airflow.
- When transplanting, you can set seedlings slightly deeper, but handle roots gently and do not bury the crown.
Leaves look dusty white (powdery mildew)
- Increase spacing and airflow.
- Water at soil level, in the morning.
- Avoid heavy nitrogen feeding.
- Remove the worst leaves to slow spread and keep debris out of the bed.
Leaves have dark spots or look blighted
- Remove the most affected leaves and do not compost them if disease is active.
- Avoid overhead watering and improve airflow with spacing and thinning.
- Clean up fallen leaves, especially late in the season, because sanitation really helps here.
Beautiful leaves, no flowers
- Make sure they get full sun.
- Ease up on fertilizer, especially high nitrogen blends.
- Start deadheading or cutting to encourage more buds.
Buds and leaves are getting chewed or sticky
- Aphids: Blast them off with water and check tender tips.
- Japanese beetles: Hand-pick in the morning into soapy water, or cover plants with row cover if pressure is intense.
- Leafhoppers: Watch for stippling and curled growth, keep weeds down, and remove heavily affected leaves.
My favorite way to think about zinnias
Zinnias are generous plants. They do not ask for perfection, just a few steady gestures: room to breathe, water where roots can drink, and a little encouragement to keep making flowers instead of seeds. Do those things, and they will throw a color party right up to frost.