Why Is My Spider Plant Turning Brown?
Spider plants are famously forgiving, which is why brown tips can feel like a personal betrayal. Take a breath. Brown tips and even a few brown leaves are usually your plant’s way of whispering, “Something about my care is a little off.” The good news is you can almost always course-correct, and new growth will come in clean once the cause is fixed.
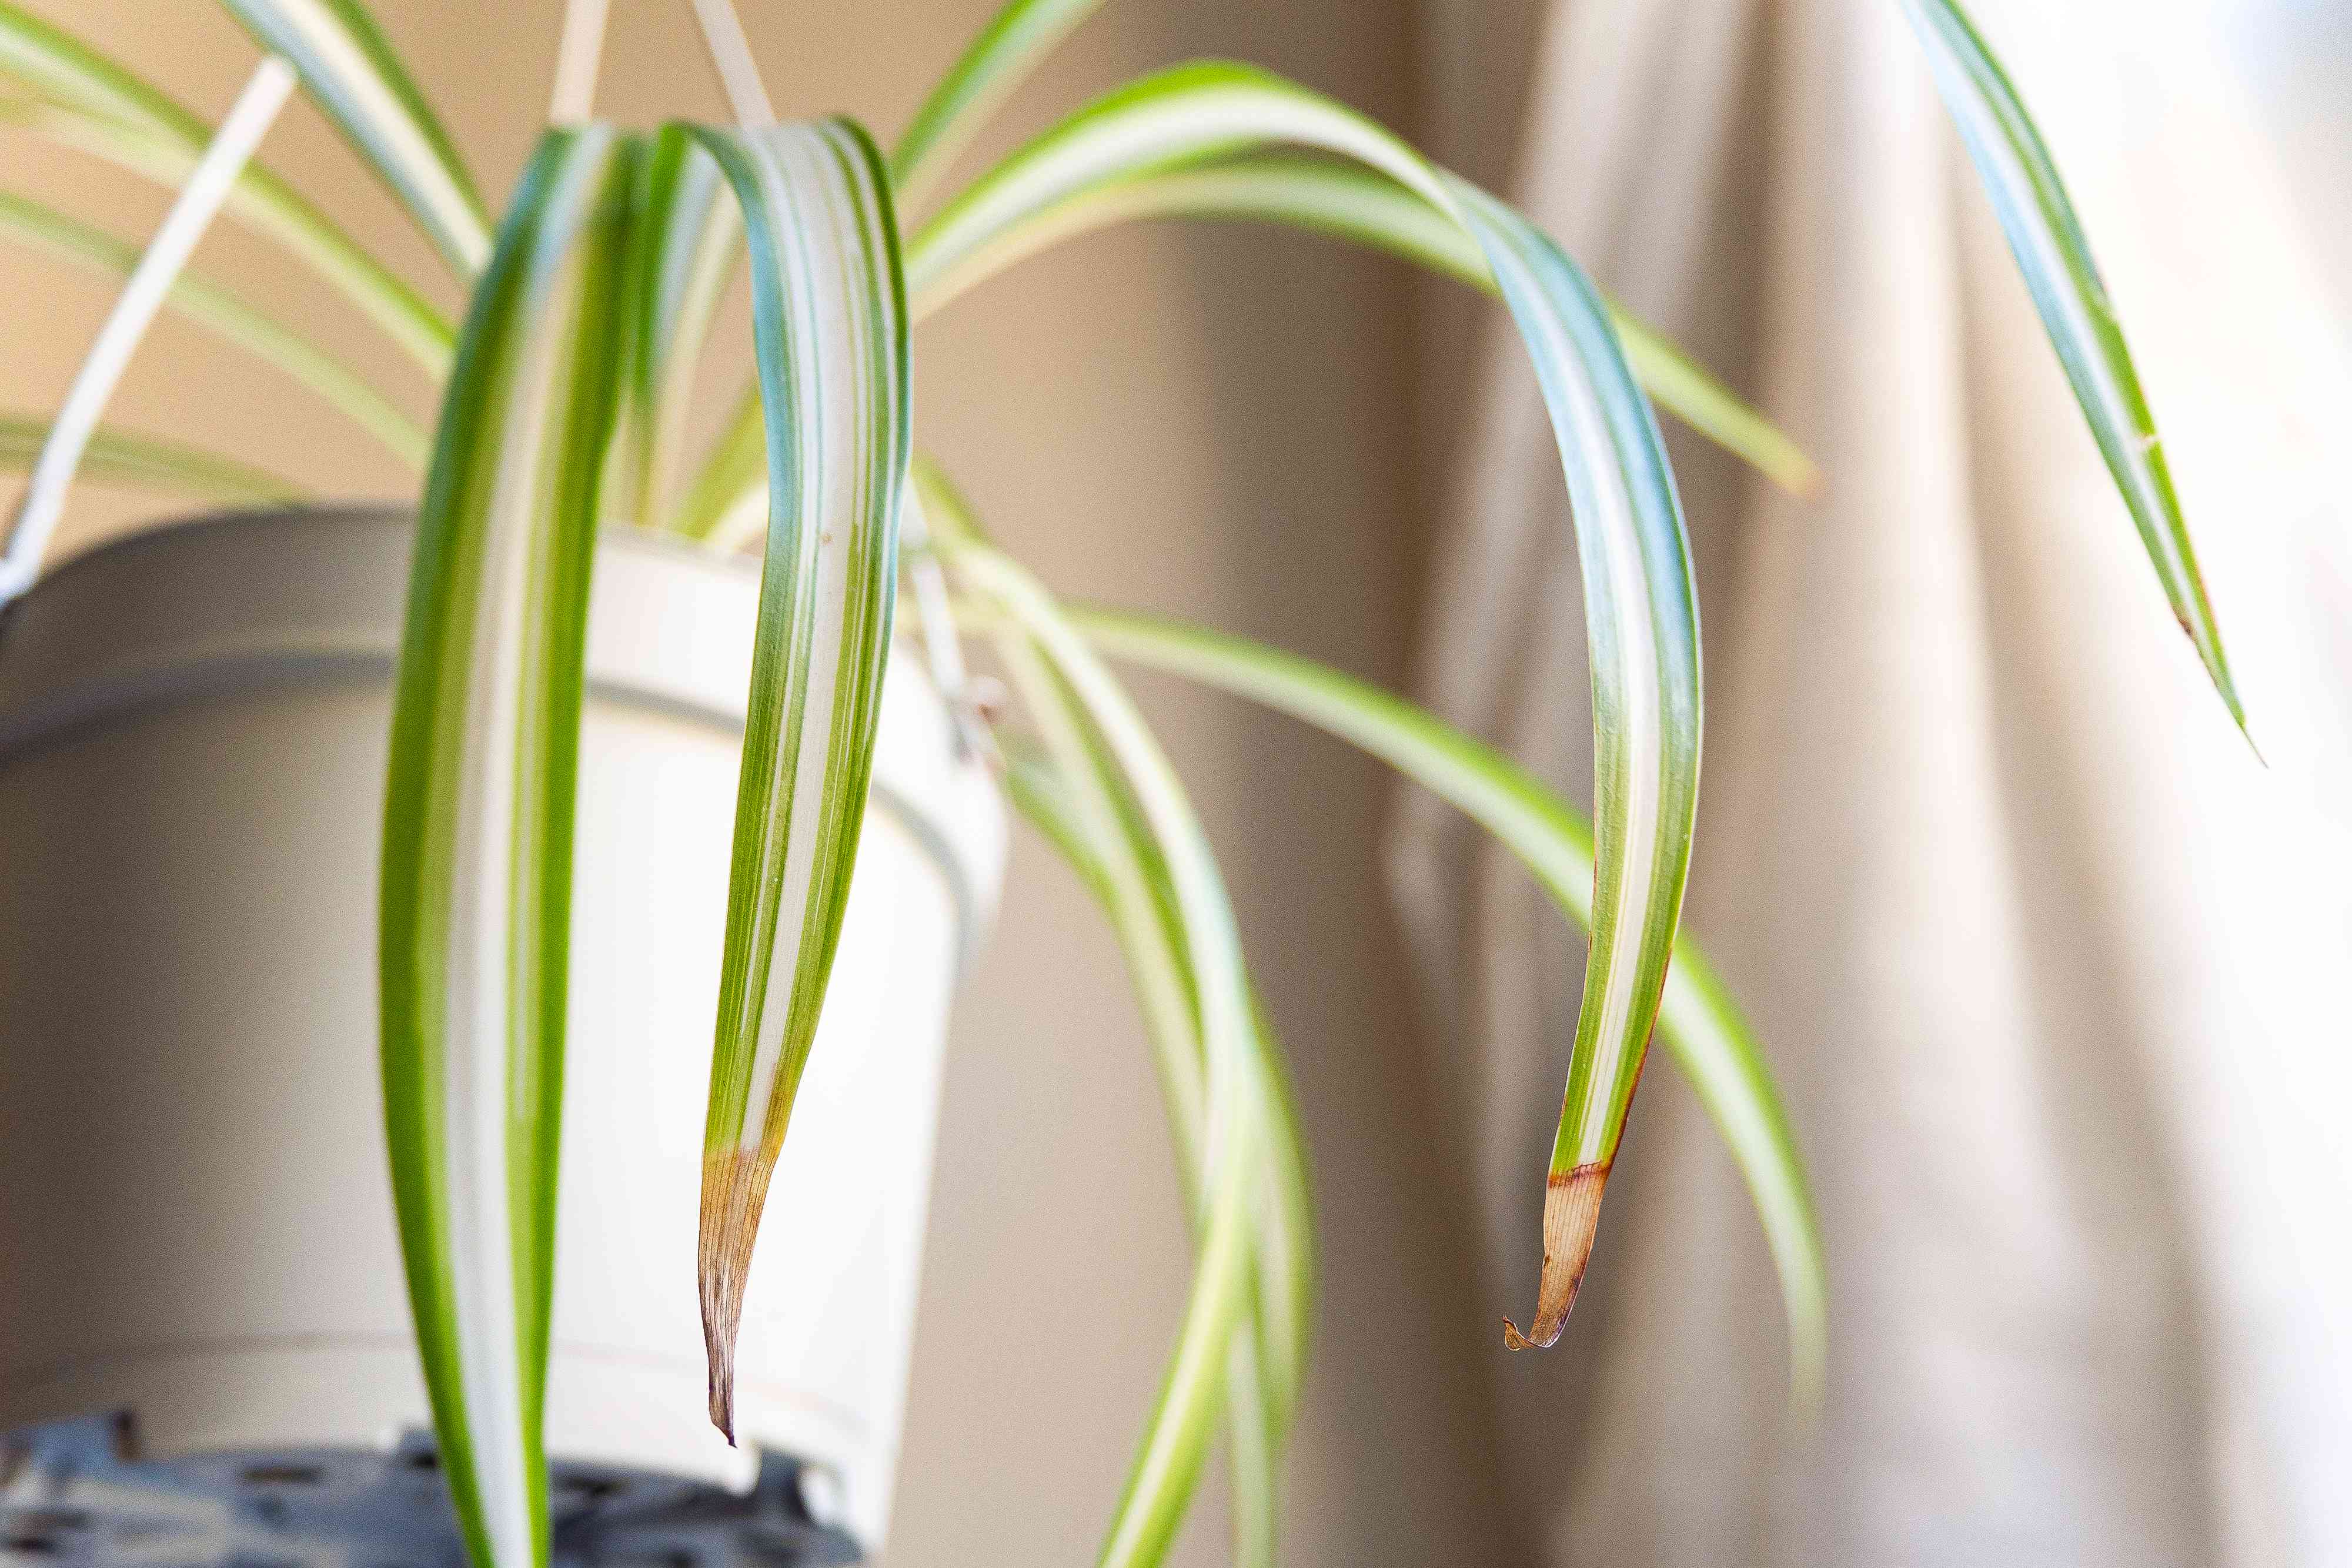
Brown tips vs. brown leaves
These two symptoms often have different clues:
- Brown tips: most commonly caused by water quality (fluoride, chlorine, or chloramine), low humidity, or too much fertilizer.
- Brown leaves or large brown patches: more often linked to sunburn, inconsistent watering, or repeated drought stress or persistently wet soil.
If your spider plant has a mix of both, start with the simplest fixes first: improve water quality, adjust watering consistency, and pause fertilizing for a bit. Then use the checklist below to narrow it down.
Most common causes (and how to fix them)
1) Fluoride, chlorine, or chloramine in tap water
Spider plants are sensitive souls when it comes to salts and additives in tap water. Fluoride is the classic culprit behind crispy brown tips, and chlorine or chloramine can also contribute over time.
What it looks like: tips turn tan, then brown and dry, while the rest of the leaf stays green. It often starts on older leaves first.
Fixes that actually work:
- Switch water sources: Use rainwater, distilled water, or reverse osmosis (RO) water if you can.
- Know what your city uses: Many municipalities publish a yearly water quality report (often called a Consumer Confidence Report). If your supply uses chloramine, the “let it sit out” trick will not do much.
- Try a simple “rested water” routine: Let tap water sit out in an open container for 24 hours to help free chlorine dissipate. Note that this does not reliably remove fluoride, and it will not remove chloramine.
- Filter it: Many common filters reduce chlorine well. Fluoride and chloramine removal usually requires RO, distilled water, or a filter specifically rated for fluoride or chloramine reduction.
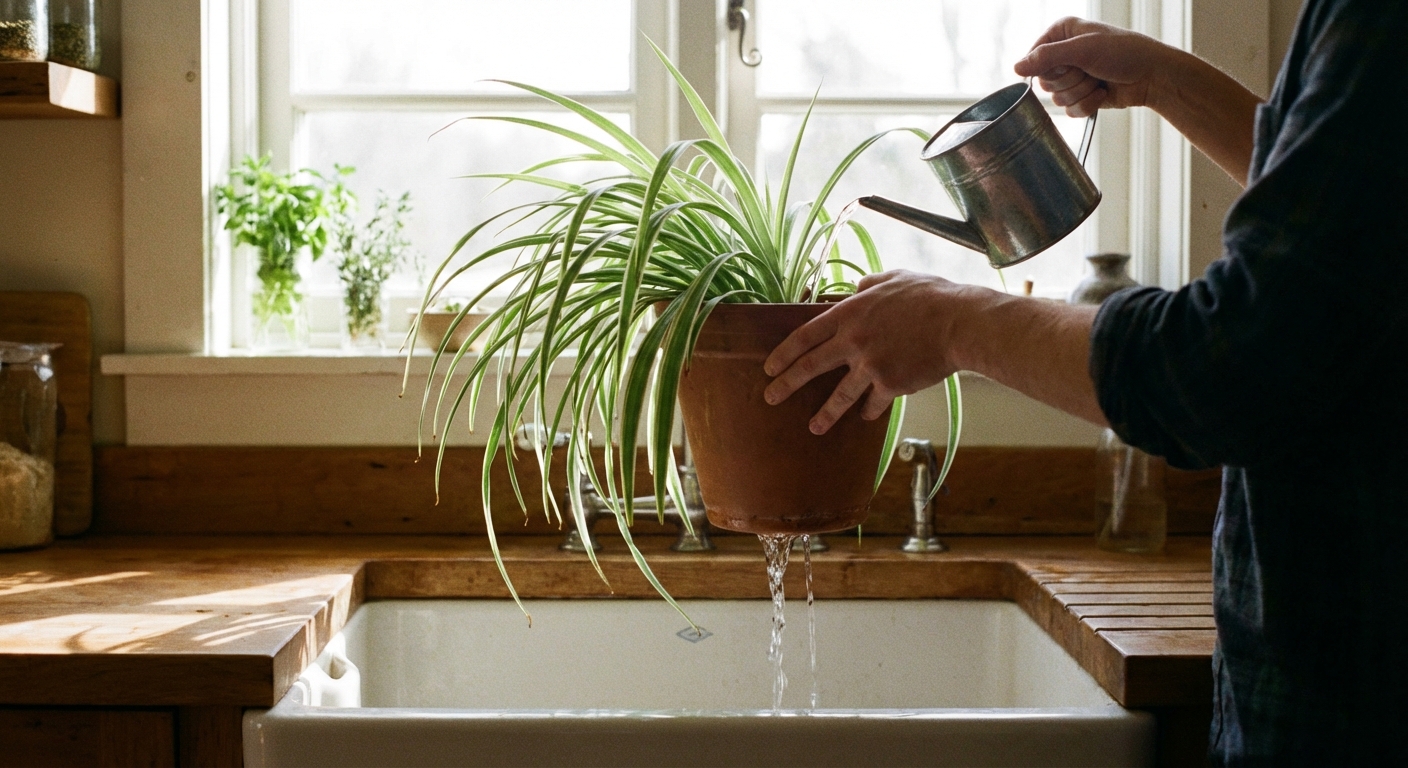
- Flush the pot monthly: Run room-temperature water through the soil until 2 to 4 pot-volumes have drained out the bottom. Then let it drain fully and empty the saucer. This helps wash out accumulated salts that can burn tips.
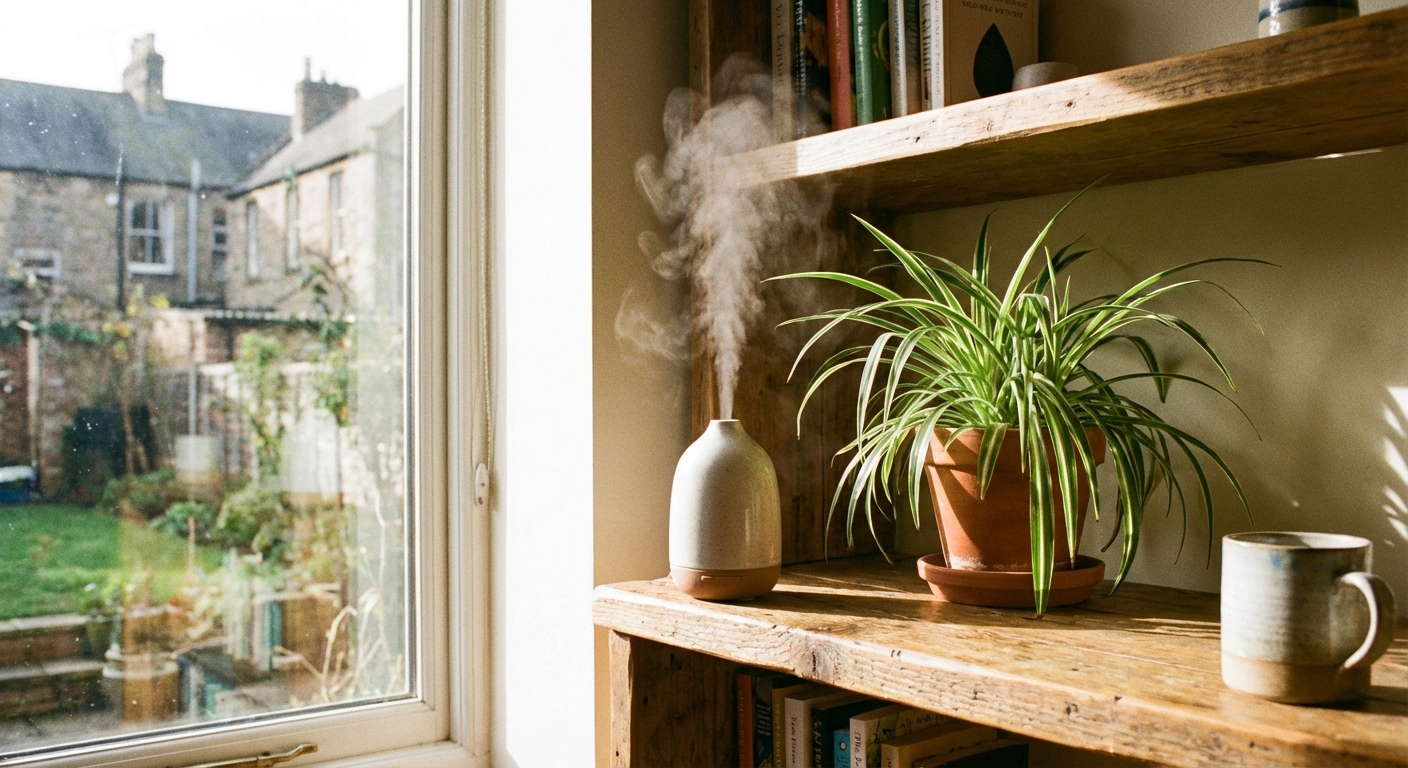
2) Low humidity
Spider plants cope with average home humidity, but very dry air can crisp the tips, especially in winter or near heating vents.
What it looks like: dry, brittle tips and edges, often worse during heating season. Leaves may look slightly dull or less perky.
Fixes:
- Aim for 40 to 60% humidity if possible. It is not a hard requirement, just a sweet spot that can noticeably reduce crisping.
- Move it away from vents and drafty doors or windows.
- Use a humidifier nearby for consistent results.
- Group plants together to create a small humidity pocket.
- Pebble tray option: A tray with pebbles and water under the pot can add a small boost right around the plant, though it is subtle.
- Skip misting as your main plan: It is short-lived and usually not enough to change humidity in a meaningful way.
3) Overfertilizing (salt buildup)
Spider plants do not need heavy feeding. Too much fertilizer, or fertilizing dry soil, can cause salt buildup that shows up as brown tips and leaf burn.
What it looks like: brown tips, sometimes a tan or rusty look along leaf edges. You may also see a white crust on the soil surface or pot rim.
Fixes:
- Pause fertilizing for 4 to 6 weeks.
- Flush the soil thoroughly to rinse excess salts.
- Resume lightly: In spring and summer, feed at 1/4 to 1/2 strength about once a month, or use a gentle organic option.
- Always fertilize on damp soil, never when the mix is bone-dry.
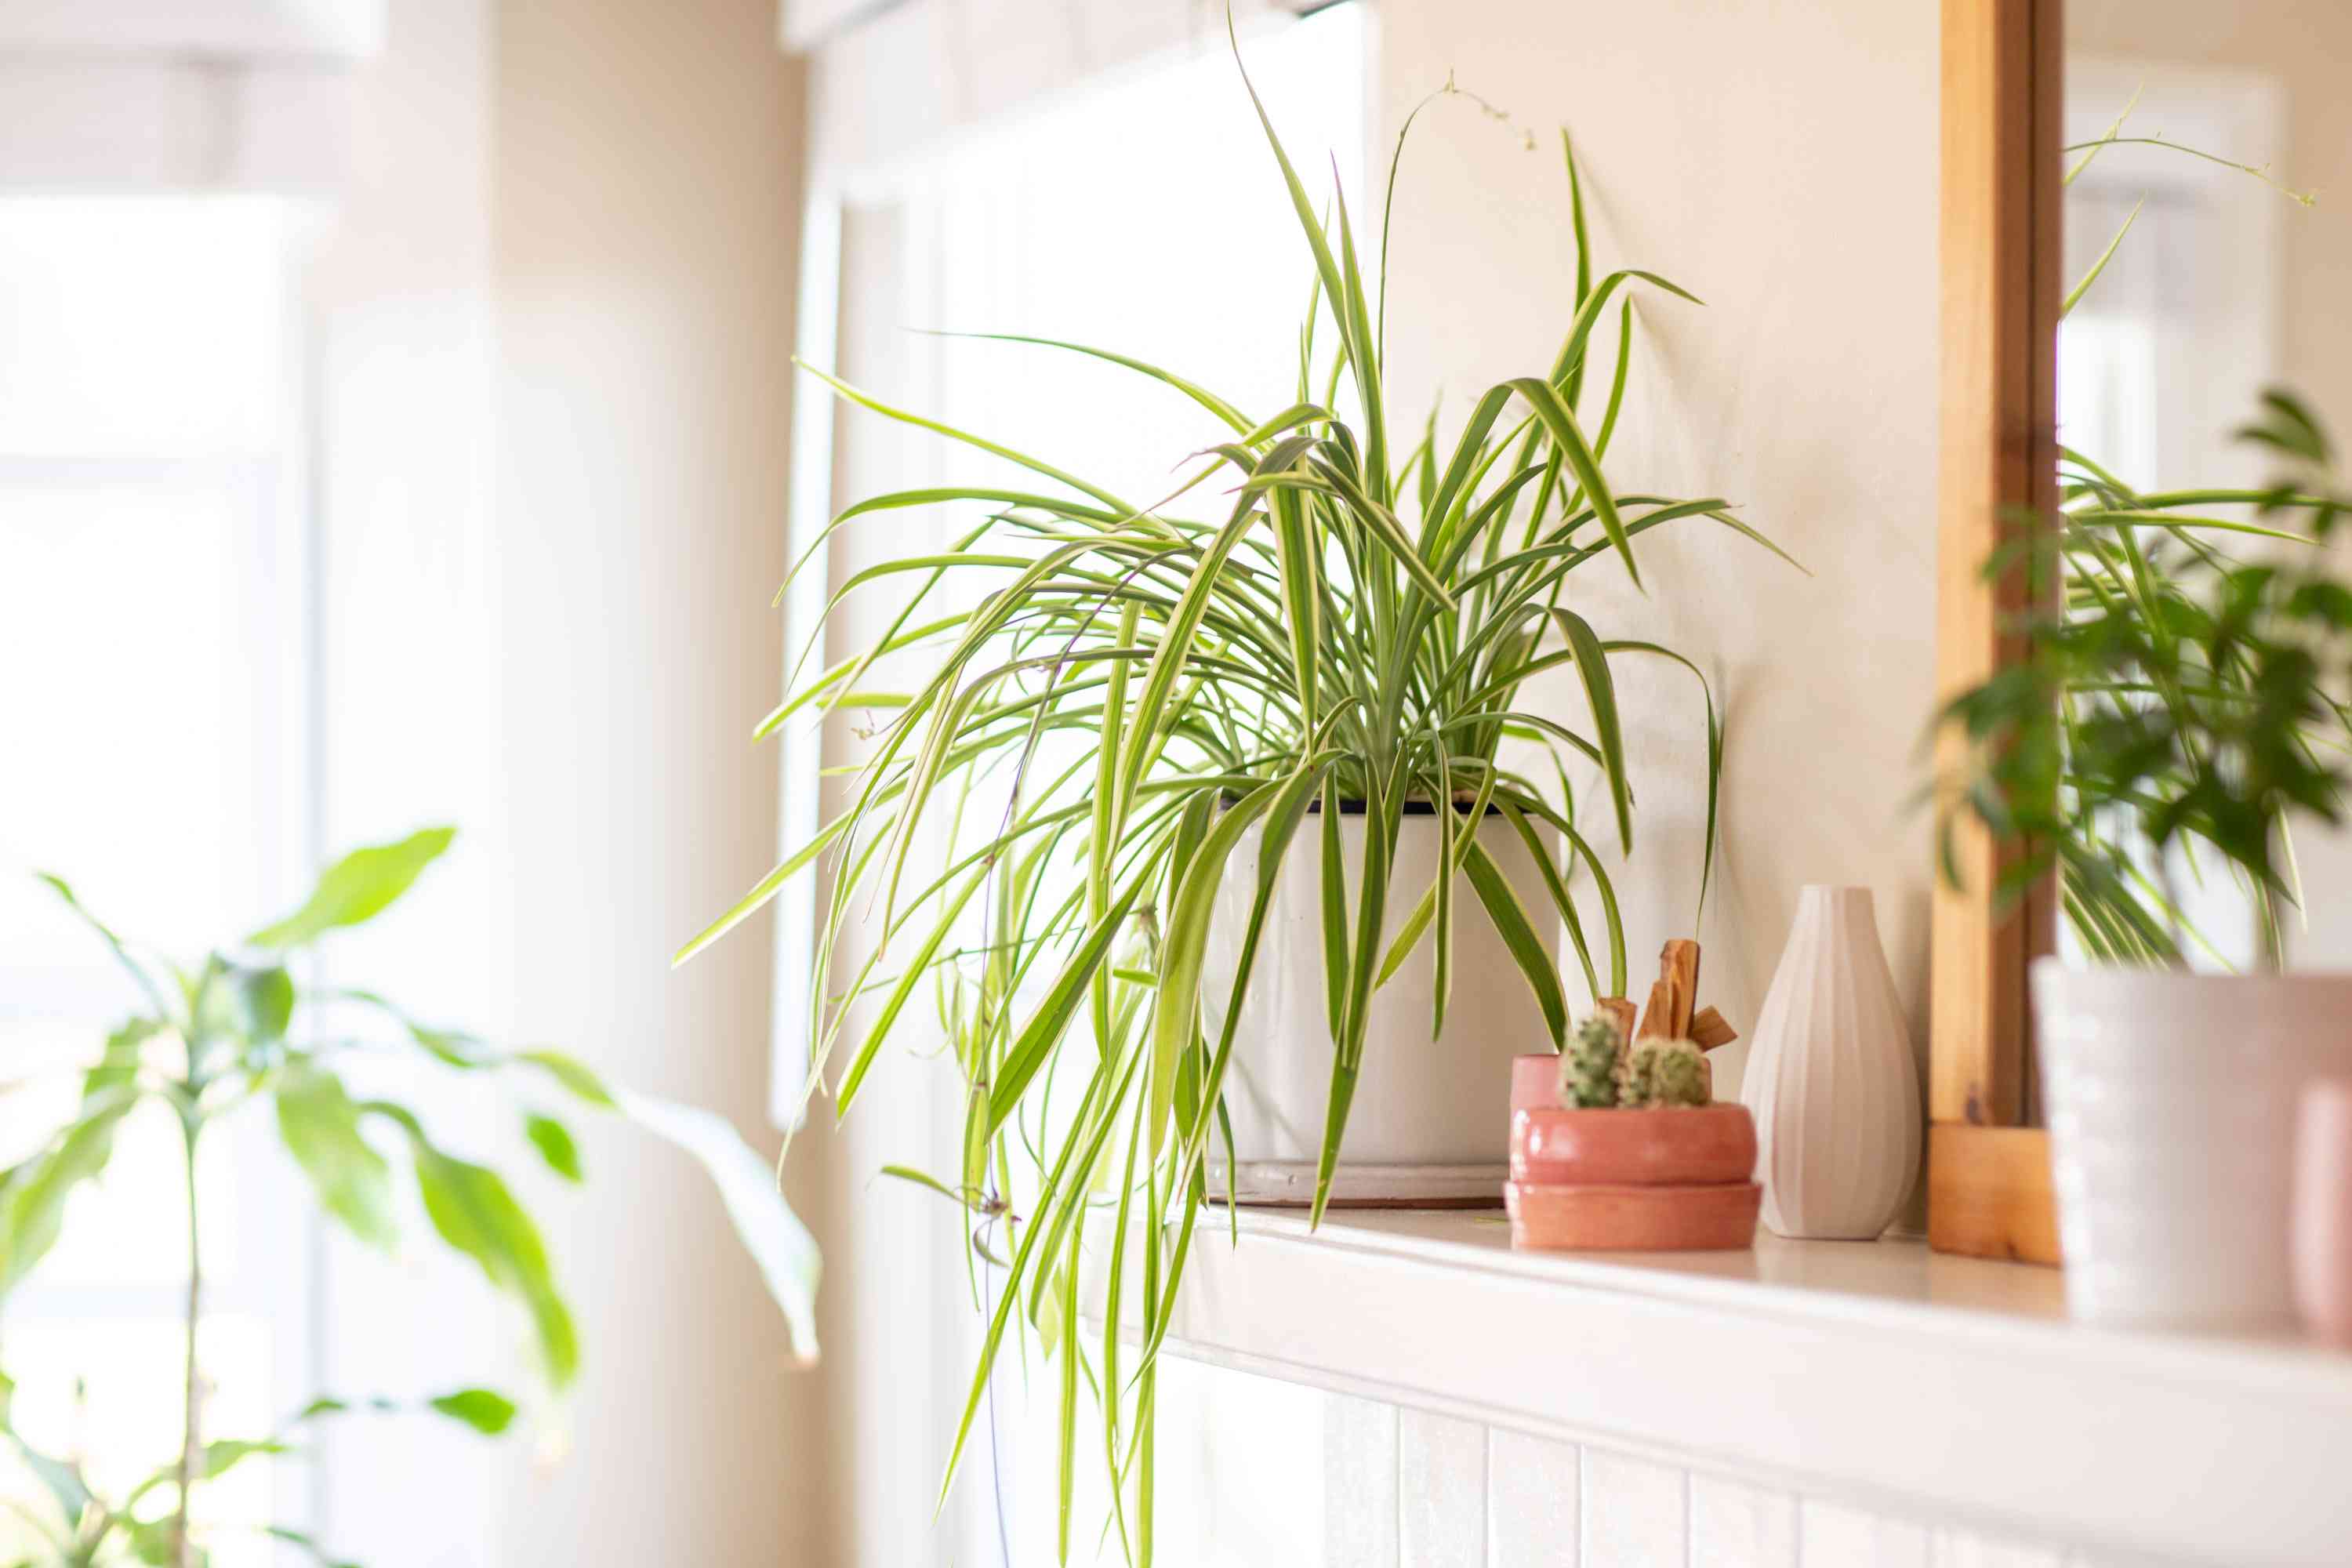
4) Sunburn from harsh direct light
Spider plants love bright light, but strong direct sun can scorch them, especially direct afternoon rays (often south or west exposures in the Northern Hemisphere).
What it looks like: bleached, pale patches that turn tan and papery, or larger brown spots on the side facing the sun.
Fixes:
- Move it back from the window by a few feet, or place it in bright, indirect light.
- Use a sheer curtain to soften intense sun.
- Rotate the pot weekly so one side does not take the full hit.
5) Underwatering (or inconsistent watering)
Spider plants store some water in their chunky roots, but if they go too dry too often, the leaf tips are usually the first to complain.
What it looks like: brown, crispy tips and a generally less lively plant. Soil pulls away from the pot edge when very dry. Leaves may curl slightly.
Fixes:
- Water deeply when the top 1 to 2 inches are dry. Pour until water runs out the drainage holes, then empty the saucer.
- Rehydrate a dried-out pot: If water rushes through without soaking in, bottom-water the pot for 20 to 30 minutes, then drain well.
- Choose the right potting mix: A light, well-draining mix that still holds some moisture works best. If yours dries in a day, it may be too airy, or the plant may be rootbound.
6) Rootbound or tired soil
Spider plants love to fill a pot with thick roots. A little snug is fine, but when it gets extreme, the plant can dry out too fast, or struggle to take up water evenly.
What it looks like: the pot dries unusually fast, water runs straight through, roots circle the bottom, or the plant feels like it is “pushing up” out of the pot.
Fixes:
- Check the roots: Slide the plant out and look for dense circling roots.
- Repot or divide: Size up 1 to 2 inches or divide into smaller plants. Fresh mix often solves multiple problems at once.
- Refresh old mix: If the soil is compacted, crusty, or hard to re-wet, replace it with a fresh, airy mix.
7) Temperature stress and drafts
Cold drafts, blasting AC, or a heater aimed right at the plant can dry tips and edges faster than you think.
Fix: Keep it out of the path of hot or cold airflow, and avoid chilly windowsills in winter.
Quick troubleshooting checklist
If you want a fast “yes or no” path, walk through these in order:
- Water: Are you using tap water high in fluoride, chlorine, or chloramine? Switch to rain, distilled, or RO.
- Soil salts: Have you fertilized recently, or do you see white crust? Flush and pause feeding.
- Light: Does the browning appear on the sun-facing side with pale patches? Move to bright, indirect light.
- Humidity and drafts: Is the air dry or the plant near a vent? Raise humidity or relocate.
- Watering rhythm: Does the plant dry out completely between waterings? Water more consistently.
- Roots and soil: Is it drying out too fast, staying wet too long, or clearly pot-bound? Consider repotting or refreshing the mix.
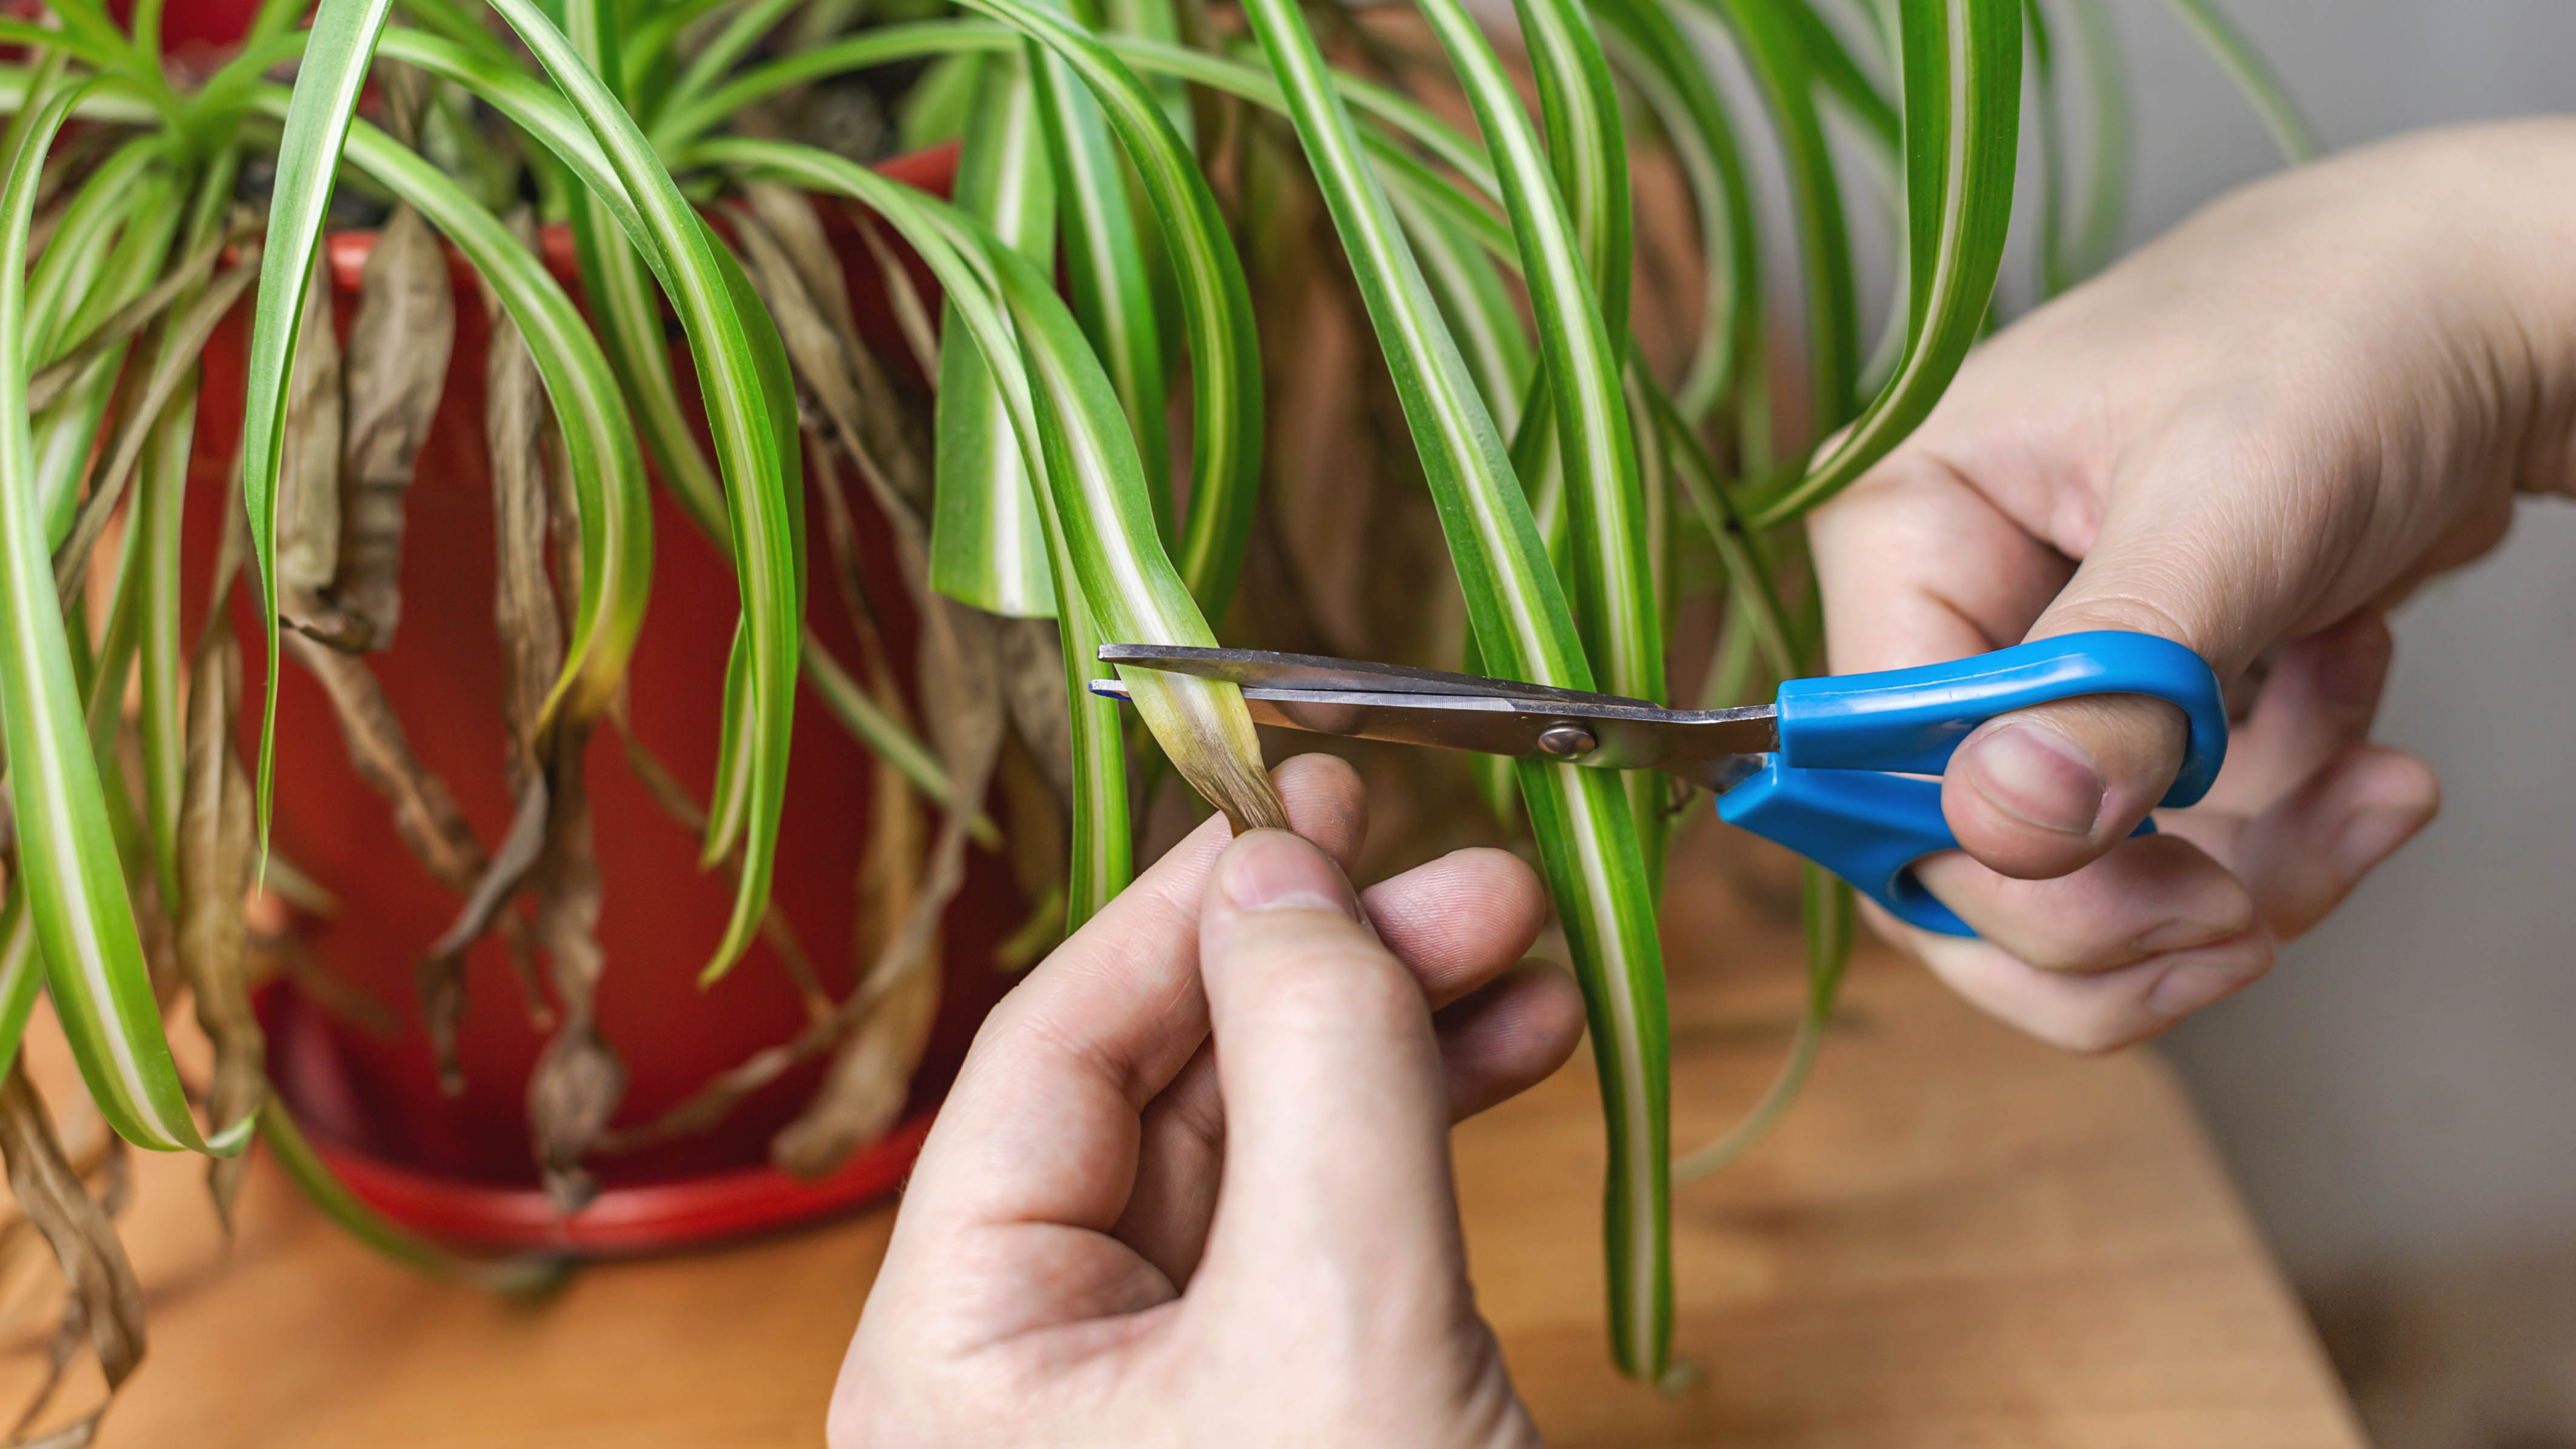
How to trim brown tips
Brown tissue does not turn green again, so trimming is mostly cosmetic. I do it because it makes the plant feel “fresh,” and honestly, it calms my nervous gardener brain.
Step-by-step:
- Grab sharp scissors and wipe the blades with rubbing alcohol.
- Follow the natural leaf shape and snip just the brown part off. Leave a tiny sliver of brown if needed so you do not cut into healthy tissue.
- Remove fully brown leaves at the base if they are more than half damaged.
- Do not trim everything at once if the plant is stressed. A little grooming is fine, but focus on fixing the cause first.
When it is a bigger problem
Most browning is mild, but keep an eye out for these red flags:
- Soft, mushy brown at the base or a sour smell from the soil, which can suggest root rot from overwatering.
- Lots of yellowing plus browning that spreads quickly, which can point to watering issues, tired soil, or a badly rootbound plant.
- Webbing or stippling on leaves, which can indicate spider mites, especially in dry air.
- Sticky residue, cottony clumps, or tiny moving specks can point to pests like mealybugs or thrips.
If any of these sound familiar, slow down and re-check the basics (light, water, drainage, and how fast the pot dries). If you are still unsure, bring a photo or a leaf sample to a local nursery or extension office for a second set of eyes.
The new growth test
Here’s my favorite sanity check: once you change one variable, watch the new leaves. Old leaves may stay imperfect, but if the new growth comes in green and clean, you nailed it.
And if your spider plant throws a few brown tips even when you do everything “right,” welcome to real gardening. Plants are living things, not plastic decor. They are allowed to be a little messy, and so are we.