Vanda Orchid Care for Beginners
Vanda orchids are the high-light lovers of the orchid world. They bloom like jewelry, they grow with their roots out in the open, and they do not appreciate being treated like a typical potted houseplant. If you have ever kept a Phalaenopsis happy and then brought home a Vanda, you probably noticed the care routine feels totally different.
The good news is that Vandas are wonderfully straightforward once you match their natural preferences: bright light (with smart acclimation), warm temps, lots of airflow, and reliable water plus fertilizer. Let me walk you through the two most common ways beginners grow them, and how to pick a watering routine you can actually keep up with.

Meet the Vanda: what makes it different
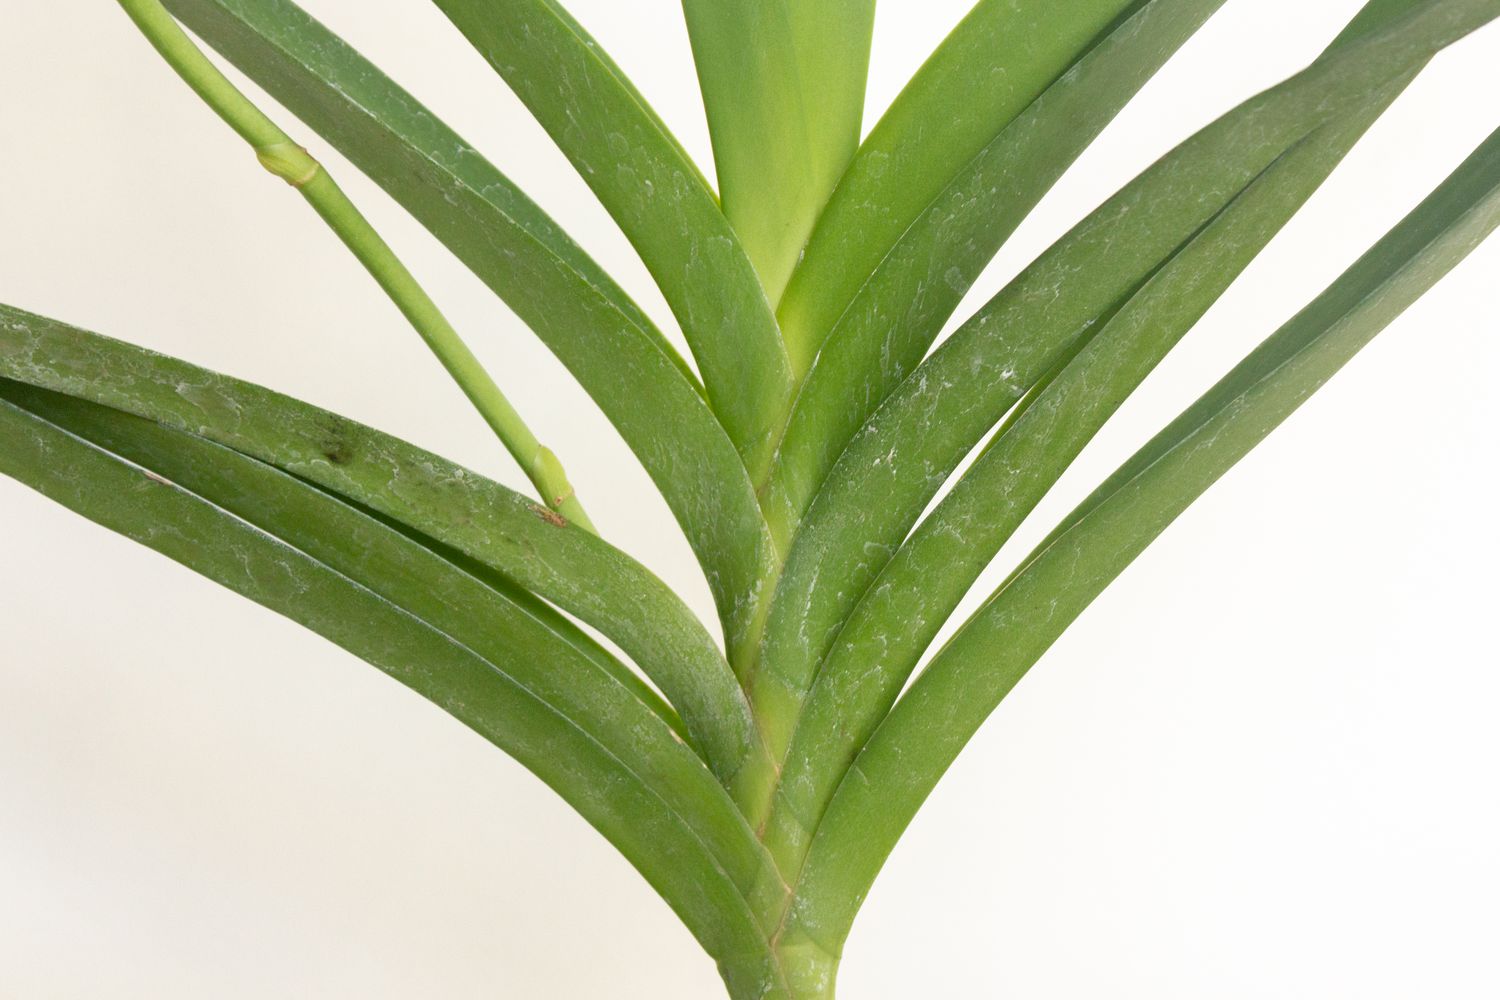
Most true Vandas are monopodial orchids, meaning they grow upward from a single stem, stacking leaves like a green ladder. Their roots are thick and covered in velamen, a spongy layer that soaks up water fast and then needs to dry quickly. That is why Vandas are so often grown with exposed roots.
Quick note on names: many plants sold as “Vanda” are actually vandaceous orchids or hybrids (you may see names like Papilionanthe, Rhynchostylis, or older trade labels like Ascocenda). The care is very similar: high light, warm, airy, and regular watering.
- Light: brighter than many common house orchids, increase gradually
- Water: frequent, especially in warm weather and high light
- Air: constant airflow helps prevent rot
- Food: regular fertilizer makes the difference between surviving and blooming
Bare-root vs basket culture
There is no single best setup. The “right” choice is the one that fits your home’s humidity and your schedule.
Bare-root (no media)
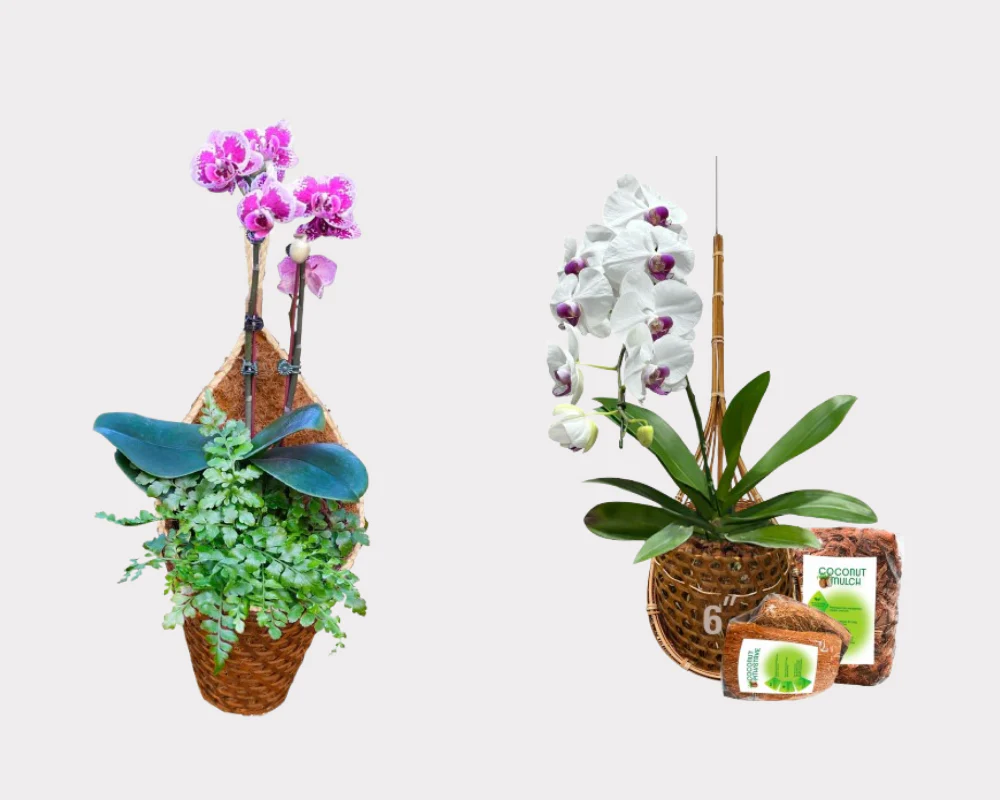
This is the classic look: the plant is grown with roots fully exposed. Indoors, that often means hanging the plant from a hook (with the roots dangling freely) or growing it in a slatted basket with no media. Some growers also use glass vases, but those can reduce airflow if not managed carefully.
- Pros: maximum airflow, lowest rot risk, easy to inspect roots
- Cons: needs frequent watering, can dehydrate quickly in dry homes
- Best for: humid climates, greenhouses, bathrooms with bright light, or anyone who enjoys a near-daily plant ritual
Basket culture (slatted basket, little or no media)
Vandas are often grown in wooden or plastic slatted baskets. Some growers use no media at all. Others tuck in a small amount of chunky material to slow drying.
- Pros: still airy, easy to hang, slightly steadier moisture if you add a bit of media
- Cons: media can sour if it stays wet, baskets degrade over time
- Best for: most beginners, especially in average indoor humidity, as long as you keep it airy and light
If you use any media: think “barely there.” A small handful of large-grade bark, charcoal, or chunky coconut husk can help buffer dryness, but the roots should still get plenty of air. Avoid fine mixes and anything that stays soggy. No packed moss “plugs.” Vandas want breathing room.
Light: bright and careful
Vandas want high light to bloom. Indoors, your brightest window is usually the starting point, but the key is acclimation. A plant that was grown under shade cloth or greenhouse light can scorch if you move it straight into intense sun.
- Ideal indoor placement: very bright east or south window with gentle filtering if the sun is harsh
- Outdoor option: bright shade to morning sun, then increase gradually over a couple of weeks
- Leaf clues: medium green is great. Very dark green often means too little light. Yellowing or scorched patches can mean too much direct sun too fast.
If you are using a grow light, aim for a strong fixture placed at a safe distance, and give the plant a long day length. Vandas are not subtle about asking for more light.
Temps: keep it warm
Most Vandas and vandaceous hybrids are happiest in warm to intermediate conditions. They can handle heat well if water and airflow keep up, but they do not enjoy getting chilled.
- Good target range: about 70 to 90 F (21 to 32 C) in the day, and roughly 60 to 70 F (16 to 21 C) at night
- Avoid: cold drafts, winter window chill, and roots staying wet in cool temperatures
- Tip: if your nights are cooler, scale back watering so the plant dries faster
Humidity and airflow
Vandas love humidity, but they love airflow just as much. The goal is roots that get wet thoroughly, then dry reasonably fast.
- Humidity target: 50% to 70% is a workable indoor range, and higher (60% to 80%+) can be even better if airflow is strong
- Air movement: a gentle fan nearby indoors can be a game-changer
- Avoid: stagnant corners where wet roots stay wet for hours and hours
My quirky little rule: if you can feel a soft breeze, your Vanda can breathe too.
Watering: misting vs soaking
This is where most beginners either fall in love with Vandas or feel slightly bullied by them. Vandas do not want “a little sip.” They want a full drink, then time to dry.
Daily misting: when it helps and when it disappoints
Misting can be useful for short-term humidity and for cooling roots in hot weather, but on its own it often does not hydrate a Vanda deeply enough, especially indoors. A quick mist may only wet the outer velamen and evaporate fast.
- Use misting as a supplement, not the main routine.
- Mist in the morning so roots and leaf axils dry before night.
- Avoid blasting water into the crown where leaves meet the stem.
Soaking: the beginner-friendly core routine
Soaking is the most reliable way to hydrate a Vanda thoroughly. You can dunk the roots in a clean bucket, a sink, or a tub. The roots will turn from silvery to green as they absorb water.
- Typical soak time: 10 to 20 minutes
- Rule of thumb: water again when the roots return to mostly silvery and feel dry, not by the calendar alone
- Hygiene tip: do not share soak water between plants. Fresh water per plant helps reduce disease spread.
Simple schedules that actually work
Use these as a starting point, then adjust based on how quickly the roots dry, how firm the leaves stay, and your temperatures.
- Warm, bright, active growth: soak daily or every other day if roots dry within that time
- Moderate indoor conditions: soak 2 to 4 times per week
- Cooler or lower light: soak 1 to 2 times per week, and make sure the plant dries well before night
- Very dry homes: soak more often, add airflow, or add a tiny amount of chunky media in a basket to slow the dry-down
Quick reality check: if your Vanda is bare-root in a bright, warm room, it may genuinely want water almost every day. That is not you doing it wrong. That is just the plant doing what it does.
Water quality: the quiet factor
Because Vandas are watered so often, they can be more sensitive to mineral and fertilizer salts than slower-drying orchids.
- Best case: rainwater, distilled, or RO water if available
- If using tap: it can still work, just be consistent about flushing and watch for crusty residue
- Clue: white buildup on roots or basket slats often means it is time to flush more often
Feeding: keep it simple
Vandas are strong feeders because they are watered often and have limited access to stored nutrients. Regular, light feeding keeps growth steady and encourages blooming.
- Type: a balanced orchid fertilizer works well (some growers switch formulas seasonally, but it is optional)
- Strength: dilute to about 1/4 to 1/2 strength if feeding frequently
- Frequency: feed weekly in warm, bright conditions, or “weakly, weekly” with frequent watering
- Flush: rinse with plain water regularly to prevent salt buildup
If your water is very hard or you see crusty residue on roots or basket slats, flushing becomes even more important.
Blooming: what to expect
Vandas can be generous bloomers, but they usually need high light and steady care to get there. If yours grows roots and leaves but refuses to flower, light is the first thing to review.
- Biggest bloom lever: more light (increased gradually to avoid scorch)
- Also helps: consistent feeding and warm temps with good airflow
- Patience tip: a newly purchased plant may need time to settle into your conditions before it blooms again
Common issues and fixes
Wrinkled leaves
Wrinkled, pleated, or limp leaves almost always point to dehydration, but the cause can be either not enough water or roots that cannot absorb water.
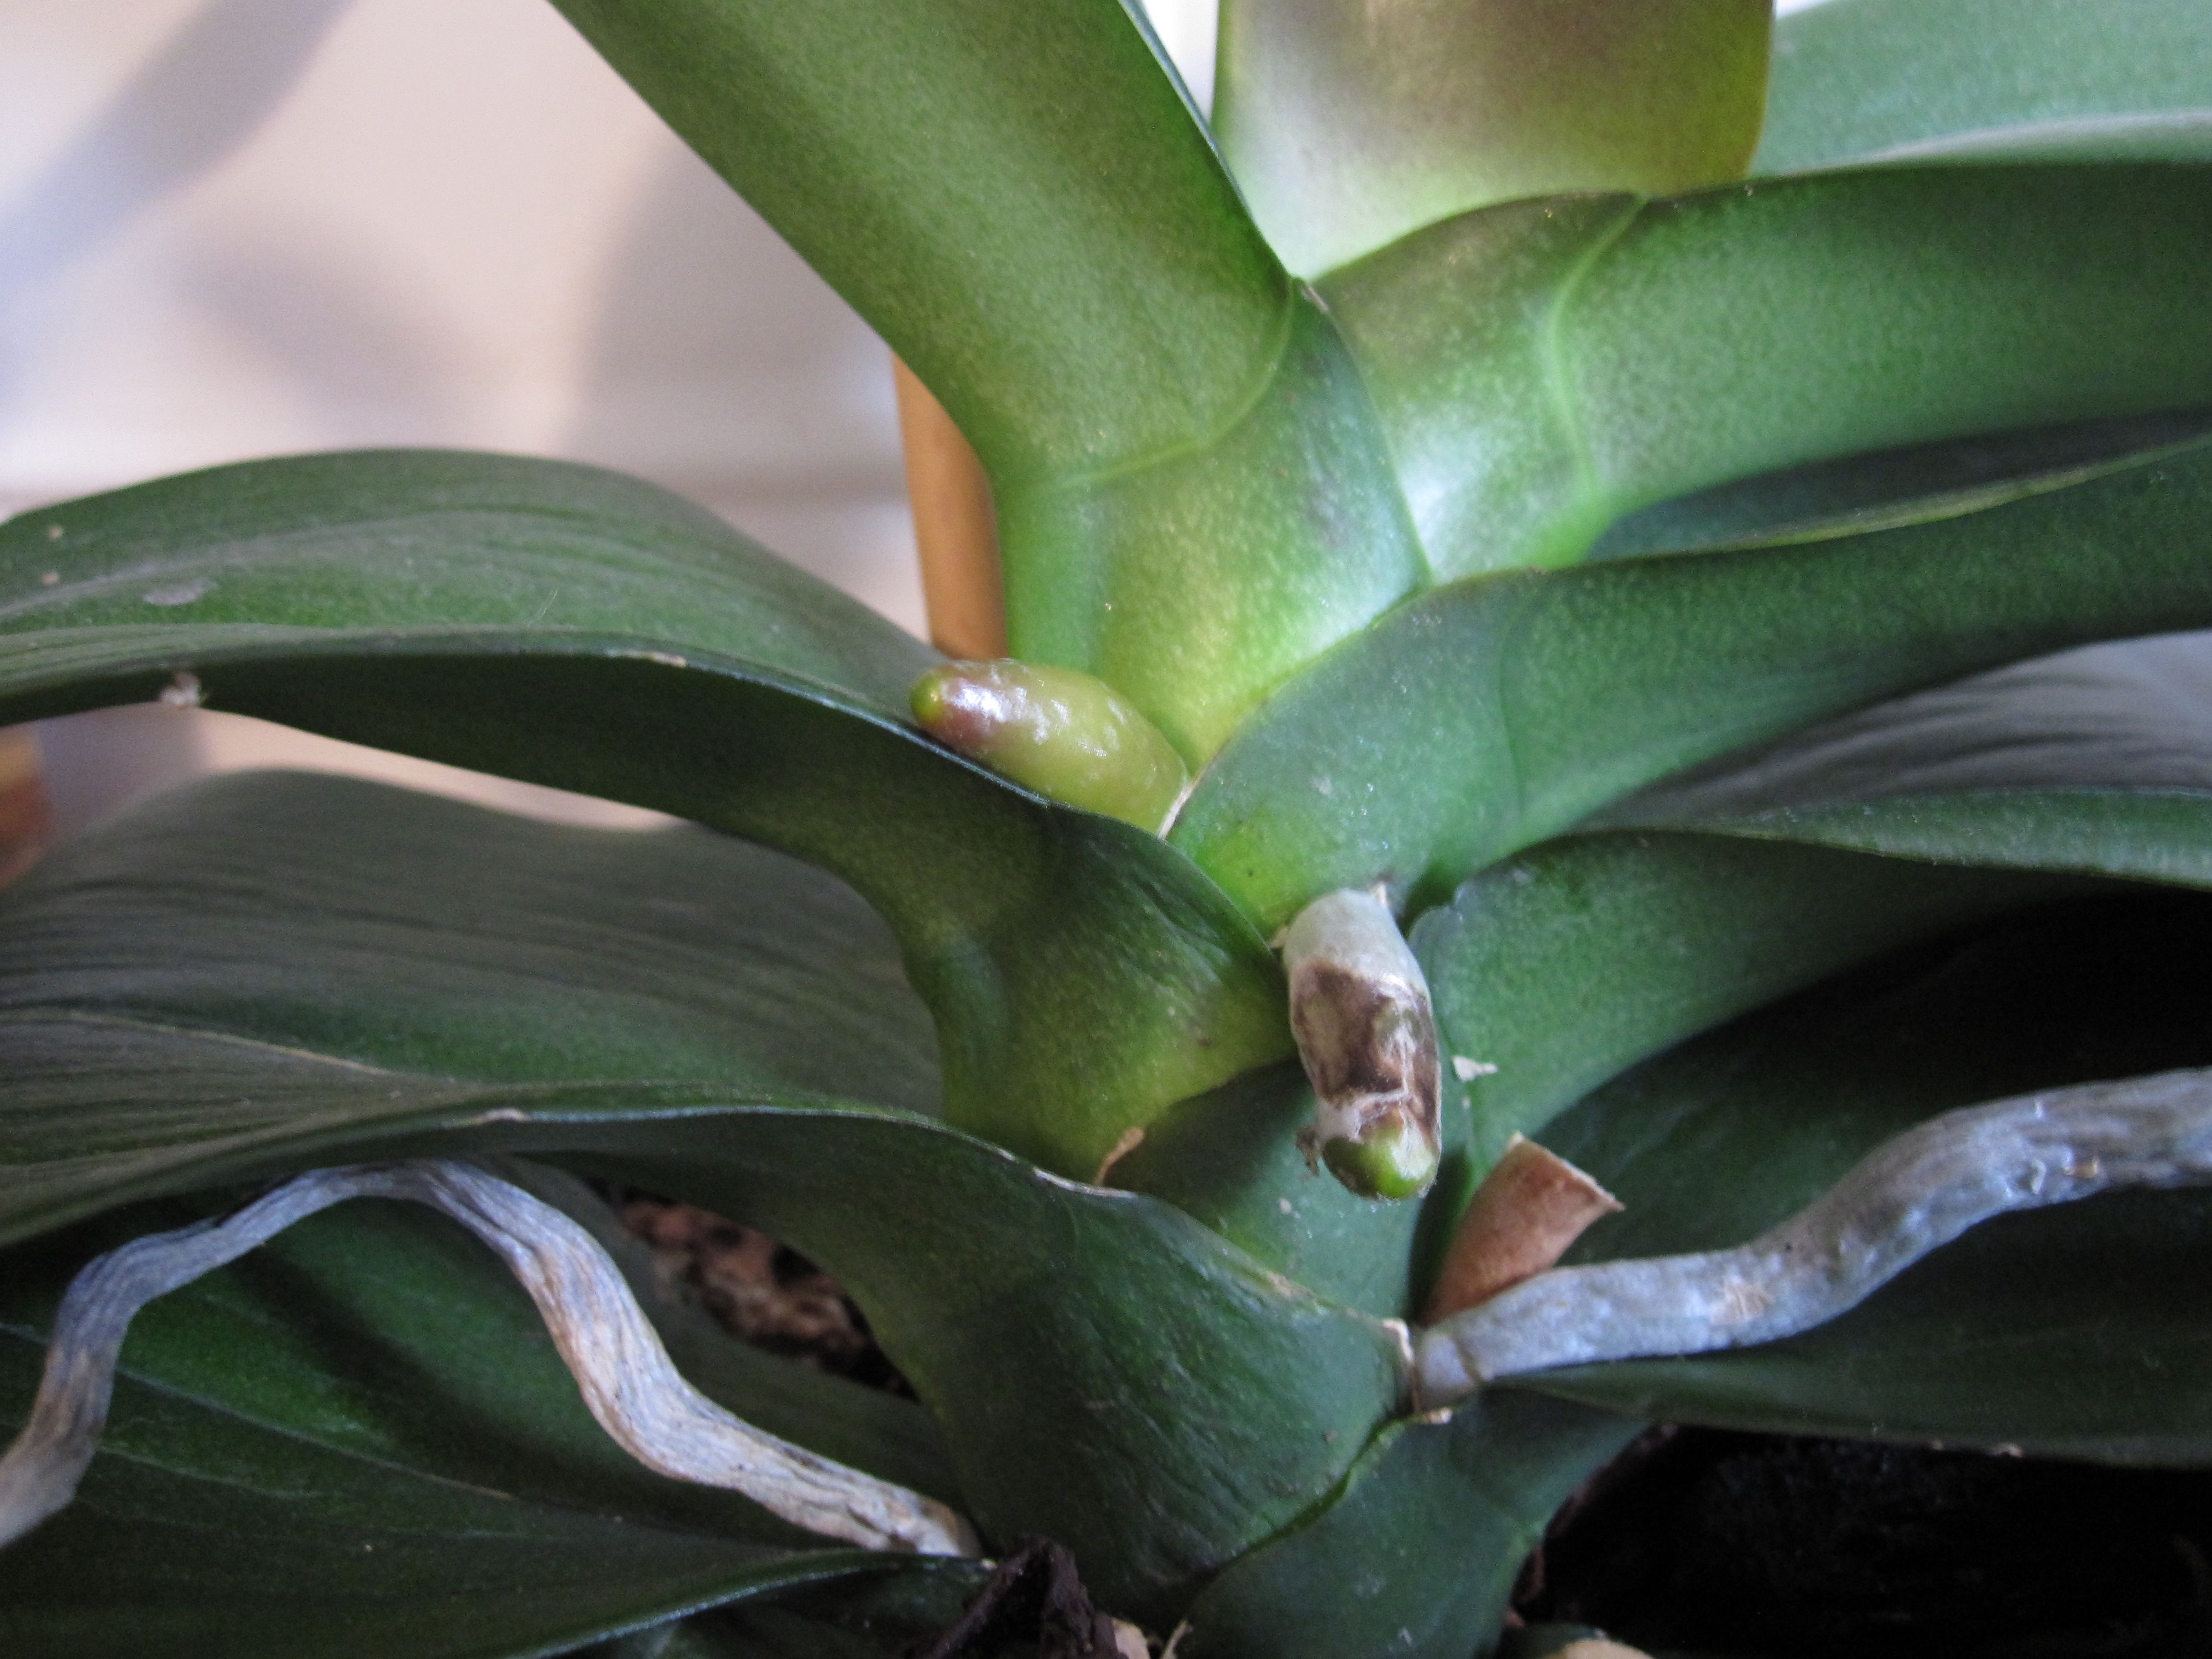
- Check the roots: healthy roots are firm, with green tips and a silvery coating when dry. Hollow, papery, or brown mushy roots are not doing their job.
- Adjust watering: switch from misting-only to regular soaking.
- Increase humidity: add airflow plus a humidifier, or move to a brighter bathroom window.
- Watch the crown: avoid letting water sit where leaves join the stem.
Root rot
Root rot comes from the deadly combo of wet plus stagnant. It can happen in baskets with packed media, in low airflow, or when roots stay wet overnight. It is also much more likely when conditions are cool and wet at the same time.
- Remove failed media: if it smells sour, stays wet too long, or looks broken down, it is time.
- Trim carefully: snip dead, mushy roots with sterile scissors.
- Improve airflow: increase spacing, add a fan, and make sure roots dry between waterings.
- Rethink placement: a dim corner is a rot invitation.
Crown or stem rot
This is the one to take seriously. If water sits in the crown (where leaves meet the stem), especially in cool or low-airflow conditions, it can lead to fast rot.
- Water early: mornings give the plant time to dry
- Keep the crown dry: avoid spraying into leaf axils, tilt the plant after watering if needed
- Add airflow: gentle movement helps everything dry the way it should
If you are unsure whether a root is alive, gently squeeze it. A healthy root feels firm. A dead one collapses or feels hollow.
When to re-basket
Vandas do not need traditional repotting very often because many are grown with minimal media. Think in terms of re-basketing or refreshing the setup.
- Re-basket when:
- The basket is breaking down or roots have completely overtaken it.
- Any media has decomposed, stays wet too long, or smells off.
- You have ongoing rot and need a reset with better airflow.
- The plant has grown top-heavy and is unstable.
- Best timing: during active growth, when you see fresh root tips starting. Those new tips adapt fastest.
Beginner-friendly re-basket steps:
- Soak the roots first so they are flexible.
- Gently work the plant out of the old basket. Do not force brittle roots.
- Trim only truly dead roots.
- Set the plant in a new slatted basket, keeping the stem upright.
- Add minimal chunky media only if you need a moisture buffer.
- Water normally, then prioritize airflow.
A calm checklist
- Light: as bright as you can manage, increase gradually to avoid scorch
- Water: soak as your main routine, mist only as a supplement
- Dry time: wet thoroughly, then let roots dry with airflow
- Humidity: 50% to 70% works indoors, higher helps if air keeps moving
- Temps: keep it warm, avoid cold drafts and cool wet roots
- Fertilizer: dilute and consistent, flush salts often
- Crown care: do not let water sit in leaf axils
If you are feeling nervous, remember this: Vandas are not fragile. They are specific. Once you give them the basics, they reward you with vigorous roots, sturdy leaves, and blooms that stop you in your tracks.