Tomato Transplant Shock: Prevention and Recovery
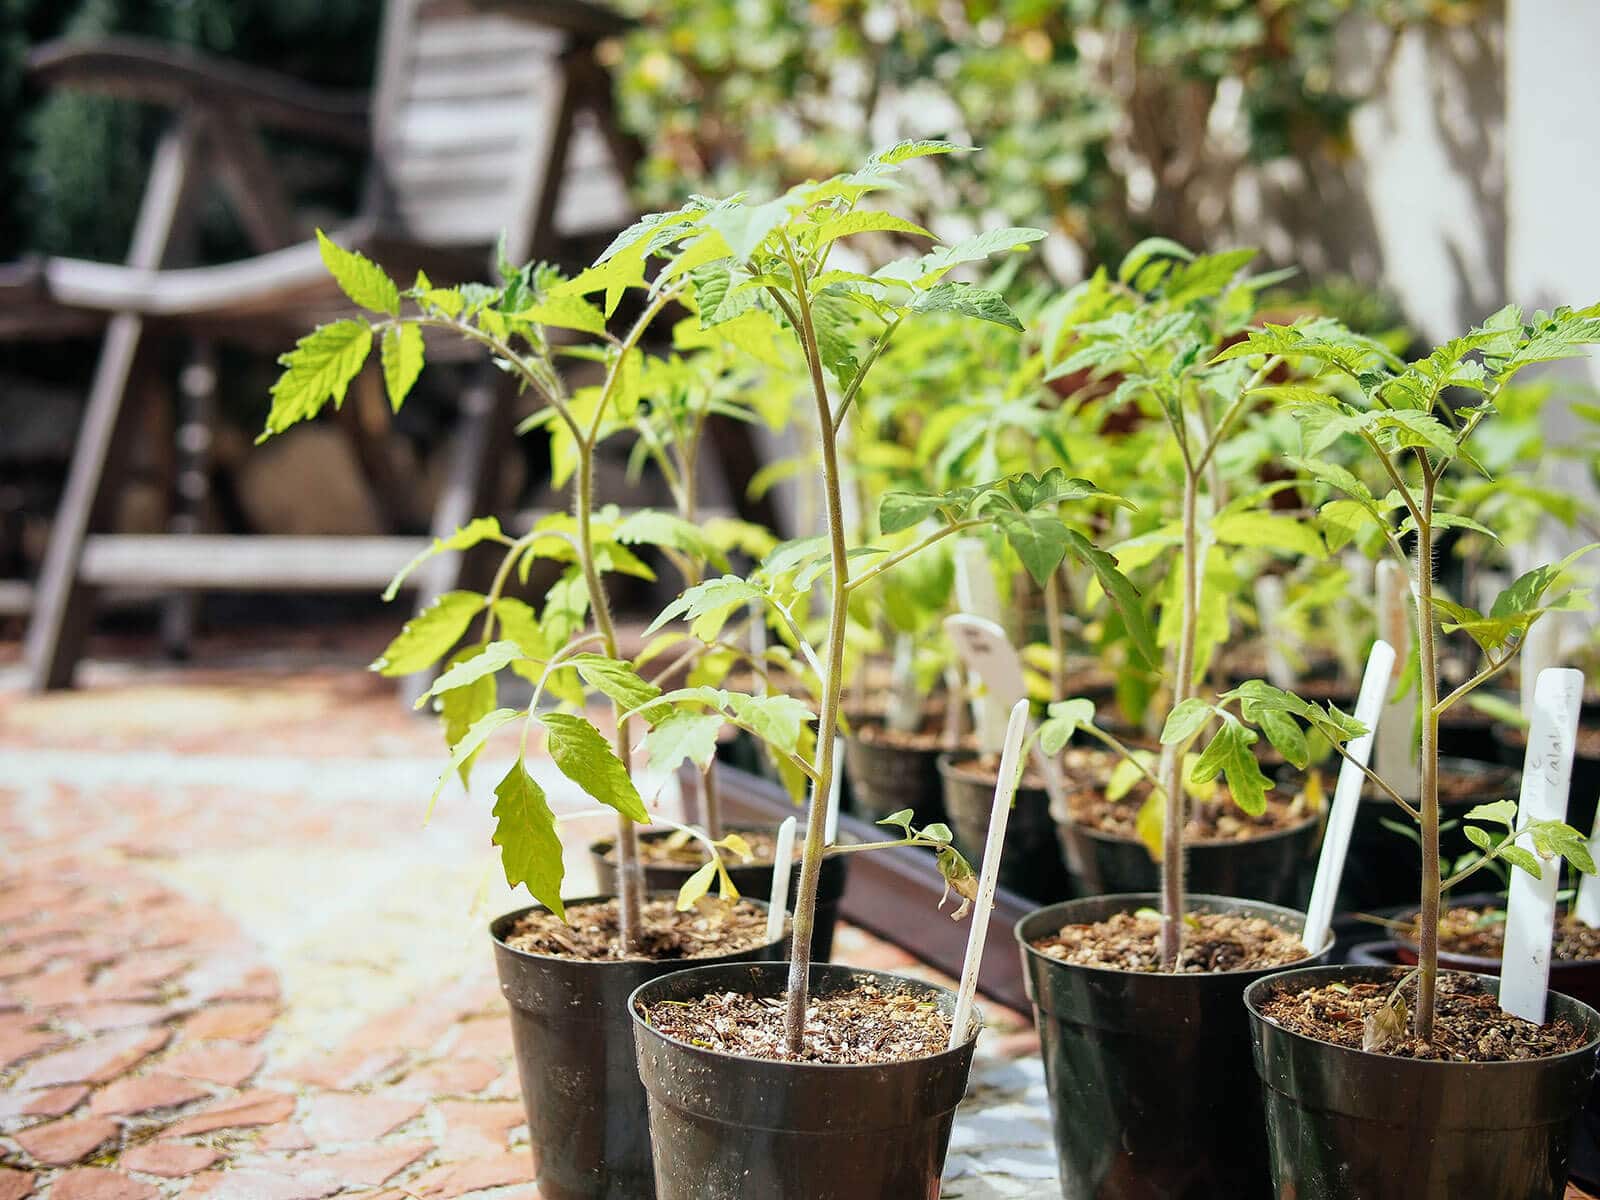
Tomatoes are dramatic little sun worshippers. One day they are perky in their pots, the next day they hit the garden bed and flop like they are auditioning for a soap opera. That post-transplant droop is often transplant shock, and the good news is that most tomatoes bounce back when you support their roots and lower stress.
This page walks you through prevention and recovery, plus how to tell temporary wilt from problems like frost injury, overwatering, or disease.

What transplant shock looks like
Transplant shock is a stress response that happens when roots and leaves suddenly experience new conditions like brighter sun, wind, colder nights, or different soil moisture. Tomatoes often show it within hours of planting.
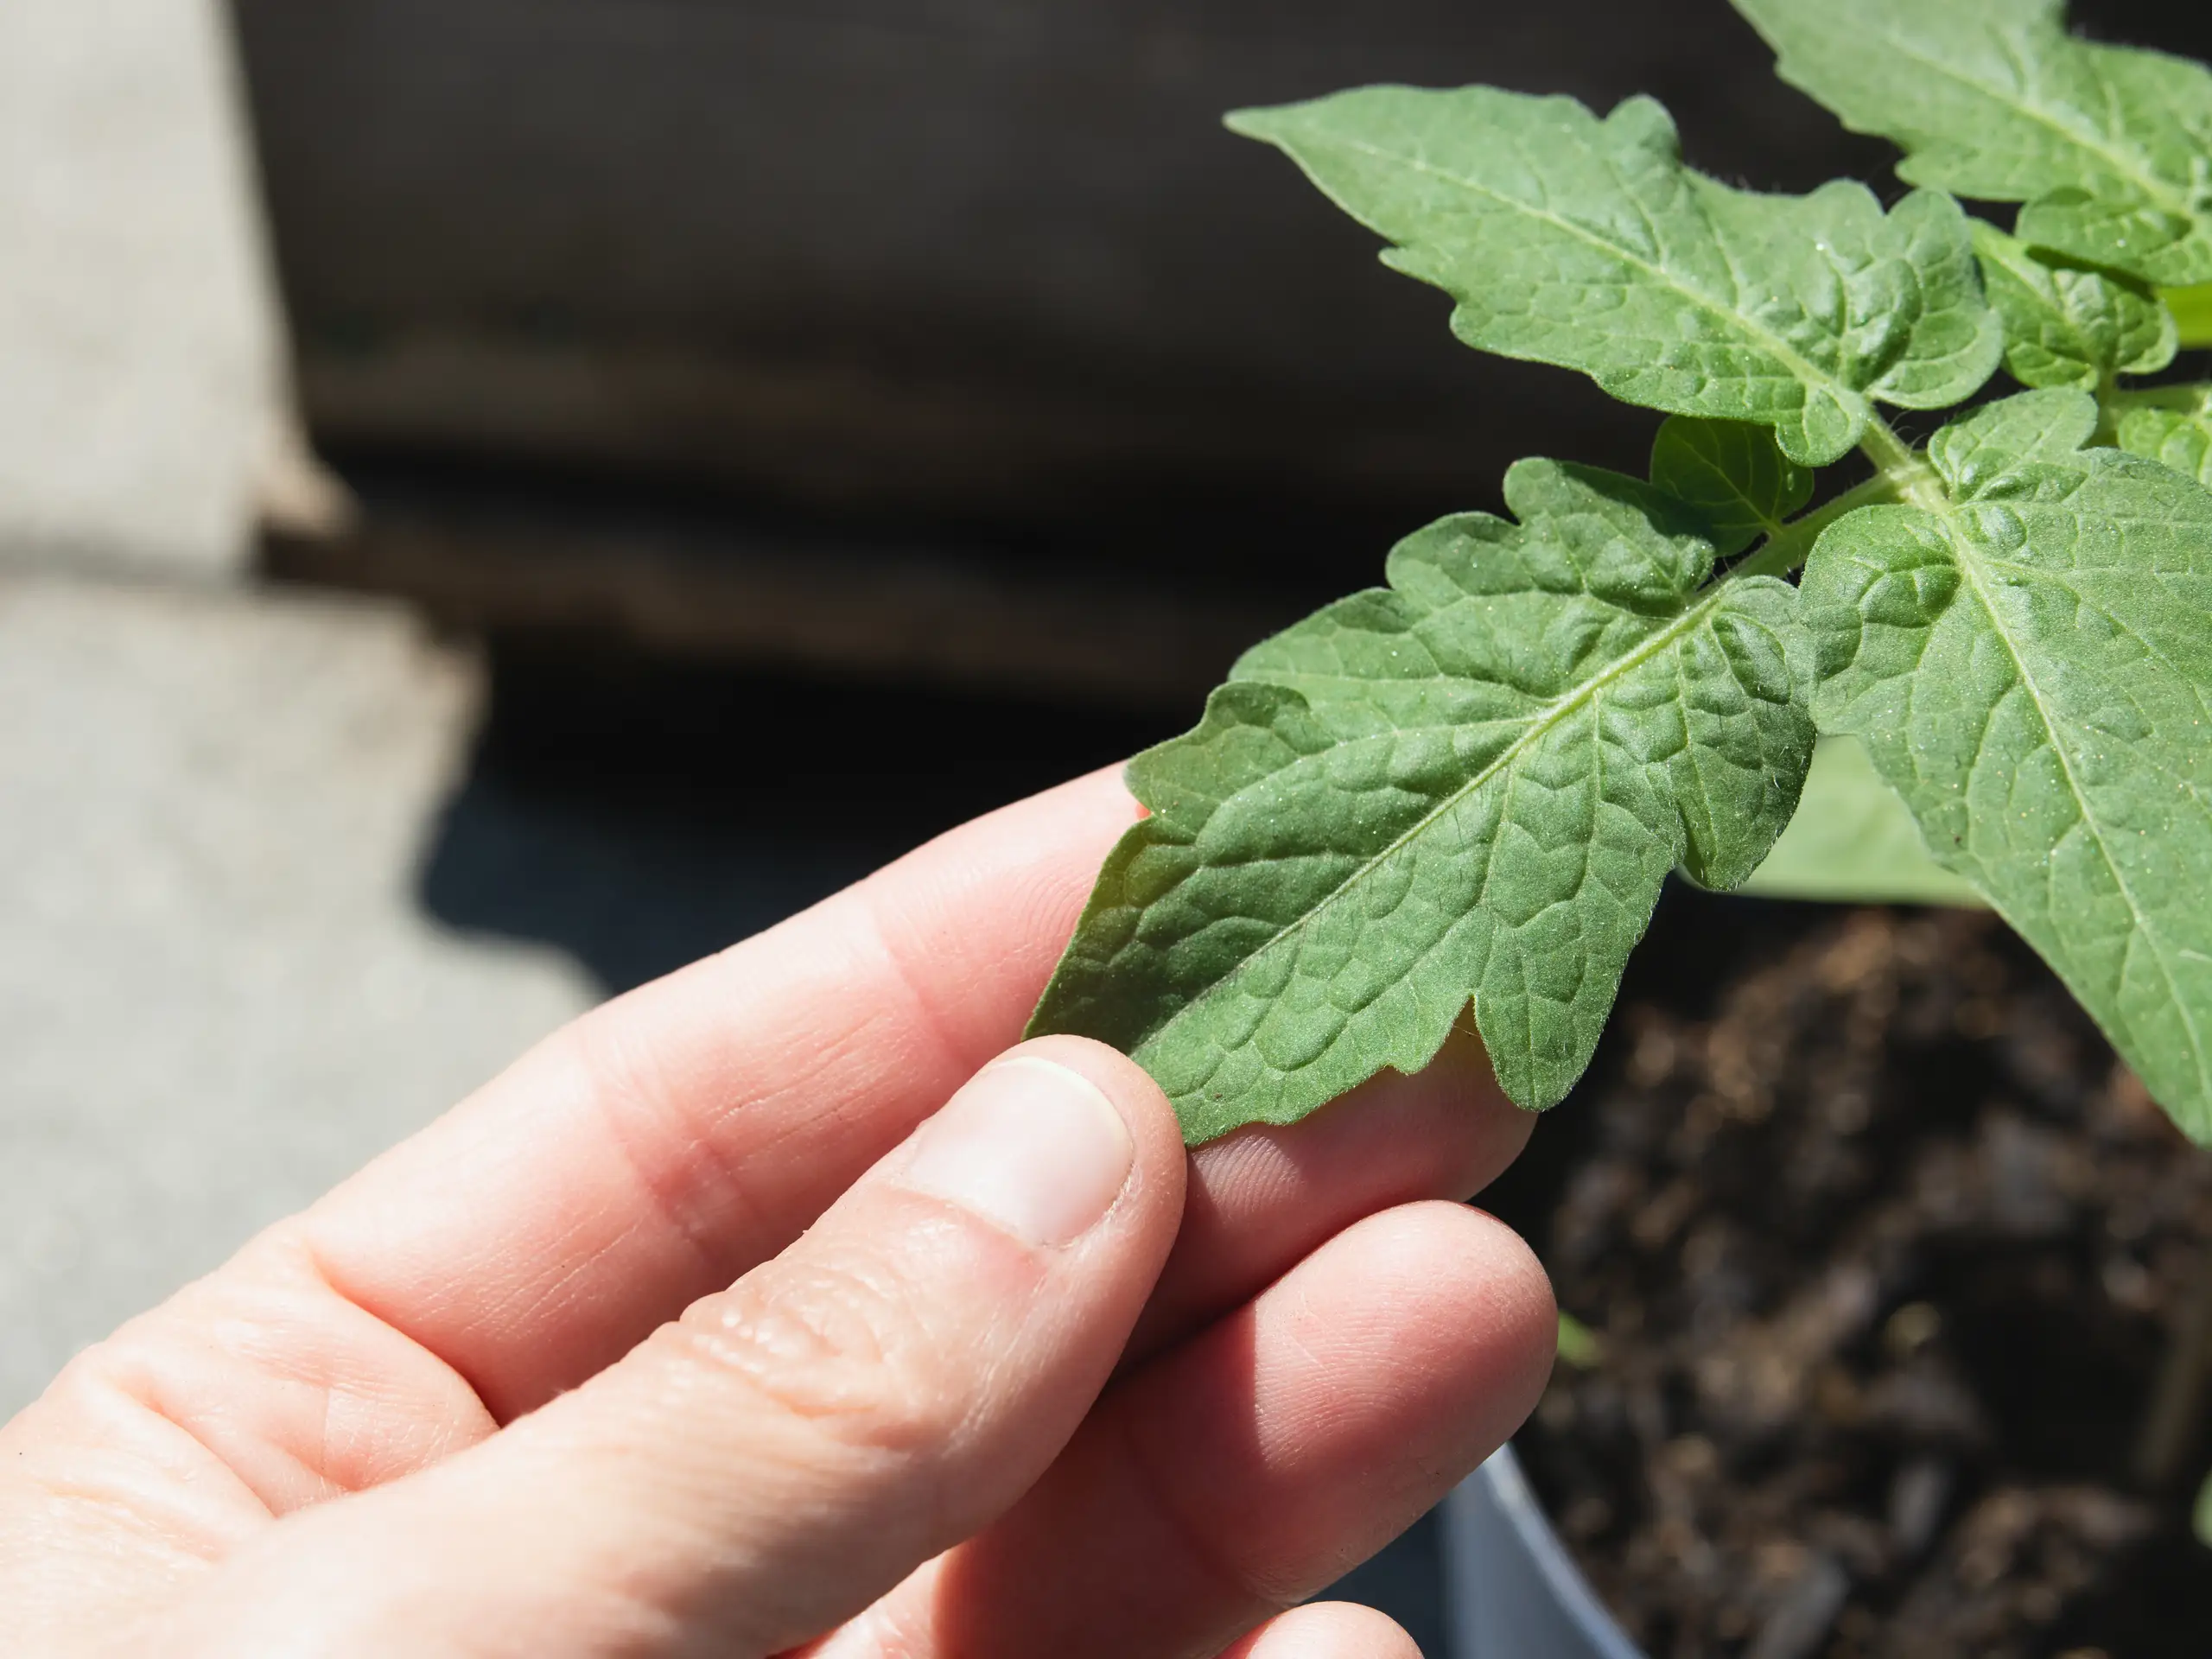
Common, usually temporary signs
- Midday wilting even when the soil is slightly moist
- Leaves drooping, especially older lower leaves
- Slow growth for several days
- Some leaf curl or leaf roll as the plant reduces water loss (this is often physiological, not disease)
How long it can last
In warm soil with decent weather, healthy transplants often look noticeably better within 24 to 72 hours. If nights are cool, soil is chilly, or you get wind or heat right after planting, recovery can take 3 to 7 days (or a bit longer).
New growth commonly shows up within 5 to 10 days, but again, it is variable by soil temperature, transplant size, and variety. The warmer the root zone, the faster the turnaround.
Hardening off recap
Hardening off is basically tomato training camp. You are teaching seedlings grown in cozy indoor conditions to handle sun, wind, and temperature swings without panicking.
A simple 7-day hardening schedule
- Days 1 to 2: 1 to 2 hours outdoors in bright shade, out of wind. Bring in at night.
- Days 3 to 4: 3 to 4 hours outdoors. Introduce gentle morning sun only.
- Days 5 to 6: 6 to 8 hours outdoors. More sun, still protect from harsh afternoon sun and gusty wind.
- Day 7: Full day outside. If nights are warm enough, you can leave them out overnight.
Hardening off tip: Keep potting mix evenly moist during this week. A drought-stressed seedling hardens off poorly and shocks more easily.
Best time to transplant
Even perfectly grown seedlings will struggle if the weather is wrong. Tomatoes want warmth in both the air and the soil.
- Wait until nights stay above 50°F / 10°C (warmer is better). Below this, tomatoes stall and can purple from cold stress.
- Aim for soil temps around 60°F / 16°C+ if you can. No thermometer? If the soil feels chilly to your fingers first thing in the morning, your tomato will likely sulk.
- Pick a calm, cloudy day if possible, or transplant in the late afternoon so plants get a gentle first night to settle in.
If you are transplanting and a cold snap is coming, use a temporary cover like a frost cloth or row cover at night. Cold stress can look a lot like transplant shock, but it tends to linger longer.
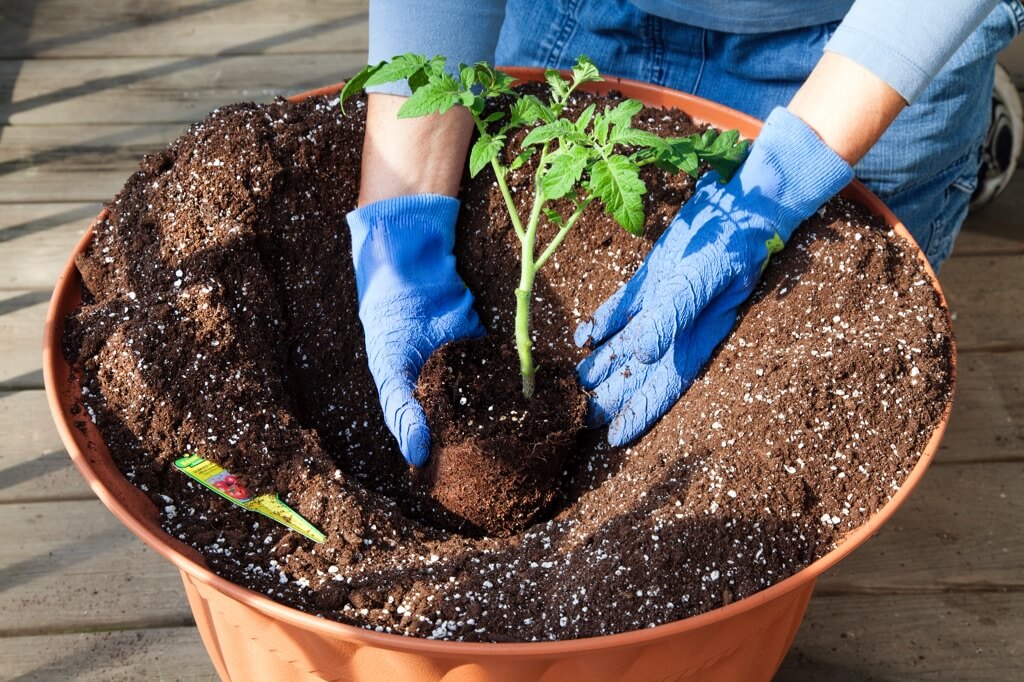
Planting depth
Tomatoes can grow roots all along their buried stem. Planting them deeper creates a larger root system faster, which reduces shock and improves drought tolerance later.
How deep to plant
- Remove the lowest set or two of leaves.
- Plant so that only the top 2 to 4 sets of leaves are above soil.
- If your seedlings are tall and leggy, plant them horizontally in a shallow trench with the top curved upward. This is called trench planting.
One caution: If your soil is cold and heavy, do not bury the stem extremely deep. Deep, cold, waterlogged soil slows root growth. In that case, plant moderately deep and focus on warming the bed first, then mulch once the soil is truly warm.
Root handling (easy to forget)
If your transplant is pot-bound with circling roots, give it a little help before planting. Gently tease the outer roots loose, or make a couple of shallow vertical scratches on the root ball. This encourages roots to grow outward into the bed instead of continuing to spiral.
Watering after transplant
The goal is to settle soil around the roots and keep a consistent moisture zone while new roots form. Tomatoes hate extremes right after planting.
Right after planting
- Water the hole before you set the plant in, if your soil is dry.
- After backfilling, water slowly and deeply until the surrounding soil is evenly moist.
- Add a light mulch layer, but keep it about an inch away from the stem to reduce rot risk.
The first week
- Check moisture daily. Soil should feel like a wrung-out sponge, not muddy and not powder dry.
- Water in the morning when possible.
- Avoid frequent tiny sips. Instead, water thoroughly when the top inch or two begins to dry.
Container transplants dry out faster than in-ground plants, especially in fabric grow bags. Windy days can double your watering needs.
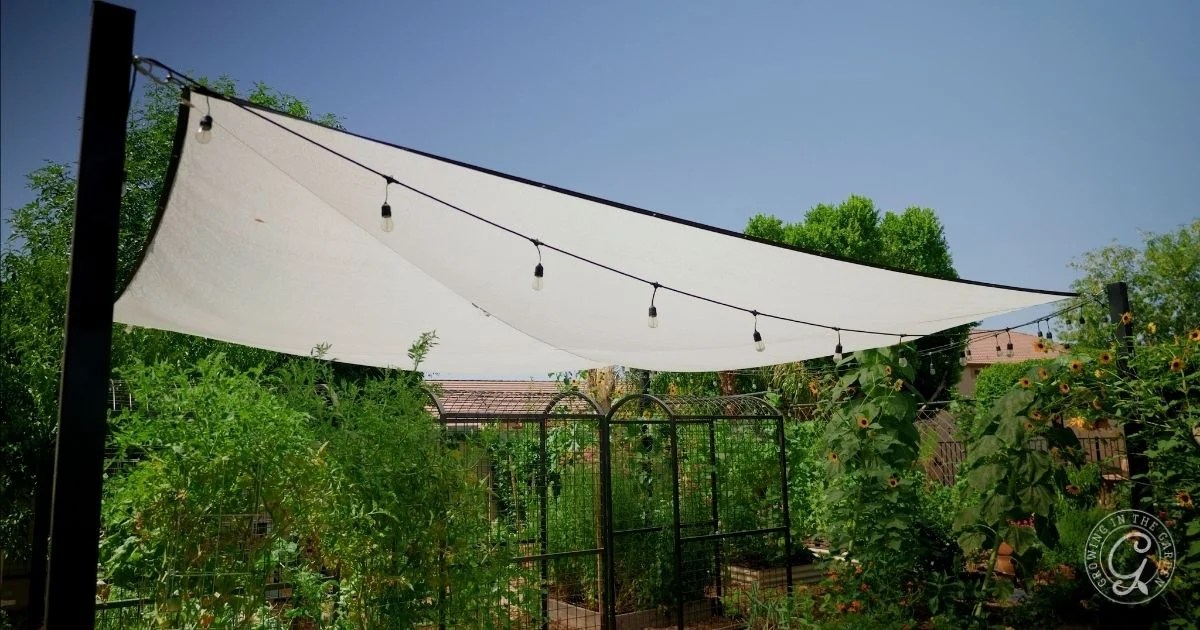
Shade and wind protection
Sun and wind pull water out of leaves faster than newly transplanted roots can replace it. Temporary protection gives roots time to catch up.
When to use shade
- Hot afternoons over about 85°F / 29°C
- Very bright, cloudless days right after planting
- Transplants that were indoors too long or had minimal hardening off
How to do it
- Use 30 to 50 percent shade cloth for 2 to 4 days, then remove gradually.
- No shade cloth? Use an upside-down laundry basket, a piece of row cover, or a patio umbrella to block harsh afternoon sun.
- Block wind with a temporary screen on the windward side, like a piece of burlap or garden fabric.
- Row cover bonus: A light row cover can do double duty as wind protection and mild chill protection. It is my go-to “shock insurance” when the forecast is being moody.
Recovery plan
If you planted today and your tomato looks miserable, take a breath. This is the calm, plant-friendly response plan I use in my own beds.
Step 1: Check soil moisture
Stick your finger 2 inches into the soil near the root zone.
- If it is dry, water slowly and deeply.
- If it is wet and sticky, hold off on watering and improve airflow. Soggy soil can suffocate roots and prolong wilt.
Step 2: Give temporary shade
Even one afternoon under shade can reduce leaf water loss and help the plant rehydrate overnight.
Step 3: Avoid heavy feeding
Skip strong fertilizer for at least a week. Salts can burn tender roots. If you want to do something, top dress lightly with compost or use a very dilute fish or seaweed solution only after the plant perks up.
Step 4: Do not over-prune
It is tempting to remove leaves to “help” the plant, but leaves are solar panels. Remove only leaves that are truly damaged, touching soil, or broken.
Step 5: Stabilize the stem
If the plant is flopping due to wind, stake it loosely. Movement is healthy long-term, but a fresh transplant can get rocked enough to tear new root hairs.
Step 6: Skip the magic sprays
Antitranspirant sprays are usually unnecessary for tomatoes and can sometimes reduce photosynthesis. If you choose to use one, use it cautiously, follow the label, and treat it as a last resort, not a standard step.
Shock or something else?
Wilting is a symptom, not a diagnosis. Here is how to separate normal transplant drama from true trouble.
Temporary transplant wilt
- Worst in midday, improves in evening
- Leaves stay green, just droopy
- Plant looks better within a few days with shade and consistent moisture (longer if it is cold or windy)
Cold injury or frost damage
- Leaves look water-soaked, then turn dark and limp
- Damage appears after a cold night
- New growth may survive if the growing tip was not killed
Overwatering and oxygen-starved roots
- Soil stays wet for days
- Wilting can happen even when soil is soaked
- Lower leaves may yellow
Underwatering
- Soil is dry several inches down
- Leaves feel thin and papery, plant stays wilted into evening
Cutworm or stem damage
- Plant suddenly collapses and does not recover
- Look for a chewed stem at soil level
Wilts caused by disease (Fusarium or Verticillium)
These are less common right at transplant time, but they do happen, especially in beds where tomatoes have grown repeatedly.
- One-sided wilting on a single stem or side of the plant
- Wilting persists even with proper watering
- Lower leaves yellow and brown over time
- If you cut a stem lengthwise, you may see browning in the vascular tissue
If you suspect a soil-borne wilt disease, remove the plant and avoid planting tomatoes, peppers, eggplant, or potatoes in that spot for at least 3 to 4 years. Some Fusarium strains can persist longer, so longer rotation (or containers with fresh mix) can be a sanity saver.

Signs of recovery
I like to look for these quiet little wins:
- Evening perk-up becomes stronger each day
- New leaves at the tip appear brighter green and stand more upright
- Stems firm up and stop leaning dramatically
- New growth shows up once roots settle in, often within 5 to 10 days in warm soil
If your plant still looks worse after 4 to 5 days and you have confirmed moisture is not the issue, check for cold damage, cutworms, or root problems like a tight root ball that never got loosened.
Prevention checklist
- Harden off for 7 to 10 days
- Transplant after nights stay above 50°F / 10°C
- Aim for warmer soil (about 60°F / 16°C+)
- Plant deep, removing lower leaves
- Loosen circling roots on pot-bound plants
- Water slowly and deeply right after planting
- Keep moisture consistent for the first week
- Add temporary shade for 2 to 4 days in heat or intense sun
- Use row cover for wind and chilly nights
- Skip strong fertilizer until you see new growth
If you only do three things, do these: harden off, plant deep, and use temporary shade. That trio solves the majority of transplant shock issues I see every spring.