Storing Caladium Bulbs for Winter
Caladiums are the confetti cannons of the shade garden. Then one chilly night comes along and those big, painted leaves melt down like their feelings got hurt. The good news is that caladiums are very easy to overwinter once you know two things: when to dig and how to store warm and dry.
I will walk you through digging, curing, storage conditions, and spring replanting, with a simple zone timing guide and a quick note on varieties that nap longer than others.

Bulbs vs tubers
Caladiums are often sold as “bulbs,” but botanically they are tubers. That matters because tubers store energy in a fleshy body that can rot if it stays cold and damp. Our goal is to let the tuber dry and toughen a bit, then keep it warm, dark, and dry (not brittle) through winter.
When to dig (zone timing)
Caladiums are tropical and they hate cold soil. You want to dig after the plant naturally starts to fade, but before the first freeze and before soil stays chilly. (A “hard frost” is typically around 28 F (-2 C) or colder.)
Best cue: when foliage starts yellowing and soil temperatures approach about 60 F (16 C). If you do not have a soil thermometer, use the air temperature cues below.
Quick timing guide
- Zones 3 to 6: Dig when nighttime temps consistently dip into the low 50s F (10 to 12 C), or when a frost is in the forecast. Do not wait for a hard freeze.
- Zone 7: Dig when nights are regularly in the 50s F, usually early to mid fall. A light frost can damage foliage fast.
- Zones 8 to 9: Many gardeners still lift and store for best results, especially in wet winter areas. Dig once foliage yellows and slows, usually late fall. If you leave them in the ground, keep soil on the dry side and heavily mulch.
- Zones 10 to 11: Caladiums can often be perennial outdoors, but they may still go dormant and return in spring, especially if winter is cool or wet. Digging is optional unless you want to divide, refresh beds, or avoid rot in rainy winters.
Quick note: If you are unsure, dig earlier rather than later. Tubers handle a little “too soon” far better than they handle cold, soggy soil.
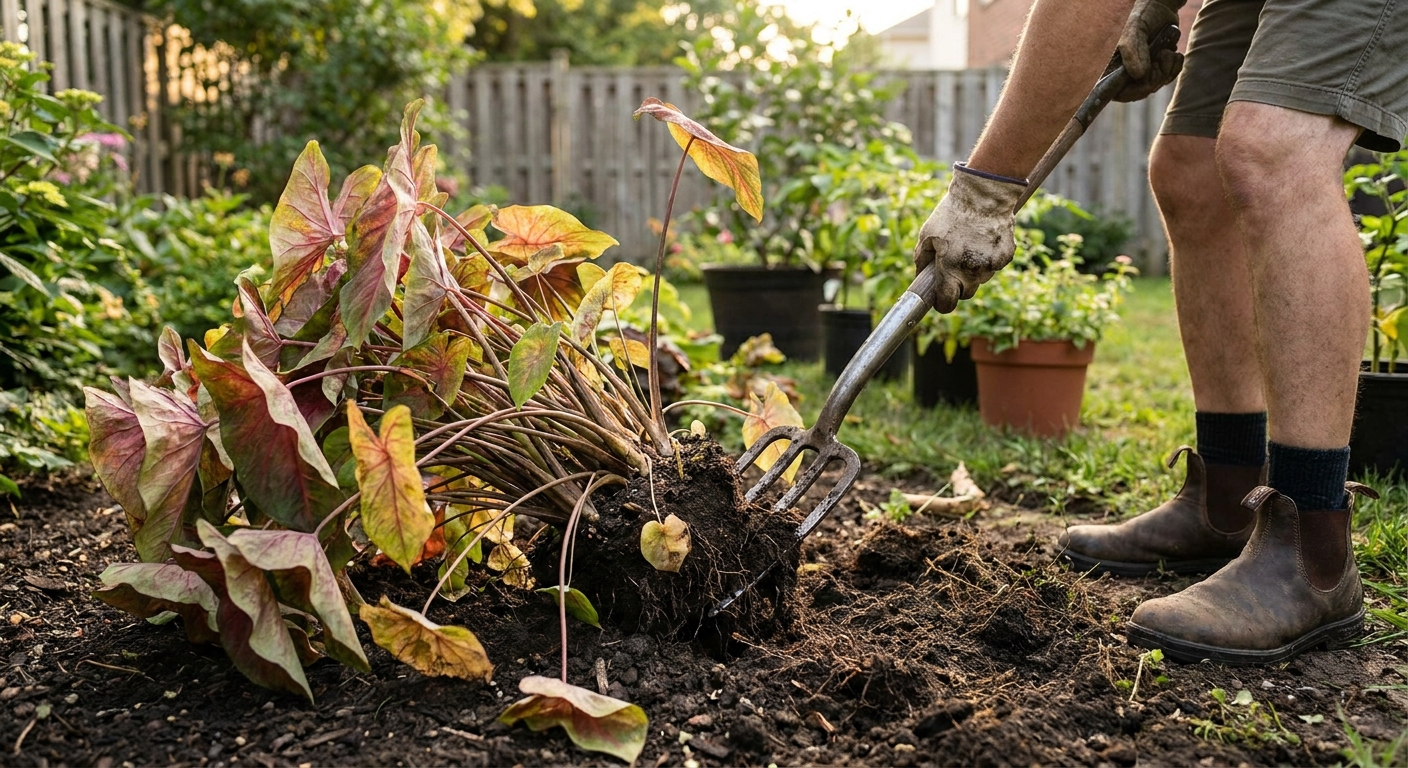
How to dig
A nicked caladium tuber is not a disaster, but cuts do invite rot in storage. Slow and gentle wins.
- Stop watering a few days before digging if possible. Slightly drier soil brushes off more easily.
- Cut back foliage to 2 to 4 inches once it begins to yellow, or leave it attached and trim after lifting. Either way is fine.
- Loosen soil widely around the plant, 6 to 8 inches out from the stems, using a garden fork or spade.
- Lift the clump and shake off loose soil. Do not wash yet.
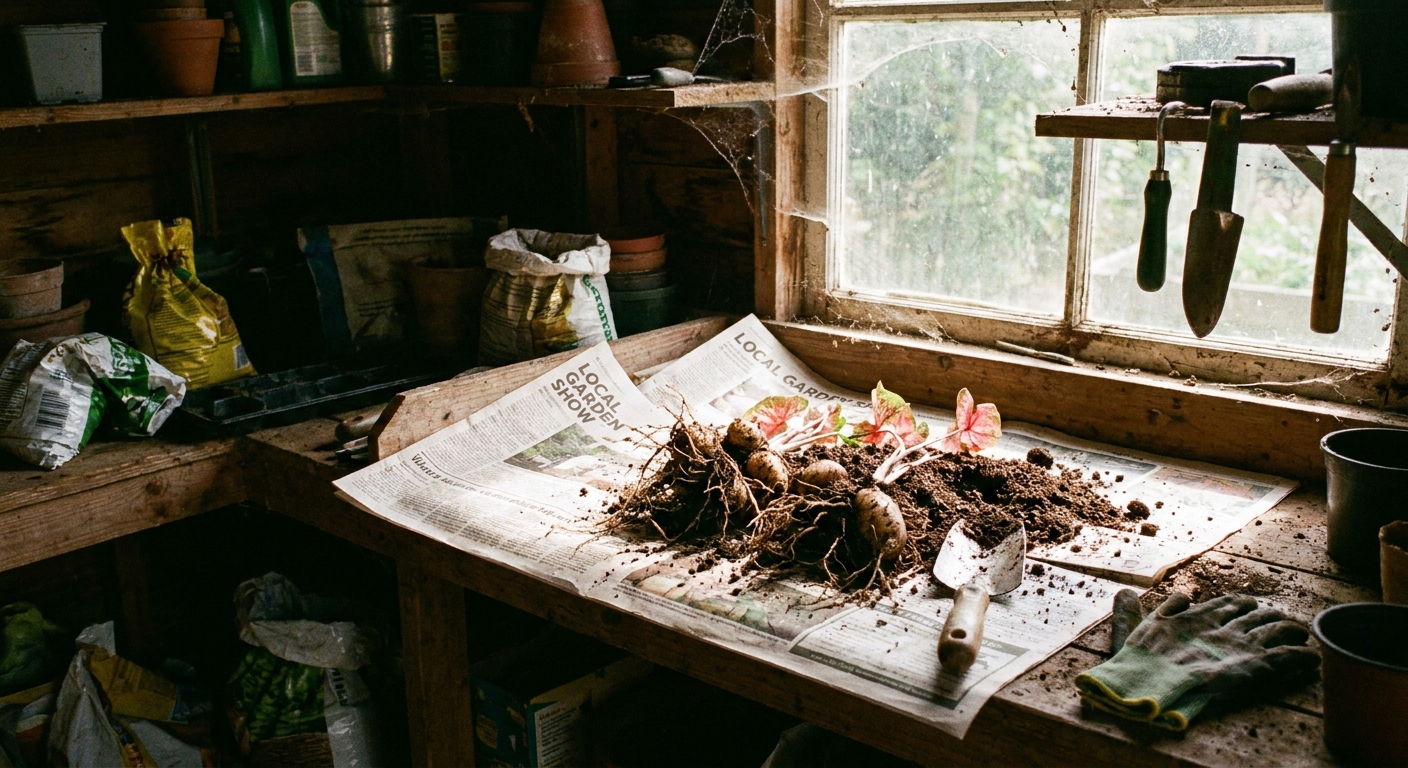
- Label varieties right now. Future you will thank you in spring when everything looks like a sleepy brown potato.
Curing tubers
Curing is the quiet magic that helps tubers store well. It lets the outer skin firm up and small wounds dry over.
Simple curing steps
- Brush off soil with your hands. Leave a thin layer if it clings.
- Avoid washing unless the tubers are extremely muddy. Washing adds drying time and can raise rot risk. If you must wash, plan to extend curing and ensure good airflow.
- Spread tubers in a single layer on cardboard, newspaper, or a screen in a warm, shaded spot with airflow.
- Aim for 7 to 10 days of curing.
- Ideal curing conditions: 70 to 85 F (21 to 29 C) and low to moderate humidity. Avoid direct sun, which can over-dry and stress tubers.
After curing, trim off remaining foliage and roots, then gently rub away any loose, flaky soil.
Inspect and discard
Think of this as your “pantry inspection.” One rotting tuber can spread issues to its neighbors.
What healthy tubers look like
- Firm, not squishy
- No sour smell
- No oozing spots
- Minor scuffs are fine if they are dry and corky
Signs to discard
- Soft, watery areas or black, collapsing spots
- Visible mold that returns after brushing
- Deep cuts that are still wet after curing
- Strong rotten odor
If you have a tuber with a small soft spot and the rest is firm, you can try cutting the spot away with a clean knife and letting the wound dry for a couple more days. Some gardeners dust cut surfaces with sulfur or a fungicide as an optional extra step. If you do, follow the product label.
If rot is extensive, skip composting. Many home compost piles do not get hot enough to reliably kill plant pathogens. Bag and discard to be safe.

Storage conditions
Caladium tubers store best when they are kept warm compared to many other bulbs and tubers. Cold storage is the fastest route to rot and disappointment.
Target storage range
- Temperature: 60 to 70 F (16 to 21 C), with a sweet spot around 65 F. Prolonged temperatures below about 60 F can increase rot and chilling injury.
- Humidity: moderate. Think dry, not brittle, with no condensation.
- Light: dark
- Airflow: gentle ventilation helps prevent mold
Where to store them
- A closet on an interior wall
- A basement that stays warm enough (many are too cool, so check with a thermometer)
- A heated garage room or utility area that does not dip below 60 F
Containers and packing
Choose something breathable and easy to check.
- Paper bags with a few holes punched in
- Cardboard boxes with ventilation holes
- Crates lined with newspaper
Then nestle tubers in a dry, clean medium such as:
- Dry peat moss
- Coconut coir (fully dry)
- Vermiculite
- Clean, non-aromatic wood shavings (avoid cedar; go for plain bedding style shavings)
Avoid sealing tubers in airtight plastic. Trapped moisture is rot’s best friend.
Monthly check-ins
I set a reminder and do a quick sniff and squeeze test monthly.
- If tubers are shriveling: storage is too dry or too warm. Add a tiny handful of barely damp coir to the container or move to a slightly cooler, stable spot.
- If tubers show condensation or mold: too humid. Remove affected tubers, replace packing material, and increase ventilation.
- If tubers are sprouting in midwinter: too warm or getting light. Move them darker and slightly cooler, while keeping them above about 60 F.
Dividing tubers
If you want more plants, divide tubers in spring, right before planting or as you pot them up to pre-sprout. Spring division reduces the risk of fresh cuts sitting in storage all winter.
Use a clean knife, make sure each piece has at least one “eye” (a bud), and let cut surfaces dry for a day or two before planting. Optional: dust cuts with sulfur or a labeled fungicide.
Dormancy notes
Not all caladiums sleep the same way.
- Many fancy-leaf caladiums (the big, heart-shaped leaves) tend to go dormant more reliably once nights cool.
- Some strap-leaf types can be slower to enter dormancy and may keep trying to grow if kept too warm and bright indoors.
Practically, this just means: if your caladiums sprout early in storage, you are not doing anything wrong. Give them darker conditions and a steadier, slightly cooler temperature, and they usually settle down.
Spring replanting
Caladiums want warmth to start strong. Planting too early into cold soil is the most common spring setback.
When to plant
- Wait until soil is consistently 65 F (18 C) or warmer.
- In many areas, that is 2 to 4 weeks after the last frost date, sometimes later in cool springs.
Optional pre-sprout
- About 4 to 6 weeks before outdoor planting time, pot tubers in a light potting mix.
- Keep them at 70 to 80 F with bright, indirect light.
- Water lightly until you see growth, then keep evenly moist.
How to plant
- Choose the right spot: dappled shade or morning sun is ideal for most varieties.
- Improve the soil: mix in compost for fluffiness and steady moisture.
- Plant depth: 1.5 to 2 inches deep in containers, 2 inches deep in ground.
- Orientation: plant with the bumpy side (eyes) up. If you cannot tell, plant on its side. It will figure it out.
- Spacing: 8 to 12 inches depending on variety size.
- Water in and keep soil lightly moist, not soggy.

Troubleshooting
Tubers turned to mush
- Stored too cold, too wet, or not cured long enough.
- Next time, cure 7 to 10 days and keep storage above about 60 F with breathable packing.
Tubers shriveled hard
- Too dry or too much airflow.
- Add slightly moist packing material and reduce drafts, but avoid dampness.
No growth after planting
- Soil likely too cold, or tubers were damaged by chilling in storage.
- Warm the bed, wait for 65 F soil, or pre-sprout indoors next season.
Leaves are small or slow
- Caladiums are heavy-ish feeders once growing.
- Use compost and a gentle organic fertilizer after leaves appear, and keep moisture consistent.
Safety note
Caladiums are toxic if chewed or ingested. Keep tubers and leaves away from curious pets and small children.
Storage checklist
- Dig when foliage fades and soil temps approach 60 F, before the first freeze
- Cure 7 to 10 days in warm shade with airflow
- Inspect and discard any rot
- Store at 60 to 70 F in breathable containers with dry packing
- Check monthly for shrivel or mold
- Plant when soil is 65 F or warmer, or pre-sprout for a head start
If you do nothing else, remember this: caladiums want warmth even while they sleep. Keep them cozy, keep them dry, and they will reward you with another summer of living stained glass.