Spring Bulb Care After Flowering
When your daffodils, tulips, and hyacinths finish their spring show, it can feel a little like the garden suddenly goes quiet. But the weeks after flowering are when bulbs do their most important behind-the-scenes work: refueling.
This page covers hardy outdoor spring bulbs (daffodils, tulips, hyacinths) and what to do after blooms fade so they come back strong next year. It is not about Hippeastrum (often sold as “amaryllis”), which is a different plant with different care, usually grown indoors.
Quick climate note: Repeat bloom depends on your summers and winters. In warm-winter regions, many tulips need pre-chilling to perform well, and in hot or wet-summer climates they often fade out faster. Daffodils are generally the most forgiving.
The goal after blooming
Think of each bulb as a little pantry. Flowering spends a lot of stored energy. After the flowers fade, the leaves keep photosynthesizing and send sugars back down to the bulb. That recharging is what helps your bulbs:
- Bloom again next year
- Produce larger flowers instead of shrinking over time
- Split and multiply (especially daffodils)
So the post-bloom routine is simple: tidy up what is truly “spent” and protect what is still working.
Deadheading
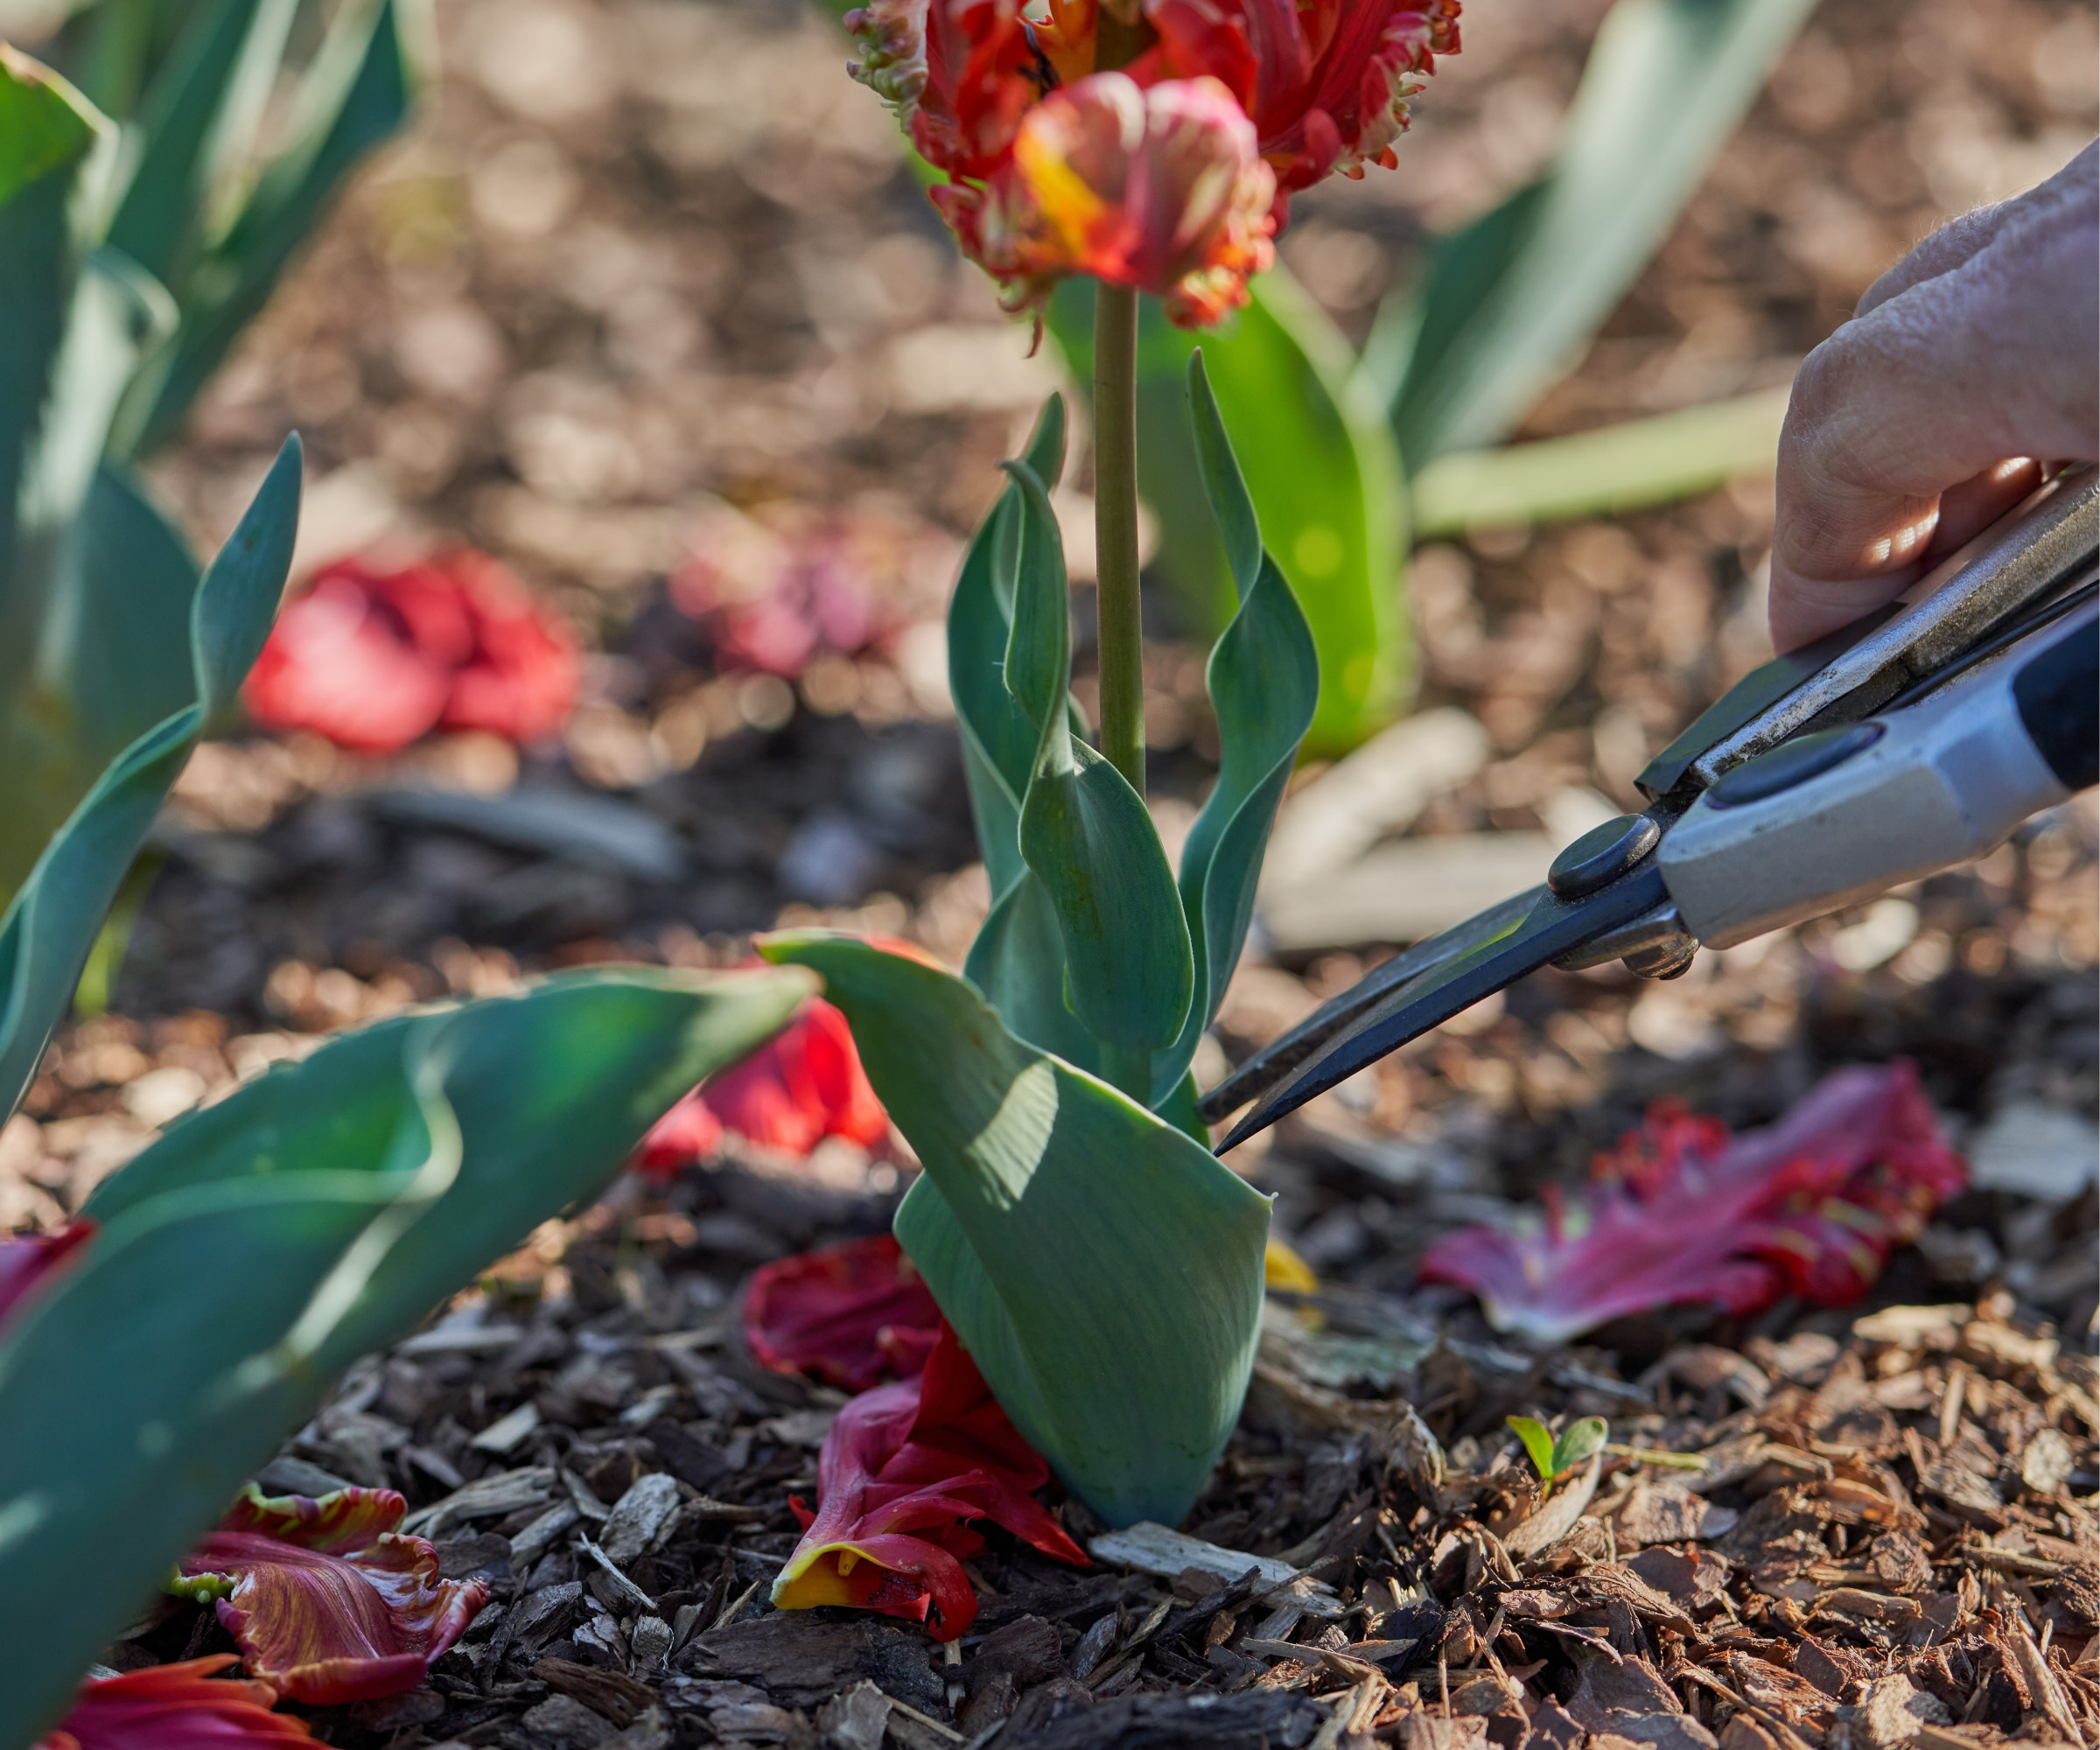
Snip the flower, keep the leaves
As soon as blooms fade, you can deadhead to keep the bed looking neat and to prevent seed production, which drains energy.
- Daffodils: Pinch or snip off the spent flower head. If a seed pod starts forming, remove it. Leave all foliage.
- Tulips: Remove the flower head once petals fade. Tulips are especially prone to putting energy into seed if allowed. Leave foliage.
- Hyacinths: Snip the fading flower stalk near the base once it browns. Leave foliage.
Do not braid, knot, or rubber-band the leaves. It looks tidy, but it reduces the leaf surface area that recharges the bulb and can trap moisture against the foliage.
Cutting back foliage
The classic advice is “leave the foliage until it yellows,” and that is the heart of it. In most gardens, that works out to about 4 to 8 weeks after flowering, depending on weather and sun. Many gardeners call this “the 6-week rule,” but it is really a range.
Here’s the simple test I use: wait until the leaves are mostly yellow and pull away easily with a gentle tug. If they resist and still look green, they are still feeding the bulb.
- Okay to remove: fully yellowed, collapsing leaves
- Better to keep: anything still green, even if it is floppy
If the fading leaves bother you, tuck them behind nearby perennials, or plant bulbs among later-emerging plants like hostas, daylilies, catmint, and hardy geranium. It is the easiest “hide the mess” trick in the book.
Watering after bloom
Bulbs like consistent moisture while leaves are green, then drier conditions once they go dormant.
- During the green-leaf phase: Water if you have a dry spring and soil is drying out several inches down.
- After foliage yellows: Ease off watering. Bulbs sitting in soggy soil during dormancy are more likely to rot.
In pots, this matters even more because containers swing from wet to dry quickly. Make sure the pot drains freely.
Fertilizing after flowering
If your bulbs reliably return and bloom well, you can keep things minimal. Healthy soil often does most of the work. But if blooms were small, sparse, or you are building up a young planting, a light feed can help.
Best timing
Feed right after flowering while foliage is still green, and water it in.
Also true: In some soils and climates, feeding in fall (or very early spring) is recommended as well. If you have a trusted local extension schedule, follow that. The goal is the same: steady nutrients when the bulb is actively growing roots and storing energy.
What to use (organic-friendly options)
- Compost: A thin top-dress around clumps is my favorite gentle approach.
- Bulb fertilizer: Follow label rates. Avoid overdoing nitrogen, which can push leafy growth without improving blooms.
- Bone meal: Often recommended, but results vary. It can attract digging animals in some gardens. If critters are a problem, skip it.
Also consider soil health: compacted, low-organic soil makes it harder for bulbs to thrive long term. A yearly compost top-dress is a quiet little miracle worker.
Drainage matters
Bulbs love moisture in spring and hate sitting wet in summer. If your soil is heavy clay, compost helps improve structure over time, but it may not be enough on its own for serious drainage issues.
- Best simple fixes: plant on slight mounds, use raised beds, and avoid summer irrigation in bulb-heavy areas
- Where appropriate: mixing in grit or other coarse mineral material can improve drainage (skip fine sand, which can worsen compaction in clay)
Lifting vs leaving bulbs
Some bulbs are happiest left alone, and some are divas about it. Here is how I decide.
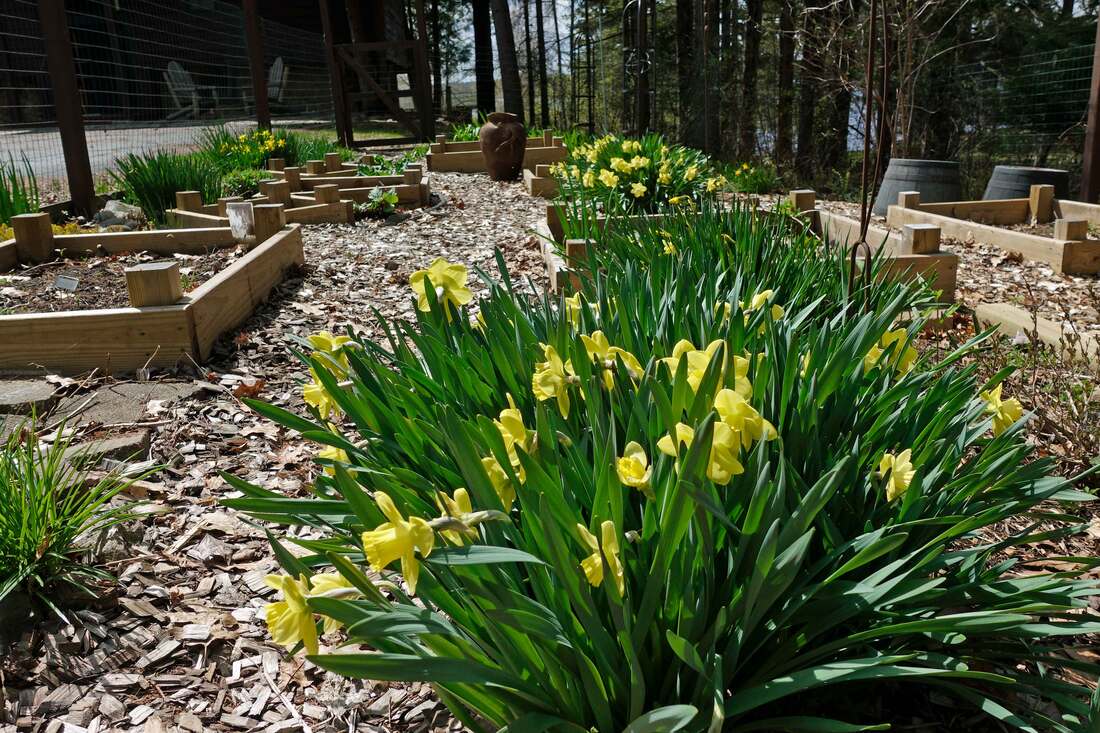
Daffodils: usually leave them
Daffodils are champion naturalizers in many climates. Leave them in the ground year-round unless:
- The clump is crowded and bloom size is shrinking
- You need to move them for a redesign
- Drainage is poor and bulbs are struggling
Dividing daffodils: Wait until foliage has yellowed, then lift clumps, gently separate bulbs, and replant immediately (or store briefly in a cool, airy place).
Tulips: often best lifted or treated as annuals
Many modern tulips are bred for big, showy blooms, not longevity. In warm-summer or wet-summer areas, they can dwindle after the first year. If you want repeat blooms, lifting can help, and choosing long-lived types matters.
- Good candidates to leave: species tulips and some Darwin hybrids in well-drained soil
- Often lifted: many large-flowered hybrid tulips, especially in humid or irrigated beds
Hyacinths: you can leave them, but expect smaller blooms
Hyacinths often return, but that dense, perfume-bottle flower spike can become smaller over time as bulbs mature and sometimes split. Some gardeners replant fresh bulbs every few years for that “wow” look, while leaving older ones to naturalize more softly.
How to lift and store bulbs
If you decide to lift bulbs, timing and dryness are everything. Lift too early and you steal the bulb’s recharge time. Store too damp and you invite rot.
Step-by-step
- Wait: Lift only after foliage has mostly yellowed.
- Loosen soil: Use a fork and come in a few inches away from the leaves to avoid spearing bulbs.
- Shake off soil: Be gentle. Do not wash unless you must, and if you do, dry extra well.
- Cure: Lay bulbs in a single layer in a dry, shaded, well-ventilated spot for about 1 to 2 weeks.
- Clean and sort: Remove loose soil and dead foliage. Discard soft, moldy, or damaged bulbs.
- Store: Keep in paper bags, mesh bags, or shallow crates with good airflow. Store cool, dry, and dark until fall planting.
Storage basics
- Airflow beats airtight: Avoid sealed plastic bins or bags.
- Cool and dry: Heat plus humidity encourages mold. Avoid hot garages, attics, and sunny sheds.
- Check monthly: Remove any bulbs that soften or show mold so problems do not spread.
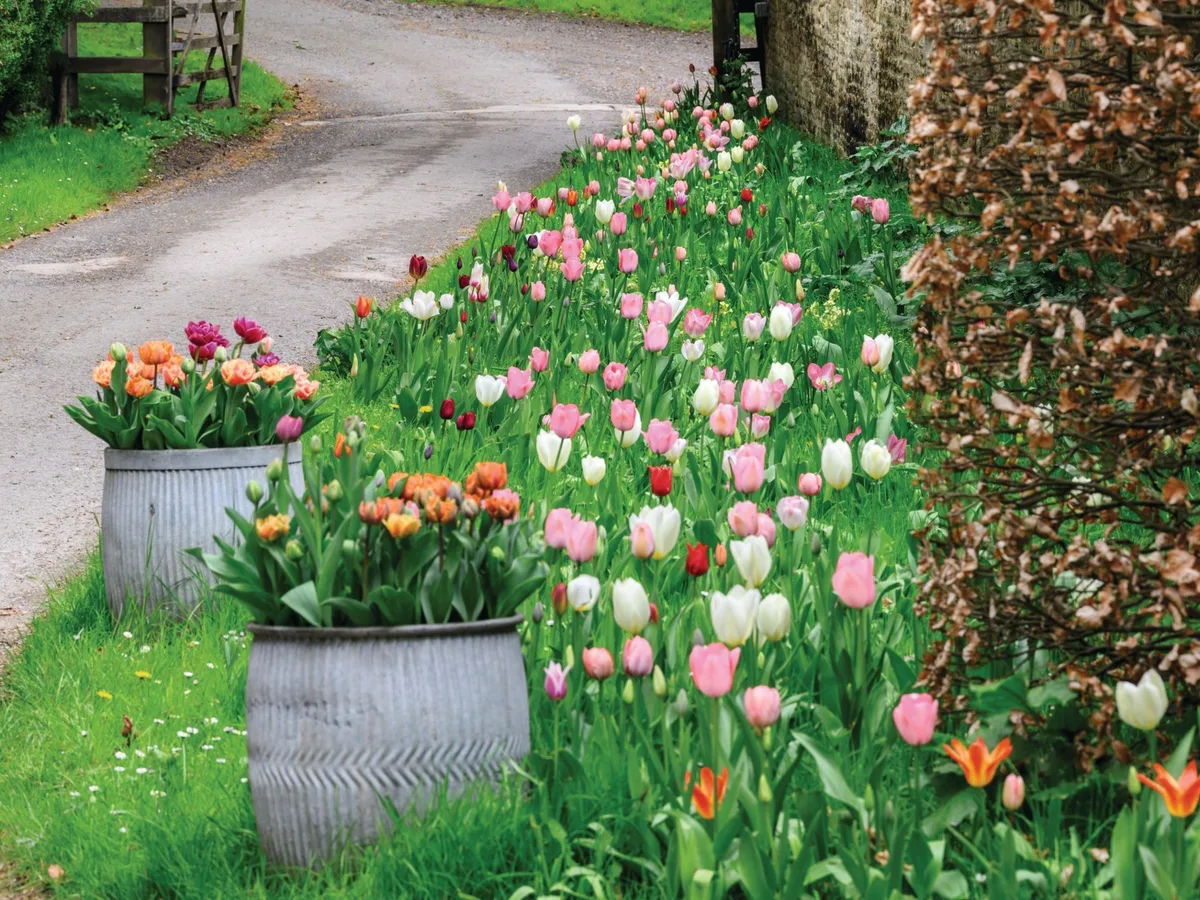
Naturalizing tips
Naturalizing is the art of planting bulbs where they look like they “just happened” and then letting them multiply over time. Daffodils are the stars here, and species tulips can be wonderful too.
Choose the right bulbs
- Best naturalizers: daffodils (many types), species tulips, some Darwin tulips, snowdrops, crocus
- Less reliable: many fancy hybrid tulips and some hyacinths
Give them what they like
- Drainage: Bulbs hate sitting wet in summer. If your soil is heavy, improve structure with compost and consider planting on slight mounds or in raised beds.
- Sun: Full sun to part sun in spring is ideal. Deciduous trees are great because they leaf out after bloom time.
- Leave leaves alone: This is the whole secret. If you naturalize in lawns, do not mow until foliage yellows (often late May into June, depending on your spring).
Plant in drifts
For a natural look, plant in loose clusters and curved drifts. A simple trick is to toss a handful of bulbs and plant where they land, keeping spacing reasonable.
Bulbs in pots after flowering
Container bulbs can absolutely be saved, but they need a little strategy because pots warm up and dry out fast.
- Deadhead spent blooms, keep leaves.
- Water lightly while foliage stays green, and keep the pot in bright light.
- After yellowing: You can plant the bulbs in the ground, or dry and store them like lifted bulbs.
If your container tulips were forced for early indoor or porch bloom, they may not be strong enough to rebloom well in pots. Moving them into the ground gives them the best chance.
Troubleshooting
“My tulips bloomed once and vanished.”
- Common with many hybrids, especially in warm or wet summer climates
- Try species tulips or Darwin hybrids, improve drainage, and avoid summer irrigation in the bulb zone
“Lots of leaves, no flowers.”
- Bulbs may be too crowded, too shaded, or cut back too early last year
- Divide daffodil clumps, relocate to more sun, and let foliage fully yellow before removing
“Bulbs are mushy or missing.”
- Mushy suggests rot from poor drainage or overwatering during dormancy. If you see a brown, softened basal plate, discard that bulb.
- Missing bulbs are often squirrels, voles, or chipmunks. Use wire mesh planting baskets or deterrents, and avoid bone meal if it attracts diggers in your area.
“Leaves look spotted or distorted.”
- Fungal issues can show up as spots, streaking, or collapsed growth (tulips can be prone to Botrytis, sometimes called tulip fire).
- Remove and trash badly affected leaves or bulbs. Do not compost diseased material. Give plants more airflow and avoid overhead watering when possible.
Quick checklist
- Deadhead spent blooms and remove developing seed pods
- Leave foliage until it yellows and releases easily, usually 4 to 8 weeks
- Water during the green-leaf phase if spring is dry
- Top-dress with compost or lightly fertilize after bloom if needed (fall feeding can also help in some gardens)
- Decide whether to lift: usually no for daffodils, maybe for tulips, optional for hyacinths
- If lifting, cure bulbs dry and store cool with airflow until fall (avoid hot storage spots)
If you only remember one thing, make it this: let the leaves do their job. Your future spring self will thank you.