Spider Mites on Houseplants

Spider mites are the kind of houseplant pest that can make a confident plant parent suddenly feel like they have never grown a thing in their life. I have been there. You glance at a leaf, notice a faint dusty look, and a week later your calathea is crisping up like it has a personal vendetta against you.
The good news is that spider mites are beatable. The trick is catching them early, treating thoroughly, and repeating treatments on a schedule so you get the eggs and the next wave of hatchlings too.
What spider mites are
Spider mites are tiny sap-sucking relatives of spiders and ticks. The most common indoor culprit is the two-spotted spider mite. They pierce leaf cells and drink the contents, which is why leaves start to look speckled, faded, and tired.
They love warm, dry air, especially in tight corners where air barely moves and humidity stays low. In many homes, that means winter heating season or any spot near a sunny window. They also reproduce quickly, so a small problem can turn into a full-blown infestation in a surprisingly short time.
- Best conditions for mites: dry air, heat, dusty leaves, stressed plants
- How they travel: mostly on infested plants, but they can hitchhike on hands and clothing and, occasionally, pet fur
- Why repeat treatments matter: eggs are less affected by most contact sprays and hatch in cycles, so one spray is rarely enough
Common signs
If you only remember one thing, make it this: spider mites often look like plant “stress” before they look like pests. Here is what to watch for.
1) Stippled leaves
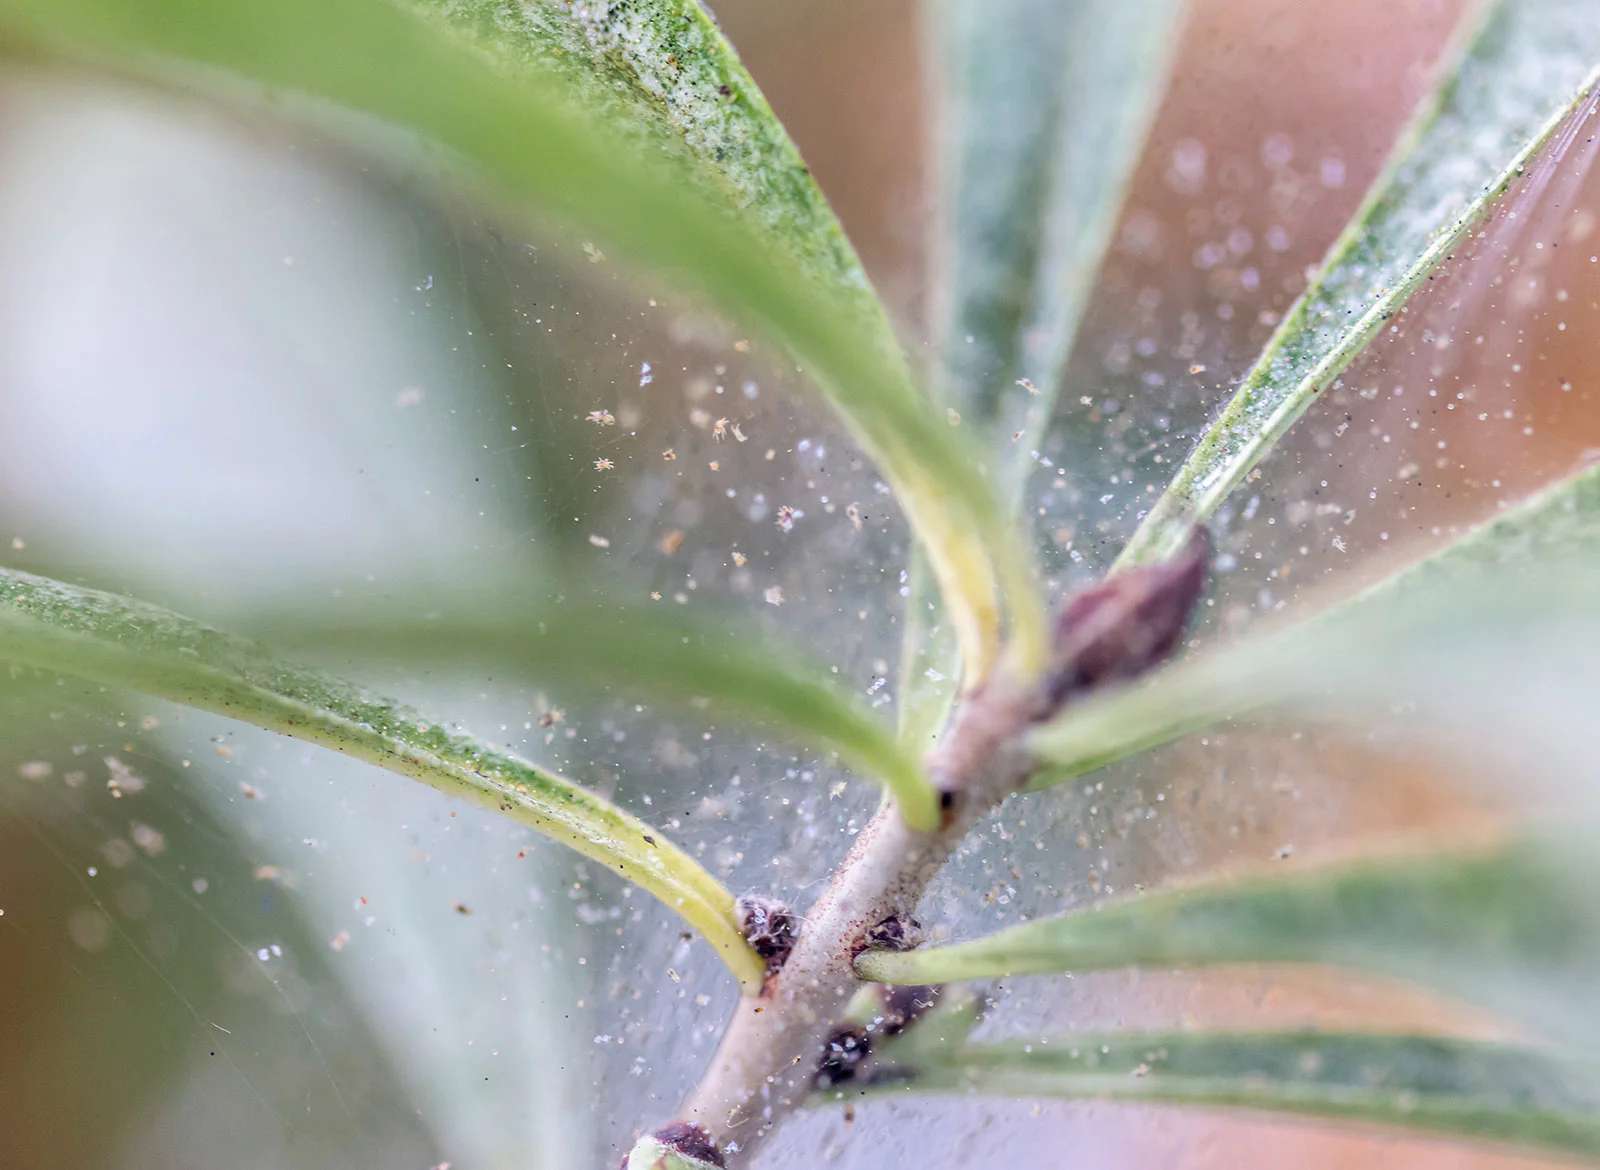
Leaves develop a fine, peppered pattern of pale dots or pinpricks, especially on the upper surface. Over time, stippling can blend into a dull, washed-out look.
2) Tiny dots underneath
Flip the leaf over and look along the midrib and veins. Spider mites can look like moving dust. Sometimes you will see pale mites, sometimes darker, depending on species and life stage.
3) Fine webbing
Delicate webbing is the classic sign, but it often shows up after damage has started. Check where leaf stems meet, between closely spaced leaves, and at growing tips.
4) Leaf drop or crispy edges
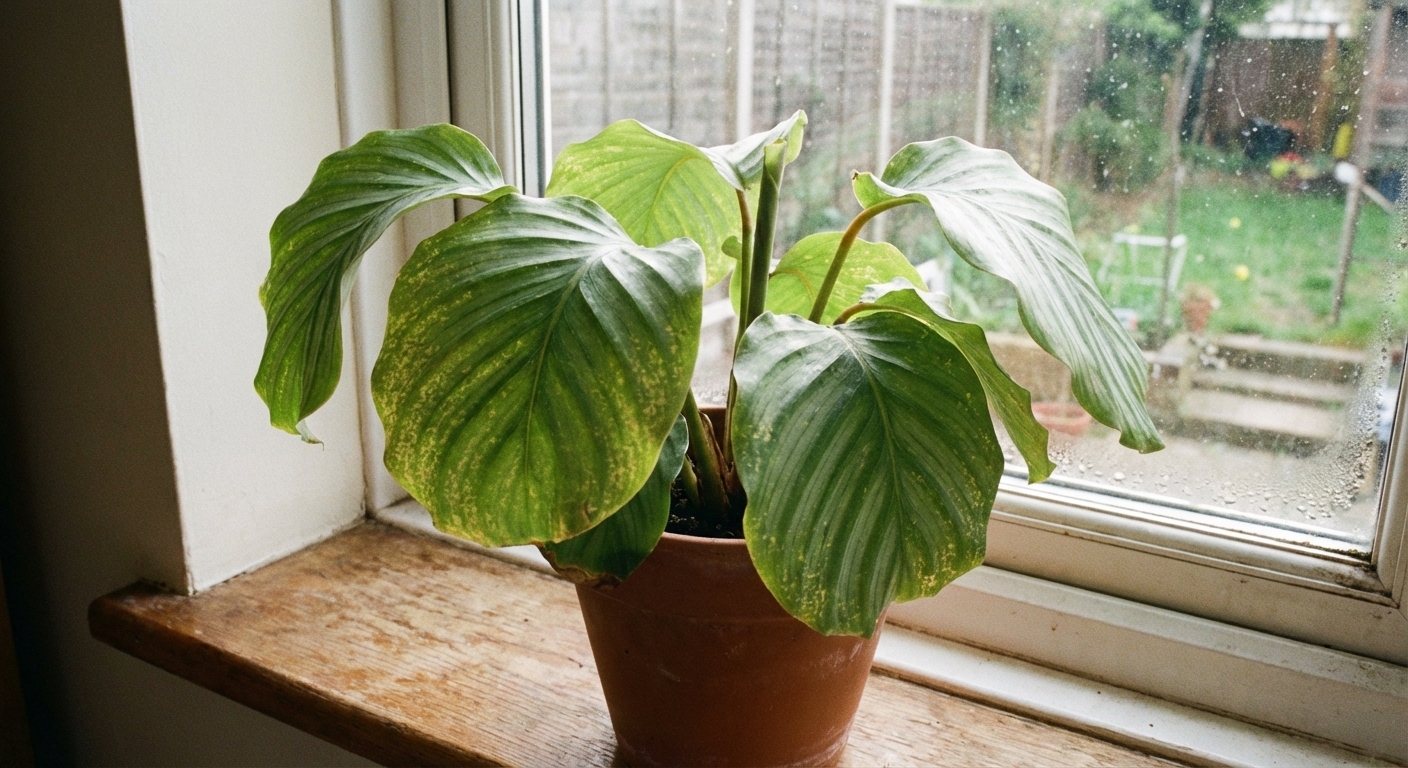
As feeding damage builds, leaves may yellow, curl, dry at the edges, or drop prematurely. On thin-leaved plants like calatheas, it can look like humidity trouble at first.
Quick ID test
Not sure if you are seeing mites or just dust? Try this simple test:
- Hold a sheet of white paper under a suspect leaf.
- Gently tap or shake the leaf.
- Look for tiny specks that fall onto the paper.
- Smear the specks with your finger. If you see faint streaks (often tan, greenish, or reddish), you likely have mites.
If nothing moves and nothing smears, you may just have mineral dust or soil particles. Still, keep inspecting for a few days if the plant looks stippled.
Look-alikes
Stippling is a clue, not a verdict. If you are on the fence, check these quick differences:
- Spider mites: stippling plus tiny moving dots under leaves, sometimes webbing; white paper test often smears
- Thrips: silvery scarring or streaks, black specks of frass, and damage on new growth; webbing is uncommon
- Mineral deposits or dust: wipes off clean, no movement, no new stippling spreading leaf to leaf
Plants they love
Spider mites can show up on almost any houseplant, but a few favorites come up again and again in my experience:
- Calathea and other prayer plants: thin leaves, sensitive to dry air, mites spread fast in winter
- Alocasia: broad leaves and stressed indoor conditions make them a common target
- Ivy (English ivy and relatives): dense growth gives mites lots of hiding places
- Fiddle leaf fig: can look “dusty” and dull, and mites love the warm, bright window spots where FLFs often live
Also keep an eye on crotons, dracaenas, palms, and many succulents kept in very dry rooms.
Do this right away
When spider mites show up, speed matters. This is my calm-but-fast plan.
Step 1: Isolate
Move the plant away from other plants, especially anything with touching leaves. Mites crawl, and crowded plant corners are basically their favorite neighborhood.
Step 2: Inspect close neighbors
Check the plants that were closest, plus any plant you recently handled right after touching the infested one. Focus on leaf undersides and new growth.
Step 3: Rinse and knock them back
Take the plant to a sink, shower, or outdoors if weather allows. Spray leaves thoroughly, especially undersides. This knocks down a big percentage of mites right away.
- Water pressure: firm enough to dislodge pests, gentle enough not to shred leaves
- Temperature: lukewarm is safest for most tropicals
Step 4: Prune the worst leaves
If a few leaves are heavily webbed or badly damaged, remove them and seal in a bag. Do not add infested leaves to an indoor compost bin, and avoid home compost piles if you are worried about spreading pests around your growing area.
Step 5: Clean the area
Wipe down the windowsill, plant stand, and nearby surfaces. Mites live on plants, not furniture, but cleaning helps remove dust, webbing, and any stray hitchhikers while you are in outbreak mode.
Treatment options
You have a few good, plant-friendly tools. The most important factor is consistency and coverage, not “the strongest product.”
Option A: Water spray
Rinsing does not usually eradicate mites alone, but it dramatically reduces their numbers and makes other treatments more effective.
- Spray undersides, stems, and leaf joints.
- Repeat every 2 to 3 days during an outbreak.
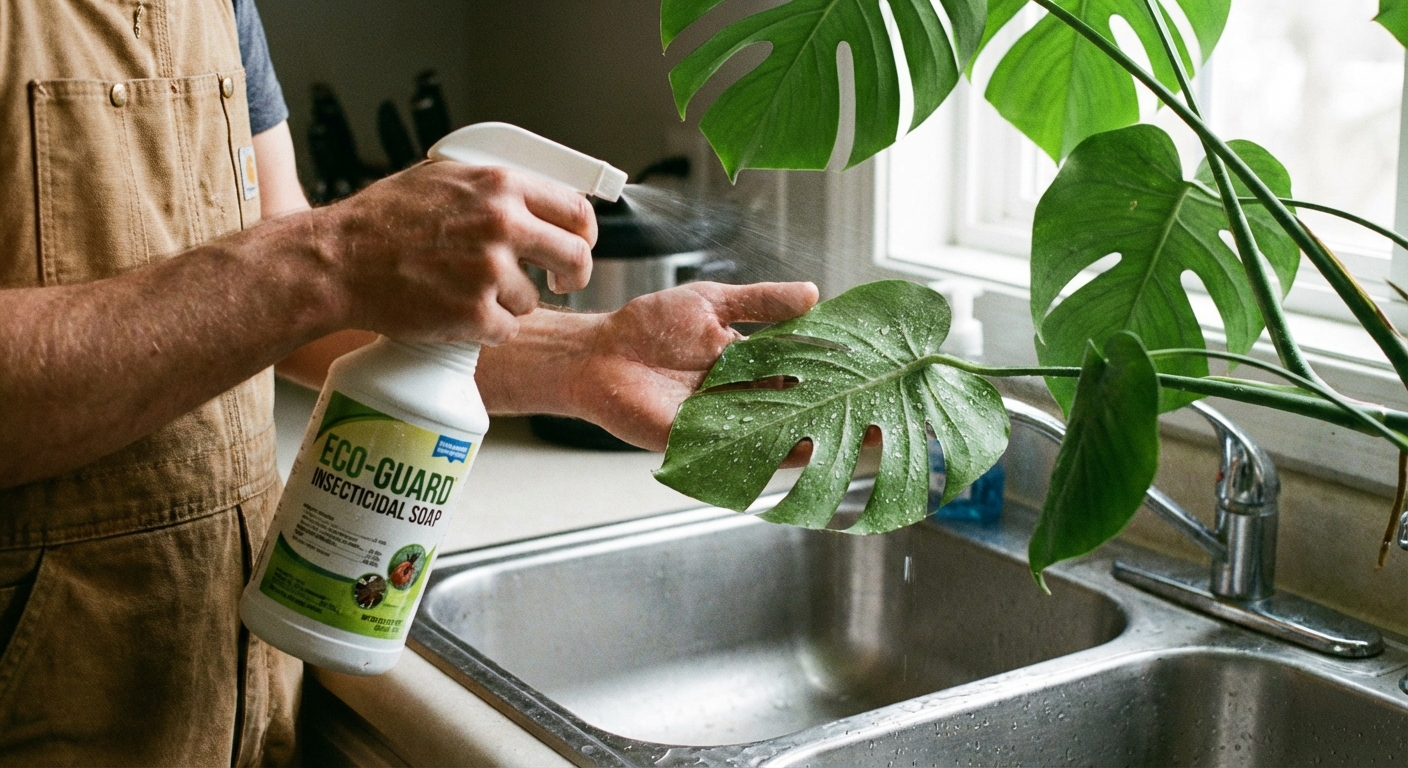
Option B: Insecticidal soap
Insecticidal soap works by coating soft-bodied pests. It must contact the mites to work.
- How to apply: spray until leaves glisten, especially undersides
- Tip: treat in the evening or out of direct sun to reduce leaf burn risk
- Watch-outs: some sensitive plants can react. Spot-test one leaf first
Option C: Neem oil
Neem can help, especially as part of a repeated schedule, but results against spider mites can be inconsistent. For heavier infestations, a labeled horticultural oil is often more reliable than neem. Either way, coverage is everything.
- Mixing: follow the product label precisely
- Coverage: undersides matter most
- Common mistake: using too much oil, which can block stomata and cause spotting or burn
Option D: Rubbing alcohol
For tough infestations, I like 70% isopropyl alcohol as a targeted helper, not a full-plant drench for delicate species.
- How: dampen a cotton pad and wipe leaf undersides, stems, and petioles
- Or: dilute alcohol 1:1 with water in a spray bottle for broader coverage
- Spot-test: especially on calatheas, ferns, and thin-leaved plants
Option E: Beneficial predators
If you prefer a non-spray route (or you are battling the same dry winter outbreak every year), predatory mites can be a great option.
- Common choices: Phytoseiulus persimilis (fast, best for active infestations) and Neoseiulus californicus (more tolerant of lower humidity)
- Best use: after a rinse to reduce the population, then release predators per supplier instructions
- Note: avoid spraying oils or soaps while predators are working, unless the supplier says it is compatible
Do not DIY-mix treatments in the same bottle unless the label explicitly says it is safe. Soap plus oils, for example, can increase leaf burn risk. Many commercial horticultural oils are formulated to work on their own, so follow that product’s directions rather than combining products.
A schedule that works
Spider mites win when we treat once, feel hopeful, and then forget that eggs are still hatching. A simple schedule keeps you ahead of their life cycle.
Quick timing note: development speed depends on temperature. In warm rooms, mites cycle faster, so you tighten the schedule. In cooler rooms, you may be able to stretch it slightly. The goal stays the same: no gaps long enough for hatchlings to mature and reproduce.
Days 1 to 3: Knockdown
- Day 1: rinse thoroughly, then apply insecticidal soap or a labeled oil (or alcohol wipes for hot spots)
- Day 3: rinse again, reapply the same treatment
Days 6 to 10: Break the hatch cycle
- Day 6 or 7: treat again
- Day 9 or 10: treat again, paying extra attention to new growth and leaf undersides
Days 14 and 21: Confirm
- Day 14: inspect with the white paper test. If you see any movement, treat again
- Day 21: final inspection. If clear, you can gradually return the plant to its usual spot
If your home is very warm and dry, treat every 3 to 5 days for a couple of weeks. Remember: most contact sprays do not reliably affect eggs, so repeats are what finish the job.
Safety and plant care
- Keep it out of sun: treat in bright shade or evening so wet leaves do not scorch.
- Ventilate: especially with oils or alcohol.
- Protect surfaces: put a towel under the plant or treat in a tub or sink.
- Do not drown the roots: repeated rinsing can soak potting mix. Tip the pot to drain, and let the plant dry to its normal level before watering again.
- Spot-test: one leaf first if your plant is sensitive.
Prevent spider mites
Prevention is mostly about reducing plant stress and catching problems early. You do not need perfection. You need a routine.
Raise humidity (but do not rely on it)
Spider mites tend to struggle in higher humidity, while many tropical houseplants thrive. That said, humidity helps prevention and recovery, but it rarely fixes an active infestation on its own. Think of it as support, not the whole plan.
- Aim for: 45% to 60% humidity for many tropicals if you can manage it
- Best tools: a small humidifier near your plant cluster
- Skip the pebble tray hype: it adds a little local humidity, but it rarely changes a whole room
Inspect during watering
Make “flip a leaf” part of your watering habit. Check undersides, leaf joints, and new growth. Early mites are much easier to treat than established webbing.
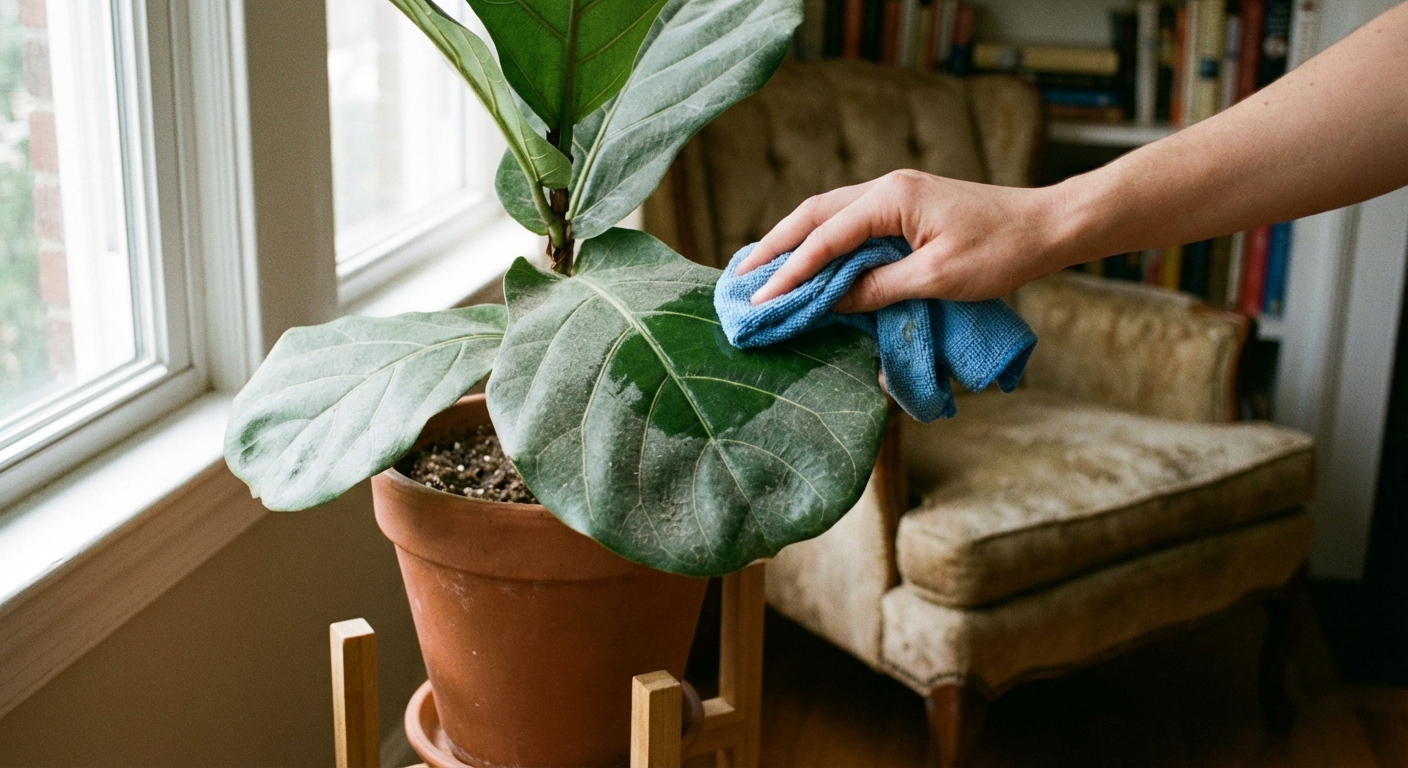
Keep leaves clean
Dusty leaves are like a welcome mat for spider mites. Wipe leaves with a damp cloth or rinse periodically.
Quarantine new plants
New arrivals get a 2-week quarantine in my house, even if they look perfect. Most infestations start with a hitchhiker from the nursery.
Avoid chronic drought stress
Plants that are repeatedly allowed to dry too hard (especially thin-leaved tropicals) tend to be more vulnerable. Water appropriately for your plant, and keep it stable rather than swinging between extremes.
Plant notes
Calathea
- Big risk factor: dry indoor air
- Best approach: consistent humidity plus gentle rinsing and insecticidal soap
- Caution: always spot-test neem, oils, and alcohol on one leaf first
Alocasia
- Big risk factor: stress from low humidity and irregular watering
- Best approach: rinse, then soap treatments on schedule. Check the newest leaf and petioles closely
Ivy
- Big risk factor: dense growth where mites hide
- Best approach: prune lightly to open airflow, then treat thoroughly. Make sure spray reaches inner stems
Fiddle leaf fig
- Big risk factor: warm bright window, dusty leaves
- Best approach: wipe leaves, rinse undersides, and use soap or a labeled oil with excellent coverage
Common mistakes
- Treating only the top of the leaf: mites mostly live underneath
- Spraying once and stopping: eggs hatch later, and you think the problem “returned” when it never left
- Not isolating: mites spread to your whole plant collection quietly
- DIY cocktail mixing: combining soap, oils, and alcohol can increase leaf damage and still miss key hiding spots
- Skipping leaf cleaning: dusty leaves reduce contact effectiveness of soaps and oils
- Relying on systemics: standard systemic insecticides (like imidacloprid) do not control mites well and can sometimes make outbreaks worse by disrupting natural enemies. Use products labeled for mites if you escalate
When to escalate
If you have followed a 2 to 3 week schedule with thorough coverage and still see active mites, consider stepping it up:
- Increase frequency: treat every 3 to 4 days for 2 weeks
- Improve coverage: use a finer mister or spray from multiple angles, and treat stems and leaf joints
- Switch tools: move from neem to a labeled horticultural oil, or consider beneficial predators
- Consider a miticide: true miticides target mites specifically. If you go this route, follow label directions carefully and use proper ventilation
If a plant is severely infested, chronically stressed, and putting nearby plants at risk, it is okay to let it go. Seal the plant in a bag and dispose of it according to local waste rules (for example, municipal green bin pickup if accepted). Avoid adding it to a home compost pile. That is not failure. That is triage.
Spider mites FAQ
Are spider mites harmful to people or pets?
Spider mites on houseplants are not known to bite people in any meaningful way, and they do not live on pets like fleas. They are a plant problem, not a household parasite problem.
Can I just use dish soap?
It is tempting, but dish soap is a detergent and can damage leaf surfaces. Use a product labeled as insecticidal soap for plants whenever possible.
How long does it take to get rid of spider mites?
With consistent treatment, many infestations improve noticeably within a week and resolve in 2 to 3 weeks. Heavy infestations can take longer, especially in warm, dry rooms.
Do spider mites live in the soil?
They primarily live on plant tissue, not in potting mix. Focus treatments on leaves, stems, and plant crevices.
A gentle pep talk
If you are dealing with spider mites right now, take a breath. This is one of the most common houseplant pests for a reason. They thrive in normal homes, especially when the air gets dry. You did not “cause” them by being a bad plant parent.
Start with isolation, rinse well, pick a treatment you can repeat, and stick to the schedule. Your plant can come back from more than you think, especially once you stop the mites from sipping it dry.