Semi-Hydro (LECA) for Houseplants
Semi-hydroponics with LECA is one of my favorite ways to take the drama out of houseplant care. If you have ever hovered over a pot wondering, “Is it dry enough yet?” or you keep losing plants to mushy roots, LECA can feel like a deep exhale. It is tidy, repeatable, and surprisingly forgiving once you learn the rhythm.
This guide walks you through what semi-hydro actually is, when it helps, how to convert plants without panicking them, and the care routine that keeps roots pearly and healthy.

What semi-hydro means
Semi-hydroponics is a method where a plant grows in an inert medium (most often LECA, or lightweight expanded clay aggregate) instead of soil, while pulling water and nutrients from a small reservoir.
It is called “semi” hydro because the roots are not continuously submerged and aerated like a true hydroponic system. In semi-hydro, the plant sits above a reservoir. Moisture wicks upward through the LECA and the roots learn to live in a consistently damp, oxygen-rich environment.
Why LECA works
- Air pockets: Clay balls create lots of airflow around roots, which can help reduce the risk of rot when reservoir height and care are dialed in.
- More consistent moisture: You stop cycling between bone-dry and swampy.
- Inert and clean: No decomposing potting mix, fewer fungus gnats, and easier monitoring.
- Reusable: Rinse and reuse, which I love for low-waste plant keeping.
When semi-hydro helps most
LECA is not a magic wand, but it is a fantastic tool in a few specific situations.
- Root rot recovery: LECA can support new root growth with better airflow, though severely rotted plants sometimes do best in water or perlite first. Use what your plant will tolerate.
- Watering consistency problems: Great for folks who forget to water, then overcorrect.
- Busy schedules or travel: Reservoir watering buys you time.
- Fungus gnat battles: No soil means far fewer breeding sites.
- Plants that love evenly moist conditions: Many aroids thrive once adapted.
That said, semi-hydro is not “set it and forget it.” Your job shifts from guessing soil moisture to doing a simple routine of reservoir refills, flushing, and nutrients.
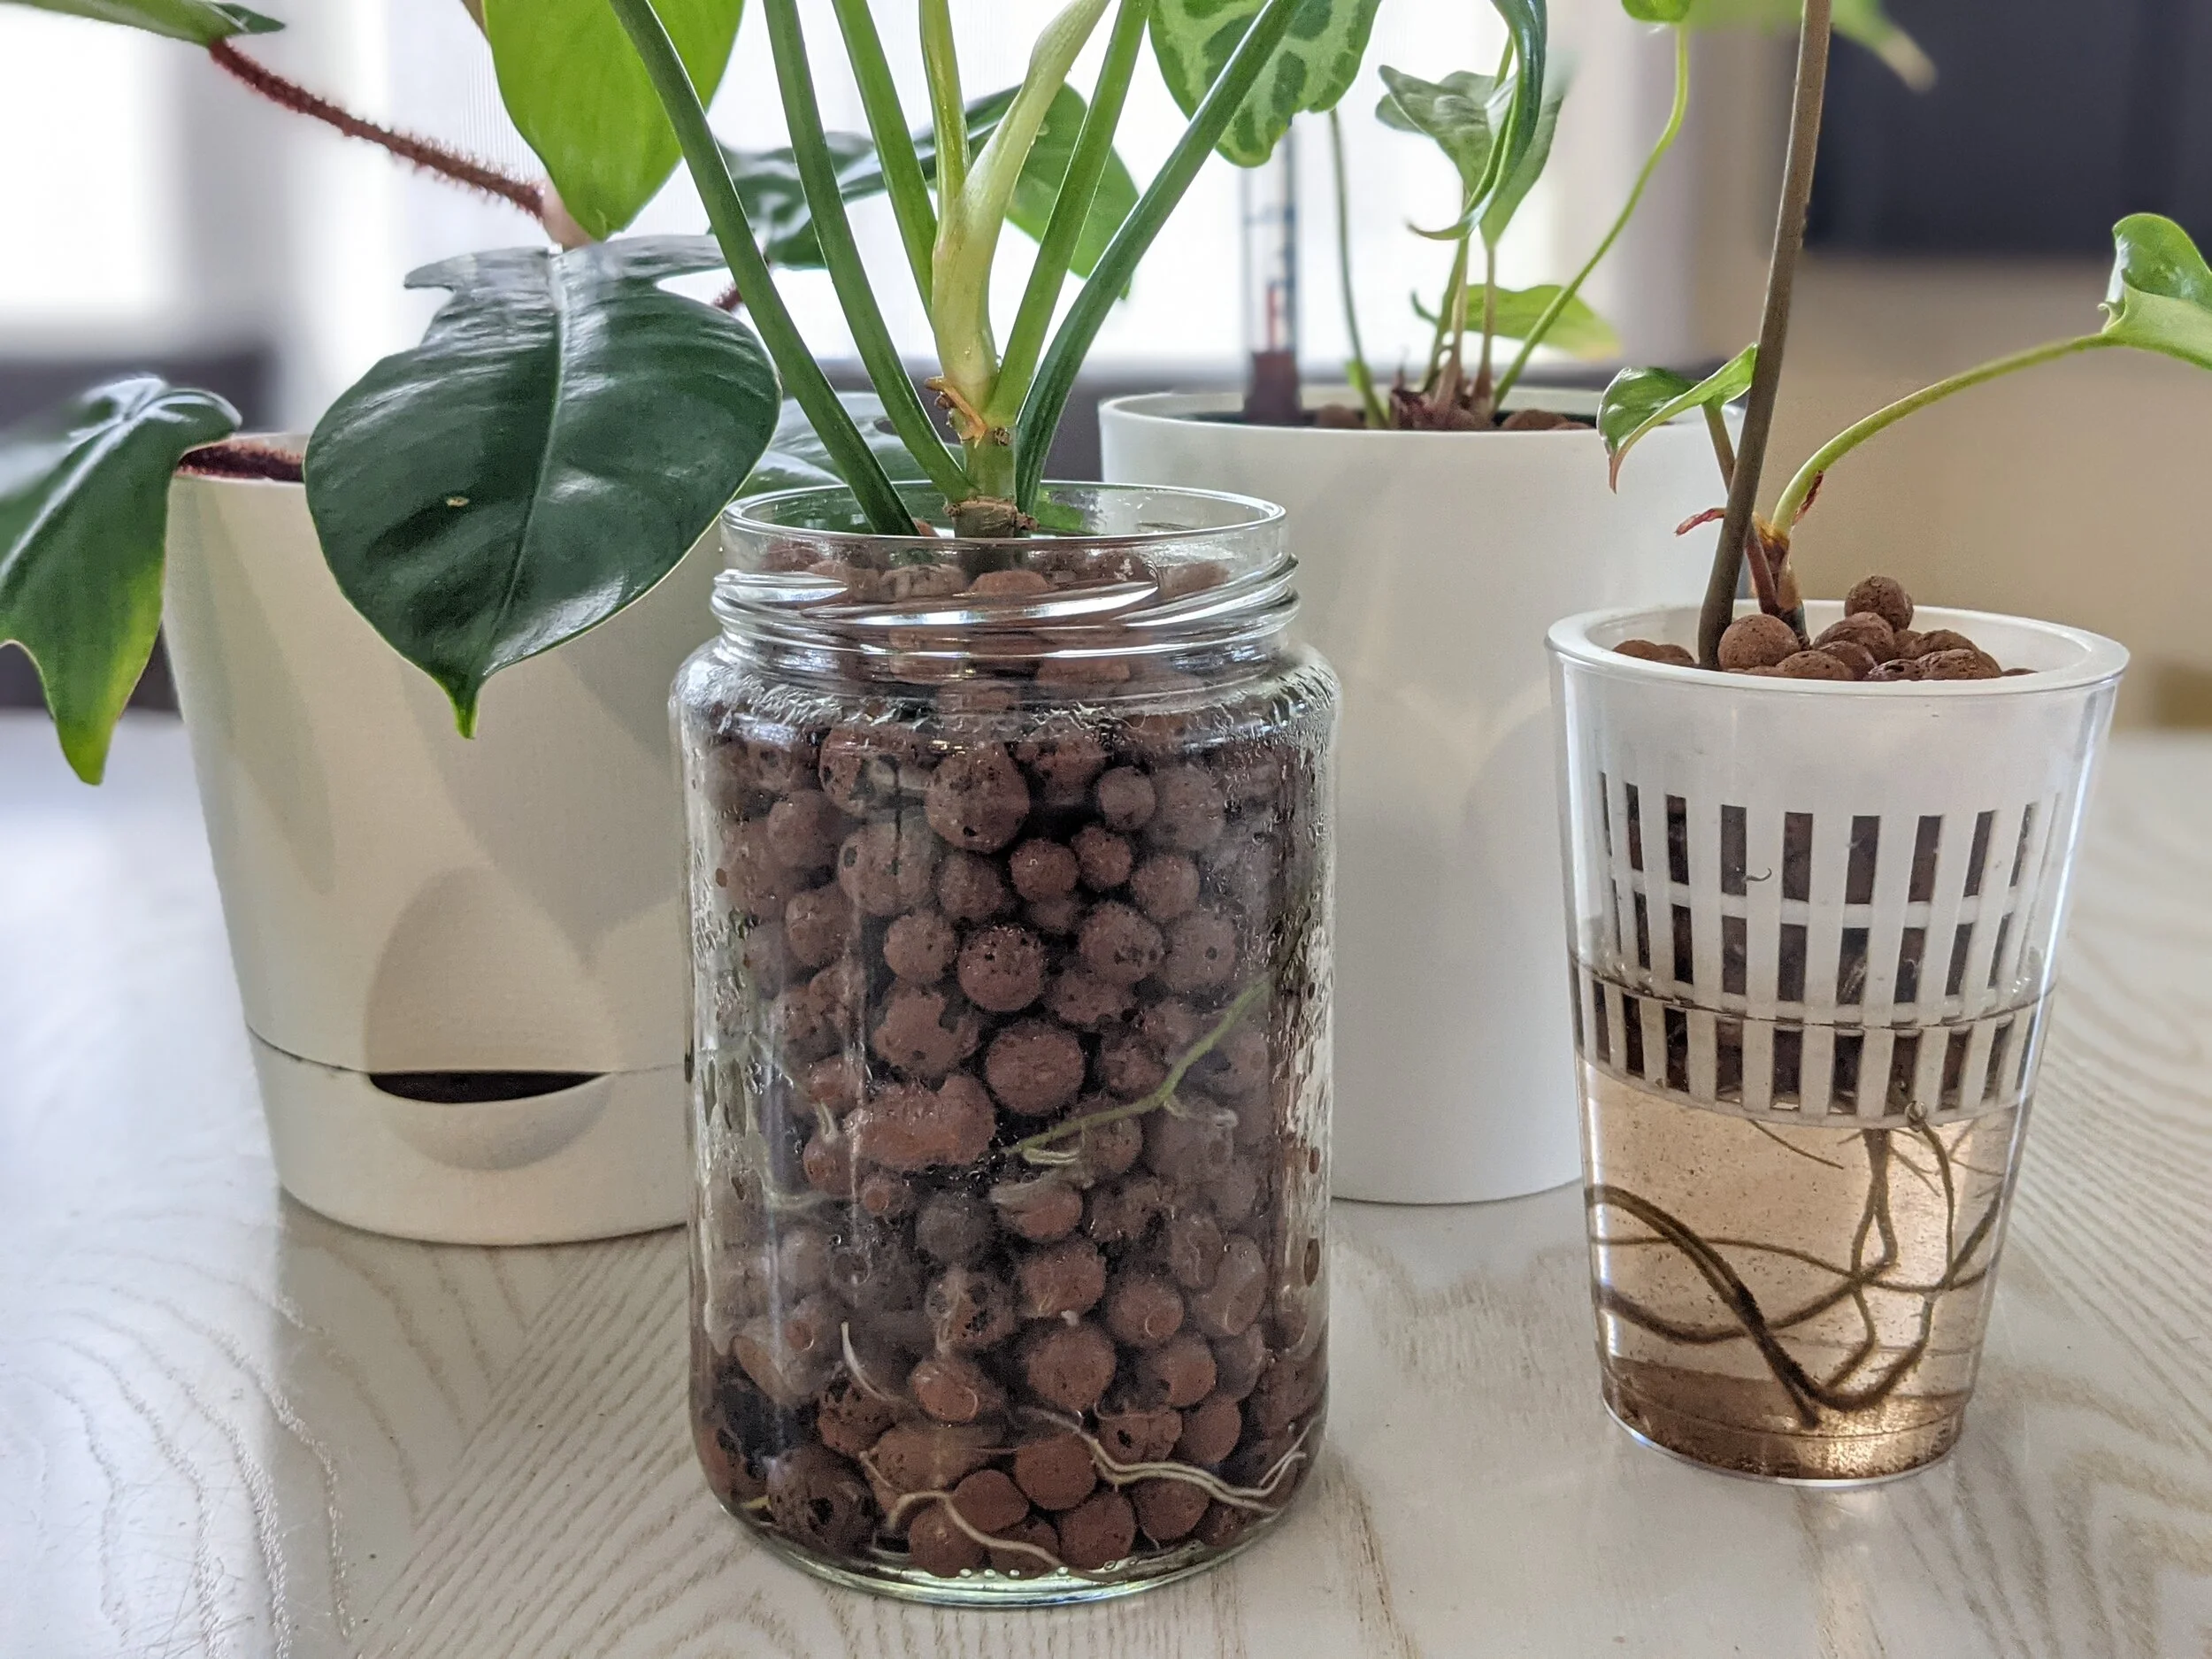
What you need for a LECA setup
You can go fancy or simple. I started simple on a city windowsill and it worked beautifully.
Supplies
- LECA: Rinse well. Dust is normal and you want it gone.
- Two-part pot system: An inner pot with holes (net pot or slotted nursery pot) plus an outer pot with no drainage (cachepot) to hold the reservoir.
- Optional: A water level indicator, especially helpful when learning.
- Nutrient solution: A complete hydroponic fertilizer or a semi-hydro specific nutrient.
- pH testing (optional but useful): Test strips or a simple meter.
- EC/TDS meter (optional): Not required, but it takes a lot of guessing out of “am I feeding too strong?”
LECA prep notes
New LECA can be a little chaotic at first. Expect some initial cloudiness and a bit of mineral residue as you rinse. Some batches can also nudge pH upward early on, so if you are pH-focused, check your reservoir the first week or two and adjust as needed.
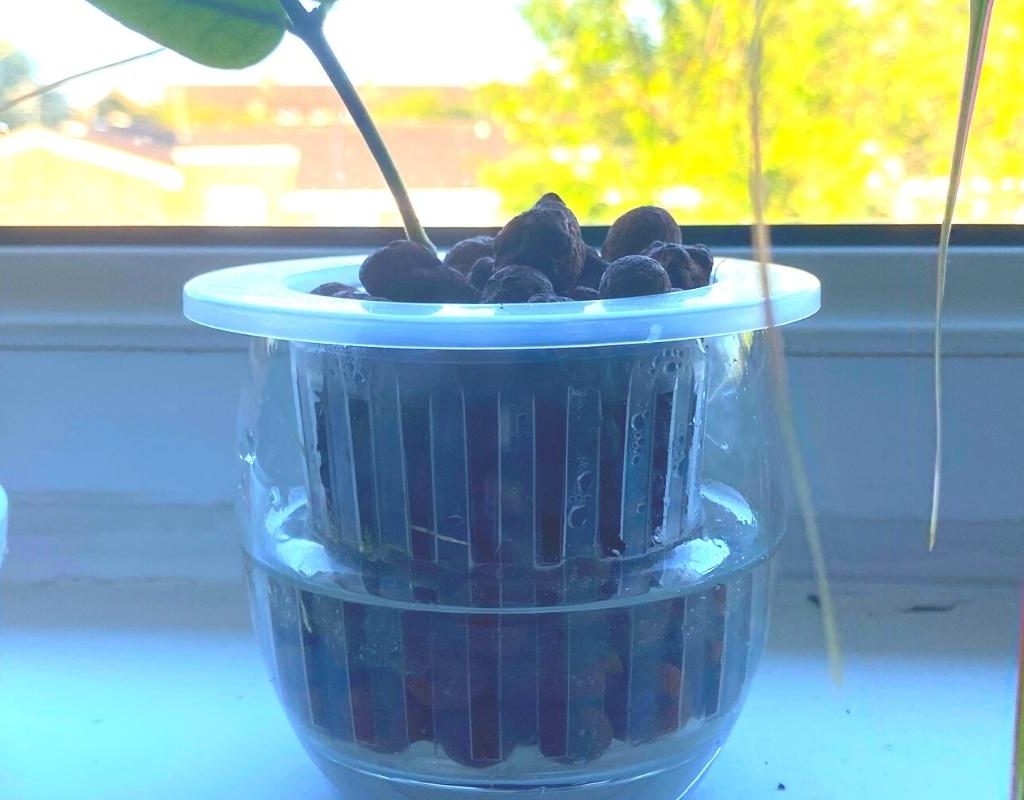
Reservoir basics
In semi-hydro, you keep a small amount of water in the bottom of the outer pot. The LECA wicks moisture upward, and the plant drinks from below.
How much water to add
A good beginner target is about 1/4 to 1/3 of the inner pot height as reservoir depth. Think of it as a starting point, not a law of physics. Smaller pots, low light, cool temps, or sensitive plants often do better with a lower reservoir.
Should roots sit in water?
Some roots will eventually grow “water roots” that tolerate constant moisture. During the transition, you are trying not to drown soil-adapted roots. Keeping the reservoir modest and flushing regularly helps a lot.
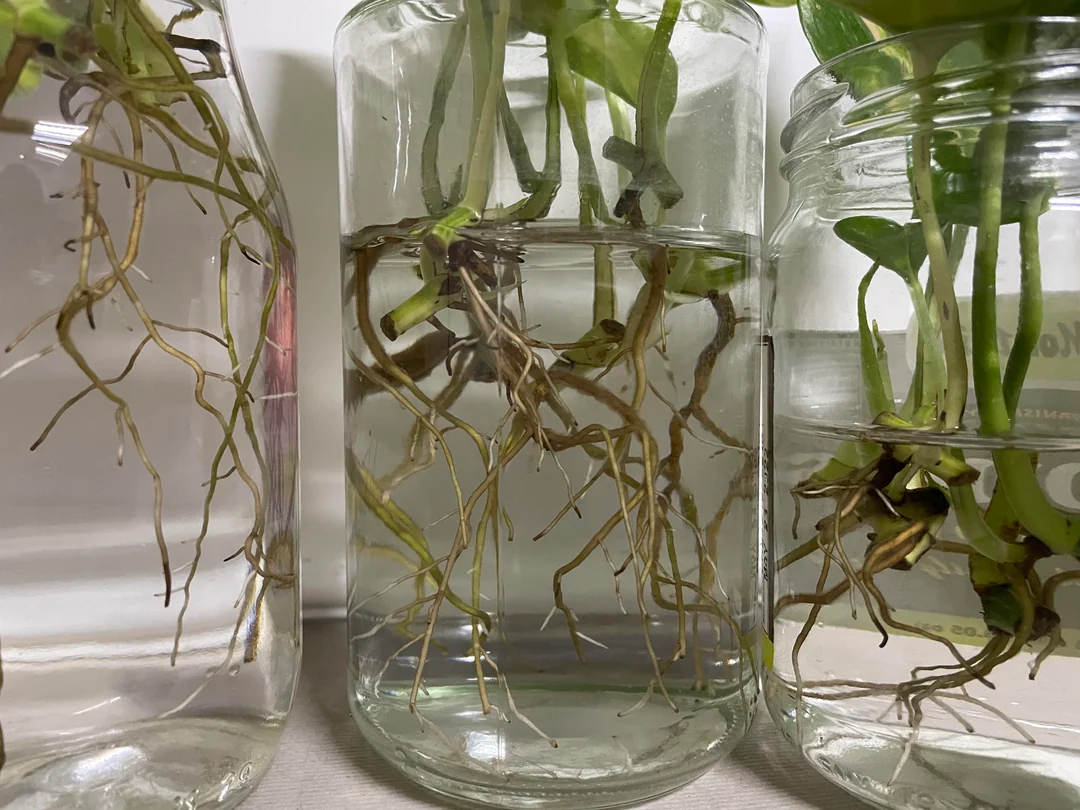
Also, keep the reservoir out of direct sun. Clear pots are great for monitoring roots, but strong sun can warm the water and invite algae.
How to convert a plant to LECA
Converting is the moment people get nervous, so let me normalize this: your plant may sulk. It is not personal. It is biology.
Plants grown in soil have roots adapted to a wetter-drier cycle with soil microbes. In LECA, they need to build new roots adapted to constant moisture and high oxygen. Your goal is a clean start and a gentle transition.
Best time to convert
- Spring through early summer is easiest because plants are actively growing.
- Avoid conversion right after shipping, during pest treatment, or in the darkest weeks of winter if you can.
Step-by-step
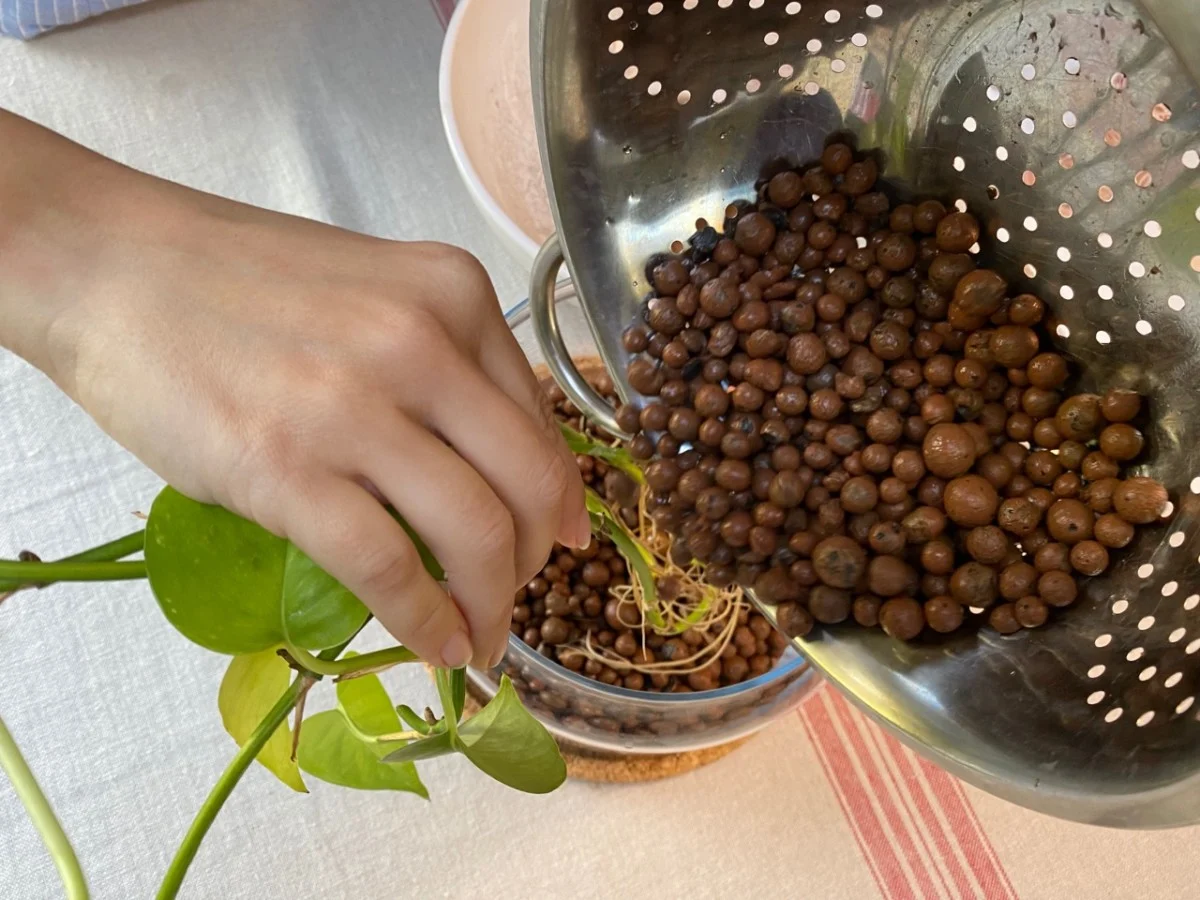
- Pre-rinse and soak LECA: Rinse until water runs mostly clear, then soak 12 to 24 hours. This helps saturate the balls so they wick properly.
- Unpot the plant: Gently slide it out of its soil pot.
- Remove soil thoroughly: Massage off as much soil as practical and rinse roots under lukewarm water. Aim for “mostly clean,” not “scrubbed to perfection.” Do not shred fine roots chasing one last speck of mix. Leftover organic bits can rot in LECA, so do your best, then move on.
- Trim unhealthy roots: Snip any black, mushy, or hollow roots with clean scissors.
- Optional safety step: If you want, do a quick dip in diluted 3% hydrogen peroxide (1 part peroxide to 3 parts water) for about 10 to 30 seconds, then rinse. It is easy to overdo, so beginners can absolutely skip this.
- Pot into LECA: Add a layer of LECA, place the plant, then fill around roots, tapping the pot so balls settle without crushing roots.
- Add plain water first: For the first 1 to 2 weeks, use plain water in the reservoir (or plain water with a very mild root stimulant, if that is your thing). Freshly cleaned and trimmed roots are more sensitive, and many plants cannot use fertilizer well while they are in transition shock.
- Then begin nutrients gently: After the first week or two, switch to a light nutrient mix (around 1/4 strength) and adjust from there.
- Bright indirect light and warmth: Keep conditions stable for a couple weeks.
Transition tip
For the first 2 to 4 weeks, many growers keep the reservoir slightly lower and let the top layer dry a bit between refills. This encourages new water roots to form without keeping the entire root mass constantly saturated.
If your plant drops an old leaf or two during the swap, that can be normal. Watch the newest growth and the roots, not the drama of one older leaf.
Day-to-day care
Light and temperature
LECA does not change a plant’s light needs, but it can increase growth once nutrients are dialed in. Bright indirect light is the sweet spot for most tropical houseplants in semi-hydro.
Refilling the reservoir
- Refill when the reservoir is low, not necessarily empty. Many people let it get close to empty, then refill.
- If you are battling rot or transitioning a sensitive plant, letting the reservoir fully empty for a day can help the root zone re-oxygenate.
- Top-off tip: Between full flushes, you can top off with plain water sometimes (instead of nutrients every single time) to slow salt buildup.
Flushing (worth it)
Flushing means running water through the LECA to wash away built-up mineral salts from fertilizers and tap water. This is the difference between thriving and mysteriously crispy leaf tips.
A good baseline:
- Flush every 2 to 4 weeks for most plants.
- Flush more often if you use hard tap water or notice white crust on LECA.
How to flush:
- Take the inner pot to the sink.
- Run room-temperature water through the LECA for 30 to 60 seconds.
- Let it drain well.
- Put it back in the cachepot and add fresh water or nutrient solution to the reservoir (depending on where you are in your routine).
Algae and cleanup
Green algae in a clear pot is common if light hits the reservoir. It is usually harmless, but it can look messy and sometimes comes with biofilm or a bit of odor. An opaque cachepot, a pot sleeve, or simply keeping the setup out of direct sun reduces algae dramatically.
Nutrients
Because LECA is inert, all nutrition comes from you. The easiest approach is to use a complete hydroponic fertilizer that includes micronutrients.
What to use
- Hydroponic nutrients: A complete, balanced formula works well.
- Calcium and magnesium: If your nutrient line does not include Cal-Mag and you use RO or distilled water, you may need to add it.
Mixing basics
Pre-mix your nutrient solution in a separate jug or watering can, then pour it into the reservoir. This keeps dilution accurate and makes pH testing actually meaningful.
How strong to mix
Houseplants generally prefer lighter feeding than aggressive hydro crops. A common starting point is 1/4 to 1/2 strength of the label recommendation. If you use an EC/TDS meter, you can keep things more consistent by repeating the same “strength” each time rather than guessing.
Water choice matters
- Hard tap water: Can lead to salt buildup faster. Flush more often.
- Filtered water: Often a happy middle ground.
- RO or distilled: Very clean, but you must provide minerals through nutrients and often Cal-Mag.
pH basics (optional)
Most houseplants in semi-hydro do well when the nutrient solution is roughly pH 5.5 to 6.5. If you want a simple target, aim for about 6.0. If you are seeing nutrient deficiencies despite feeding, pH is worth checking.
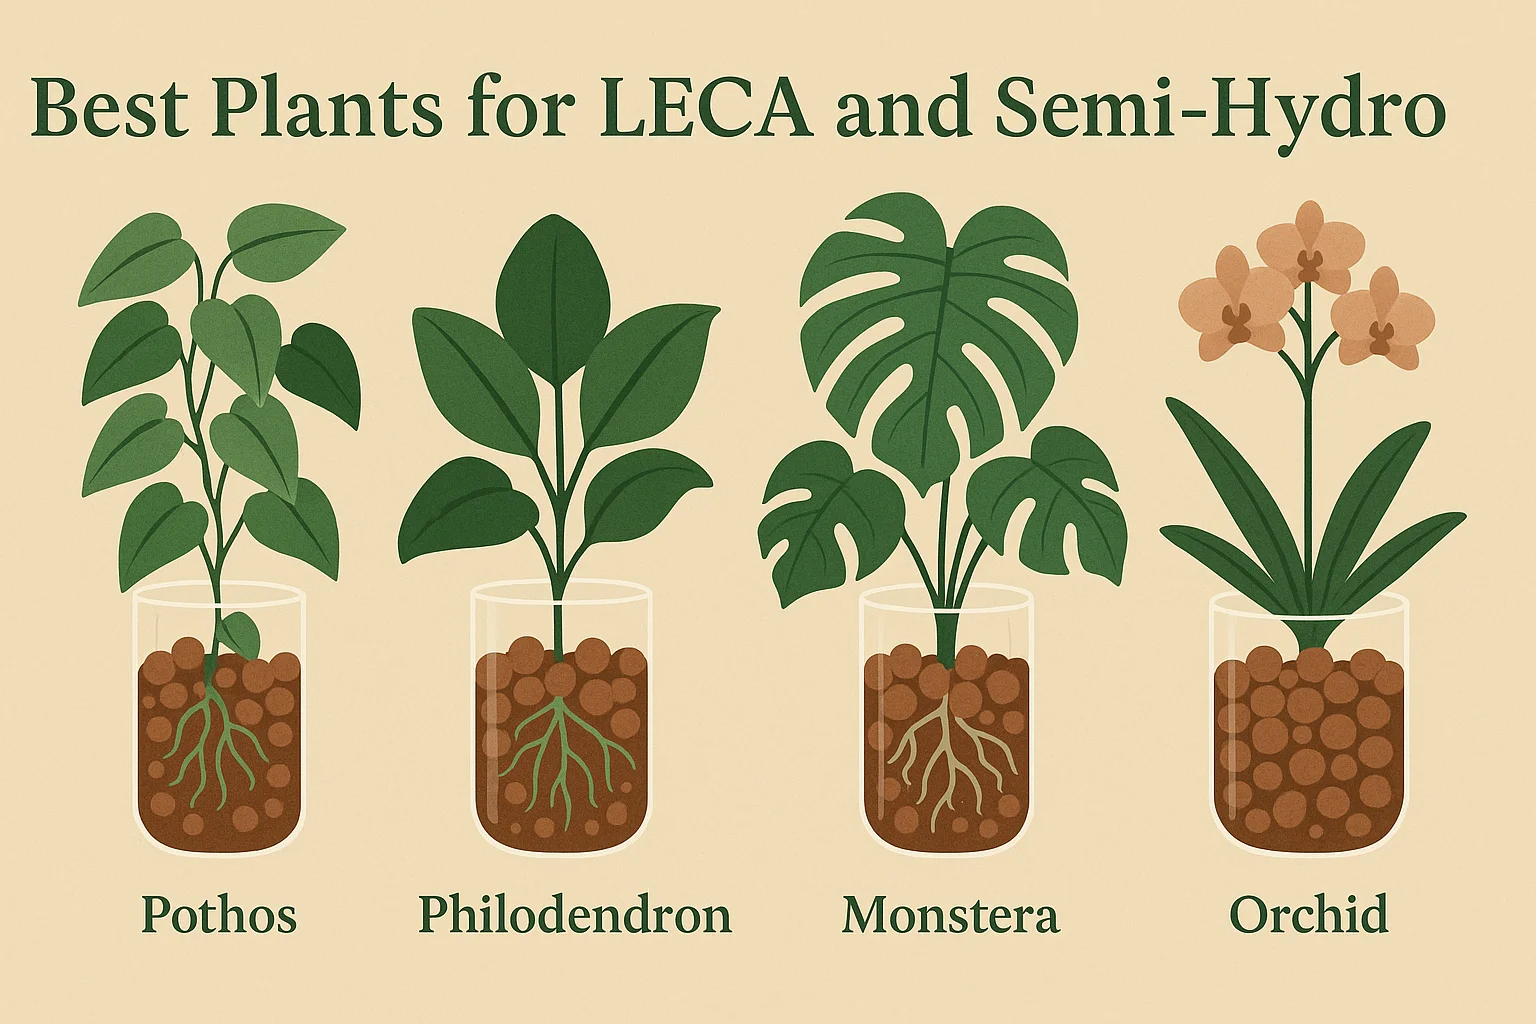
Best plants for LECA
Not every plant loves semi-hydro. I think of it like footwear. Some plants are hiking boots, some are delicate ballet flats.
Great candidates
- Pothos (Epipremnum aureum)
- Philodendrons (heartleaf, micans, many vining types)
- Monsteras (especially deliciosa and adansonii)
- Syngonium (arrowhead plant)
- Scindapsus (satin pothos)
- Peace lily (Spathiphyllum), once adapted
- Spider plant (Chlorophytum), often does well
- Many Hoyas, especially if you start with rooted cuttings
- Herbs started in water (like mint cuttings) can transition nicely indoors
Possible, with a learning curve
- Calatheas and Marantas: They love moisture but can be sensitive to water quality and salts. Use gentle feeding and flush reliably.
- Ficus: Some adapt, some sulk. Start with a healthy plant and stable light.
- Anthuriums: Many do beautifully, but they prefer excellent airflow and a careful nutrient routine.
Poor fits
- Cacti and most succulents: They want a dry cycle and can rot in constant moisture.
- Bulbs and rhizomes prone to rot if kept too wet (some can work with skill, but it is not beginner-friendly).
- Plants that demand a dry rest seasonally.
- Very fine-rooted, drought-adapted plants that dislike consistent moisture.
Troubleshooting
1) Yellowing leaves after conversion
Often normal transition stress, especially older leaves. Check for:
- Rotting roots: Remove mushy roots, lower reservoir level, and flush.
- Too low light: Plants need energy to grow new water roots.
- Feeding too early or too strong: Stick to plain water for the first 1 to 2 weeks, then start light.
2) Leaf tips turning brown
Common causes are salt buildup or inconsistent flushing. Flush more often, reduce nutrient strength, and consider using filtered water.
3) White crust on LECA or pot
Mineral deposits from fertilizer and tap water. Flush thoroughly and wipe the cachepot. If it returns quickly, switch to filtered or RO water and feed lighter.
4) Fungus gnats still showing up
If you have LECA and still see gnats, they are likely breeding in nearby soil pots, drains, or damp organic debris. Semi-hydro helps, but your whole space needs to be less gnat-friendly.
5) Plant seems thirsty with a reservoir
Sometimes the top layer dries and you assume the plant is dry. Check the reservoir and the weight of the pot. Also, newly converted plants may not have enough water roots yet, so they can act thirsty. Stable moisture and patience usually fix this.
6) Leaf drop and no new growth
If you are seeing leaf drop and there is no new growth after 3 to 6 weeks (in good light and warmth), it is time to check roots. Healthy water roots look firm and pale. If roots are melting, lower the reservoir, flush, and consider restarting the plant in water or perlite until it rebounds.
A simple routine
- Once a week: Check reservoir level and top off as needed (alternate nutrient solution and plain water if you are prone to salt buildup).
- Every 2 to 4 weeks: Flush in the sink and replace with fresh, pre-mixed nutrient solution.
- Every 2 to 3 months: Inspect roots, rinse the pot, and remove any decaying root bits.
If you want the least fussy path, start with a pothos or philodendron cutting, get your routine down, and then convert your more precious plants. I promise your confidence grows quickly once you see those crisp white water roots forming.