
Sedum Care for Beginners

Sedum is the plant I recommend when someone tells me, in a worried whisper, that they have a “black thumb.” Most sedums are happy with bright sun, lean soil, and a little benign neglect. They store water in their leaves and stems, so the most common beginner mistake is loving them to death with frequent watering.
Quick note before we begin: The sedums in this guide are hardy, outdoor plants in most regions. They can survive winter outdoors in many climates (often USDA Zones 3 to 9, depending on the variety). If you try to grow an “Autumn Joy” type on a desk indoors, it will usually stretch, pale out, and sulk. Outdoors, in real sun, is where these shine.
On this page we are focusing on sedum care for two beginner-friendly groups:
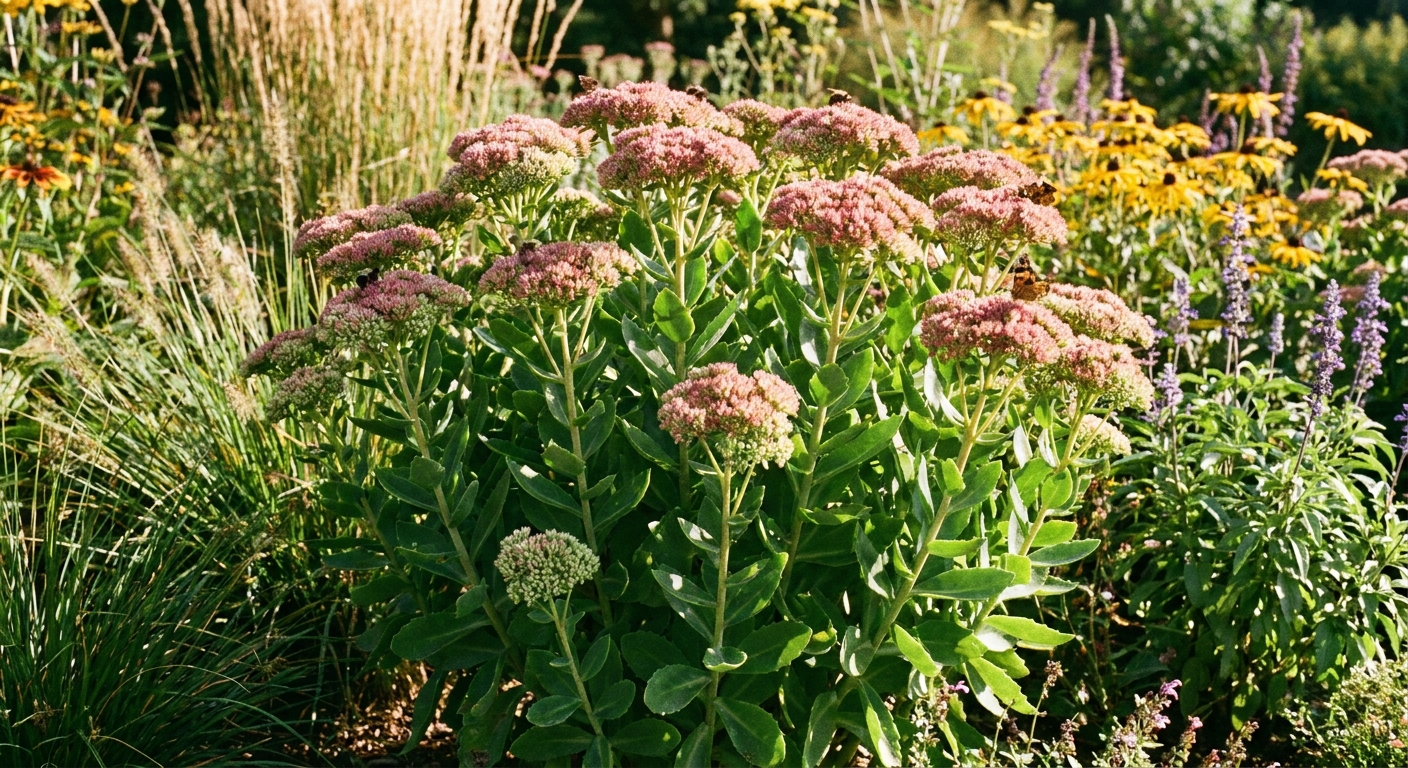
- Upright sedums (often labeled Hylotelephium, the classic “Autumn Joy” type): clumping, knee-high plants with sturdy stems and big late-season flower heads.
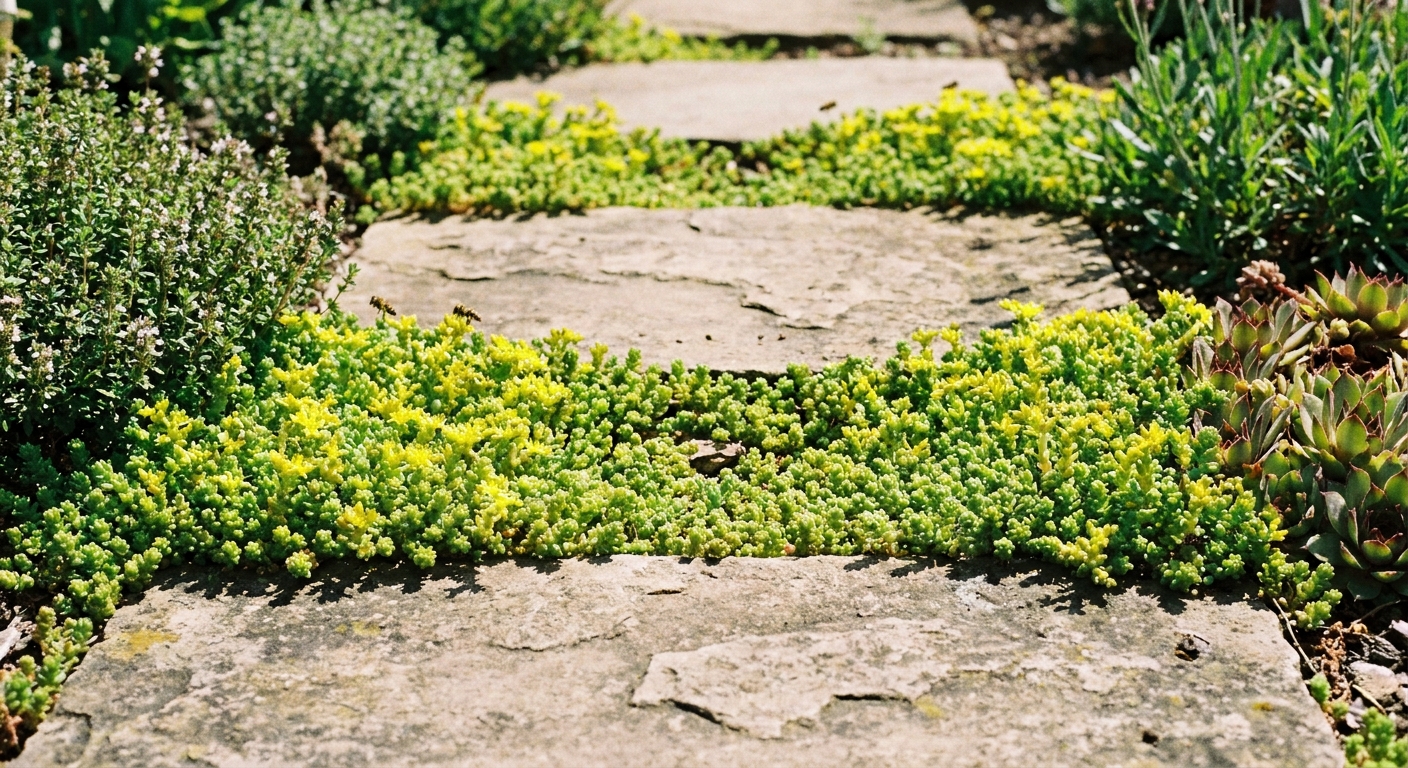
- Groundcover sedums (often called stonecrops): low, spreading mats that weave between rocks, spill from pots, and shrug off drought.
One small taxonomy heads-up: you will still see many upright types sold as Sedum at garden centers. Plant labels vary by nursery and region, but the care is essentially the same.
If you came looking for leaf propagation steps, you are in the right neighborhood but the wrong room. Leafy Zen covers sedum propagation elsewhere. This guide stays strictly on keeping your sedums healthy, upright, and looking good all season.

Know your sedum type
Quick ID: Upright sedums grow in clumps and can flop if shaded or overfed. Groundcover stonecrops creep, carpet, and rarely need anything besides sun and drainage.
Upright sedums
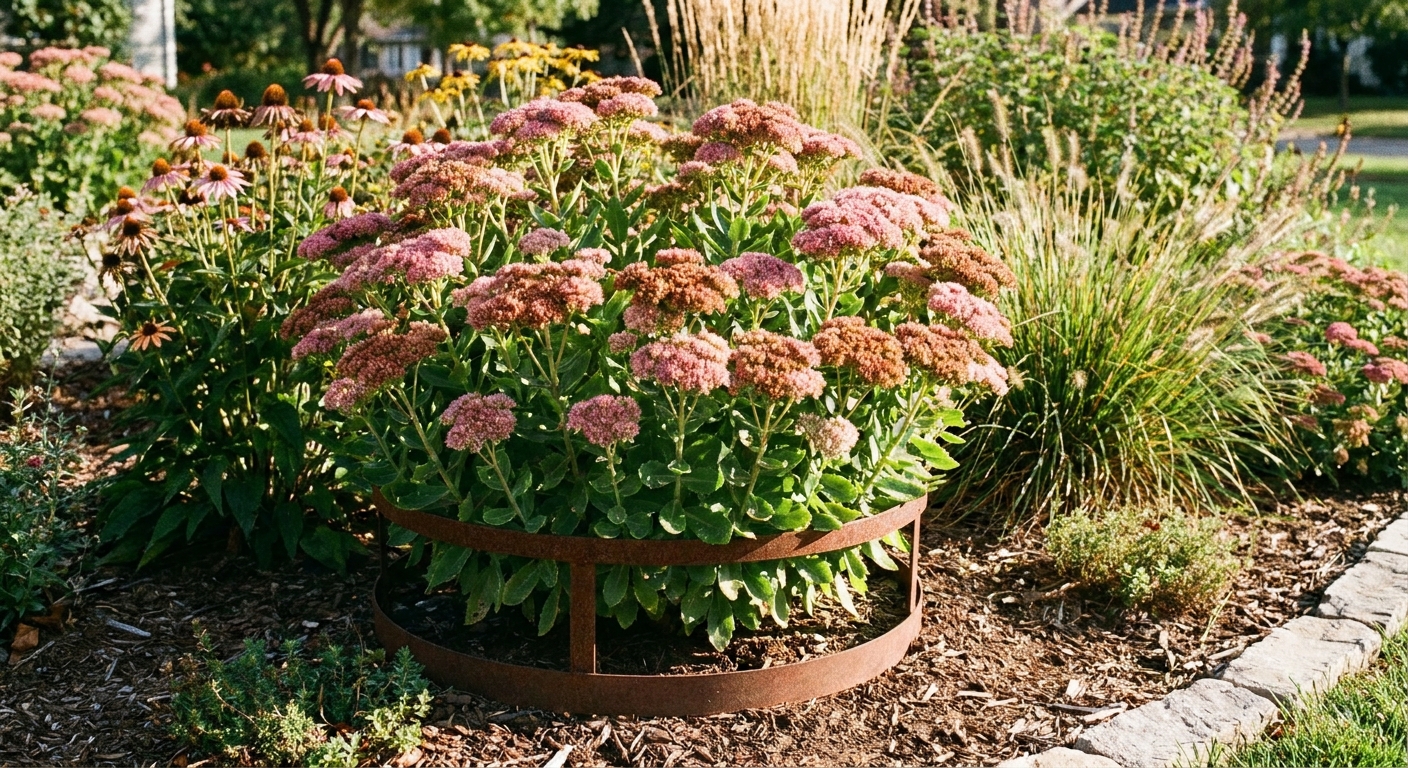
These are the ones that look like little shrubs made of succulent stems. They typically bloom from late summer into fall, and many varieties shift color as they age, often from pale green to rosy pink, then drying to a rusty bronze that looks gorgeous in winter.
- Growth habit: Clumping, upright, 1 to 3 feet tall depending on variety.
- Best uses: Perennial borders, pollinator beds, cut flowers, winter structure.
- Common names: Autumn Joy, showy stonecrop, or just “sedum” at big box stores.
Groundcover stonecrops
These form carpets and spill over edges. Some have tiny needle-like leaves, others have jellybean leaves, and many turn bright colors in sun and cool weather.
- Growth habit: Low and spreading, usually under 6 inches tall.
- Best uses: Rock gardens, edging, green roofs, living mulch in dry spots, containers.
- Big win for beginners: They are forgiving if you forget to water.
Light
If sedum care had one golden rule, it would be this: give it more sun than you think. Bright light keeps sedums compact, colorful, and less likely to flop.
- Ideal: Full sun, about 6 to 8 hours daily.
- Tolerates: Partial sun, especially in very hot climates where afternoon shade can prevent scorching.
- Variety caveat: Sun tolerance varies a bit by species and cultivar. If you are gardening in high heat or intense UV, start with morning sun and add afternoon shade if leaves look bleached or crisp.
- Too little light looks like: Stretched stems, wide gaps between leaves, pale color, fewer flowers, and upright sedums that topple.
Beginner tip: If your upright sedum flops every year and you are already watering lightly, the culprit is often insufficient sun or soil that is too rich.
Soil
Sedums love soils that many plants complain about. They do best in well-draining ground and are perfectly content in sandy or rocky spots.
Biggest killer: wet soil, especially in winter. If you remember nothing else, remember drainage.
In-ground soil
- Best: Soil that drains quickly after rain.
- Avoid: Heavy clay that stays wet, and beds that are regularly amended with rich compost for thirsty plants.
- Easy fix for heavy soil: Plant on a slight mound or raised area so excess water runs away from the crown.
Container soil
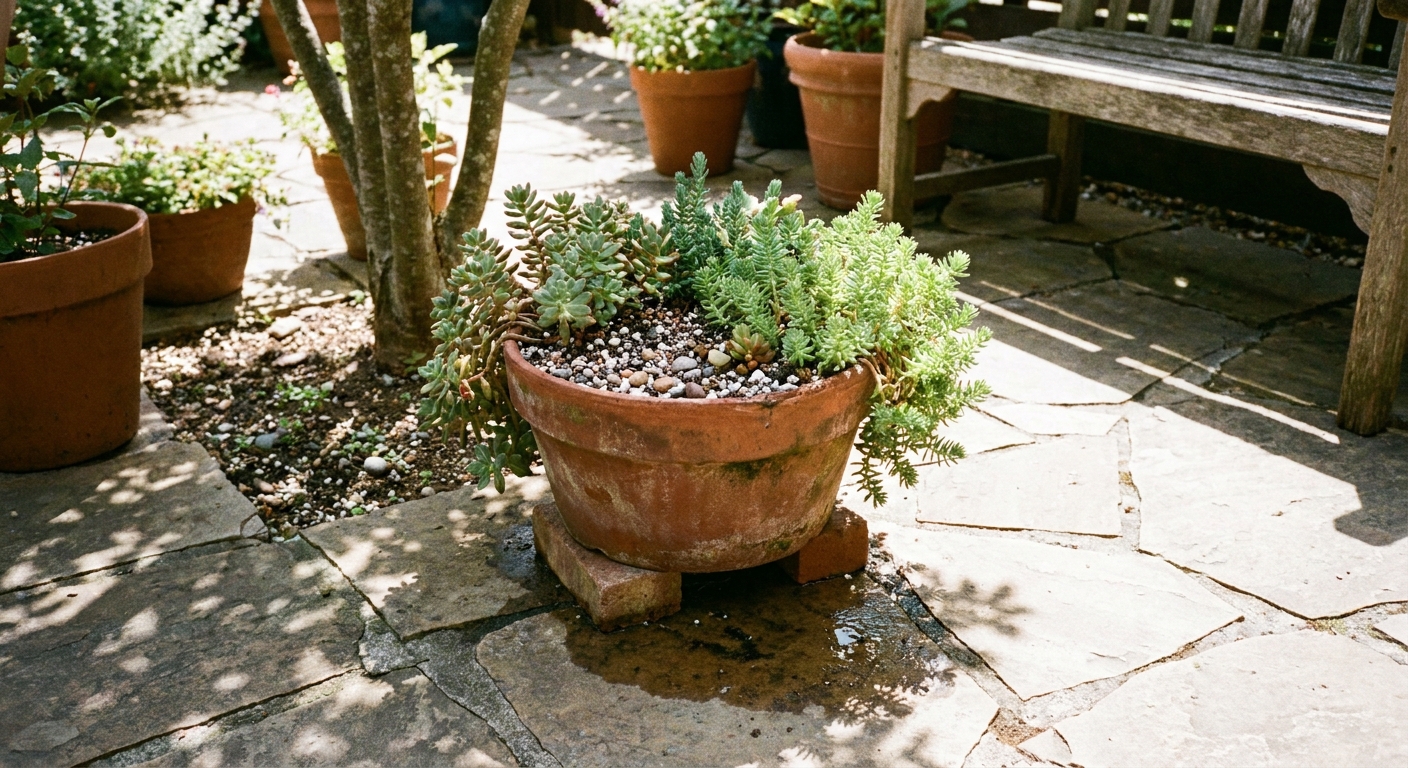
In pots, drainage is everything. Use a cactus or succulent mix, or make your own by mixing:
- 2 parts potting mix
- 1 part perlite or pumice
- 1 part coarse sand or fine gravel
Choose a pot with a drainage hole. Sedum roots are fine with tight quarters, but they are not fine with soggy soil.
Watering
Sedum is drought-tolerant once established, but new plants still need a little help while their roots settle in.
Newly planted (first few weeks)
- Water deeply after planting.
- Water again when the top couple inches of soil are dry.
- Adjust to reality: Heat, wind, pot size, and drainage change everything. In hot weather, that might be every few days in pots and about once a week in-ground, but always let the soil guide you.
Established in-ground sedum
- Typical schedule: Water only during extended dry spells.
- Rule of thumb: If you are unsure, wait. Sedum prefers slightly dry soil to consistently moist soil.
Established sedum in containers
Pots dry out faster, especially in wind and full sun.
- Water when the potting mix is dry several inches down.
- Water thoroughly until it drains out the bottom, then empty any saucer.
- Expect to water more in summer and much less in cool seasons.
Signs of overwatering: Mushy stems, translucent leaves, sudden leaf drop, or a base that looks like it is rotting.
Signs of underwatering: Wrinkling leaves and slowed growth. Most sedums recover quickly after a deep drink.
Preventing flop
Upright sedums are famous for their late-season blooms and also for occasionally doing the slow-motion “sploot” right before they flower. The good news is you can prevent most flopping with a few simple habits.
1) Skip rich fertilizer
High-nitrogen fertilizer makes stems grow fast and soft. That reads as “tall and floppy” in sedum language. In most gardens, sedum does not need fertilizer at all.
2) Try the Chelsea Chop
In late spring to early summer, when the plant is around 8 to 12 inches tall, cut back stems by about one-third.
- Result: Shorter, sturdier growth and more branching.
- Trade-off: Flowers may bloom a bit later, but the plant stands up better.
3) Support early
If you have a variety that always leans, use a discreet peony ring or a simple loop of twine around three stakes early. Once the stems sprawl, it is harder to make them look natural again.
4) Check light and spacing
Too much shade equals stretchy stems. Crowded plants also compete for light, which encourages leaning. Aim for good airflow and sun on all sides.
Seasonal care
Spring
- Clean up: Remove dead stems from upright sedums once new growth is visible.
- Weed gently: Sedum roots are shallow. Pull weeds slowly and close to the soil.
- Divide if needed: Spring is an excellent time to divide both upright and groundcover sedums.
Summer
- Water smart: Deep, infrequent watering beats daily sips.
- Trim for shape: Do the Chelsea Chop if your upright sedum tends to flop.
- Watch containers: Hot pots dry fast, especially terracotta.
Fall
- Enjoy the blooms: Upright sedums are pollinator magnets now.
- Cut back or leave: For tidy beds, you can cut stems back after frost. For winter interest and wildlife value, leave the seed heads standing and clean up in spring.
Winter
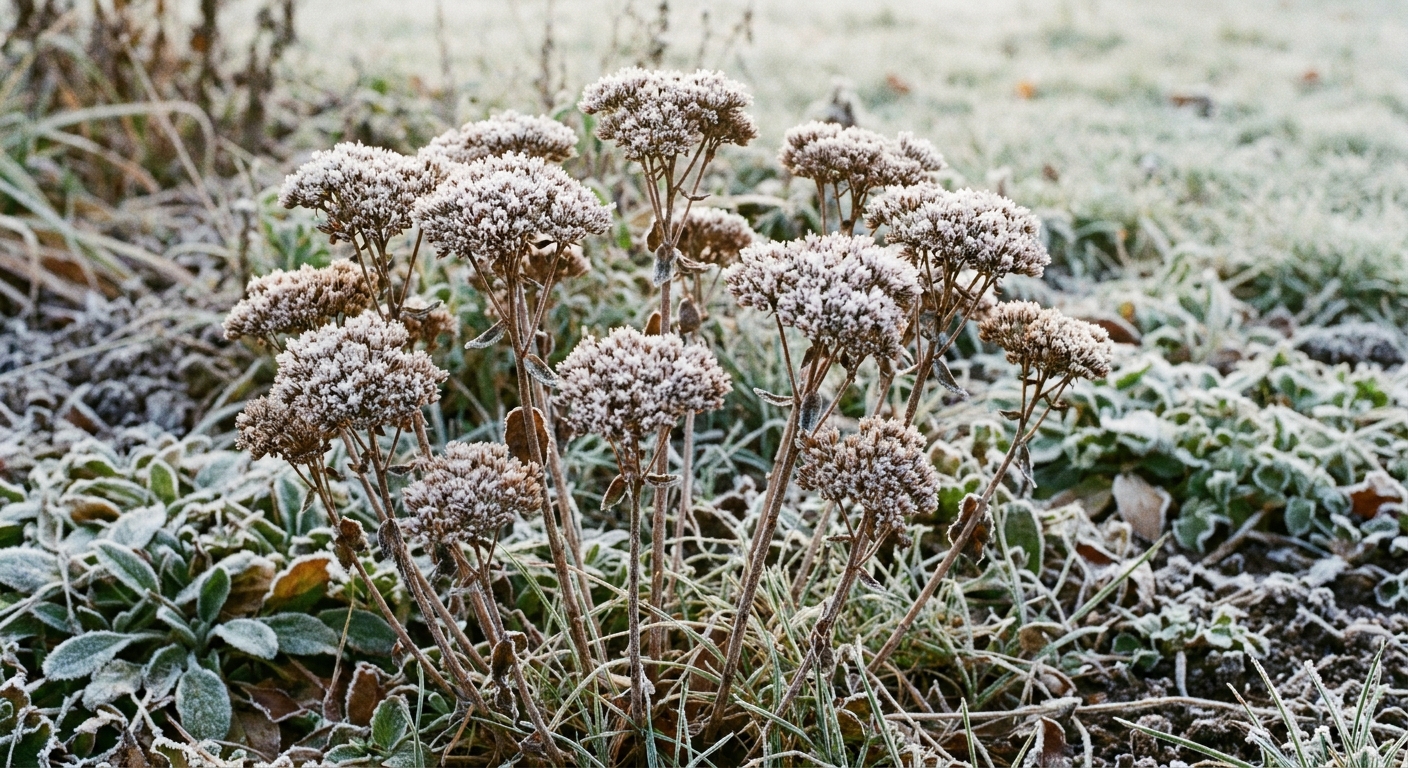
Sedum is one of my favorite “quiet garden” plants. Upright types keep their dried flower heads, catching frost like lace. Groundcovers often bronze or redden in cold, which is a normal stress color and honestly pretty charming.
- Do not over-mulch: Keep the crown from staying wet.
- In very wet winters: Drainage matters more than cold. If a sedum dies, it is often from rot, not freezing.
Dividing sedum
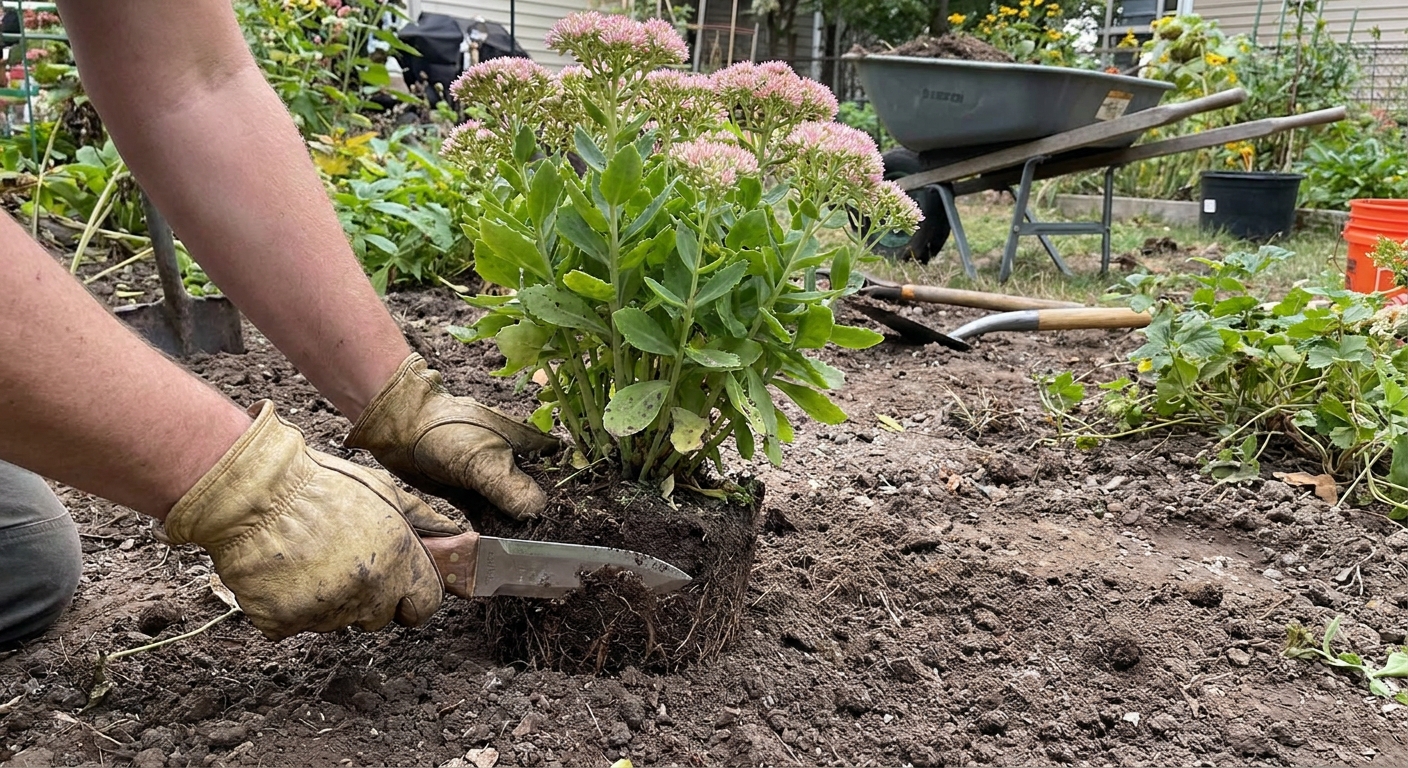
Division is simple, beginner-friendly plant maintenance. It keeps upright sedums vigorous and helps groundcovers fill in bare spots. The best times are spring or early fall, when temperatures are mild.
How to divide upright sedums
Water the day before if the soil is very dry. Slightly damp soil is easier to work.
Dig around the clump with a spade, lifting as much of the root ball as you can.
Split the plant with a sharp spade or garden knife into halves or quarters. Each piece should have roots and several stems or growing points.
Replant immediately at the same depth, in well-draining soil.
Water once to settle soil, then return to drought-smart watering as it establishes.
How to divide groundcover stonecrops
Groundcovers are even simpler. Lift a section like you are lifting a slice of turf, pull it into smaller chunks, and tuck pieces into new spots. Press into soil firmly so the stems contact the surface.
Spacing tip: Small divisions look tiny at first, but sedum spreads. Give it room to do its thing.
Containers
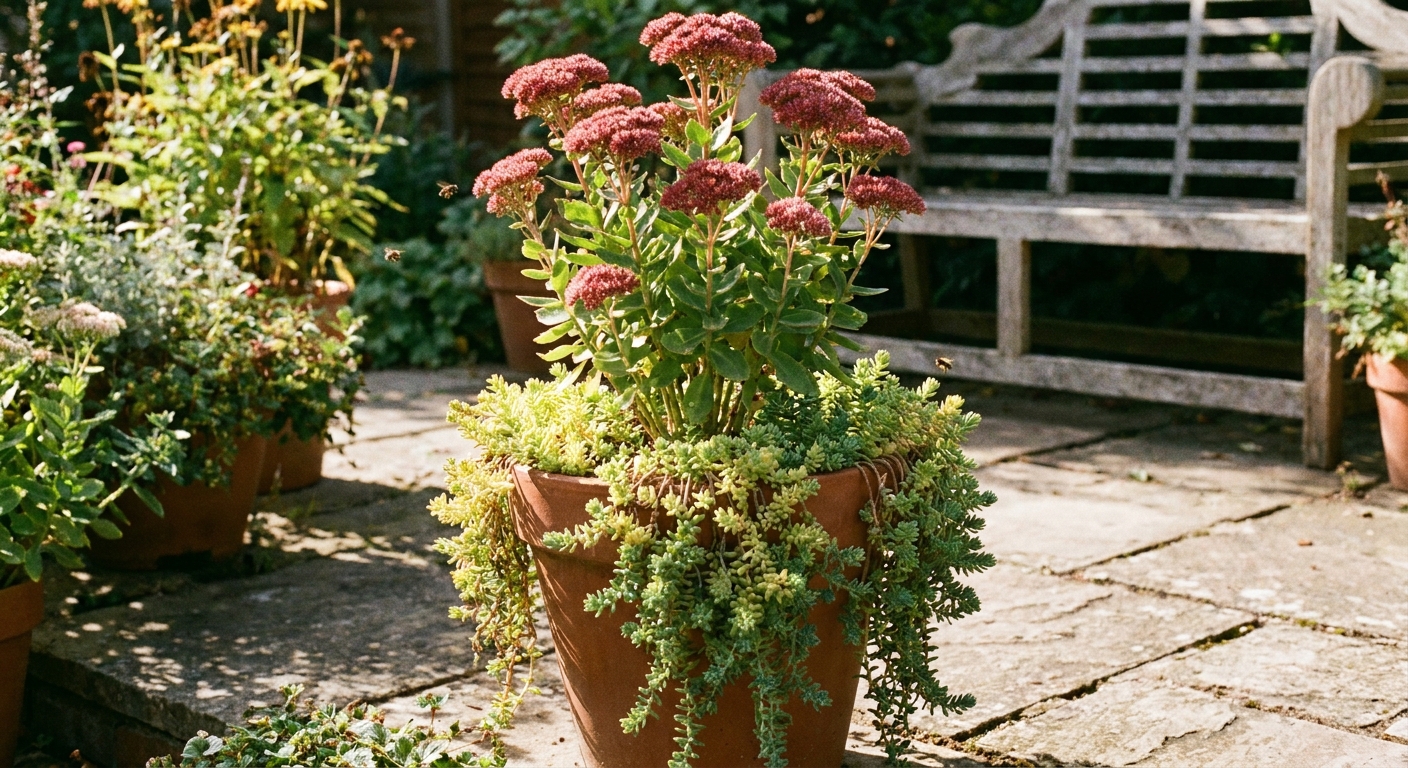
Sedum in containers is a perfect match for balconies, patios, front steps, and any place you want low-maintenance greenery. The keys are sun and drainage.
- Pot choice: Any pot with a drainage hole. Terracotta helps soil dry faster in humid climates.
- Placement: Full sun is best, but in extreme heat a little afternoon shade can prevent leaf scorch.
- Soil: Use a gritty mix. Avoid moisture-retentive mixes heavy in peat.
- Watering: Water deeply, then let the mix dry out well before watering again.
- Winter containers: In cold regions, pots can freeze solid. Hardy sedums usually handle it if the pot drains well, but move containers out of constant winter rain and off saucers to avoid waterlogging.
Design idea: Pair an upright sedum “thriller” with a trailing stonecrop “spiller” in the same pot for a succulent container that looks lush without being thirsty.
Common problems
Flopping stems (upright sedum)
- Likely causes: Too much shade, rich soil, too much fertilizer, no midsummer trim.
- Fix: Move to sunnier spot, stop fertilizing, do a one-third cutback in early summer, add a support ring early.
Mushy base or sudden collapse
- Likely causes: Overwatering, poor drainage, crown rot.
- Fix: Improve drainage, reduce watering, replant on a mound, use a grittier soil in pots.
Leggy, stretched growth
- Likely causes: Not enough sun, or trying to grow a hardy sedum indoors.
- Fix: Increase light outdoors. If you must keep a plant inside temporarily, use the brightest window you have and rotate pots weekly so plants do not lean, but expect slower growth and less color.
Winter dieback
- Normal: Upright sedums die back and return in spring.
- Not normal: A crown that turns mushy in winter. That points back to drainage.
Pests
Sedum is usually trouble-free, but a few pests show up now and then.
- Common: Aphids on tender new growth; mealybugs on stressed container plants.
- Also possible: Slugs or snails on fresh spring growth, vine weevils in containers, and in some areas sedum sawfly larvae on upright types.
- First step: Rinse with a strong spray of water and remove any obvious culprits by hand.
- If needed: Use insecticidal soap in the evening and repeat as directed.
- Prevention: Full sun, good airflow, and not overwatering.
Beginner checklist
- Sun: Aim for 6 to 8 hours.
- Soil: Fast-draining and not overly rich.
- Water: Deeply, then let soil dry. Less is usually better.
- Upright sedums: Trim by one-third in early summer if they flop.
- Divide: Every few years, in spring or early fall, to refresh clumps.
- Winter: Leave upright seed heads for structure and wildlife value, or cut back after frost if you prefer tidy beds.
- Hardiness: Many of these are perennial outdoors in Zones 3 to 9, but always double-check the tag for your specific variety.
If you remember nothing else, remember this: sedum is at its happiest when it is slightly challenged. A little sun, a little grit, and a little space to breathe, and it will reward you with months of color and years of reliable growth.