Save a Dying Orchid
When an orchid starts looking rough, it is easy to panic and start “helping” it into an early grave with extra water, extra fertilizer, and a whole lot of fussing. Let us do the opposite. We are going to triage, diagnose, then take one deliberate action at a time.
Most orchids that people bring me in a panic are Phalaenopsis (moth orchids), but this approach works for many common house orchids. The goal is simple: stabilize the plant, stop active damage, then rebuild roots. Blooms are a bonus later.

Orchid emergency triage
Before you water, feed, or repot, answer these three questions. They tell you what kind of emergency you have.
- Is the problem mostly below the surface (roots) or at the top (crown)?
- Is the plant too dry or actively rotting?
- Is something chewing, sucking, or spreading (pests and disease)?
Step 1: Check the crown and stem first
The crown is where the newest leaves emerge. If rot reaches this point on many orchids, it becomes a serious rescue situation.
- Healthy crown: firm, no smell, new leaf growth looks clean.
- Possible crown trouble: black or brown mushy tissue, a wet “pocket” between leaves, yellowing that starts from the center, or a sour smell.
If you suspect crown rot, pause and treat that as priority number one. For deeper detail, see our dedicated guide on crown rot symptoms and treatment (this page stays broad so you can triage any failing orchid). Immediate rule: keep the crown dry and increase airflow.
Step 2: Read the roots through the pot
If your orchid is in a clear pot, you have a cheat code. Roots tell the truth.
- Healthy roots: firm. In many Phalaenopsis, they look greener when wet and turn silvery or gray as they dry. Some may stay pale, cream, or lightly green and still be fine.
- Dry roots: often silvery gray, wrinkled, papery.
- Rotting roots: brown or black, mushy, hollow, or sloughing outer layers when touched.
No clear pot? Gently slide the plant out, especially if it smells swampy or the potting mix stays wet for days.
Step 3: Look at leaves like a symptom map
- Soft, limp, wrinkled leaves: usually dehydration or root loss (not always “needs more water”).
- Yellowing lower leaves: can be normal aging, or stress from root problems.
- Yellow leaves plus black, wet spots: often rot or infection.
- Sunburn: pale, bleached patches that later turn tan and papery.
- Dark, dull leaves and no growth: often too little light.
Step 4: Rule out pests fast
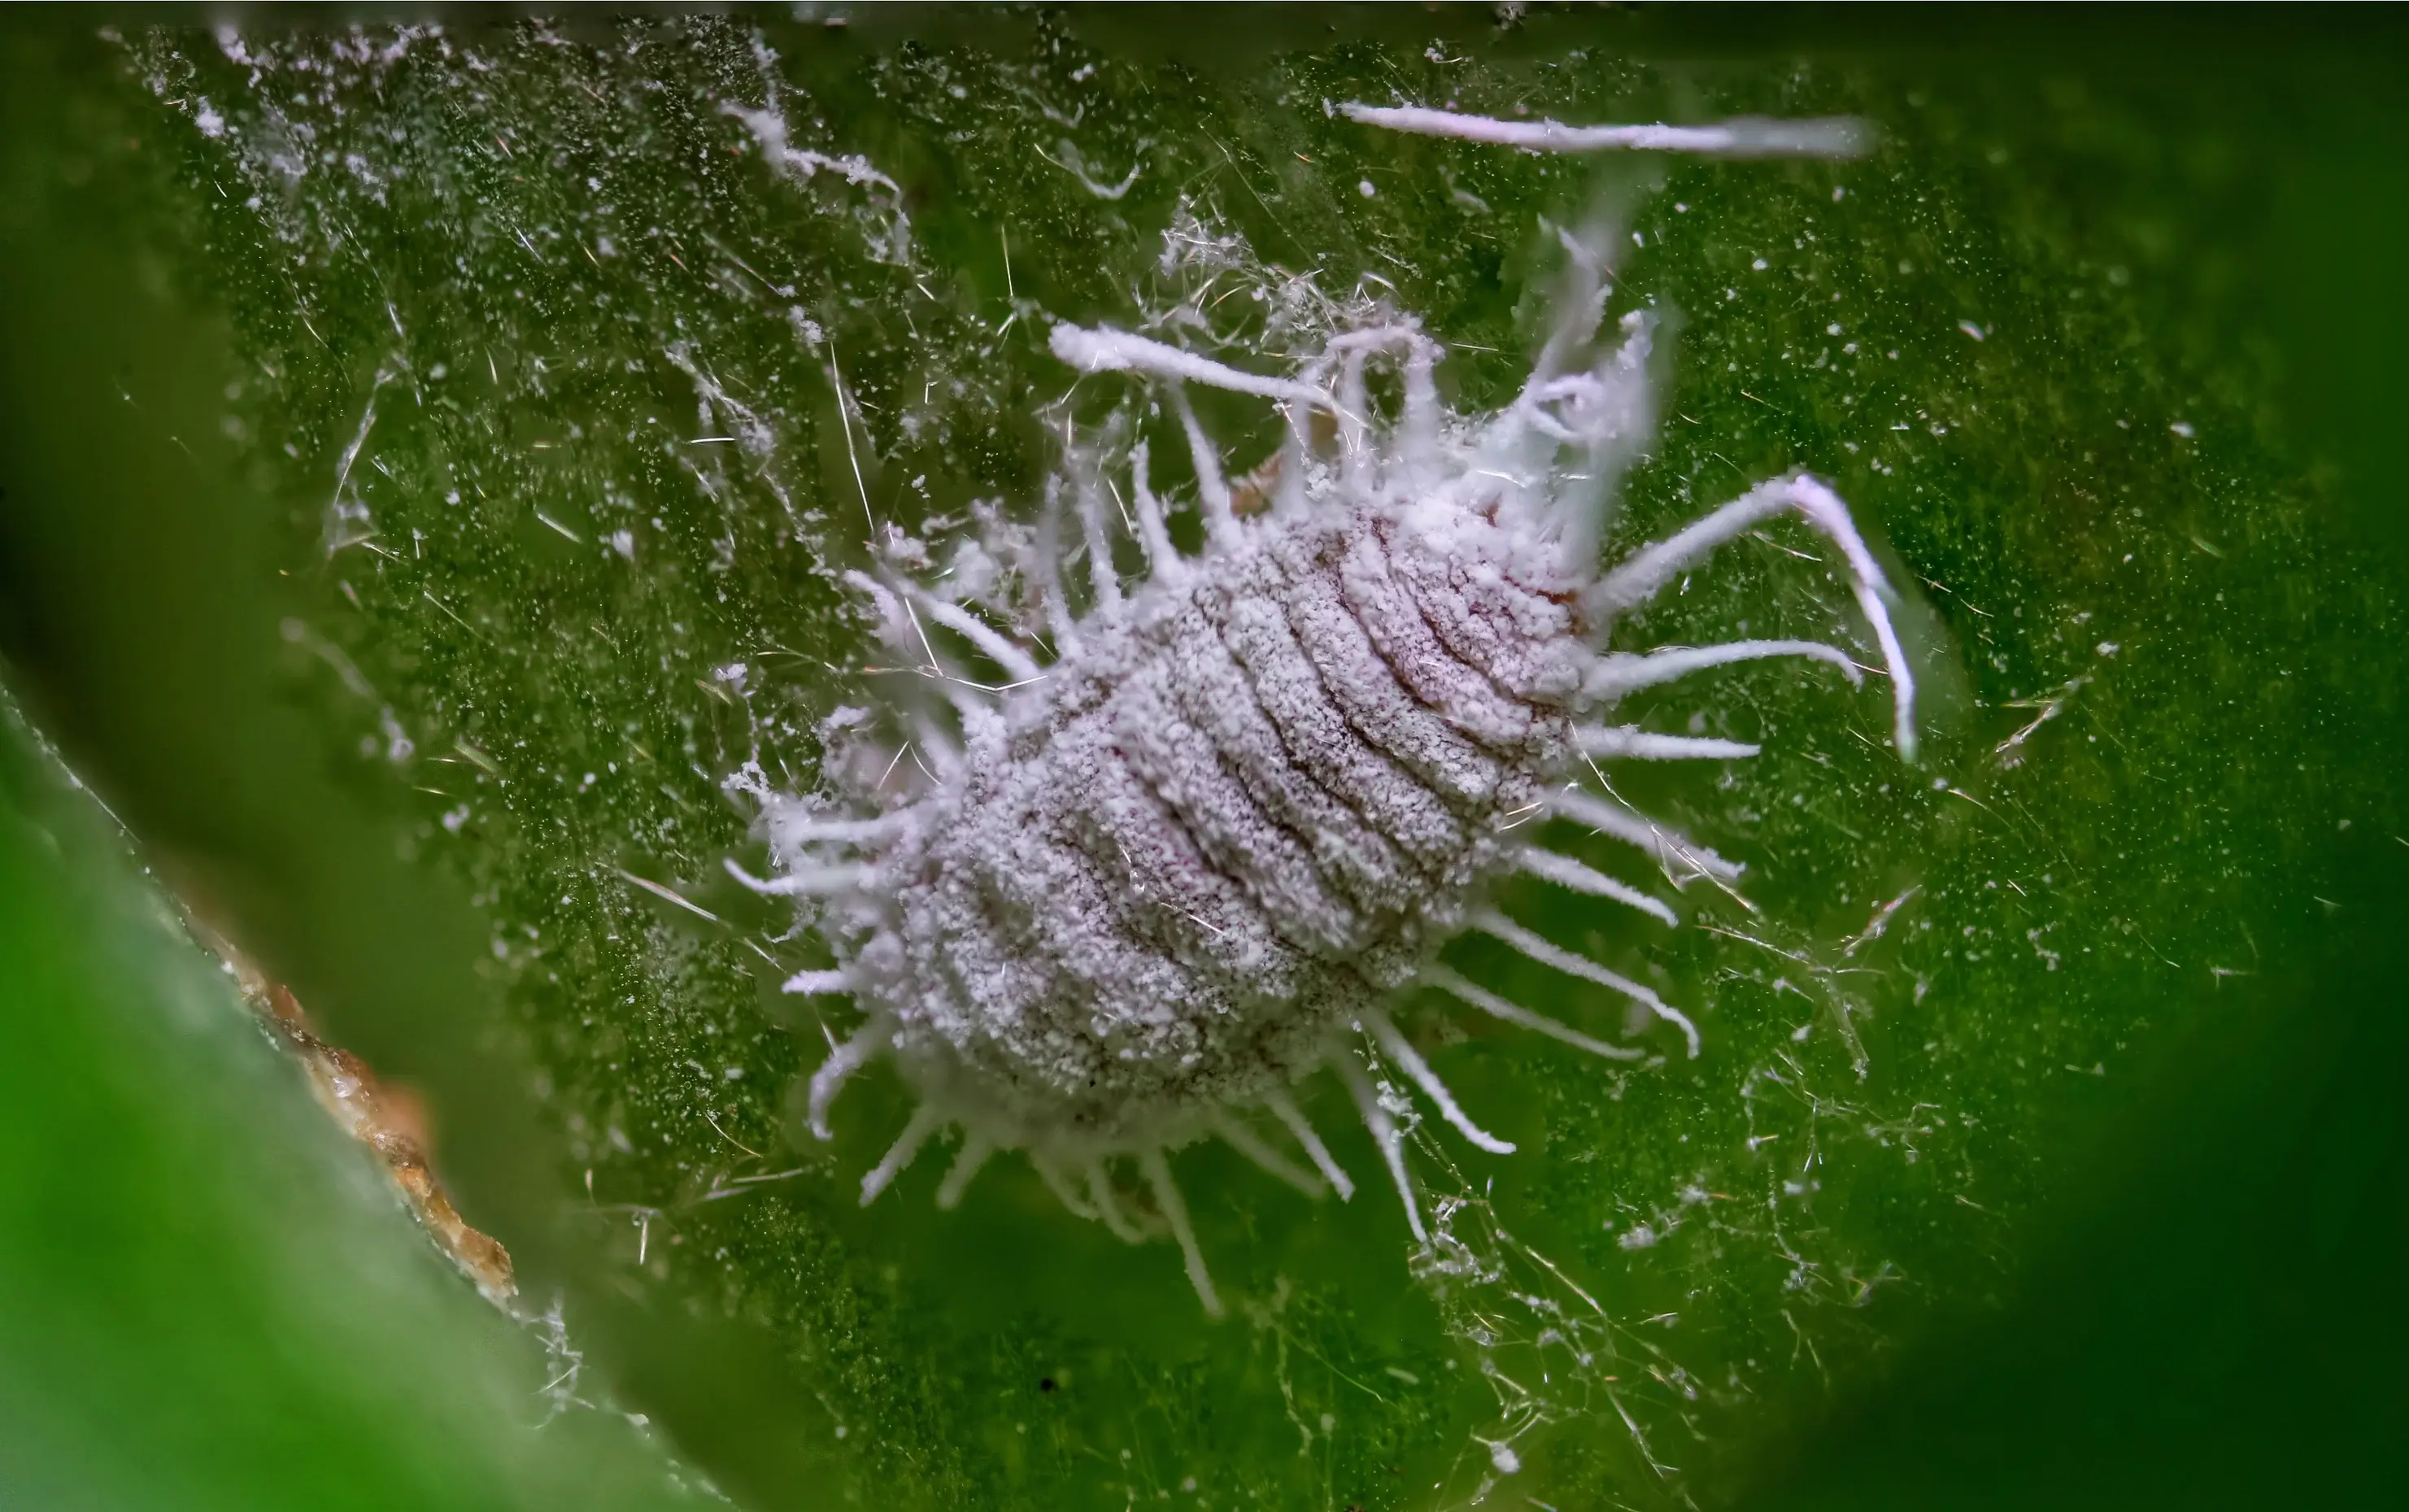
Pests are less common than watering issues, but they can quietly flatten a stressed plant.
- Mealybugs: cottony clusters in leaf joints and under the pot rim.
- Scale: small tan or brown bumps that scrape off with a fingernail.
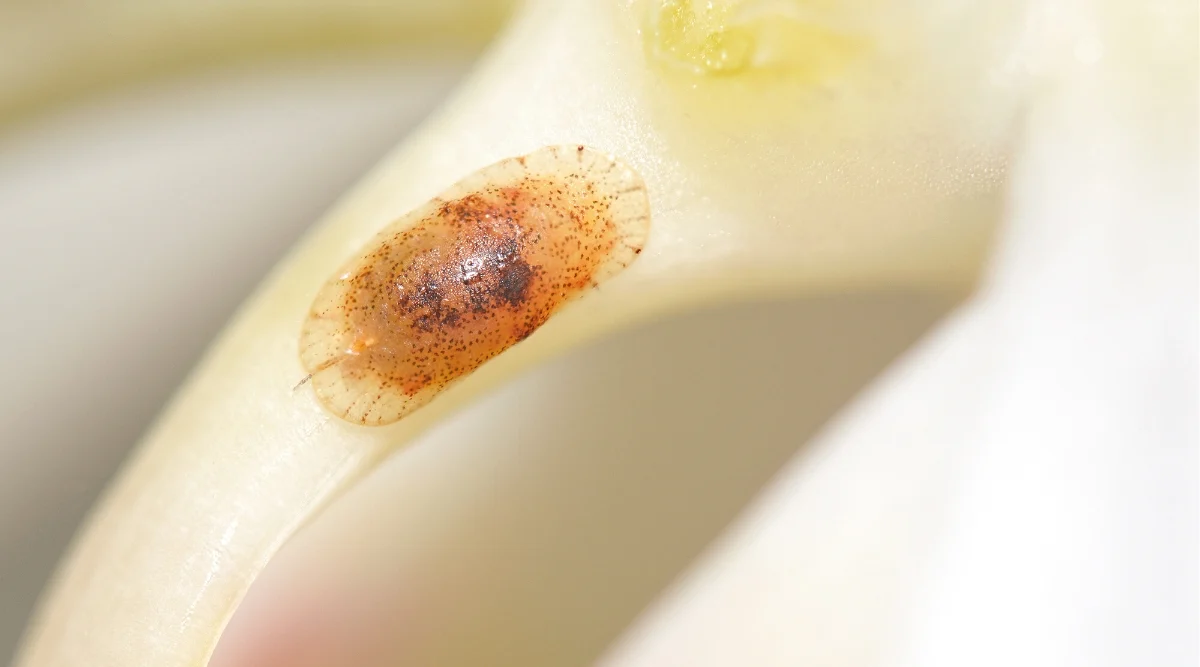
- Spider mites: fine webbing and stippled, dusty-looking leaves.
- Thrips: silvery scarring on flowers and leaves, tiny moving specks.
Dehydration vs. rot
Here is the biggest orchid trap: a plant with rotten roots cannot drink, so it looks thirsty. If you respond by watering more often, the rot accelerates. We want to confirm which one you are dealing with.
Signs of dehydration
- Potting mix dries very fast (a day or two) in typical indoor conditions and the plant still looks dehydrated.
- Roots are mostly firm but silvery and thin.
- Leaves are limp and wrinkled, but the crown is clean and firm.
- No sour smell.
Signs of rot
- Potting mix stays wet for many days.
- There is a sour, musty, or “pond water” smell.
- Roots are mushy, dark, hollow, or falling apart.
- Leaf yellowing happens quickly, sometimes with soft spots near the base.
Quick tests
- Skewer test: insert a wooden skewer into the mix for 10 minutes. If it comes out cool and wet, your orchid is staying too moist.
- Pot weight: lift the pot after watering, then again when dry. A pot that never feels light is a red flag for suffocation and rot.
Staged recovery plan
Think of this as a five-stage rescue: stabilize, triage the roots, repot for recovery, reset watering, then reset the environment. If you rush to “perfect orchid care” while it is still unstable, it often crashes again.
Stage 1: Stabilize (today)
- Stop fertilizing for now. A stressed orchid cannot use it well, and salts can burn compromised roots.
- Get it into gentle light. Bright, indirect light is the sweet spot. Avoid hot sun on limp leaves.
- Improve airflow. A small fan across the room helps prevent fungal problems, especially after treatment or repotting.
- Isolate if pests are suspected. Keep it away from other plants until you confirm it is clean.
- Optional but often smart: if the orchid is in bloom, consider cutting the flower spike(s) to redirect energy into roots and leaves. If you cannot bear to, at least accept that blooms may fade during recovery.
Stage 2: Triage the roots (same day or within 48 hours)
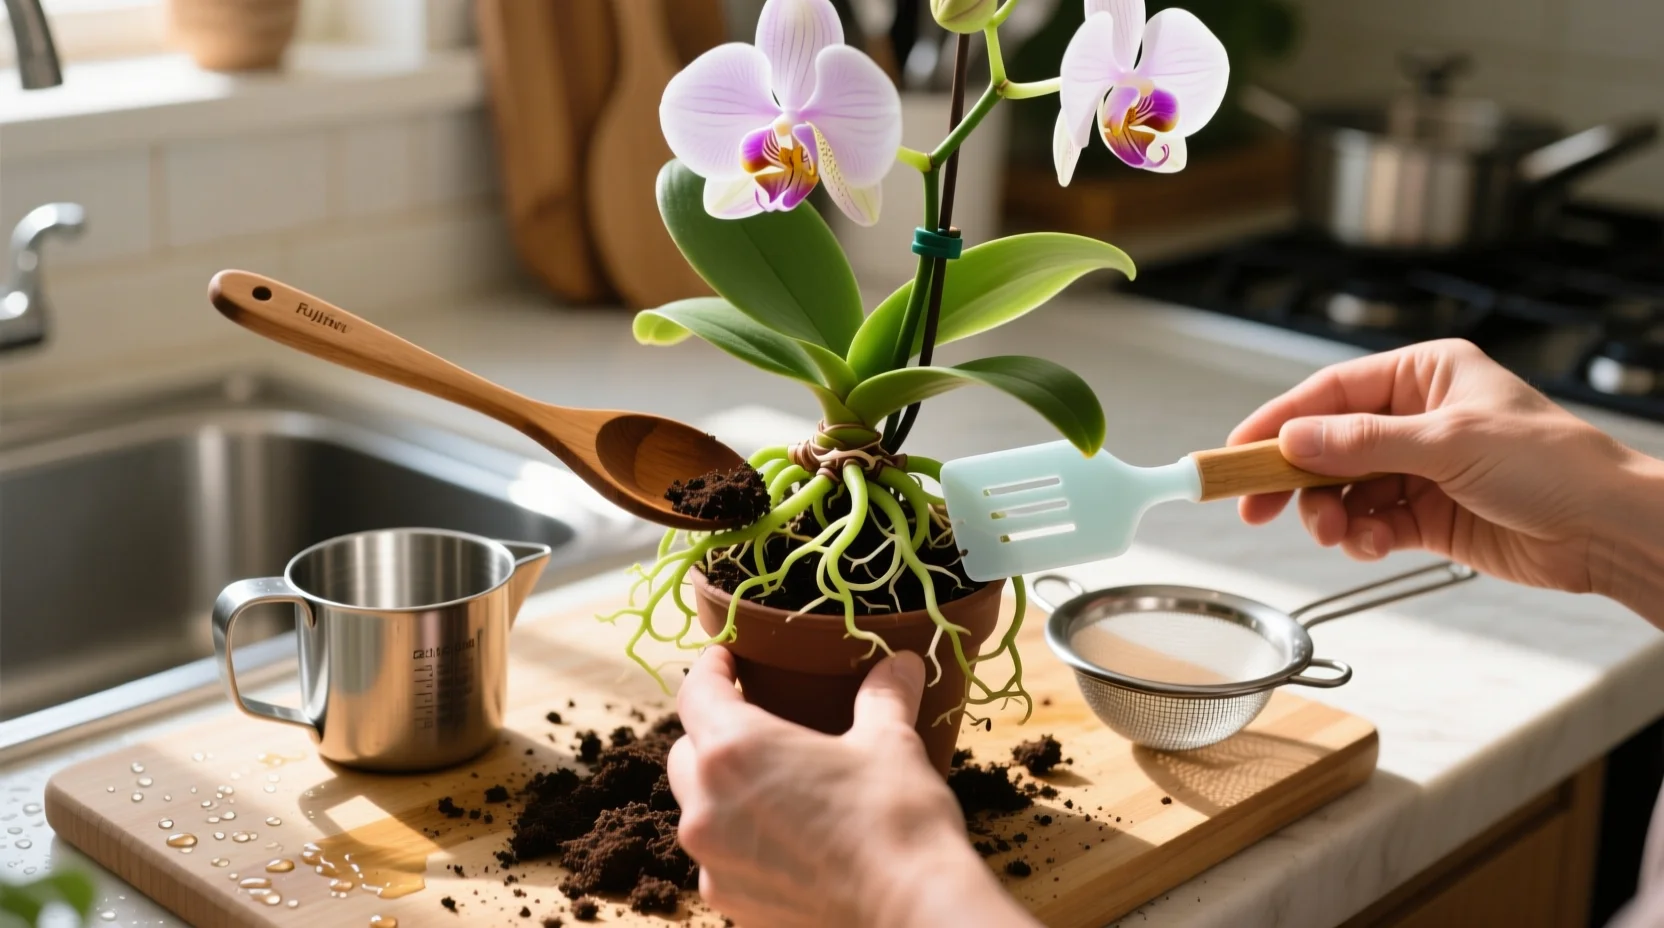
If you suspect rot or the plant is badly dehydrated with poor roots, remove it from the pot.
- Slide the orchid out and gently remove old bark or moss.
- Rinse roots with lukewarm water so you can see what is alive.
- Trim dead roots with sterilized scissors. Dead roots are mushy, hollow, or papery and collapsing. A common giveaway is that the velamen slips off, leaving a thin stringy core. Healthy roots feel firm.
- Sterilize between cuts if you are cutting into rot. Alcohol wipes or a quick flame (then cool) helps prevent spreading pathogens.
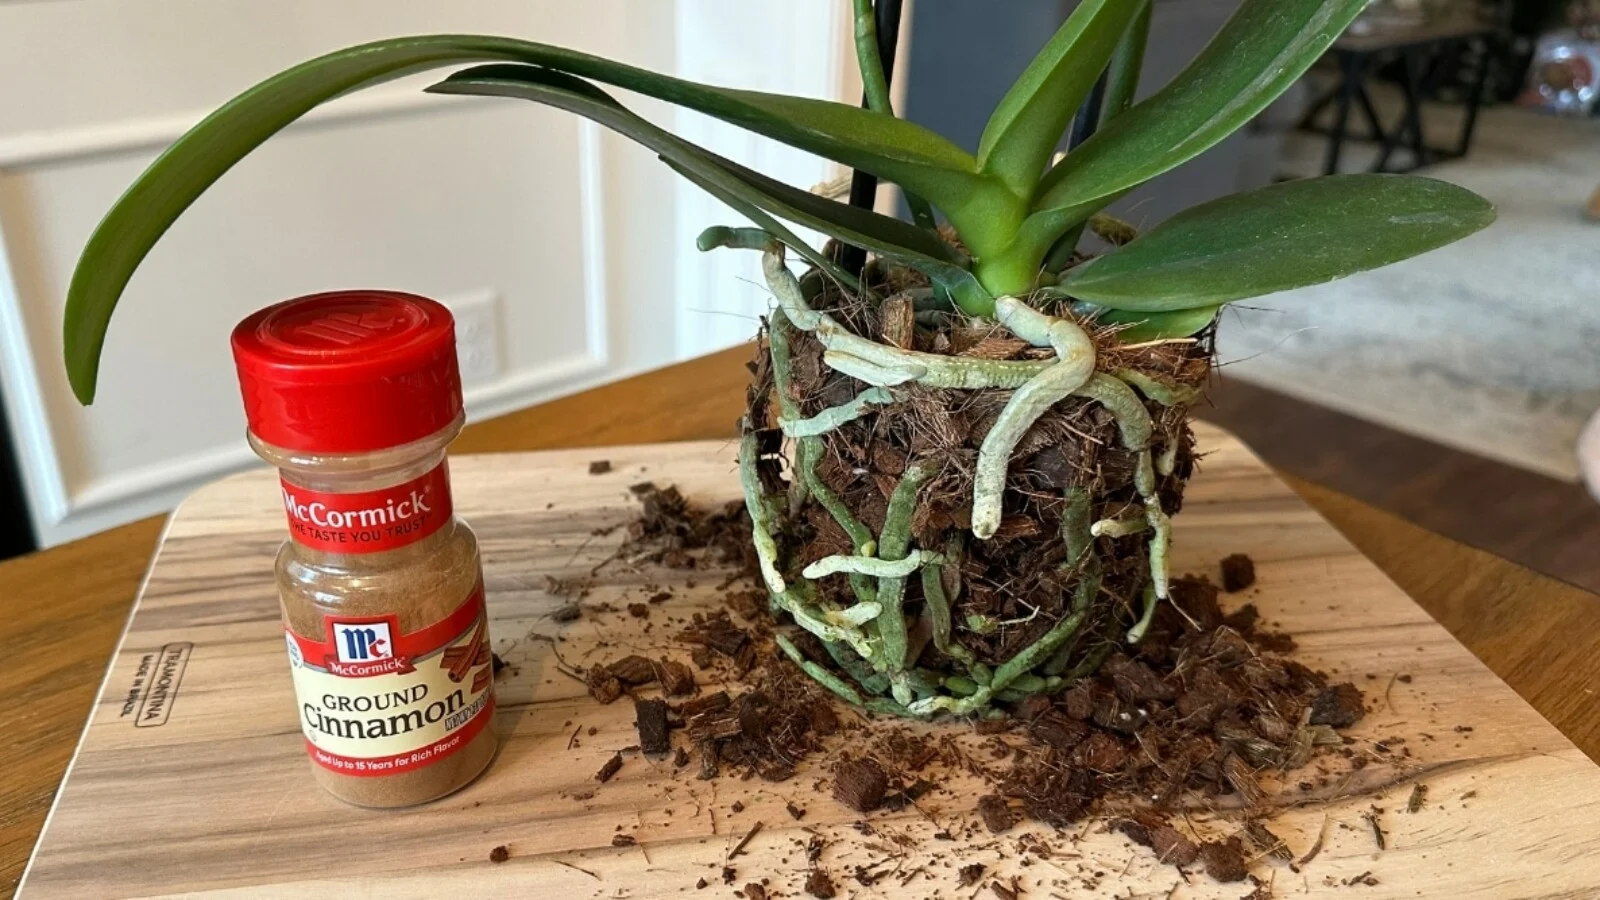
- Optional, use sparingly: dab cuts with ground cinnamon on dead-root stubs only. Keep cinnamon off healthy root tips because it is drying. Also, cinnamon is not a cure-all fungicide. It is just a drying aid, not a magic shield.
If you are new to this, our repotting guide goes deeper on pot choice, bark sizes, and what “normal” roots look like, but you can absolutely do a basic rescue repot with the steps below.
Stage 3: Repot for recovery
Your goal is an airy root zone that dries in a reasonable rhythm. For most indoor growers, that means a chunky orchid bark mix in a pot with ventilation.
- Choose the right pot: snug, not oversized. Clear pots are wonderful for beginners because you can monitor roots.
- Use fresh medium: old, broken-down bark holds too much water and starves roots of oxygen.
- Media caution: avoid tightly packed sphagnum moss during recovery unless you already know how to manage it. It works, but it is easy to keep too wet indoors.
- Set the plant at the right height: keep the crown above the mix. Never bury it.
- Do not pack the mix tight: tap the pot to settle bark, but keep air pockets.
Stage 4: Watering reset (first 2 to 4 weeks)
Right after a heavy root trim, an orchid needs moisture, but it also needs oxygen. Here is a gentle rhythm that works for many rescues.
- After repotting: if you trimmed many roots, waiting about 24 hours before the first thorough watering is often helpful so cuts can dry and callus. If you did minimal trimming and repotted into airy bark, some growers water right away. Either way, avoid leaving the mix constantly wet.
- How to water: soak the pot thoroughly, then let it drain completely. No standing water in a decorative cachepot.
- When to water again: water when the pot is light and many roots look silvery, not by the calendar.
- Humidity boost: aim for 40 to 60 percent if possible, especially for Phalaenopsis. Use a pebble tray or a humidifier, but keep water off the crown and pair humidity with airflow.
Stage 5: Environment reset (weeks 2 to 8)
Recovery is mostly about consistency. Orchids hate whiplash.
- Light: bright, indirect. An east window is often ideal. South or west windows may need a sheer curtain.
- Temperature: 65 to 80°F (18 to 27°C) is comfortable for most common house orchids.
- Air movement: gentle, consistent airflow reduces fungal issues.
- Fertilizer: resume lightly only after you see new root tips or a new leaf. Use a diluted orchid fertilizer, about 1/4 strength.
Special emergencies
If the crown is wet or suspicious
Water sitting in the crown is one of the fastest ways to lose a Phalaenopsis. If you see moisture tucked between leaves:
- Blot it dry immediately with a corner of paper towel.
- Increase airflow and avoid misting.
- Water in the morning so the plant dries by night.
If you see soft, dark tissue at the center, treat it urgently and reference our crown rot article for step-by-step treatment options and what success looks like.
If the orchid is severely dehydrated
For an orchid with mostly firm roots that are just very dry, a soak can help. For an orchid with few usable roots, soaking can still work, but we do it carefully.
- Soak method: place the pot in room-temperature water for 10 to 20 minutes, then drain fully.
- Avoid “all day” soaking: it can suffocate roots and invite rot.
- Leaf support: if leaves are floppy, provide a stake so the plant is not wobbling while roots rebuild.
If you suspect sunburn
Sunburned tissue does not turn green again, but you can stop the damage.
- Move to bright shade or filtered light.
- Do not cut lightly scorched leaves unless they become mushy or infected.
- Keep watering steady, not heavier.
If pests are present
Treat pests before they spread, but be gentle with a stressed orchid.
- Mechanical removal: wipe mealybugs or scale with a cotton swab dipped in 70% isopropyl alcohol.
- Be careful with alcohol: test a small area first, avoid roots and open flowers, and do not let alcohol drip down into the crown (you do not want to trade pests for crown rot).
- Rinse and repeat: check every 4 to 7 days for a month. Eggs hatch in waves.
- Skip heavy oils in harsh heat: horticultural oils can stress orchids if used in high light or high temperatures.
What success looks like
Orchid recovery is rarely instant. The plant is building an underground savings account first.
- Week 1 to 2: leaves may stay limp, but decline should slow. No new yellowing is a win.
- Weeks 3 to 8: look for new root tips, often bright green. This is the turning point.
- Months 2 to 6: a new leaf, firmer texture, and more stable hydration.
- Blooming: often returns next season, once the orchid has enough roots and energy.
If you want one simple metric: new roots mean you are saving it. Blooms can wait.
When to discard
I am all for second chances, but there are a few situations where it is kinder and safer to let a plant go.
- The crown is fully mushy and the orchid has no healthy growth point.
- There are zero viable roots and the stem base is rotting.
- Persistent foul smell and rot keeps spreading after trimming and repotting.
- Severe pest infestation that repeatedly returns and threatens your other plants.
If you do discard, do not compost diseased material. Bag it and dispose of it, then disinfect pots and tools so your next orchid gets a fresh start.
Quick rescue checklist
- Check crown first, then roots.
- Confirm dehydration vs. rot before watering more.
- Trim dead roots with sterilized tools.
- Repot into fresh, airy orchid bark in a snug pot.
- Bright, indirect light and gentle airflow.
- Hold fertilizer until you see new root growth.
- Track progress by new roots, not flowers.
If you want to go deeper next, the two most helpful companion reads are our guides on crown rot (for center-leaf and stem-base emergencies) and repotting orchids (for medium, pot type, and timing). This page is your calm “what do I do right now?” map.