Root Rot in Outdoor Trees and Shrubs: Signs and Recovery
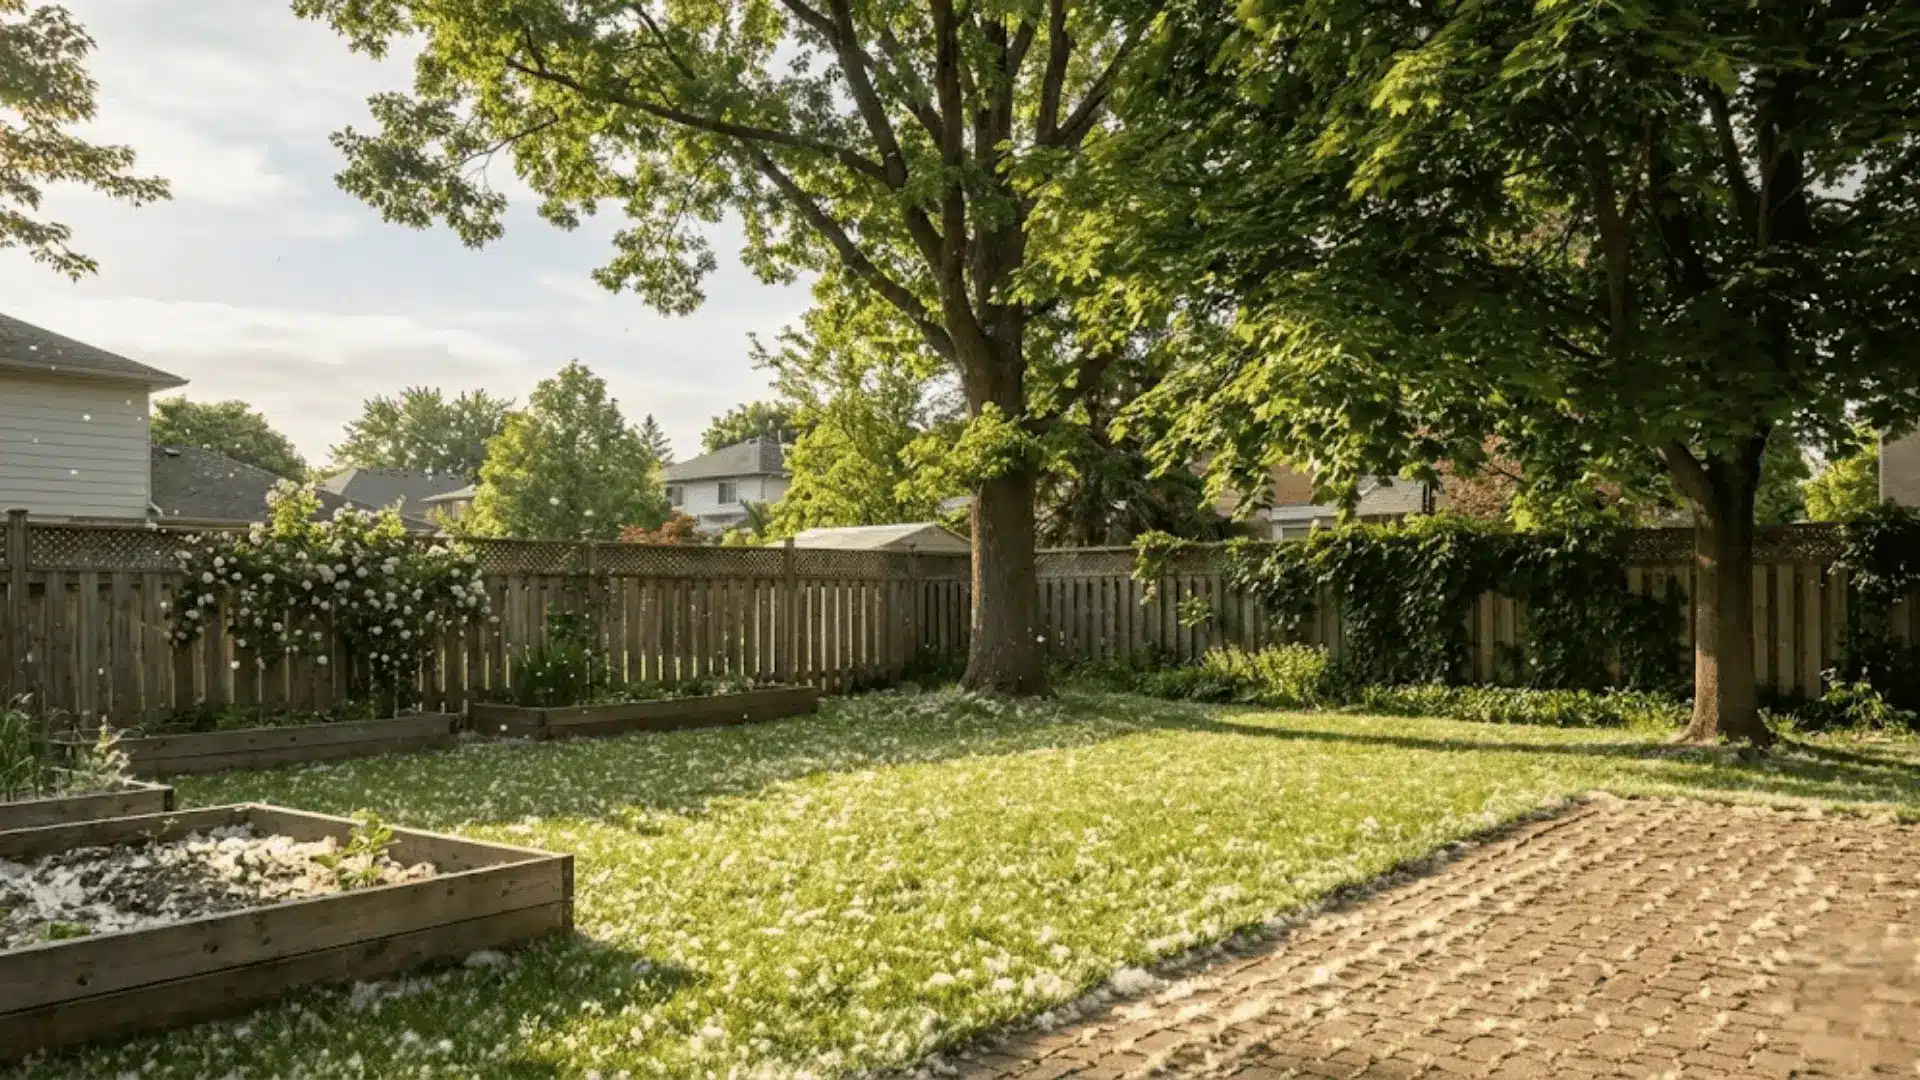
Root rot in the landscape is one of those heartbreakers because it often looks like the exact opposite problem. A tree wilts, leaves yellow, growth stalls, and our caring instinct says, “Water it.” Meanwhile, the real issue may be that the roots are drowning.
The good news is that you can often catch early root decline, correct what is happening in the soil, and give a tree or shrub a real chance to recover. The key is learning to read the clues above ground and at the trunk base, where the truth usually lives.

What root rot really is outdoors
“Root rot” is a catchall term for root damage caused by too little oxygen in the soil, often combined with opportunistic fungi and water molds that thrive in saturated conditions. In landscapes, the most common triggers are:
- Poor drainage (heavy clay, low spots, hardpan layers)
- Overwatering from irrigation schedules that do not match weather and soil type
- Compaction from foot traffic, vehicles, construction, or repeated mowing patterns
- Planting too deep or volcano mulching that keeps the crown wet and suffocates roots
- Grade changes that bury roots or redirect water toward the trunk
Outdoor root rot often develops slowly, then suddenly becomes obvious when heat, wind, or a dry spell increases demand on an already struggling root system.
Root rot vs drought stress: how to tell the difference
Both problems can cause wilting, leaf drop, and crispy browning. The difference is in the soil feel, the pattern of decline, and what happens after watering.
Common drought stress signs
- Soil is dry several inches down (not just the surface)
- Leaves may look dull, droopy, or rolled
- Leaf scorch tends to show on edges and tips first
- Watering perks the plant up within hours to a day (at least temporarily)
- Symptoms may be worse on the side facing hot sun or wind
Common root rot signs
- Soil is wet, sticky, or smells swampy near the root zone
- Wilting happens even when soil is moist
- Leaves often yellow and drop instead of simply crisping
- New growth is weak, small, or absent
- Watering makes symptoms worse or no better
- Dieback can appear in scattered sections of the canopy
Quick check: Push a screwdriver or soil probe 6 to 8 inches into the ground in several spots under the drip line. If it slides in easily and comes out coated in wet clay days after irrigation or rain, oxygen is likely the limiting factor.
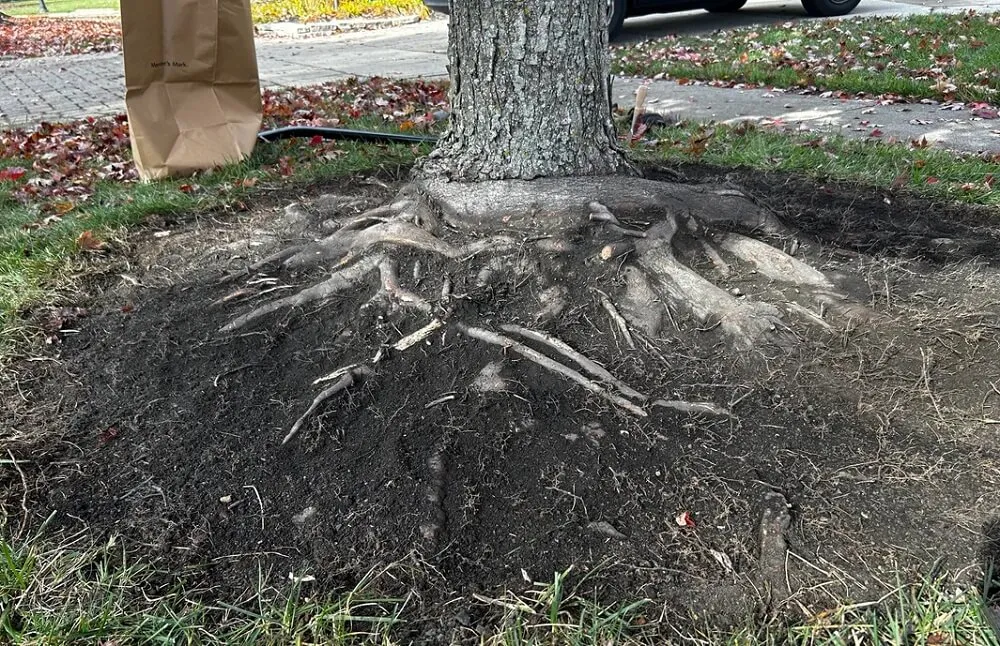
Red flags at the trunk base: crown rot and buried root flare
If there is one place I want you to look when a tree is “mysteriously” declining, it is the base of the trunk.
Find the root flare
The root flare is where the trunk widens and transitions into major roots. It should be visible at the soil surface on most trees and many shrubs.
- If the trunk goes straight into the ground like a fence post, the plant is likely planted too deep or has been gradually buried by mulch and soil.
- If mulch is piled against the trunk, that constant moisture can contribute to crown rot and invite pests.
What to look for
- Soft, dark, or cracking bark at the soil line
- Fungal growth or persistent wetness around the crown
- Girdling roots circling the trunk (common when a container-grown tree was not root-corrected)
- Sour odor when you gently pull back mulch and soil
How to inspect safely: With gloved hands or a small hand rake, pull mulch back 6 to 12 inches from the trunk. If soil is covering the flare, carefully brush it away until you can see the trunk widen. Work slowly and do not gouge bark.
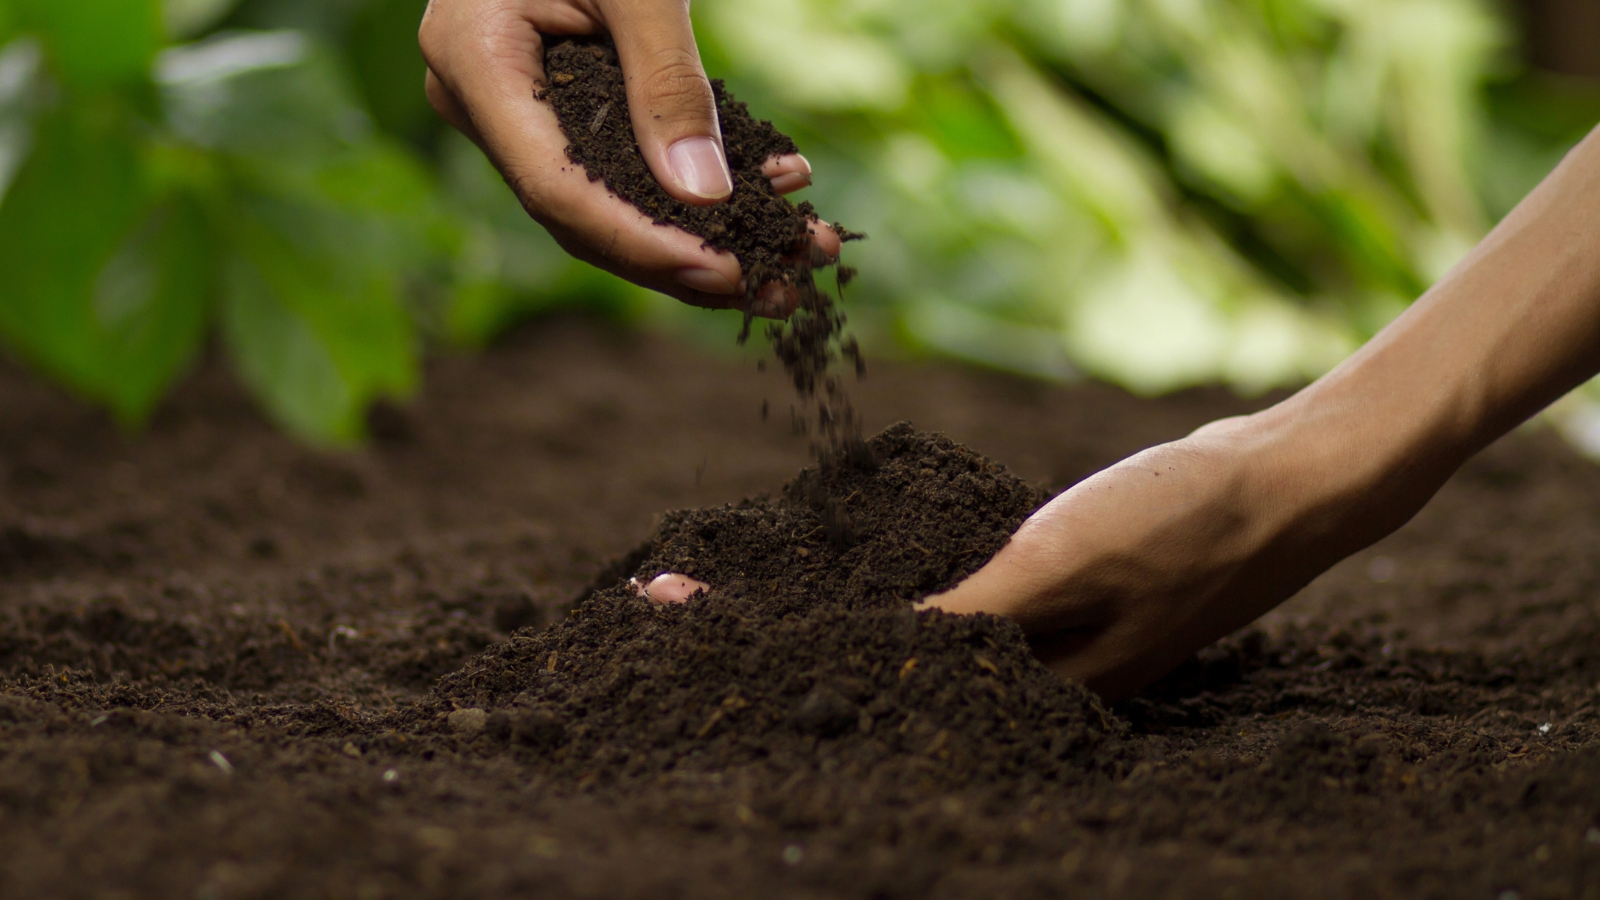
Dig a small test hole: what healthy roots should look like
You do not need to excavate half the yard to learn a lot. Pick a spot under the drip line and dig a small hole 6 to 10 inches deep, or use a soil auger if you have one.
Healthy roots
- Firm, not slimy
- Light colored inside when scratched (white or pale tan is common)
- Earthy smell
- Fine feeder roots present in the top 12 inches
Rotting roots
- Mushy or stringy outer layer that sloughs off
- Brown or black interior
- Little to no fine feeder roots
- Stagnant, sour, or rotten smell
If you confirm rot, your mission becomes simple but not always easy: get oxygen back into the root zone and stop the chronic wetness.
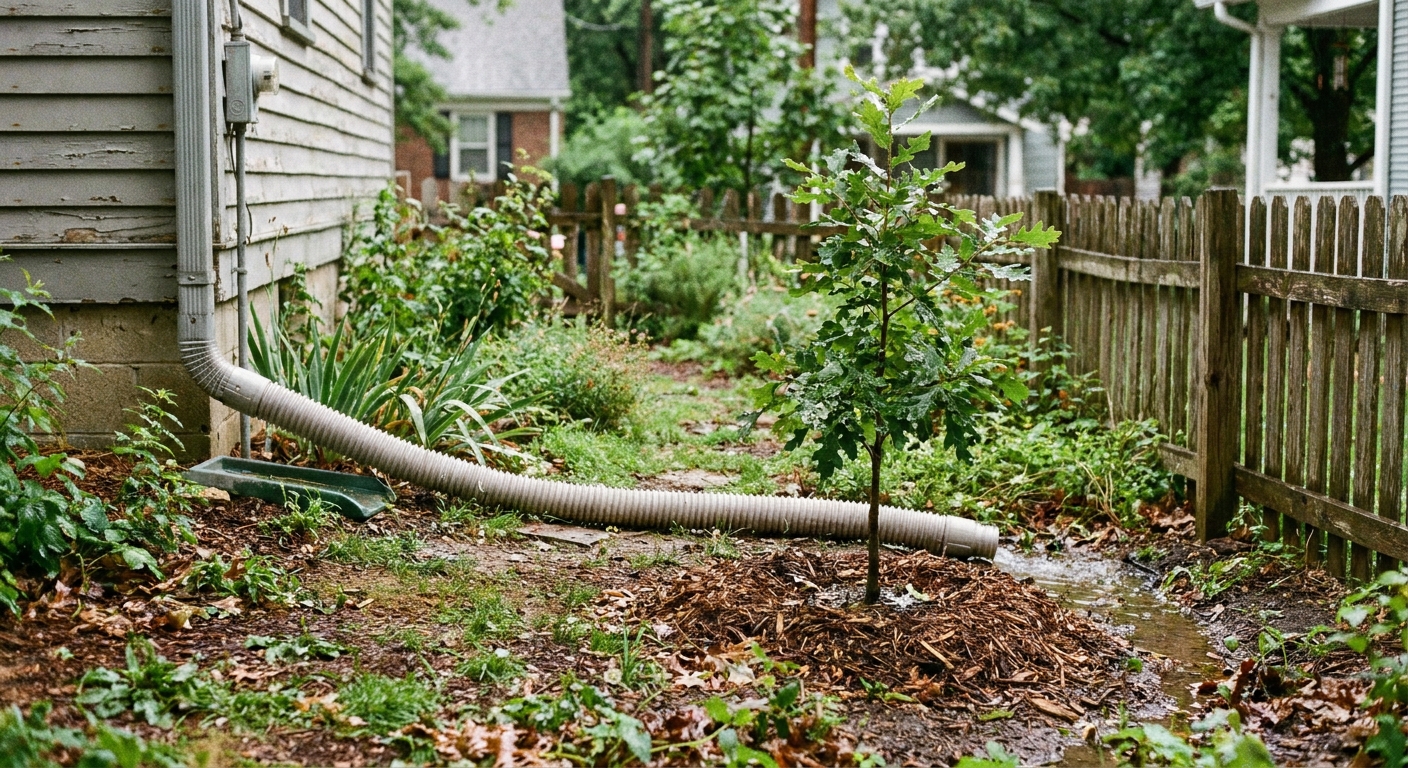
Why drainage and grading matter more than “treatments”
In landscapes, chemicals are rarely the first or best solution. If water keeps collecting where your tree lives, any product is a bandage on a broken pipe.
Check for these drainage traps
- Downspouts emptying near the trunk
- Low spots where water puddles after rain
- Hardpan under a few inches of nicer soil (water perches on top and roots suffocate)
- Raised beds or new soil piled over an existing root zone
- Clay soil that stays saturated long after irrigation
Small grading fixes that help
- Create a gentle slope away from the trunk so water does not sit at the crown.
- Extend downspouts to discharge well away from the root flare.
- Keep mulch in a flat ring, 2 to 4 inches deep, pulled back from direct trunk contact.
If you are considering major regrading, trenching, or a French drain near established trees, consult a certified arborist first. Cutting major roots can create a stability and safety hazard.
Overwatering and irrigation: the most fixable cause
I have met very few “black thumbs” in my life. I have met many generous waterers.
Reset your watering approach
- Water deeply, less often. Shallow daily sprinkling keeps the surface wet and roots oxygen-starved.
- Let the soil partly dry. For many trees and shrubs, the top few inches can dry between soakings without harm.
- Adjust seasonally. Spring and fall often require far less irrigation than midsummer.
- Use a moisture check. A simple soil probe, long screwdriver, or inexpensive moisture meter can prevent guesswork.
Typical outdoor watering mistakes
- Running irrigation on a fixed schedule through rainy weeks
- Watering the trunk instead of the root zone under the drip line
- Using lawn sprinklers to water shrubs and trees that need different timing and depth
Rule of thumb: It is better to water the root zone slowly so moisture reaches 8 to 12 inches down, then pause long enough for oxygen to re-enter the soil pores.
Compaction: the silent suffocator
Roots need air pockets in soil. Compacted soil is like a packed suitcase. Nothing can breathe.
Signs of compaction
- Water puddles on the surface instead of soaking in
- Grass struggles under the canopy
- The ground feels hard and resistant even when damp
- Decline begins after construction, patio installs, driveway work, or heavy traffic
What you can do (without harming roots)
- Stop traffic under the canopy. Create a mulch ring to protect the soil.
- Topdress with compost 0.5 to 1 inch thick, then mulch over it. Earthworms and time do the mixing.
- Consider professional air spading for valuable trees. An arborist can loosen soil with compressed air without slicing roots.
Avoid aggressive tilling near established trees and shrubs. Cutting feeder roots can make stress worse, not better.
Recovery plan: what to do when you suspect root rot
If your plant still has a decent amount of healthy canopy and the trunk base looks structurally sound, it is reasonable to try recovery. Think in months, not days.
Step-by-step triage
- Stop automatic watering for now and evaluate soil moisture first.
- Expose the root flare and pull mulch back from the trunk.
- Correct drainage where feasible: redirect downspouts, improve surface flow, fill low spots carefully without burying roots.
- Mulch correctly: 2 to 4 inches deep, wide ring, no contact with trunk, no volcano.
- Reduce stress: avoid heavy pruning, fertilizing, or herbicide applications while roots recover.
- Monitor weekly during warm weather: new growth, leaf color, and soil moisture changes.
Should you fertilize?
Usually, not at first. Fertilizer does not fix rotting roots, and pushing top growth when the root system is compromised can backfire. If you want to support soil life, a thin layer of finished compost is gentler than quick-release fertilizer.
What about fungicides?
Some root rots involve pathogens like Phytophthora. Targeted treatments exist, but they are not DIY slam dunks, and many require correct diagnosis and timing. If you suspect a pathogen is widespread in your site or multiple plants are failing in the same wet area, involve your local extension office or a certified arborist for diagnosis before spending money on treatments.
When removal is safer than saving
I am all for second chances. I am also a big believer in not gambling with a compromised tree near a house, driveway, or play area.
Consider removal and replacement if you see:
- Significant canopy dieback (large dead sections, repeated branch failure)
- Soft, decaying wood or severe cracking at the trunk base
- Mushrooms or conks attached to the trunk or at the root collar (a sign of internal decay)
- Leaning with heaving soil on one side of the root plate
- A history of the area staying saturated that you cannot realistically fix
Safety note: If a large tree shows structural issues, contact a certified arborist. Do not attempt DIY removals of unstable trees.
Replanting after root rot: do it smarter, not harder
If you end up removing a shrub or tree, you can absolutely replant successfully. Just do not reinstall a new plant into the same soggy trap.
Set your next plant up for success
- Choose species suited to your site. Some trees tolerate periodic wet feet better than others.
- Fix drainage first if possible, or plant on a slight mound in heavy soil (without burying the trunk).
- Plant at the right height. Keep the root flare at or slightly above grade.
- Widen the hole, not the depth. A broad, shallow planting hole encourages lateral root growth.
- Water to establish, then taper irrigation as roots expand.
A quick note for houseplant folks
If you are here because you have battled mushy roots in a pothos or monstera, you are not alone. The basics are similar, too much water and not enough oxygen. The fix is different outdoors because you cannot just swap the potting mix, but if you want the indoor version, you can hop over to our houseplant guide on LeafyZen about root rot.
Root rot checklist you can use today
- Check soil moisture 6 to 8 inches down, not just the surface
- Look for yellowing and wilting that does not improve after watering
- Expose and inspect the root flare, remove mulch from trunk contact
- Address drainage and grading so water does not pool at the crown
- Reduce compaction and protect the root zone with a compost topdress and mulch ring
- Call an arborist if the tree is large, leaning, or showing trunk decay
If you tell me what tree or shrub you have, what your soil is like, and how your irrigation is set up, I can help you troubleshoot the most likely cause. Root problems feel mysterious until you learn where to look. Then they are just another garden puzzle with a very soil-centered solution.