Rescue a Severely Rootbound Plant
A rootbound plant is not being dramatic. It is genuinely out of room. When roots circle and tangle until they form a tight, thirsty knot, water can run through without soaking the root ball, nutrients get harder to reach, and the plant spends its energy just trying to survive instead of growing.
The good news is that rootbound is fixable. You are basically giving your plant a bigger apartment, untangling the mess of moving boxes, and making sure it has a quiet week to settle in afterward. I talk to my ferns during this part, but you do not have to. It just helps the vibe.
Best time to repot: early spring through summer (active growth) is ideal. That said, a severely rootbound plant that is drying out constantly or failing fast can be repotted any time of year. Just expect recovery to be slower in winter.
How to tell if it is severely rootbound
Some plants are mildly rootbound and totally fine for a while. “Severely” rootbound is when the roots have taken over the pot and the plant is showing stress.
- Roots circling the bottom or growing out of drain holes in thick ropes
- Water rushes through (or runs down the sides) and the pot dries out much faster than it used to
- Wilting soon after watering because roots cannot absorb evenly (wilting can also point to rot or low oxygen, so keep reading)
- Stunted growth or smaller new leaves
- Soil pulls away from the pot, leaving a gap around the edges
- The plant pops up in the pot like it is being pushed out
Rootbound plants do not always dry out fast. Sometimes the remaining soil is compacted and stays wet longer than expected. If your plant is also yellowing, dropping leaves, or smelling sour, you may have root damage from uneven watering on top of being rootbound. Still fixable, just be extra gentle.
What you need
- A new pot with drainage holes
- A saucer or tray
- Fresh potting mix suited to the plant (details below)
- Clean scissors or pruners (for dead roots only)
- A chopstick, bamboo skewer, or your fingers for teasing roots
- Gloves and a towel or newspaper for the mess
Optional but helpful: a bucket of water for a quick root-ball soak, and a little extra perlite or orchid bark to boost airflow if your mix is heavy.
Quick sanitation note: disinfect pruners between plants, and especially after cutting any mushy or smelly roots. Rubbing alcohol works well.
Choose the right pot size
This is the part that saves you from the most common repotting mistake: going too big. A pot that is much larger holds extra wet soil that roots cannot use quickly, which can lead to rot. Think “upgrade,” not “mansion.”
A good starting point
- Go up 1 to 2 inches (2.5 to 5 cm) wider in diameter than the current pot.
- If the plant is truly severely rootbound and drying out daily, you can go 2 to 3 inches wider, but only if your potting mix is airy and your light is strong.
For very large floor plants or very small nursery pots, these numbers are not a law of physics. They are a practical guideline. When in doubt, size up modestly.
Quick exceptions
- Succulents and cacti: usually only 1 inch up, and use a very fast-draining mix.
- Peace lily, snake plant, ZZ plant: they tolerate being snug, so do not oversize the pot.
- Thirsty growers (like pothos in bright light): can handle a slightly bigger step up if your mix drains well.
Drainage matters more than material. Terracotta is more breathable and tends to dry faster. Plastic holds moisture longer. Both can work if you adjust how you water.
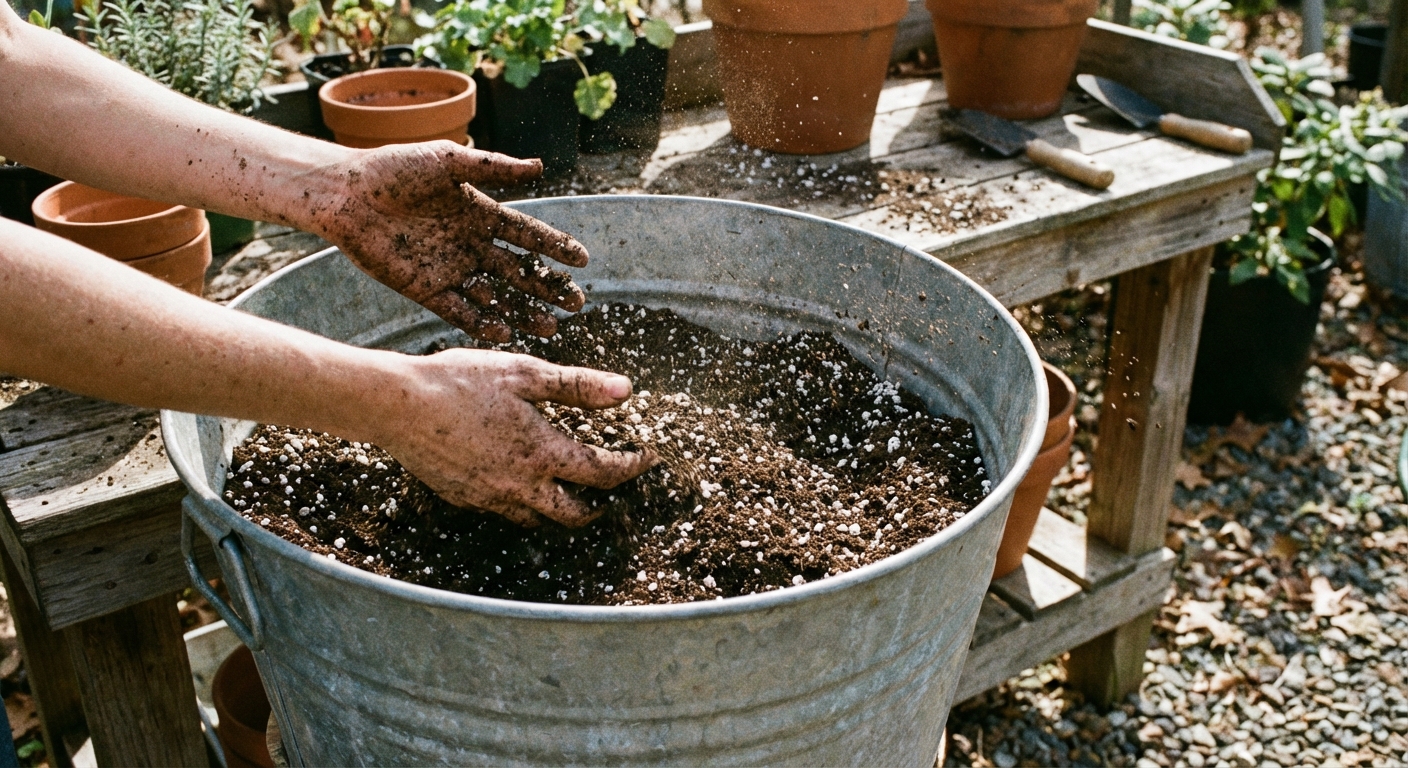
Pick a soil mix that reduces shock
Fresh soil is not just “more dirt.” It is a new balance of air, water, and nutrients. Rootbound plants are often stressed, so aim for a mix that stays lightly moist but never soggy.
Easy blends
- Most tropical houseplants: 2 parts quality potting mix + 1 part perlite (or pumice) + a handful of orchid bark for chunkiness.
- Succulents and cacti: cactus mix + extra pumice/perlite until it feels gritty and drains fast.
- Moisture lovers (like ferns): potting mix + a bit of coco coir, plus some perlite for airflow.
Avoid using straight garden soil indoors. It compacts, drains poorly, and can bring pests.
Orchid note: when I say “orchids” here, I mean common epiphytic orchids like Phalaenopsis. They do best in bark-based media, not standard potting soil.
Repot step by step
If your plant looks especially wilted, do this when you have a calm hour. Repotting is surgery and moving day combined.
Before you start
- Avoid extreme heat or cold: if your windowsill is roasting or drafty, choose a gentler day or location.
- Blooming plants: some plants hate being repotted mid-flower. If it is not an emergency, wait until blooms fade.
- Pests and disease: if the plant is actively infested (thrips, scale, fungus gnats) or showing disease, treat that first when possible. If the problem is clearly a root issue, repotting may be part of the fix.
1) Water a few hours before (usually)
Lightly water a few hours ahead so roots are flexible and less likely to snap. If the soil is soaking wet or smells sour, skip this and repot on the drier side.
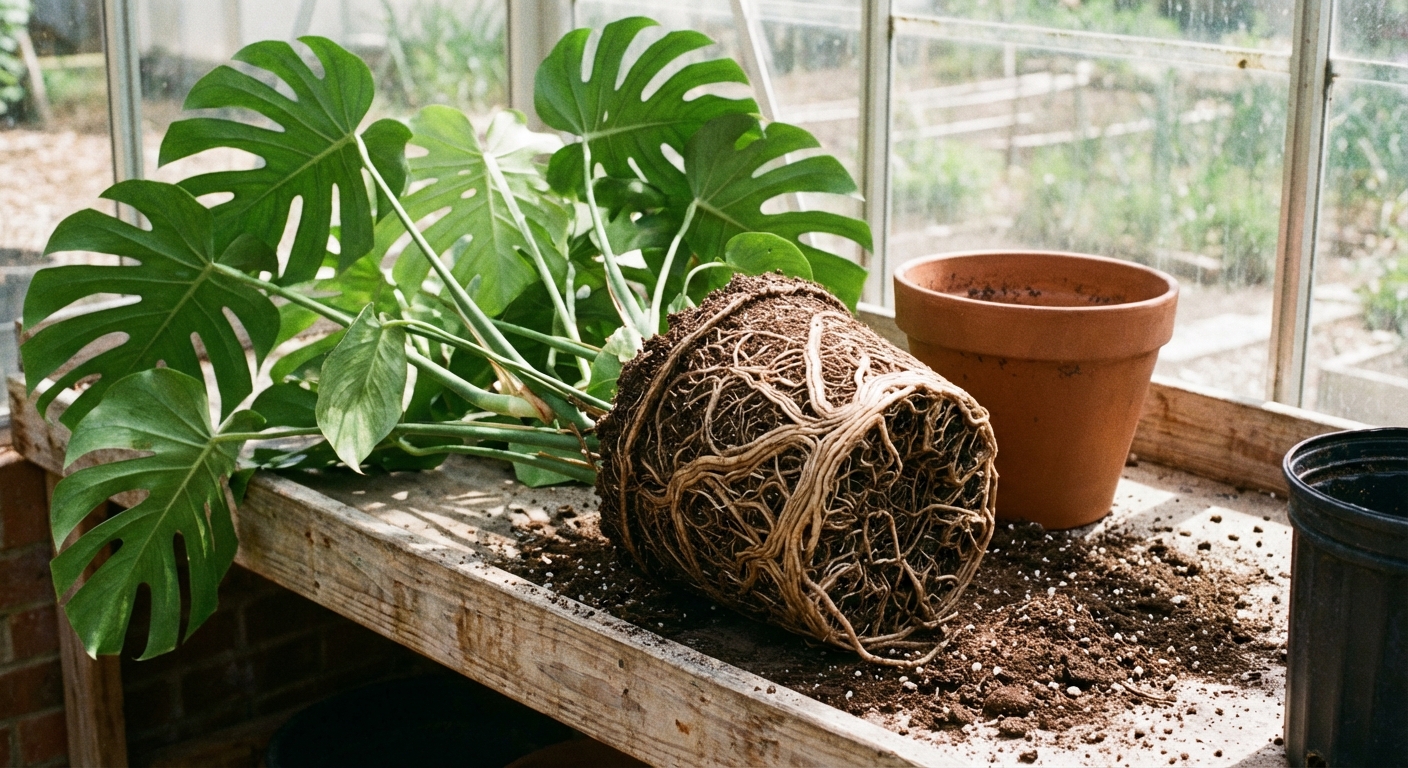
2) Slide it out and read the roots
Tip the pot on its side, support the plant at the base, and wiggle. If it will not budge, squeeze a plastic pot, tap the rim, or run a butter knife around the inside edge.
- Healthy roots: usually white, tan, or light brown and firm.
- Rotten roots: dark, mushy, hollow, or smelly.
3) Loosen the root ball like you mean it (gently)
For severe rootbinding, you must break the circling pattern or the roots will keep spiraling in the new pot.
- Use your fingers or a chopstick to tease roots outward from the bottom and sides.
- If it is a tight “root brick,” slice shallow vertical cuts down the sides of the root ball (3 to 5 cuts, about 1/4 to 1/2 inch deep). This sounds scary, but it encourages new roots to branch outward.
- For a very matted bottom, you can shave off the bottom 1/2 inch of the root mass with a clean knife.
You will break some roots. That is normal. What you are aiming for is a plant that can explore new soil instead of strangling itself in circles.
4) Trim only what is dead
Snip mushy, blackened, or hollow roots with clean pruners. Disinfect your blades after cutting rot. Do not aggressively “root prune” a stressed plant unless you have a reason, like rot or a bonsai goal. For most distressed houseplants, less is more.
5) Prep the new pot and set the height
Add a small layer of mix to the bottom so the plant sits at the same soil level as before. Burying the stem deeper can invite rot.
Skip the rocks in the bottom. They do not improve drainage in containers and can create a perched water layer. Use a pot with holes and a good mix instead.
6) Pot it up and fill around the sides
Center the plant, then add fresh mix around the root ball. Firm gently with your fingertips. You want good contact, not compacted concrete. Leave about 1/2 to 1 inch of space at the top so watering is not a spill-fest.
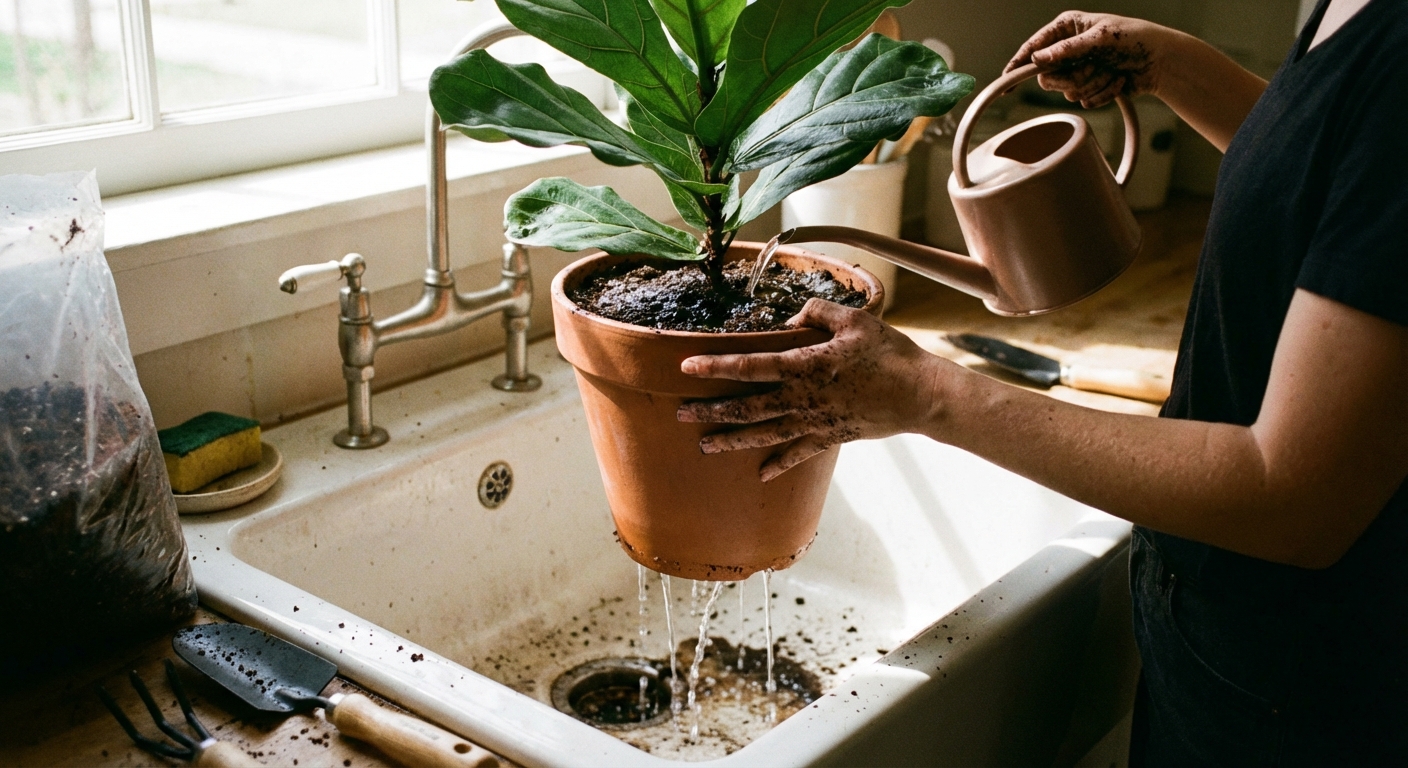
7) Water in to settle, then let it breathe
Water thoroughly until water runs out the drainage holes. This collapses big air pockets and helps roots meet their new soil. Let it drain fully. Do not let it sit in a puddle.
Reduce transplant shock (2 weeks)
Repotting is stressful, even when you do everything right. Your job after repotting is to keep conditions steady and gentle.
Right after repotting
- Light: bright, indirect light is ideal. Avoid harsh midday sun for a week.
- Water: wait until the top inch or two of soil dries (varies by plant). Rootbound rescues are prone to both thirst and overwatering, so check with a finger, not a calendar.
- Humidity: slightly higher humidity helps, especially for tropicals. A pebble tray or grouping plants works well.
- Fertilizer: hold off 3 to 6 weeks. Fresh mix plus tender new root tips do not need a strong feeding right away.
- Stability: avoid moving it around constantly. Pick a spot and let it settle.
What is normal vs not
- Normal: a little droop for a few days, slower growth, a leaf or two yellowing.
- Not normal: rapid leaf drop, limp stems that do not perk up after watering, sour smell, or soil staying wet for many days.
Troubleshooting
It keeps wilting even though the soil is moist
This can happen if many fine roots broke during repotting, or if rot is present. Wilting can also be pushed along by low light, cold temps, or a drafty windowsill. Keep the plant in bright indirect light, avoid fertilizing, and let the soil dry slightly between waterings. If there is a foul smell, unpot and inspect for rot.
Water runs down the sides and does not soak in
That is hydrophobic soil or an overly dry root ball. Bottom-water for 20 to 30 minutes, then drain. Next time, water more slowly in two passes.
Leaves are yellowing a week later
A small amount is normal. If many leaves yellow at once, you may have overpotted (too big a pot) or the mix is holding too much water. Increase light, reduce watering frequency, and consider adding airflow (a small fan across the room helps).
There is no new growth for a month
Many plants pause while they rebuild roots. If it looks stable and not declining, be patient. Once you see new growth, you can resume gentle feeding.
Extreme root tangles
“Ramen bowl” roots at the bottom
Trim or shave that dense bottom layer and tease the remaining roots outward. This is one of the most effective ways to get new roots growing into fresh soil instead of continuing the spiral.
Thick, fleshy roots (orchids, hoyas, some succulents)
Be extra gentle and avoid tearing. Tease slowly, and only cut roots that are clearly dead. Use an airy mix that matches the plant, especially for epiphytic orchids which prefer bark-based media.
Woody shrubs in pots
If you are repotting a patio shrub that is badly rootbound, the same concept applies, but you may need stronger root work. Loosen, make vertical slices, and step up the pot size carefully. Consider doing this during the plant’s active growth period for your climate.
Quick checklist
- Repot in spring to summer when you can (or anytime if it is an emergency)
- Choose a pot 1 to 2 inches wider (usually)
- Use fresh, airy mix that matches the plant
- Tease roots out and break the circling pattern
- Trim only dead or rotten roots (and disinfect tools)
- Plant at the same depth as before
- Water through, drain well, then go easy for 2 weeks
If your plant has been struggling for a while, do not expect an overnight glow-up. Think of this as physical therapy. A little steadiness, good light, and breathable soil go a long way.