Propagate Succulents from Leaves and Cuttings

Succulent propagation feels a little like plant magic. You set a leaf on some gritty soil, walk away, and weeks later there is a tiny rosette with baby roots reaching for the earth. If you have ever stared at a stretched echeveria or a leggy jade and thought, “I wish I could start this over,” you can.
This Leafy Zen guide covers the two beginner-friendly methods that work best for common succulents: leaf propagation (great for echeveria and graptoveria) and stem cutting propagation (great for jade, sedum, and anything that gets tall or floppy). I will show you how to choose good material, how long to let it callus, what soil to use, when to water, and what a realistic week-by-week timeline looks like.
What you need
- A healthy parent plant (the healthier the start, the easier the rooting)
- Clean snips or scissors (for stem cuttings)
- Shallow tray or small pots with drainage holes
- Fast-draining succulent mix (recipe below)
- Optional: rooting hormone powder (not required, sometimes helpful for stem cuttings)
- Bright light (bright shade or gentle morning sun)
Skip the fancy gadgets. The biggest “tool” in succulent propagation is patience, and maybe resisting the urge to water like you are caring for basil.
Quick hygiene note: If you are taking stem cuttings, wipe your snips with isopropyl alcohol first. It is a small step that prevents a lot of heartbreak.
Pick the right method
Leaf propagation works best for
- Echeveria
- Graptoveria and many rosette-forming hybrids (like graptosedum and Graptopetalum types)
- Some sedums with plump leaves (results vary by variety)
Stem cuttings work best for
- Jade plant (Crassula ovata)
- Sedum (especially trailing sedums like burro’s tail, often sold as Sedum morganianum)
- Leggy echeveria or graptoveria that need a “beheading” to reset growth
Quick truth: Some succulents simply do not propagate reliably from a single leaf. If your leaf keeps shriveling without making a baby, it is not you. Try stem cuttings instead.
If it helps to have examples, many aloes, haworthias, and cacti are not classic “one leaf makes a new plant” propagators. They often do better from offsets (pups) or specific cutting methods.
Choose good leaves and cuttings
For leaf propagation
- Choose plump, firm, fully grown leaves from the lower half of the rosette.
- Avoid leaves that are wrinkled, thin, sunburned, or translucent.
- Most important: the leaf must come off with the base intact. If it tears and leaves a bit behind on the stem, it usually will not grow.
I like to gently wiggle the leaf side to side until it releases cleanly.
For stem cuttings
- Pick a stem that is firm, not mushy, with healthy growth at the tip.
- For leggy rosettes, choose a top section with at least 1.5 to 3 inches of stem below the rosette.
- Remove any leaves that would sit under soil. Buried leaves rot fast.
Let them callus
Succulents are juicy. If you plant a fresh wound into damp soil, you are basically inviting rot to dinner. Callusing means letting the cut end dry and seal before it touches soil.
Main rule: time ranges are just a guide. Humidity and temperature matter. What you are really waiting for is a cut end that looks dry, sealed, and slightly hardened, not wet or shiny.
Leaf callusing
- Place leaves on a dry plate or tray out of direct sun.
- Typical time: 1 to 3 days for most leaves. Very plump leaves may take 3 to 5 days.
- Worth knowing: Some people skip leaf callusing and still succeed. I still recommend a short dry-out because it lowers the odds of a soggy, fungus-prone tray.
Stem cutting callusing
- Stand the cutting upright in an empty jar or lay it on a shelf so air can circulate.
- Typical time: 3 to 7 days. Thick jade stems can take 7 to 10 days.
Temperature tip: Rooting is happiest in mild warmth, roughly 65 to 80°F. Avoid cold, drafty windowsills in winter, especially at night.
Best soil for props
Baby succulents need air around their tiny new roots. A mix that stays soggy will stall rooting and invite rot.
That said, there is a balance. If your mix is so rocky that it dries within hours, tiny roots can desiccate before they grab hold. Aim for fast draining, not bone-dry forever.
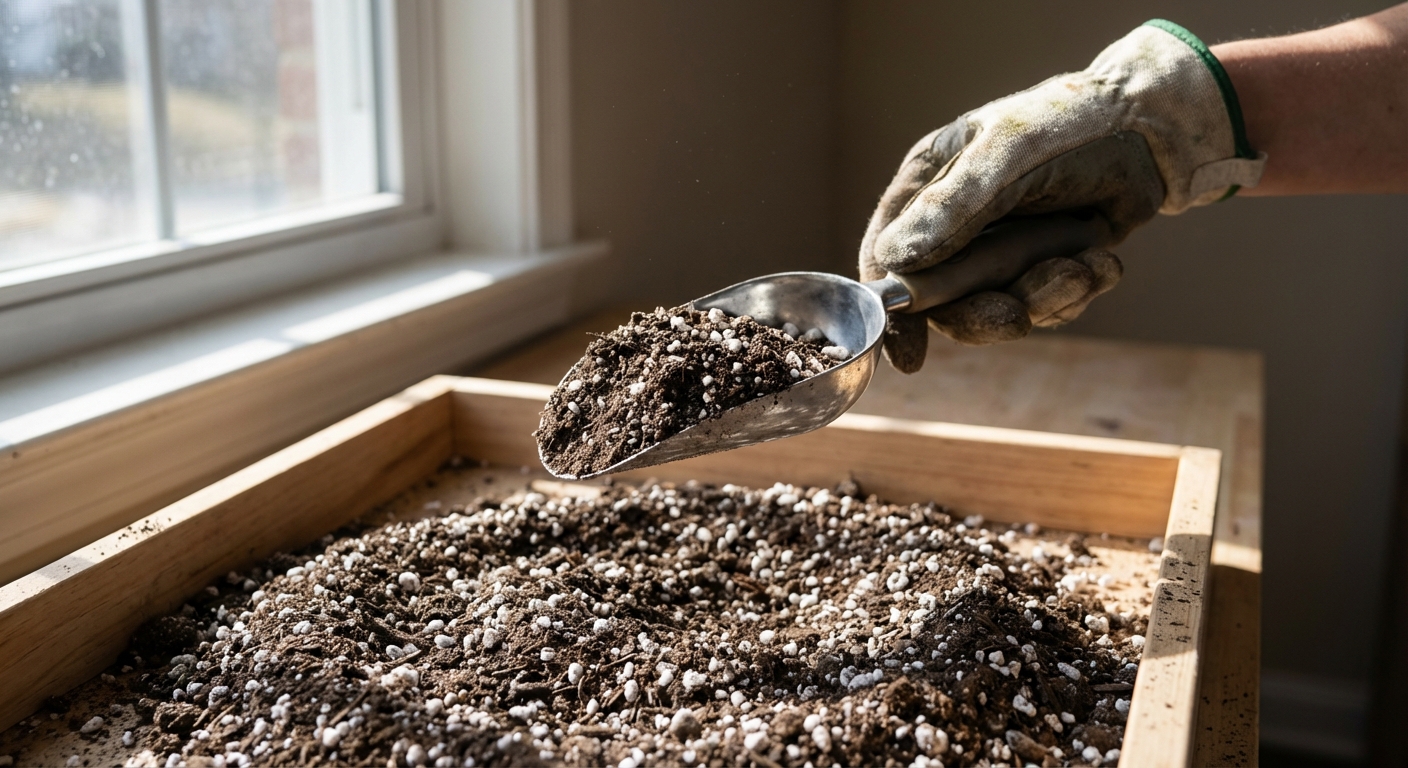
Easy DIY mix
- 1 part cactus or succulent potting soil
- 1 part pumice or perlite
- Optional: a small handful of coarse sand or fine gravel for extra drainage
If you only have a bagged cactus mix, cut it with extra pumice or perlite. Many bag mixes hold more moisture than you think.
Leaf propagation
1) Let leaves callus
As above, 1 to 3 days is usually plenty, or until the base looks dry and sealed.
2) Set leaves on soil
Fill a shallow tray with dry, fast-draining mix. Lay the leaves on the surface. Do not bury them. The baby plant and roots will emerge from the leaf base and find the soil on their own.
3) Give bright light
A bright windowsill with filtered light, or outdoors in bright shade, is ideal. Hot direct sun can bake the leaf before it has roots.
Indoor reality check: “Bright window” is sometimes not that bright. If your succulents stretch indoors, consider a simple grow light or a south or west window with a sheer curtain.
4) Watering for leaf props
This is where most people panic. A leaf has stored moisture, so it does not need frequent watering at first.
- Week 1 to 2: keep the mix dry or almost dry.
- If you are tempted to mist: misting is optional and often unnecessary. It can also encourage fungus if the tray stays cool and humid. If you do it, keep it very light and only in very dry air.
- When roots appear: skip misting and switch to targeted watering. Use a dropper, syringe, or teaspoon to lightly dampen a small area under the roots every 4 to 7 days, after the surface dries.
- If roots are forming but drying up: lightly tuck the roots against the soil surface and give a tiny drink right beneath them, not over the whole tray.
- When a baby rosette forms: water a little more deeply, but still only when the mix dries out fully.
Leafy Zen rule: if you cannot see roots yet, water should be minimal. If you can see roots, give those roots a reason to grow downward by lightly dampening the soil under them.
5) When to pot up
Once the baby plant is about the size of a nickel or quarter and has a tidy root system, you can move it to a small pot with drainage. The mother leaf will eventually shrivel and detach. Let it. It is feeding the baby.
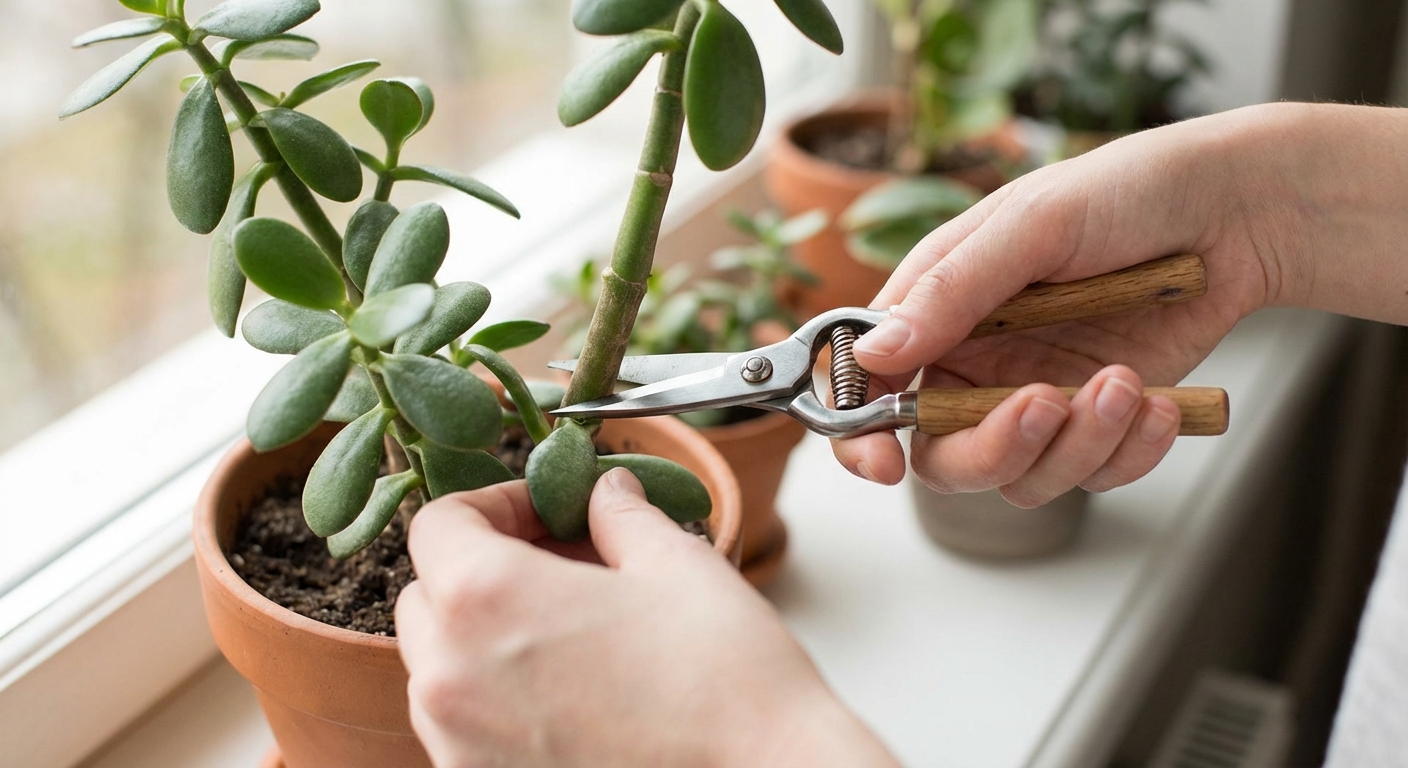
Stem cuttings
1) Make a clean cut
Cut just below a node (where leaves attach). Remove lower leaves so you have a bare stem section that can be planted.
2) Let the cutting callus
Typically 3 to 7 days for most succulents, longer for thick jade stems, or until the end is dry and sealed.
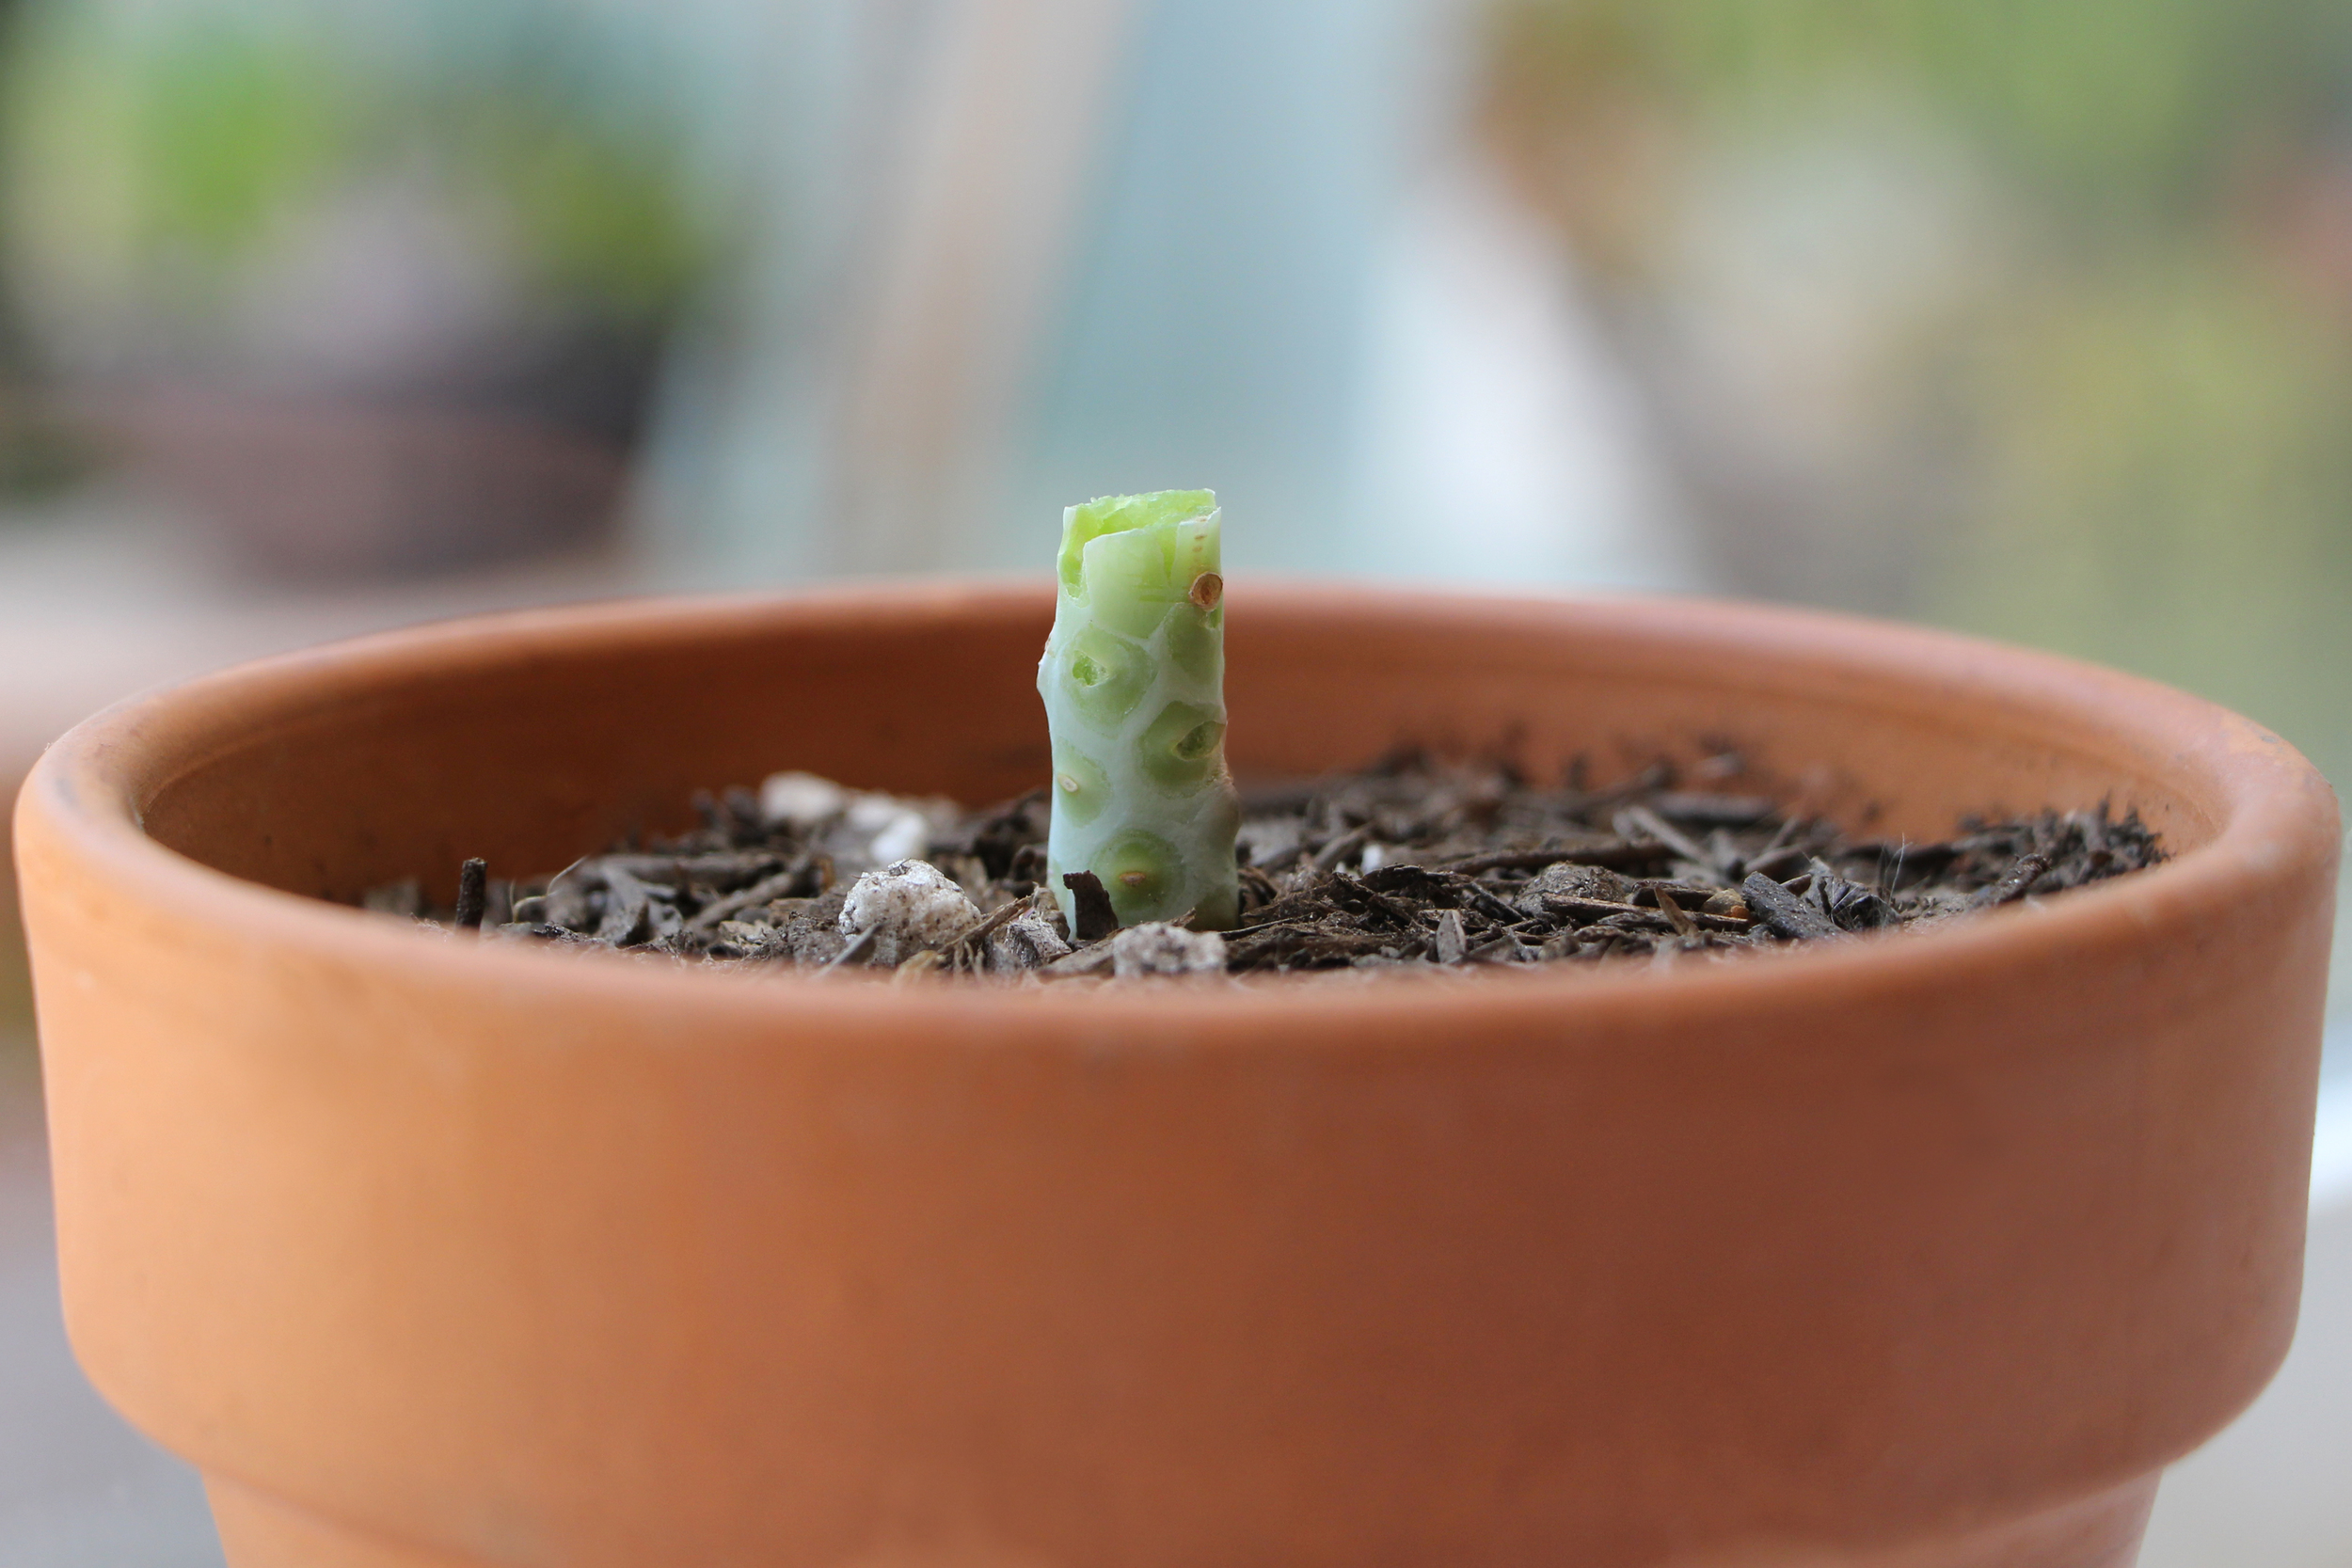
3) Plant in dry mix
Insert the callused end into dry, fast-draining soil. Plant deep enough that it stands up on its own. For top-heavy rosettes, you can use a small rock to brace the stem until it roots.
4) Watering for cuttings
- Days 1 to 7 after planting: keep soil dry.
- After 7 to 14 days: give a small, deep drink, then let it dry completely.
- After you feel resistance: gently tug. If it grips the soil, roots have formed. At that point, water like a normal succulent: soak, then dry out fully.
A cutting can absorb a little moisture through its tissues, but it cannot use wet soil the way a rooted plant can. The practical takeaway stays the same: do not keep the pot damp while it is trying to root.
Week by week timeline
Succulent propagation moves slowly, especially in winter or low light. Here is a realistic timeline for echeveria, sedum, graptoveria, and jade in bright indoor light or mild outdoor conditions.
Leaf timeline
- Week 0: remove healthy leaves, callus 1 to 3 days.
- Week 1: leaves look unchanged. Do not panic.
- Week 2: tiny pink or white roots may appear at the leaf base.
- Week 3 to 4: roots lengthen. A tiny rosette may begin forming.
- Week 5 to 6: baby plant becomes more defined. Mother leaf may start shriveling.
- Week 7 to 10: baby plant grows steadily if it has light. Pot up when it has a small root system and the mother leaf is mostly spent.
- Month 3 to 6: expect a “real plant” size, depending on variety and light.
Stem cutting timeline
- Week 0: take cutting, callus 3 to 7 days.
- Week 1: plant in dry mix. No watering yet.
- Week 2: first cautious watering. Some cuttings begin rooting now.
- Week 3 to 4: rooting strengthens. New growth may appear at the tip or from nodes.
- Week 5 to 8: cutting behaves like an established plant. You can gradually increase sun exposure.
Cool temps and low light slow everything down. Warmth and strong light speed it up, as long as you do not cook the props in direct midday sun.
Common mistakes
Overwatering cuttings
This is the big one. Wet soil plus an unhealed cut is a fast track to rot.
- Fix: let it callus longer, replant in dry fast-draining mix, and hold off watering for 7 to 14 days.
Soil that stays wet
Dense potting soil suffocates tiny roots.
- Fix: add pumice or perlite. Use a pot with drainage. Avoid trays with no holes unless you are extremely careful.
Mix that dries too fast
On the flip side, an ultra-inorganic mix in hot, windy conditions can dry tiny new roots before they settle in.
- Fix: add a little more potting soil to the blend, move props to bright shade, and use targeted watering under visible roots.
Pulling on leaves to “check”
Roots snap easily.
- Fix: look for visual cues first: roots at the base, a baby rosette forming, or gentle resistance only on stem cuttings.
Too much sun too soon
Unrooted leaves and cuttings can sunburn fast.
- Fix: start in bright shade or filtered light. Gradually increase sun once the plant is rooted and actively growing.
Choosing damaged leaves
A leaf that is already stressed has less stored energy to form roots and babies.
- Fix: take fewer, better leaves from a well-watered (but not soggy) plant a day or two before you harvest leaves.
Ignoring pests and rot
Mealybugs love hiding in tight rosettes, and one mushy prop can spread problems fast in a crowded tray.
- Fix: isolate questionable plants, discard anything that turns mushy, and keep airflow gentle but consistent.
Species notes
Echeveria
Excellent leaf propagators when leaves are removed cleanly. They want bright light and patience. Beheaded tops also root well as stem cuttings after a solid callus.
Sedum
Many sedums root like champs from stem cuttings. Some also propagate from single leaves, especially plumper-leaf types, but trailing sedums are often easiest from cuttings. Keep them bright and on the dry side until rooted.
Graptoveria
Often faster than echeveria from leaves. Treat like echeveria: clean leaf removal, fast-draining mix, bright filtered light, and minimal water until roots show.
Jade (Crassula ovata)
Jade propagates beautifully from stem cuttings, and can also grow from leaves, though it is slower. Give jade cuttings a longer callus time, and keep watering conservative until the cutting grips the soil.
Pet note (optional but important): jade is considered mildly toxic if chewed by cats and dogs. If you have curious pets, keep props out of reach.
Aftercare
- Light: once rooted, slowly acclimate babies to more sun. A sudden move into intense sun can scorch them.
- Water: water deeply, then allow the mix to dry completely. Baby plants in tiny pots dry faster than you expect, so check with a fingertip, not a calendar.
- Airflow: gentle airflow helps prevent rot and fungus, especially in humid homes.
- Feeding: wait until the baby is actively growing and well-rooted. Then you can use a diluted, gentle fertilizer during the growing season.
If your baby plant looks a little awkward at first, that is normal. Prop babies go through a tiny “toddler phase” where they are figuring out their shape. Keep the light consistent and the watering modest, and they settle in.
Quick troubleshooting
Leaf shrivels with no baby
- Likely causes: leaf was damaged at the base, too little light, or the leaf was already stressed.
- Try: brighter light, new leaves from a healthier plant, or switch to stem cuttings.
Roots formed but they dry up
- Likely cause: roots have nothing to grow into or are exposed to very dry air, heat, or airflow.
- Try: lightly tuck roots against the soil surface and use targeted watering beneath them.
Cutting turned mushy at the soil line
- Likely cause: watering too soon, soil too wet, or not enough callus time.
- Try: recut above the rot, callus longer, replant in drier mix.
A gentle reminder
Propagation is not a pass-fail test. It is a numbers game and a rhythm game. Take a few extra leaves, let them callus, keep things bright and airy, and water less than you think you should. Your future succulents are already hiding inside that leaf, just waiting for the timing to be right.