Propagate a ZZ Plant From Leaves or Stem Cuttings
ZZ plants (Zamioculcas zamiifolia) are the slow-and-steady champions of the houseplant world. They forgive missed waterings, tolerate lower light, and somehow still look polished. Propagation is the same vibe: it works, but it’s not fast.
If you’ve ever stared at a single ZZ leaf in a pot and wondered if anything’s happening, you’re in good company. Below I’ll walk you through two reliable methods: single leaf cuttings (individual leaflets) and stem cuttings (sections of a stalk). We’ll compare timelines, talk about rhizome formation, and troubleshoot the most common failure: rot caused by cold, soggy media.
Before you start
What you’re actually growing: the rhizome
ZZ plants grow from thick, potato-like rhizomes (often casually called tubers). When you propagate, your cutting has to make a tiny rhizome before it can push up new stems. That’s why propagation can feel like watching paint dry.
Fastest option: division (quick note)
If you’ve got a mature plant and you want the fastest, easiest propagation, rhizome division is it. You unpot the plant, gently separate clumps that already have rhizomes and roots, then pot them up. Boom, instant “new” plants.
This guide focuses on cuttings because they’re what you do when you’ve got a fallen leaf, you’re pruning, or you want to stretch one plant into many. If you want speed, choose division. If you want multiples (and don’t mind waiting), choose cuttings.
Pick the right season and conditions
- Best time: spring through early fall (warm, bright months).
- Temperature: aim for 70 to 80°F (21 to 27°C). Avoid chilly windows and cold floors.
- Light: bright, indirect light. Low light slows everything down dramatically.
- Patience: set expectations in months, not days.
Tools and supplies
- Clean scissors or pruners
- Small nursery pots (2 to 4 inch for leaflets, 4 to 6 inch for stems)
- A fast-draining mix (recipes below)
- Optional: rooting hormone powder (not required, but can help with stem cuttings)
- Plant labels and a marker (future-you will be grateful)
Single leaf cuttings (leaflets)
This is the classic “I’ve got one fallen leaf, can I make a whole plant?” method. Yes, you can. It’s also the slowest route, but it’s very beginner-friendly if you keep things warm and not too wet.
When to use leaf cuttings
- You only have a few leaflets to spare
- You want to make many baby plants from one ZZ
- You don’t mind waiting longer for visible growth
Step-by-step: how to propagate a ZZ from leaves
- Choose healthy leaflets. Pick glossy, firm leaves with no yellowing or mushy spots.
- Remove the leaflet cleanly. Gently pull it from the stalk so you get a clean base. If you snip, cut as close to the stalk as possible.
- Let the cut end callus. Place leaflets on a plate for 12 to 24 hours so the base dries slightly. This lowers rot risk.
- Pot them upright. Insert the base about 1/2 to 1 inch into a lightly moist, gritty mix. Firm the mix around the leaf so it stands.
- Water lightly once. After potting, water just enough to settle the mix, then let it dry nearly all the way before watering again.
- Place in bright, indirect light. Warmth matters more than intensity, but avoid deep shade.
Stem cuttings (stalk sections)
Stem cuttings usually get you to a “real-looking” baby ZZ faster because the cutting has more stored energy. You can propagate a full stalk in one piece or cut it into smaller sections.
When to choose stem cuttings
- You want faster results than leaf cuttings
- You’re pruning a leggy plant and have stalks to spare
- You want a fuller new plant sooner
Step-by-step: how to propagate ZZ stems in soil
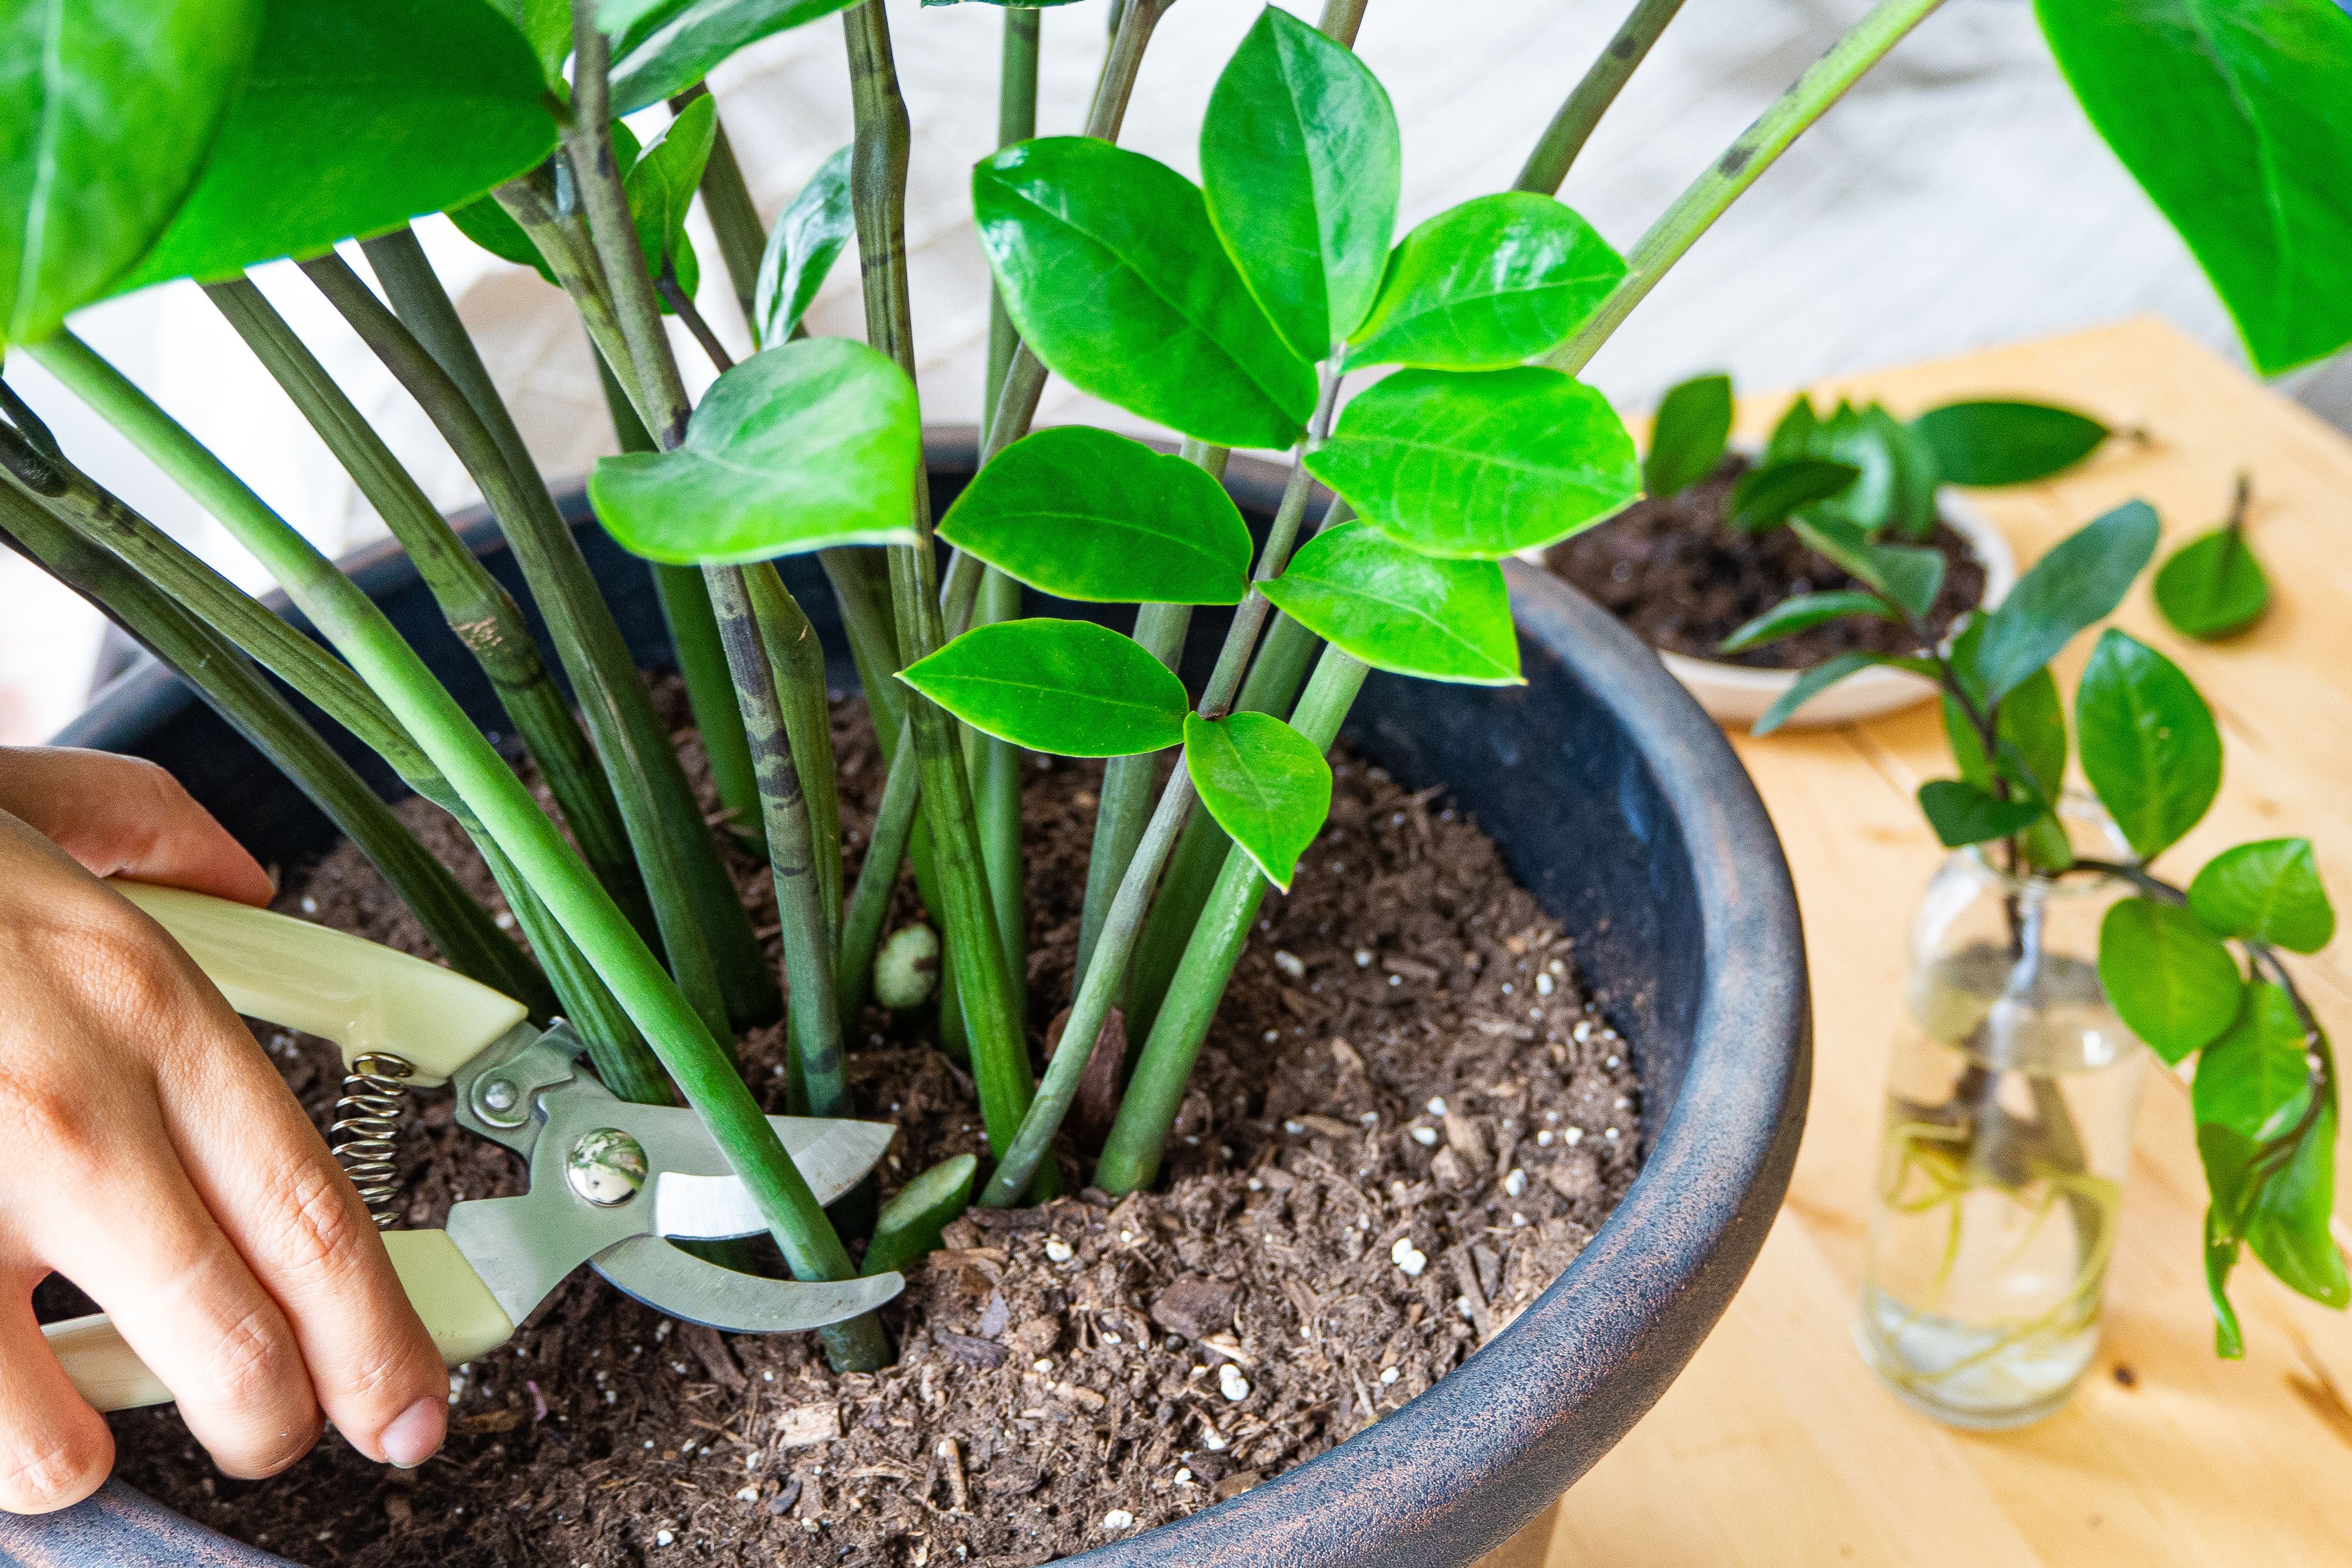
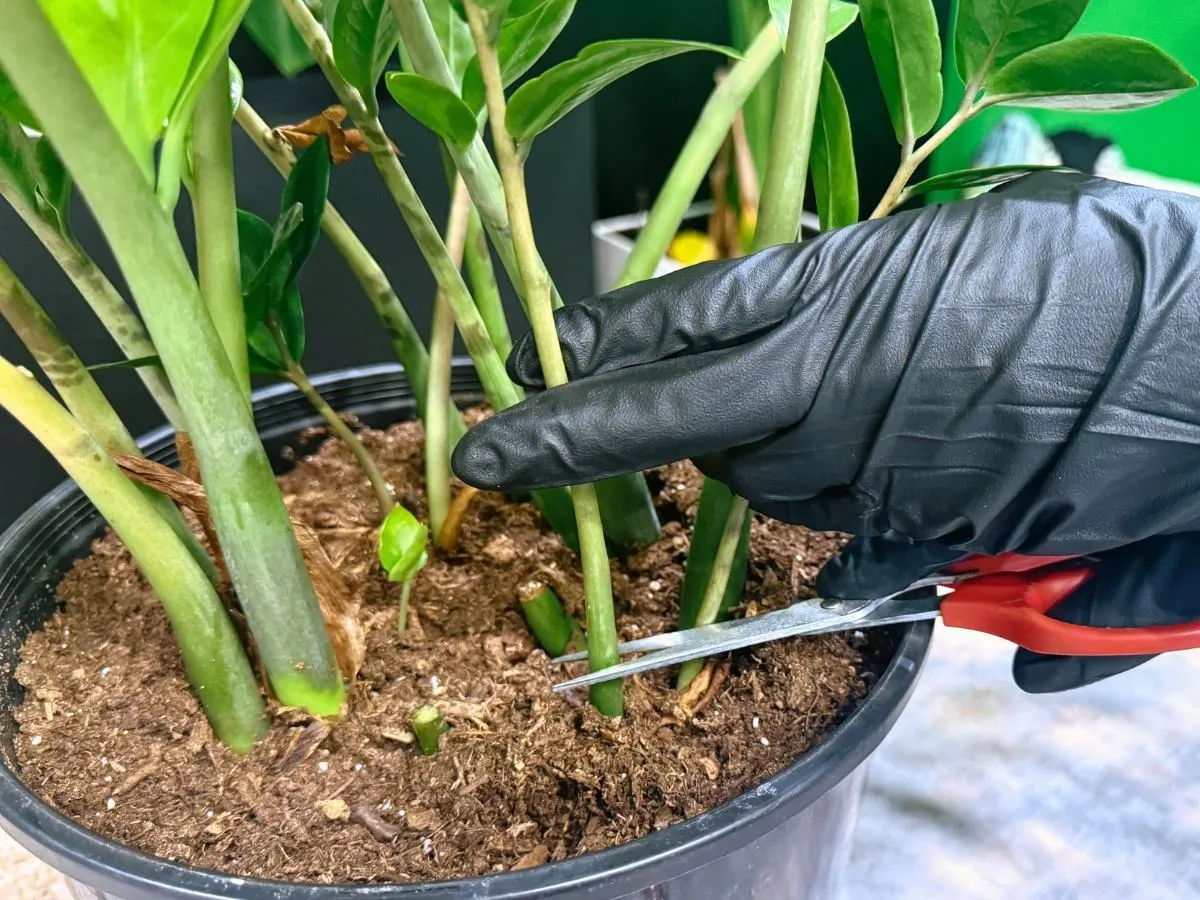
- Cut a healthy stalk. Choose a firm, green stalk. Avoid any that feel soft at the base.
- Decide on whole vs sections.
- Whole stalk: simplest, less chance of mix-ups.
- Sections: cut into 2 to 4 inch pieces. More pieces means more chances, but each piece has less energy.
- Mark the bottom. ZZ stems have an “up” and “down.” If you cut sections, make a tiny notch at the bottom end so you don’t plant one upside down.
- Let cut ends callus. Rest on a clean surface for 24 hours.
- Optional rooting hormone. Dip the bottom end lightly. Tap off excess.
- Pot into a snug container. Use a 4 inch pot for one whole stalk, or a 4 to 6 inch pot for a few sections with space between them.
- Water sparingly. Moisten the mix, then wait until it’s mostly dry before watering again.
Leaf vs stem: which is better?
Both work. The best choice depends on your patience level and how much plant material you’ve got.
Speed and success rate
- Single leaf cuttings: slower, but you can make lots of starts. Success is good if you avoid overwatering and keep things warm.
- Stem cuttings: typically faster to form a usable rhizome and new growth, especially with a whole stalk. Can rot if planted in cold, wet mix.
What “progress” looks like
With ZZ propagation, there’s often a long quiet period where nothing happens above the soil. Under the surface, the cutting is building a rhizome first.
Timelines
These ranges assume warm temps, bright indirect light, and a fast-draining mix. Cooler rooms or low light can stretch timelines a lot.
Leaf cutting timeline
- Weeks 2 to 8: the base may form tiny roots. No visible change above soil is normal.
- Months 2 to 6: a small rhizome typically forms. The leaf may stay green, or it may slowly yellow as it gives up stored energy.
- Months 6 to 12+: first new shoot may appear. Sometimes it takes longer.
Stem cutting timeline
- Weeks 2 to 6: roots begin to form if conditions are warm.
- Months 2 to 5: rhizome thickens and stabilizes.
- Months 4 to 9: new shoots often emerge, sometimes sooner with a whole stalk.
If you’re tempted to dig up your cutting to check, I get it. Try the “gentle tug” test instead. If it resists a little, roots are forming. If it slides out easily, replant and keep waiting.
Soil and pot size
The number one goal is to keep the cutting from sitting in cold, wet media. ZZ propagation succeeds when the mix is airy, drains fast, and dries at a reasonable pace.
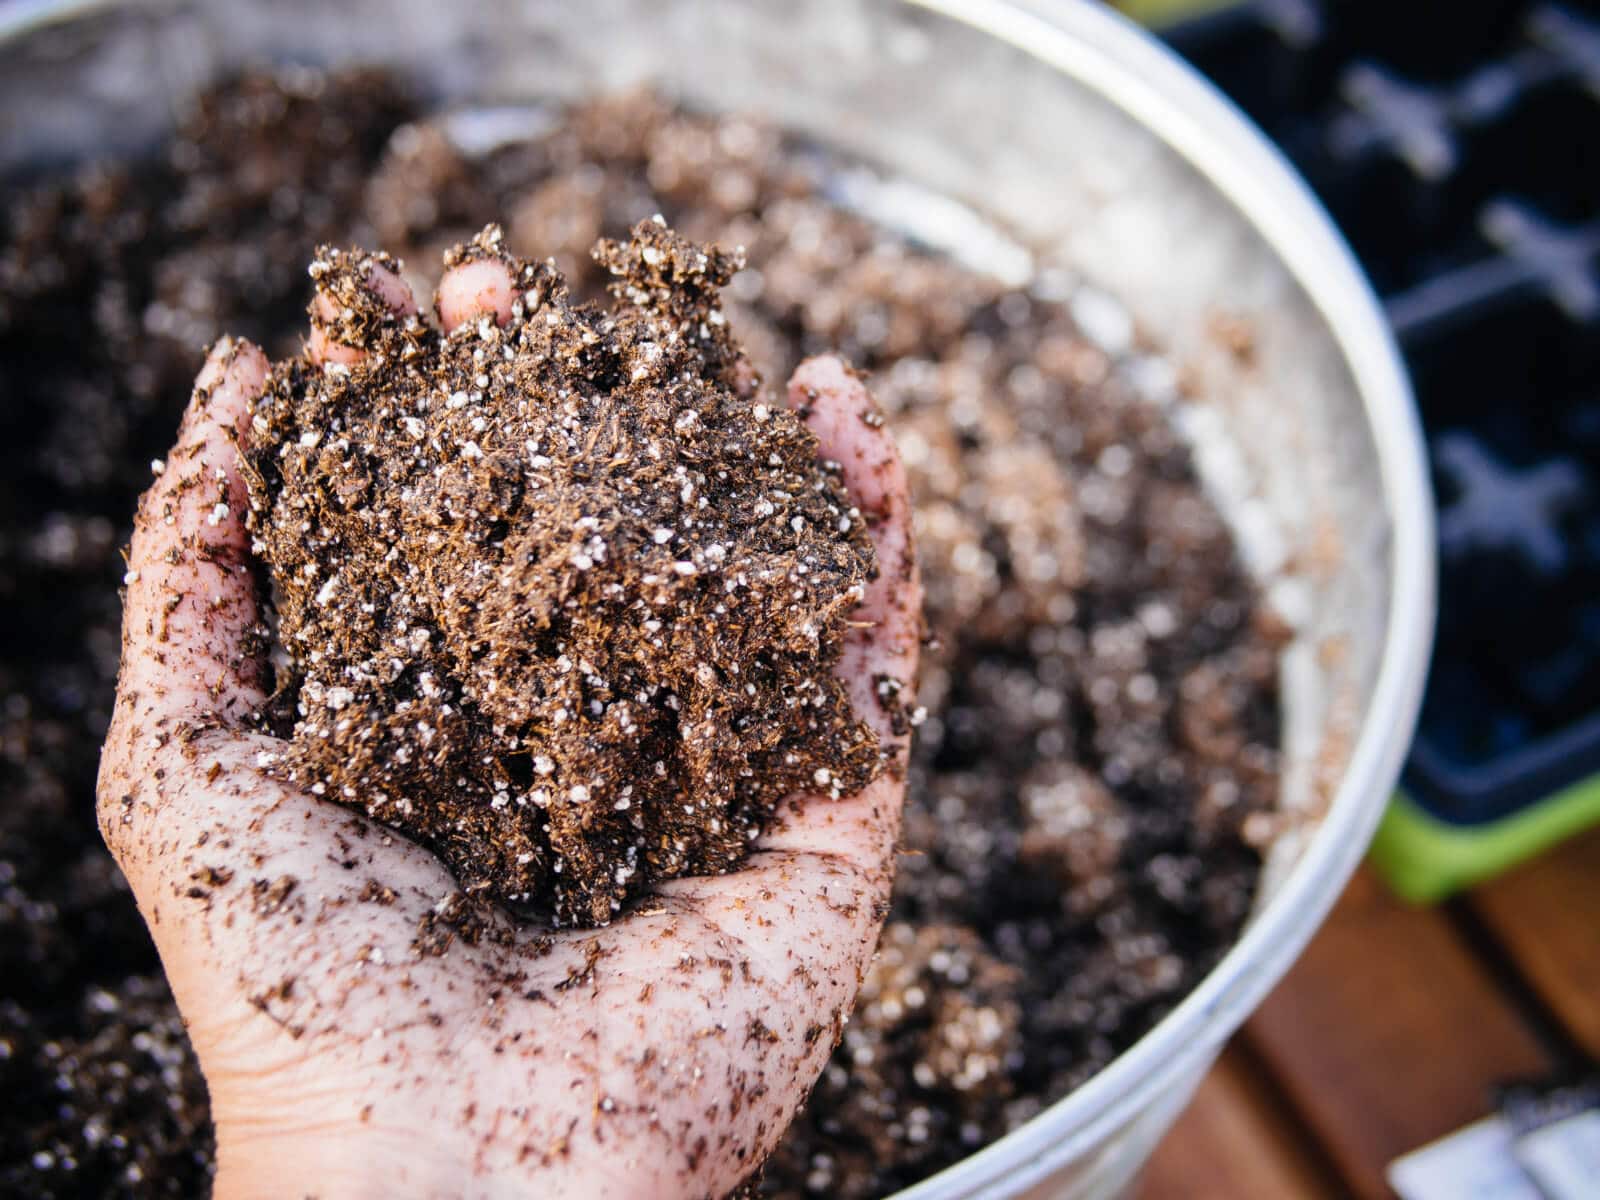
Easy soil mix options
- Option 1 (easy): 2 parts indoor potting soil + 1 part perlite
- Option 2 (extra gritty): 1 part potting soil + 1 part perlite + 1 part orchid bark
- Option 3 (succulent-style): cactus/succulent mix + extra perlite (about 20 to 30%)
Avoid heavy garden soil or mixes that stay soggy for days. If your mix feels dense, fluff it and add perlite. Your future rhizomes will thank you.
Pot sizing that prevents rot
- Single leaflets: 2 inch pots or small nursery cells are perfect. Smaller containers dry more predictably.
- Several leaflets together: 4 inch pot, spaced so air can move.
- One whole stem: 4 inch pot is usually plenty.
- Multiple stem sections: 4 to 6 inch pot, depending on how many you’re starting.
Always use a pot with drainage holes. ZZ cuttings hate wet feet, and they also hate “mystery puddles” at the bottom of a cute cachepot.
Watering and humidity
ZZ propagation fails more often from too much water than too little. Your cutting has no big root system yet, so it can’t drink like an established plant.
- After potting: water once to settle.
- Then: wait until the top half of the pot is dry before watering again.
- Humidity: normal household humidity is fine. Skip the tight plastic bag unless your home’s extremely dry, since trapped moisture can encourage rot.
If you want to speed things up safely, prioritize warmth. A consistently warm room often helps more than extra watering ever will.
Common problems
Rot from cold, wet media
This is the big one. It usually shows up as a mushy base, bad smell, or a cutting that collapses.
- Why it happens: the mix stays wet too long, especially in cool temperatures or low light.
- Fix: remove the cutting, trim back to firm tissue, let it callus 24 hours, and replant in a drier, grittier mix. Move it to a warmer spot.
- Prevention: smaller pots, more perlite, and less frequent watering.
Leaf turns yellow
A yellowing leaf isn’t automatically a failure. Sometimes the original leaf is simply donating its stored energy to build the rhizome.
- Okay: slow yellowing over months, leaf stays firm.
- Not okay: rapid yellowing with mushy base or a foul smell (likely rot).
Nothing happens for months
This is maddening, but common with ZZ.
- Check: is it warm enough, bright enough, and are you overwatering?
- Don’t: keep “helping” by watering more.
- Try: moving it a bit closer to a bright window (no harsh direct sun) and keeping temperatures steady.
Stem section planted upside down
Upside-down sections often just sit there until they rot.
- Prevention: notch or mark the bottom end as soon as you cut.
- Fix: flip it if you catch it early and the tissue is still firm.
Aftercare
Once you see a new shoot or you feel a strong, anchored tug, you’ve got a baby plant in progress.
- Don’t rush to repot. ZZ plants like to be slightly snug. Pot up only when you see crowding or the container dries extremely fast.
- Fertilizer: wait until you’ve got active new growth, then feed lightly in spring and summer with a balanced houseplant fertilizer at half strength.
- Light: keep bright, indirect light for fastest growth. Lower light is fine, just slower.
Quick FAQ
Can I propagate a ZZ plant in water?
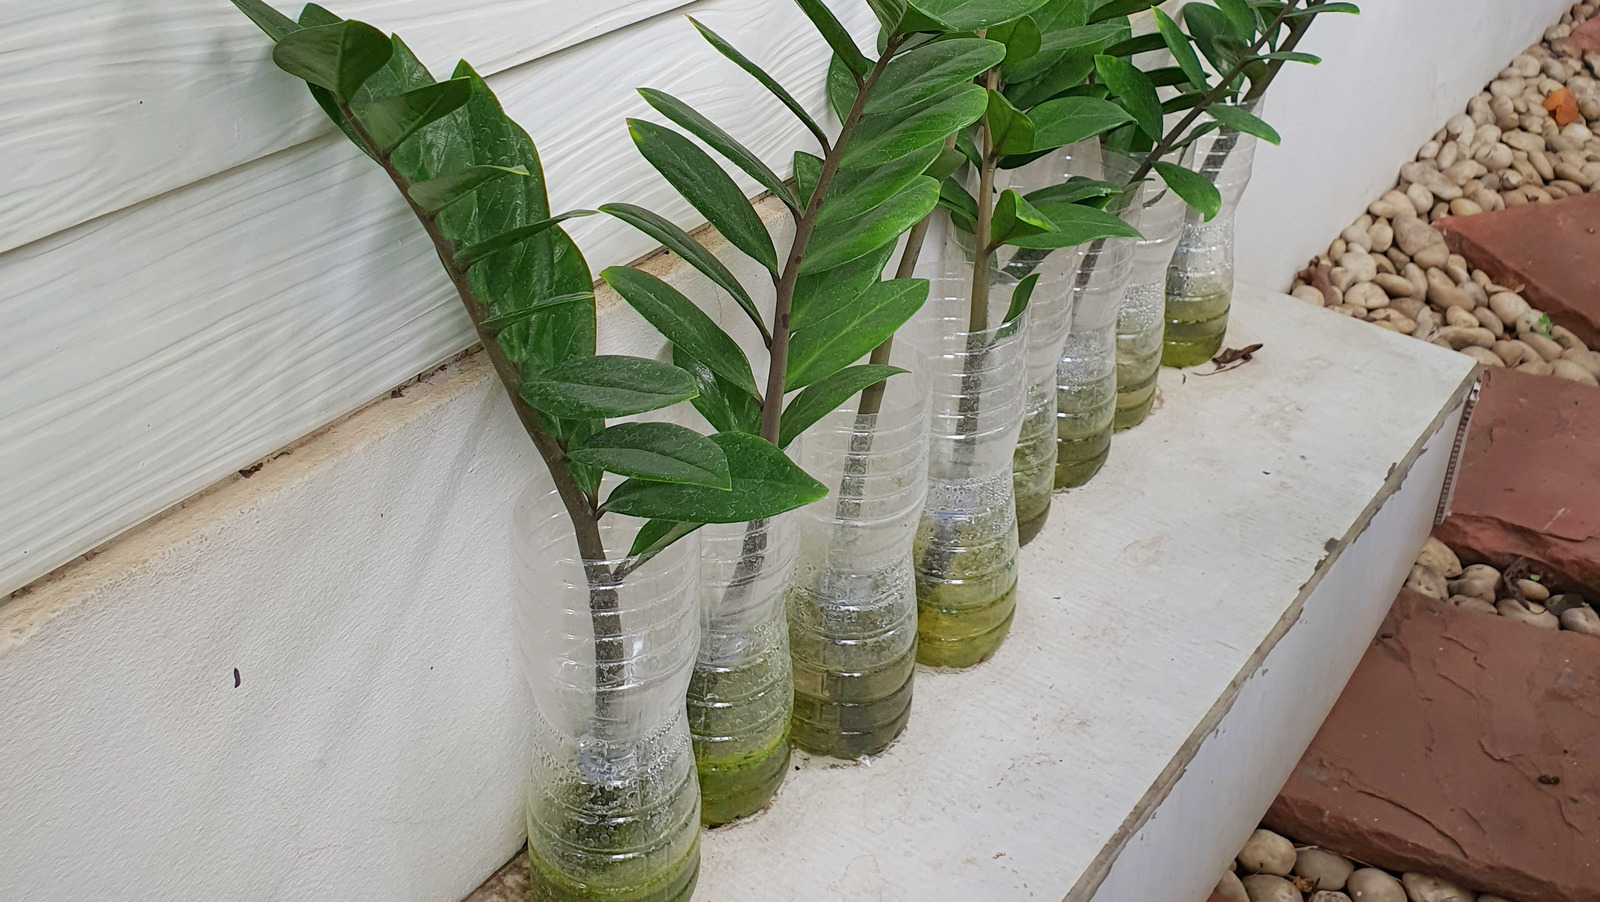
You can, especially with leaflets or a whole stalk, but water propagation often takes just as long and can raise rot risk when you transfer to soil. If you do try water, change it regularly and keep it warm, then transition to a gritty mix as soon as you’ve got roots and a small rhizome forming.
How many leaves should I start?
If you want one fuller plant, start 6 to 12 leaflets in the same pot, spaced out. If you want multiple small plants, do 2 to 4 leaflets per pot.
What if the original leaf dies?
If the base stayed healthy long enough to form a rhizome, the original leaf can fade and you can still get a new shoot later. If everything turned mushy, that’s rot and you’ll need a fresh start.
A gentle pep talk
ZZ propagation is an exercise in quiet faith. You set up the right conditions, then you let the plant do its slow underground work. If you keep things warm, bright, and on the dry side, you’re doing it right, even if it looks like nothing’s happening.
And yes, I talk to my ferns. I also whisper encouragement to ZZ cuttings like they’re tiny, stubborn roommates. No shame in it.