Propagate a Rubber Plant From Cuttings
If you have a rubber plant (Ficus elastica) that is getting tall and a little bare at the bottom, propagation is one of the gentlest ways to refresh it and multiply it. You take a healthy stem cutting, encourage it to grow roots, then pot it up into its own plant. The best part is that it feels a bit like magic, but it is really just plant biology plus patience.
Quick safety note: rubber plants bleed a milky latex sap when cut. It can irritate skin and eyes, and many pets are sensitive to ficus plants if chewed. Keep cuttings and fallen leaves out of reach, wash hands after handling, and consider gloves if you have sensitive skin. If a pet ingests any part of the plant, contact your vet or a pet poison helpline.
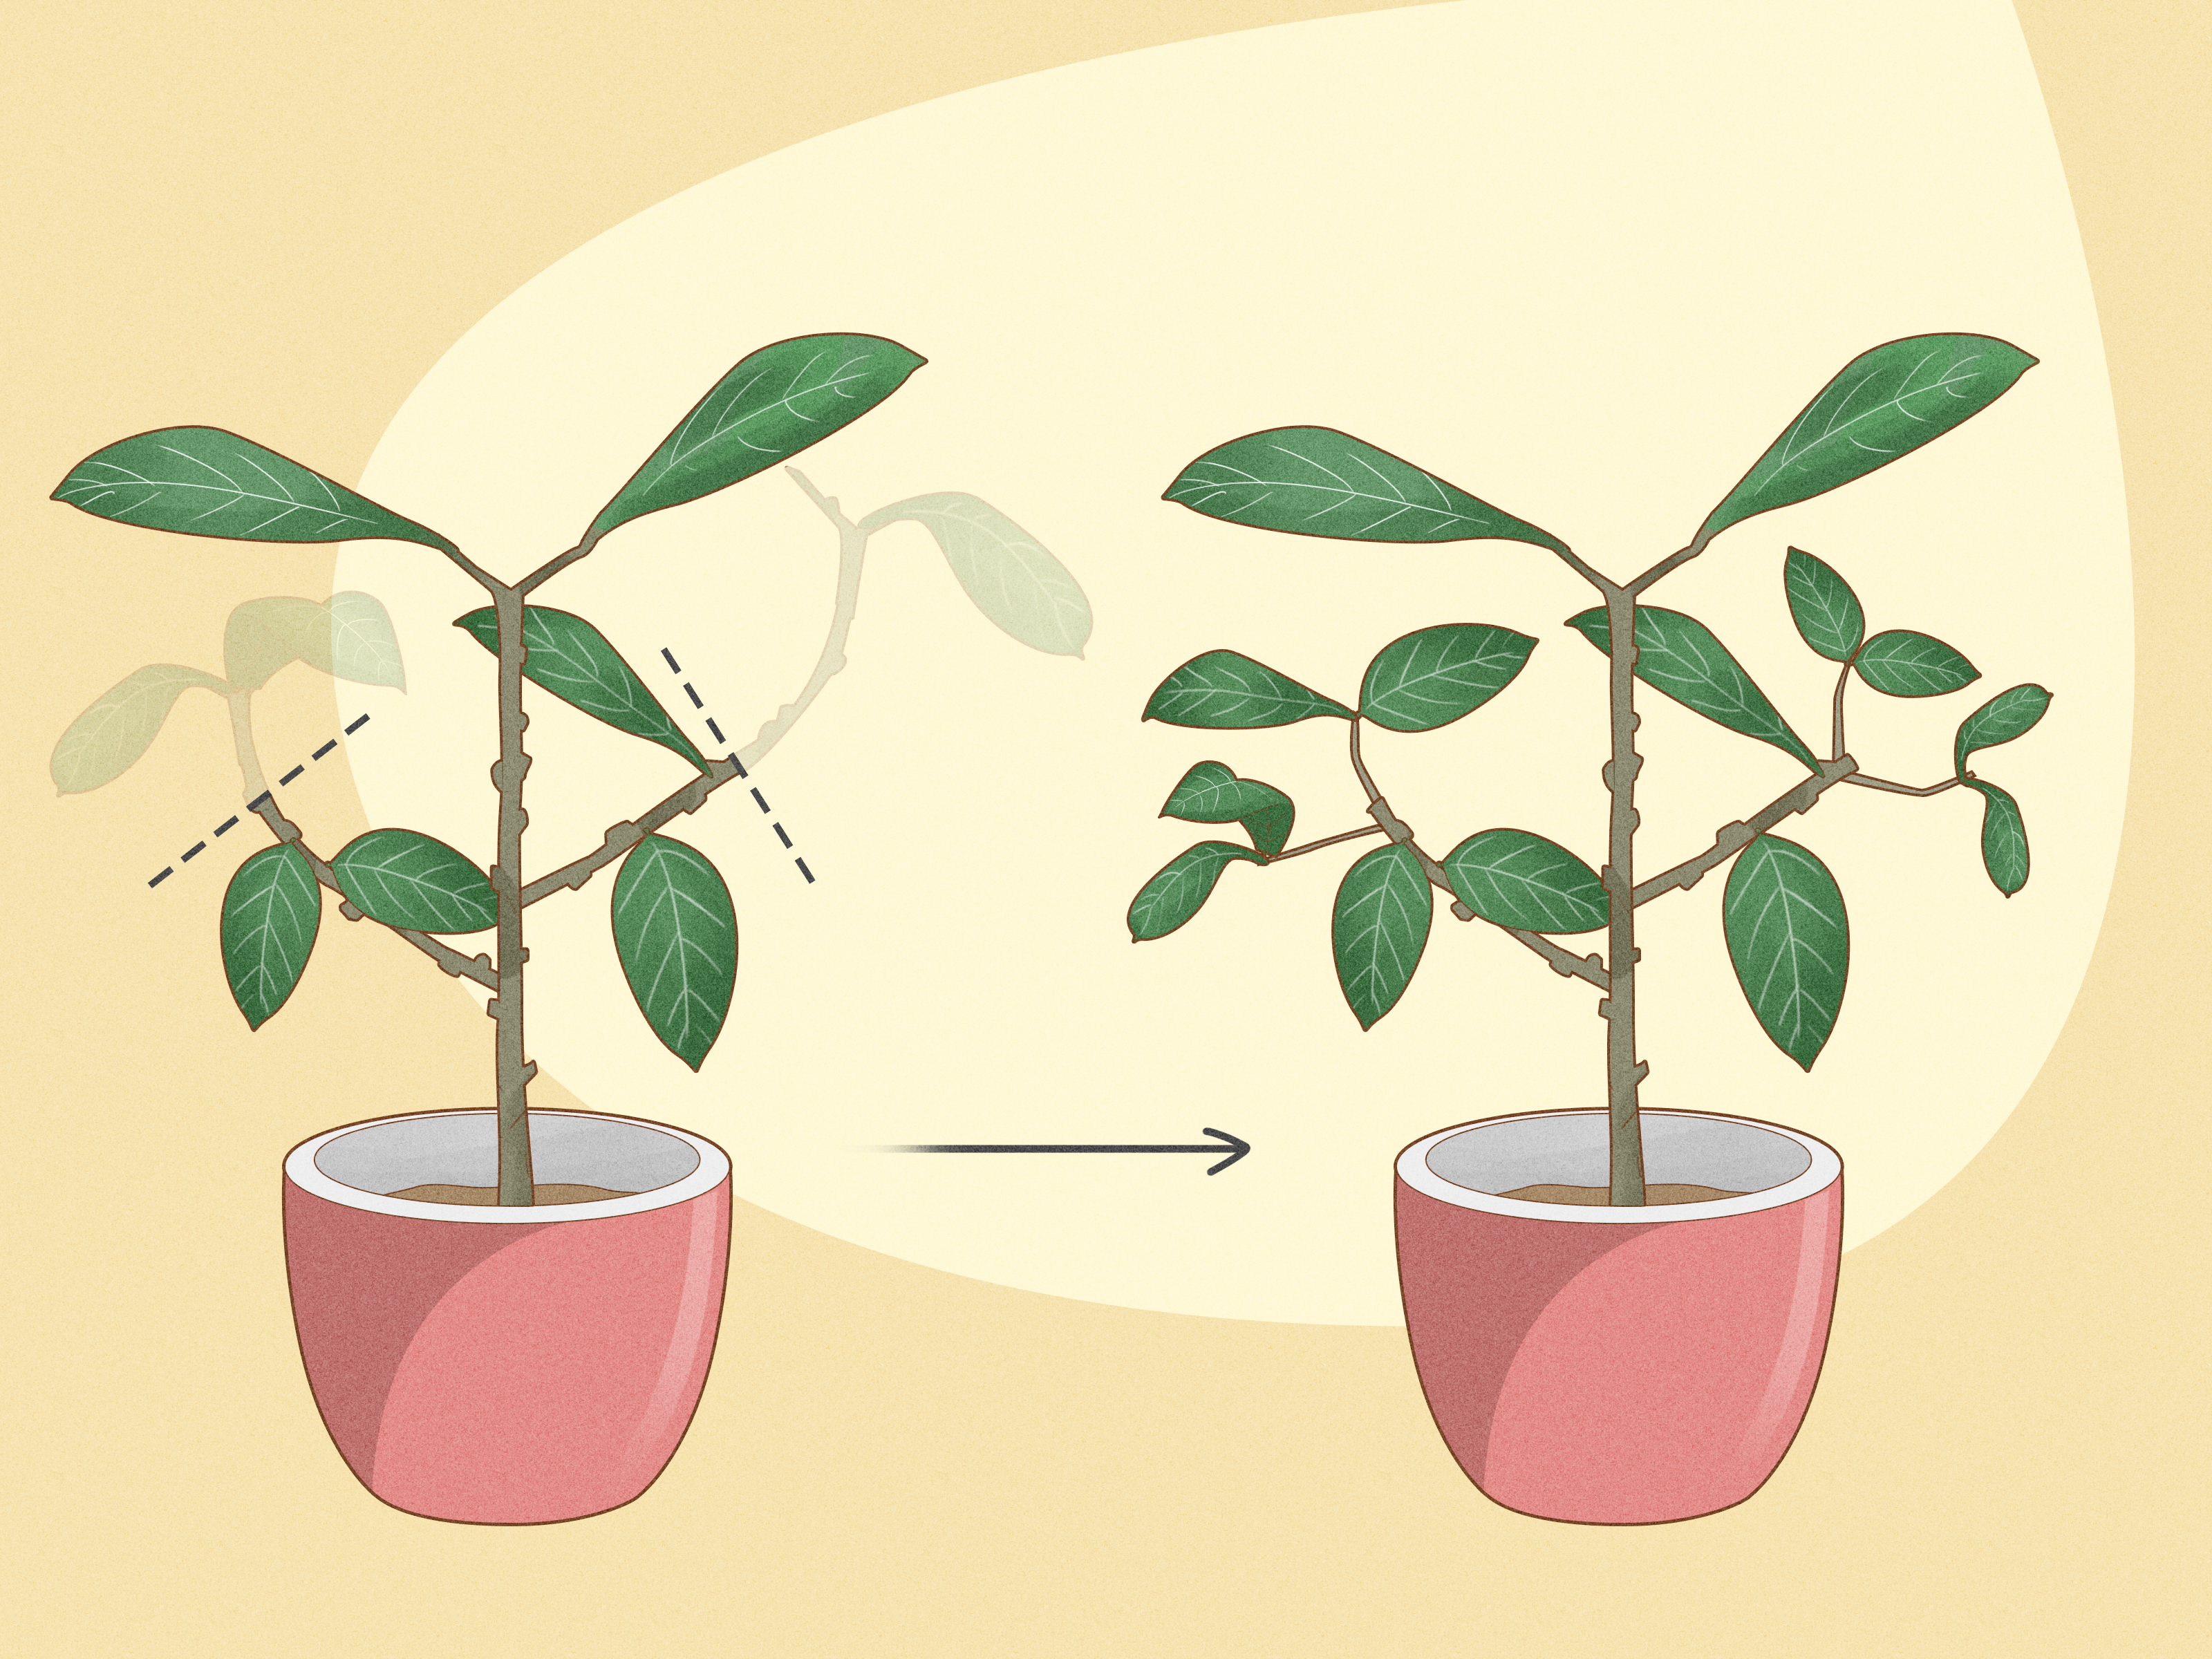
One more thing (the mother plant): taking a top cutting is also a mini makeover for the original plant. When you “head back” the top, the mother plant often responds by pushing new growth from lower nodes, which can help it branch out and look bushier over time.

When to propagate
Rubber plants root most reliably during active growth, which is usually spring through early summer. You can still try in other seasons, but rooting tends to be slower when days are short and indoor air is cool and dry.
- Best temperature range: about 70 to 80°F (21 to 27°C)
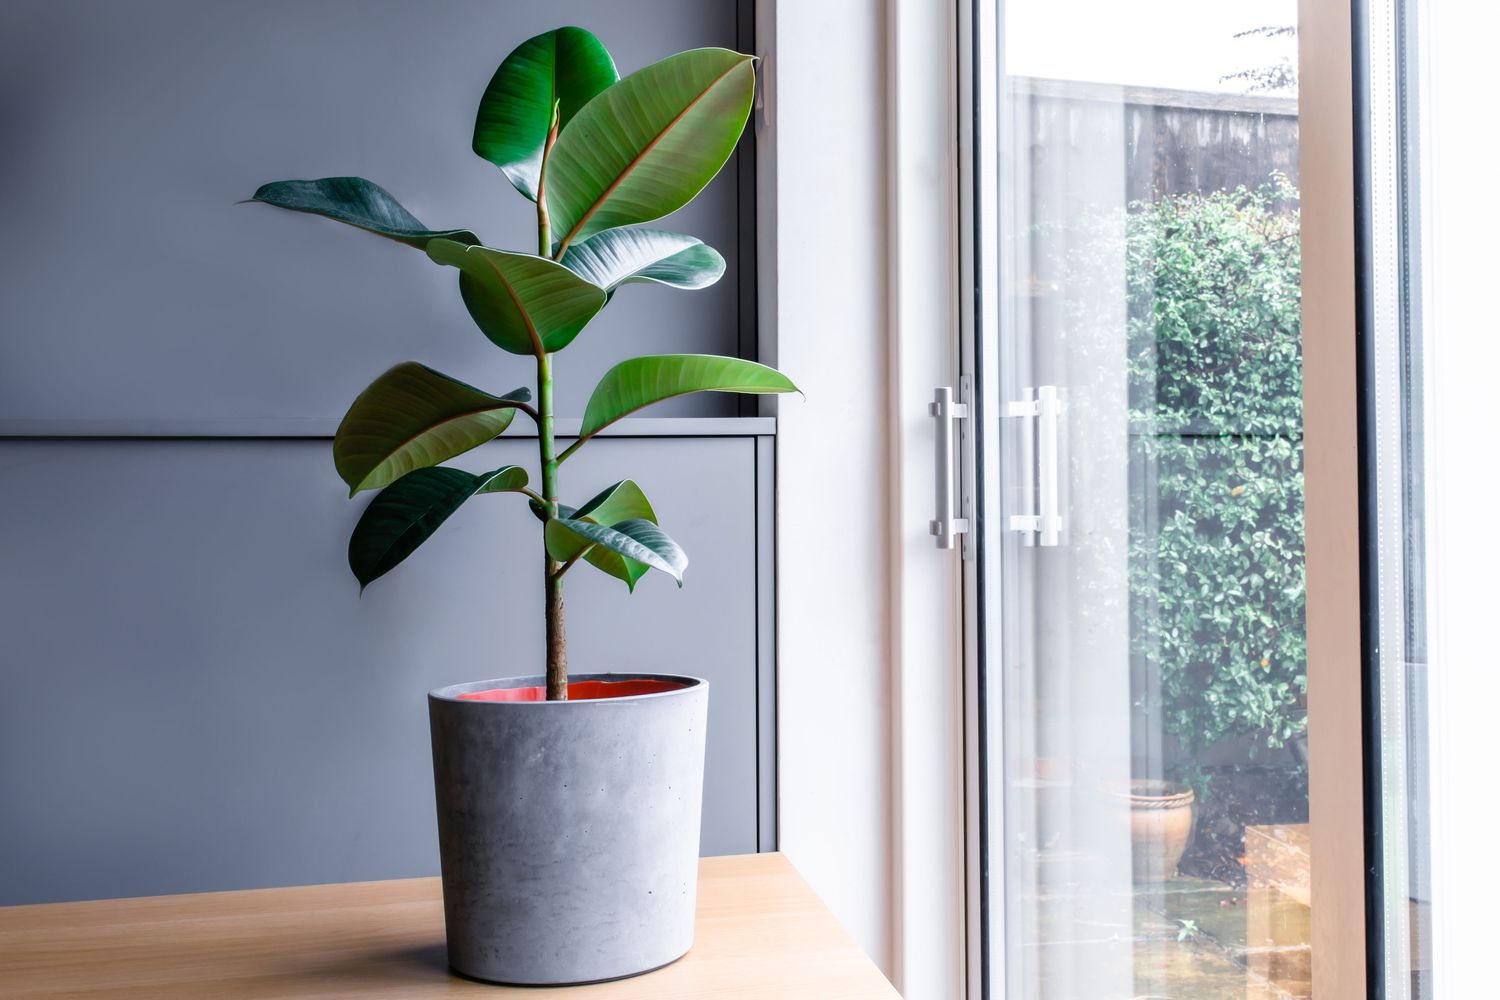
- Best light: bright, indirect light, like near an east window or a few feet back from a sunny south or west window
- Avoid: cold windowsills, heat vents, and harsh midday sun on fresh cuttings
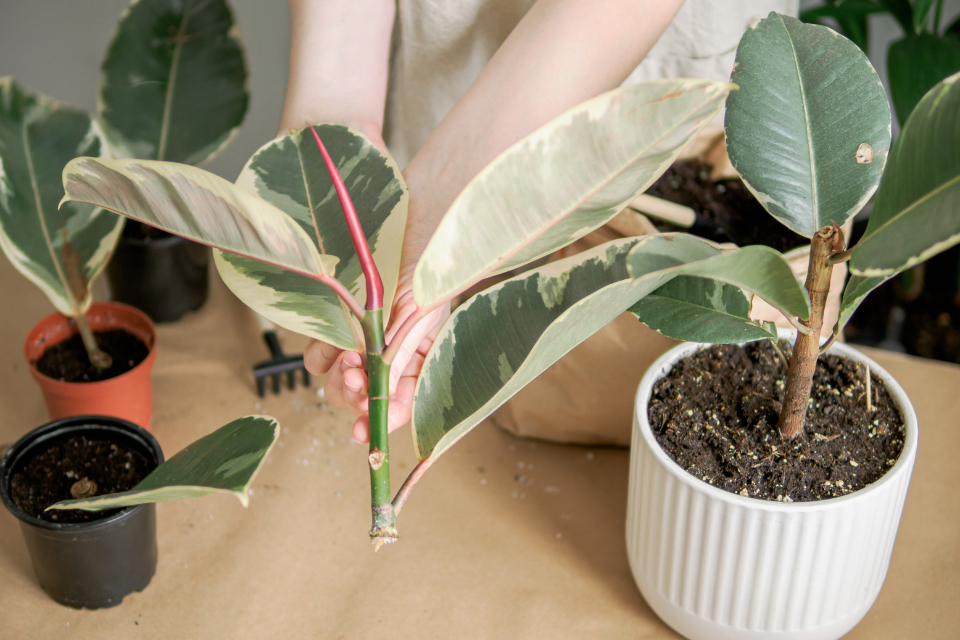
Pick the right stem cutting
A good cutting is the difference between quick success and weeks of staring at a stubborn stick. Look for a stem that is healthy, firm, and actively growing.
What to look for
- Length: 4 to 8 inches is ideal
- Nodes: at least 2 nodes (those little bumps or rings where leaves attach and roots can form)
- Leaves: 1 to 2 leaves is plenty. Too many leaves can dehydrate the cutting.
- Stem type: semi-woody or firm green growth, not very old, corky stems
Where to cut
Make your cut just below a node, because nodes contain active tissue where roots readily form. Use clean, sharp pruners. If you want extra insurance, wipe blades with rubbing alcohol first.
Latex sap precautions
When you cut a rubber plant, sap will ooze. That is normal. Here is how to handle it without drama:
- Protect skin: wear gloves if you are prone to irritation
- Stop the drip: dab the cut end with a damp paper towel, or rinse briefly under cool water
- Keep it tidy: sap can stain fabric and make tools sticky, so rinse pruners after
- Keep away from pets: place cuttings somewhere secure while they root
Some gardeners like to let the cutting sit for 15 to 30 minutes so the cut surface stops bleeding before rooting. You can do that, especially if the sap flow is heavy.
Water vs soil rooting
Both methods work. I choose based on my mood (and how much I want to monitor roots). Water rooting lets you watch roots form. Soil rooting often transitions to potting more smoothly, since the roots develop in a potting-style environment from day one.
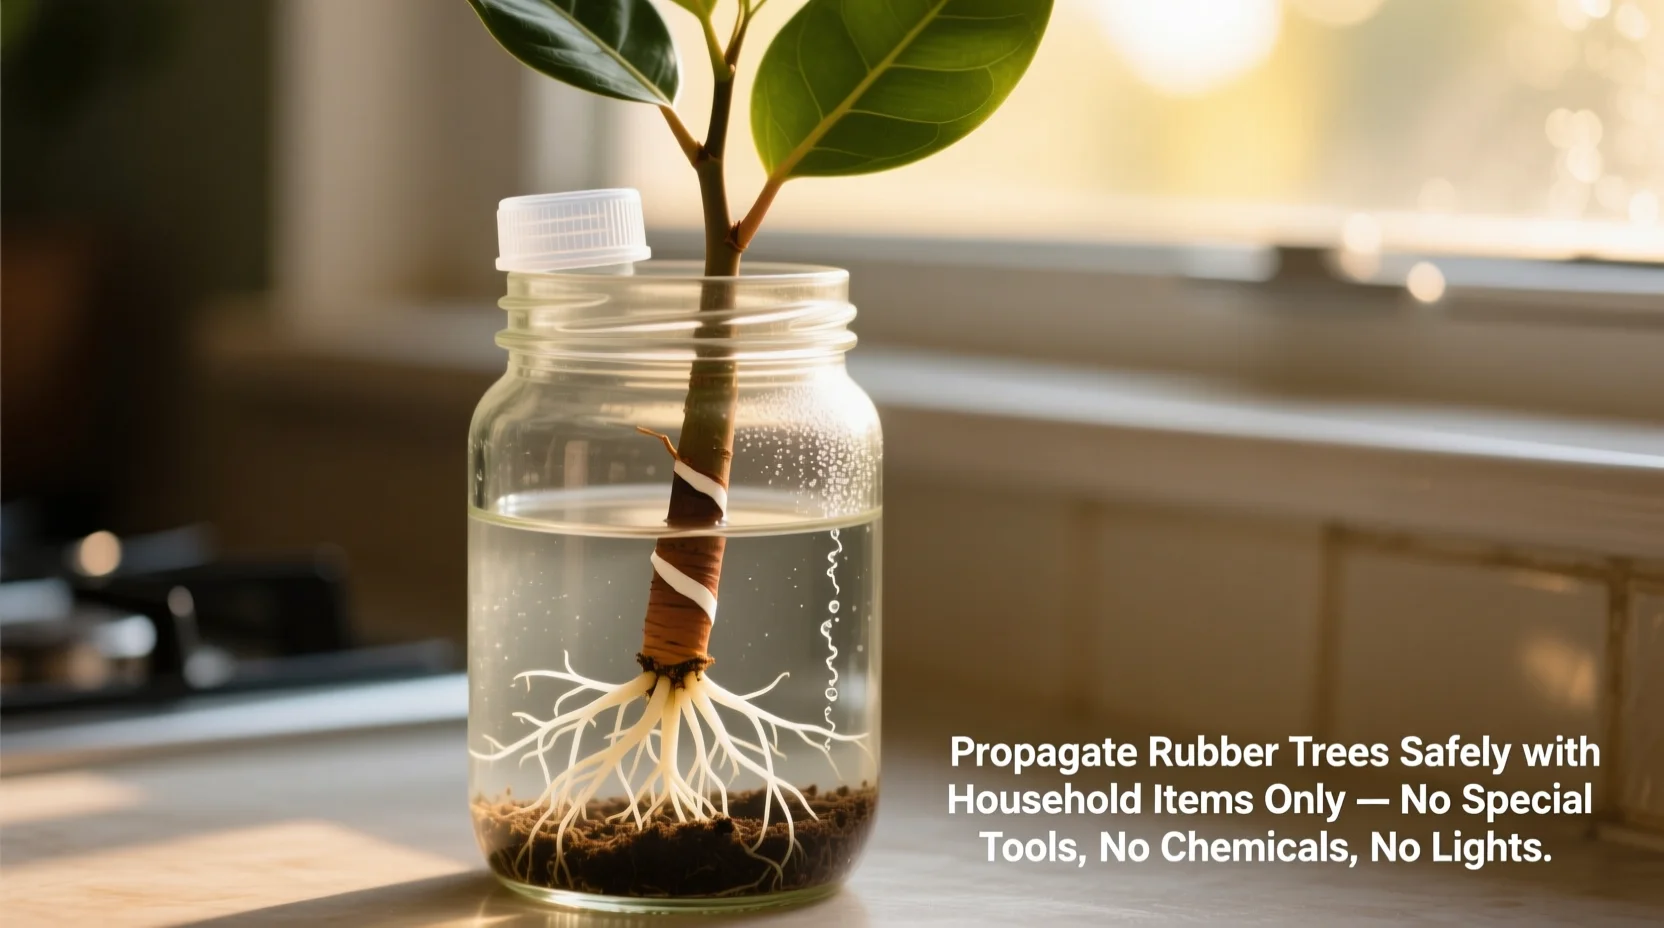
Rooting in water
This is the most satisfying method if you love checking progress.
- Step 1: Remove any leaf that would sit below the water line. Leaves should stay above water.
- Step 2: Place the cutting in a clean jar so at least one node is underwater.
- Step 3: Put the jar in bright, indirect light. Warmth helps.
- Step 4: Change the water every 5 to 7 days, or sooner if it looks cloudy.
What you will see: tiny nubs at the node, then slender white roots. If a leaf drops, do not panic. Focus on the stem staying firm and not turning mushy.
Rooting in soil
This method is my go-to when I want a cutting to settle in and reduce transplant shock later.
- Step 1: Remove the lower leaves so you have 1 to 2 bare nodes to bury.
- Step 2: Fill a small pot with a light, airy mix. A reliable blend is 2 parts potting mix + 1 part perlite or orchid bark.
- Step 3: Poke a hole with a pencil or chopstick to avoid scraping off any rooting hormone.
- Step 4: Insert the cutting so one to two nodes are buried. Firm the mix gently.
- Step 5: Water until evenly moist, then let excess drain.
- Step 6: Cover loosely with a clear plastic bag to boost humidity, keeping plastic off the leaves. Open it briefly once a day (or every couple of days) for fresh air to help prevent mold.
Moisture rule: keep the mix lightly moist, not wet. A soggy pot is the fastest route to rot.
Optional leaf tip: if your cutting has one very large leaf, you can snip the leaf in half horizontally to reduce moisture loss. It looks a little funny, but it can help a cutting focus on rooting.
Do you need rooting hormone?
No, but it can help. Rubber plants often root without it, yet a light dusting of rooting hormone can speed things up and reduce failure, especially if your home runs cool or you are propagating outside peak season.
How to use it
- After sap slows, dip the cut end into water, then into rooting hormone powder.
- Tap off excess. More is not better.
- Insert into a pre-made hole in soil, or skip hormone if rooting in water.
If you prefer a minimalist approach, you can skip hormone entirely and focus on warmth, stable moisture, and bright indirect light. Those three are the real secret.
Warmth and light
Cuttings root best when they are warm and well-lit, but not sunbaked.
- Light: bright, indirect light for 10 to 12 hours a day. If your home is dim, a grow light helps.
- Warmth: keep the cutting away from chilly glass and drafts. A seedling heat mat on low can be a game-changer for soil rooting.
- Humidity: moderate humidity helps, especially in winter heating season. A clear bag tent for soil cuttings is often enough.
Plan on 3 to 8 weeks for meaningful roots, depending on temperature, light, and the cutting’s vigor. Some root faster, some take their sweet time.
How to tell it rooted
The signs differ slightly depending on your method.
If rooting in water
- Roots are 2 to 4 inches long.
- You see branching or secondary roots.
- The stem stays firm and the leaf looks perky.
If rooting in soil
- You feel gentle resistance when you tug very lightly.
- A new leaf bud begins to swell or a new leaf emerges.
- The cutting stays upright and hydrated between waterings.
Be patient with soil-rooted cuttings. They often root quietly before they show obvious top growth.
Transplant and pot up
The goal is to transplant when roots are developed enough to support the plant, but not so long that they tangle into a stressed mess.
When to move from water to soil
Pot up when roots are 2 to 4 inches long and there are at least a few roots, not just one. Water roots are adapted to water, so the transition is gentler if you keep the soil slightly moist at first.
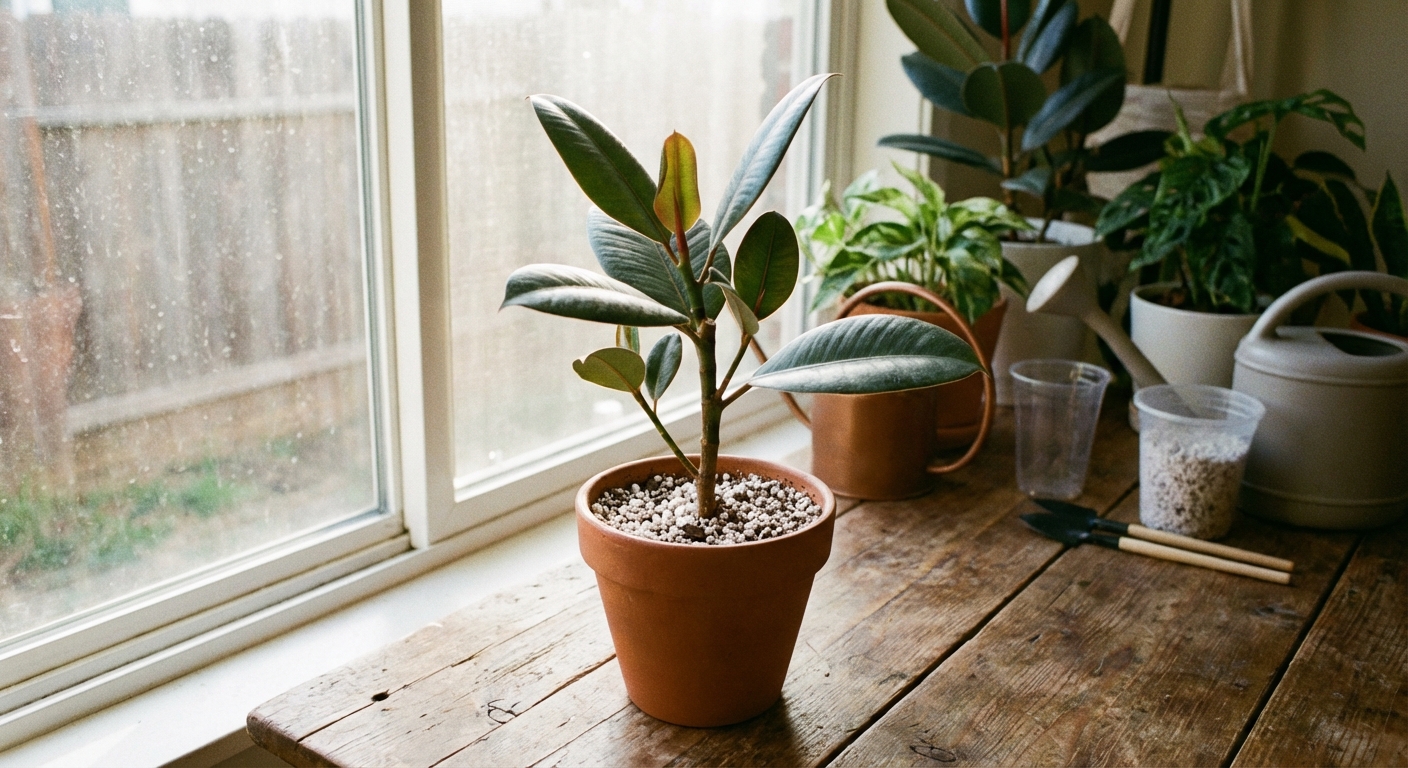
How to pot it up
- Choose a small pot: 4 to 6 inches wide with a drainage hole.
- Use an airy mix: potting soil with perlite or bark for drainage.
- Plant at the same depth: keep the rooted node just under the surface.
- Water in: water thoroughly, then let excess drain.
Aftercare (first month)
- Light: keep it in bright, indirect light while it adjusts.
- Water: for the first 1 to 2 weeks, keep soil evenly moist (not soggy). After that, let the top inch or two dry between waterings.
- Fertilizer: wait until you see clear new growth, then feed lightly during the growing season.
Care for the mother plant
Once you have taken your cutting, the original plant gets to start its comeback.
- Expect branching: after a top is removed, rubber plants often break apical dominance and push new shoots from one or more nodes below the cut. It can take a few weeks.
- Give it good conditions: bright, indirect light and steady watering (letting the top couple inches dry) help it rebound.
- Do not overwater: it will have fewer leaves for a bit, so it may use water more slowly.
If your plant is very tall and you want it fuller, you can repeat this over time: take a cutting, let the plant branch, then later take another cutting from a new branch. Slow and steady makes a beautifully shaped rubber plant.
Air layering (optional)
If your rubber plant is older with a thick, woody stem, or you want a larger, instantly impressive new plant, air layering is a great alternative. Instead of rooting a detached cutting, you encourage roots to form on the stem while it is still attached to the mother plant. Once it has roots, you cut below the rooted section and pot it up.
I am keeping this guide focused on stem cuttings, but if you have a tall, bare plant and want the best odds on a chunky stem, air layering is worth looking up next.
Troubleshooting
My cutting is turning black or mushy
- Cause is usually rot from cold, low light, or too much moisture.
- Trim back to healthy, firm tissue, refresh water or use fresh airy soil, and increase warmth and indirect light.
Leaves are drooping
- Some droop is normal as the cutting adjusts.
- Reduce leaf area by removing one leaf if there are several (or trim a large leaf), and maintain steady humidity and moisture.
No roots after a month
- Check temperature. Cool rooms slow rooting dramatically.
- Move to brighter indirect light or add a grow light.
- If in water, refresh the jar and water more frequently.
White crusty sap on the cut end
That is dried latex sap. It is not automatically a problem, but thick buildup can sometimes slow water uptake. If rooting stalls, rinse the end briefly and make a fresh, clean cut (a small slice is enough), then restart in fresh water or fresh mix.
A simple routine
If you want a no-overthinking plan, here is my favorite beginner-friendly approach:
- Take a 6 inch cutting with 1 to 2 leaves.
- Dab off sap and let it rest 15 minutes.
- Dip in rooting hormone (optional).
- Root in soil in a small pot with an airy mix.
- Bag it loosely for humidity, keep it warm, and give it bright indirect light.
- After 4 to 8 weeks, look for resistance and new growth, then gradually remove the bag.
And if it does not work the first time, you are not a black thumb. You are a gardener in training. Propagation is mostly repetition plus observation, and your rubber plant will give you plenty of chances to practice.