
Plumeria Care in Pots and Winter Storage

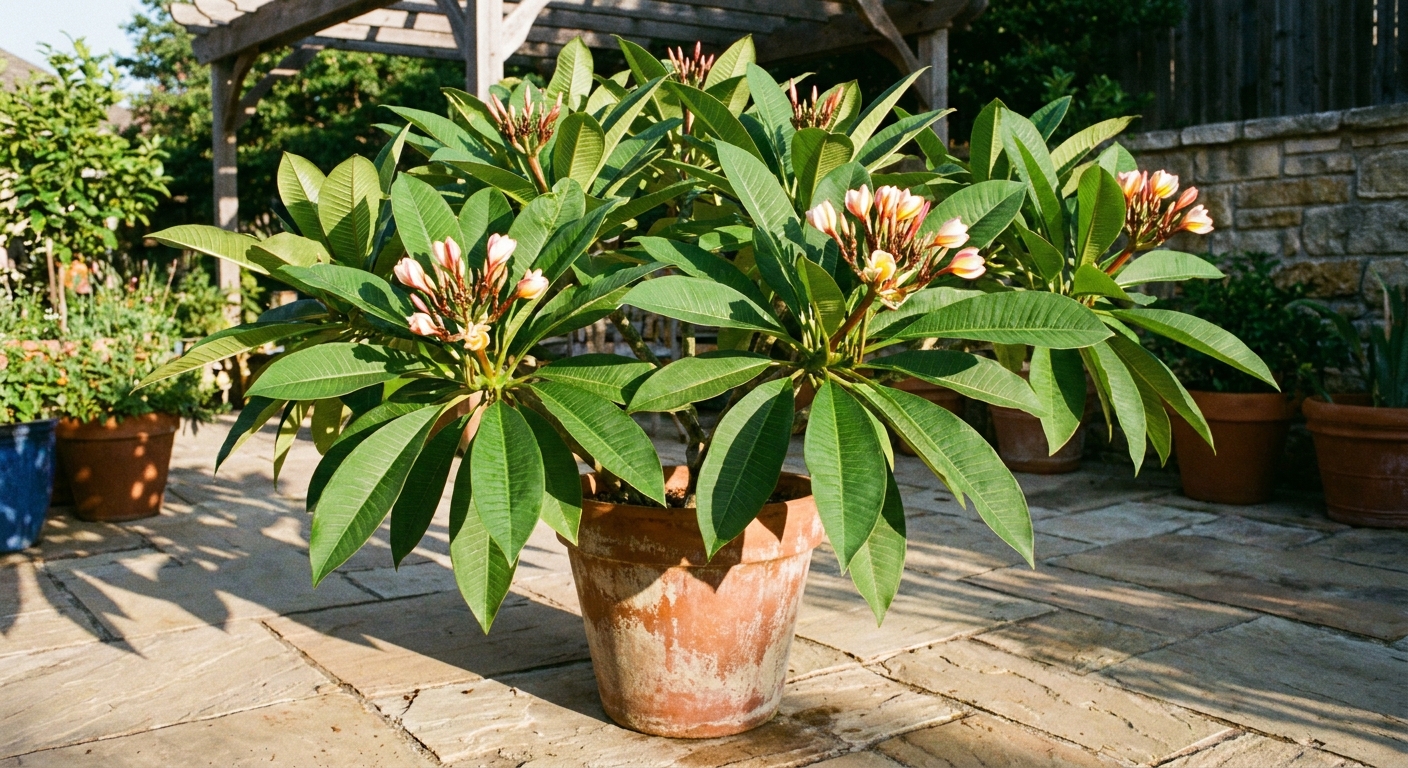
Plumeria is one of those plants that feels like bottled sunshine. One warm afternoon, it is a stick in a pot. A few weeks later, it is throwing glossy leaves and perfuming the whole patio with that dreamy frangipani scent.
If you garden anywhere that gets a real winter, containers are your secret weapon. You can give plumeria the heat and drainage it craves all summer, then tuck it safely away when temperatures drop. Let me walk you through the rhythms that keep potted plumeria happy, blooming, and rot-free.

Plumeria vs frangipani: same plant?
Most of the time, yes. Plumeria is the botanical genus (common in the US). Frangipani is a common name used widely in tropical regions. You will also see specific species like Plumeria rubra (deciduous types with showy flowers) and Plumeria obtusa (often more evergreen in true tropical climates).
The care in containers is essentially the same, with one big note: many plumeria grown in temperate climates go dormant in winter, dropping leaves. That is not a crisis. That is a strategy.
What plumeria needs in a pot
Sun: more than you think
For strong growth and reliable blooms, aim for 6 to 8+ hours of direct sun. Morning through late afternoon is ideal, unless you garden in extreme heat where a little late-day protection can prevent leaf scorch.
Warmth and airflow
Plumeria loves warmth, but it also appreciates airflow around the leaves and pot. Crowded corners can stay damp after watering, which nudges roots toward trouble.
A pot that fits the roots
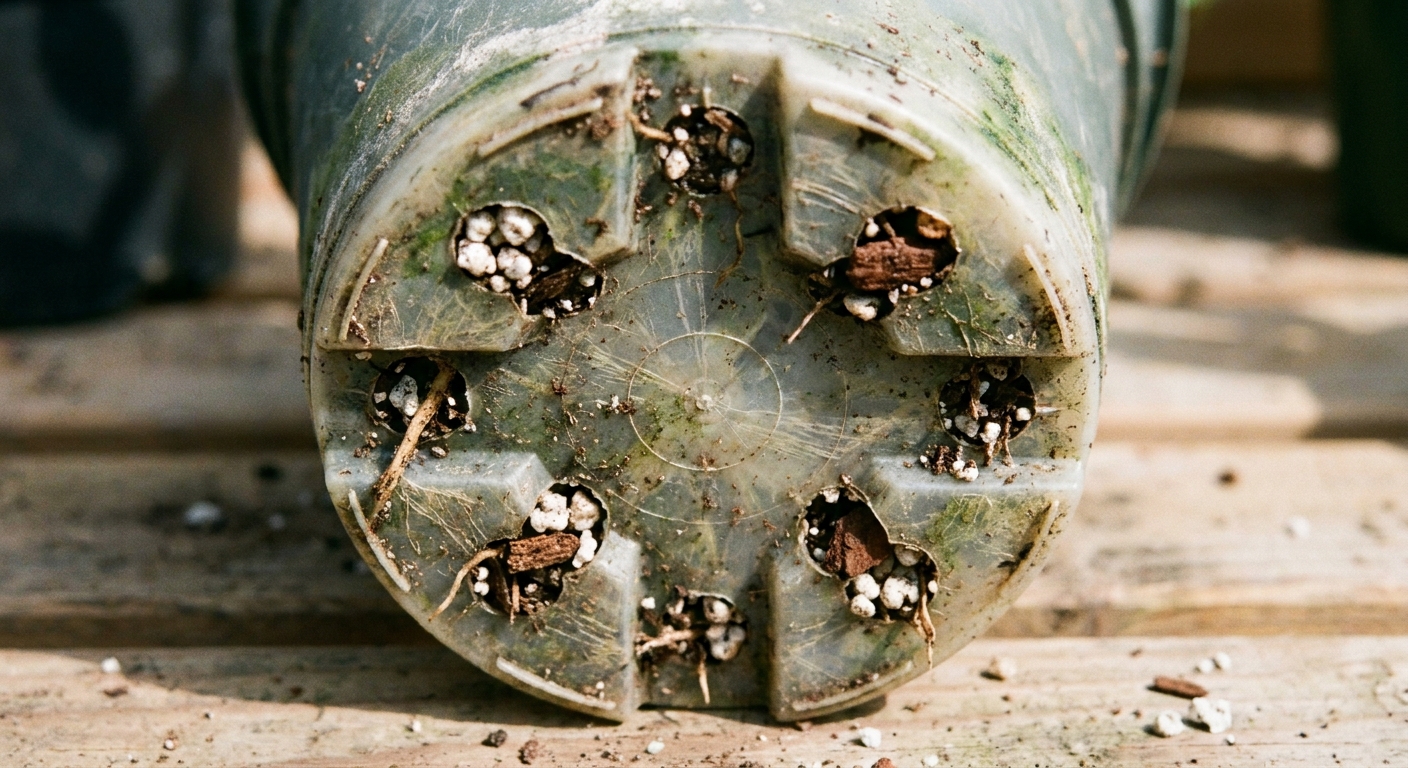
Choose a container with generous drainage holes. Plumeria generally prefers being slightly snug in its pot, not swimming in extra soil that stays wet. As a rule of thumb, size up only 2 to 4 inches wider than the root ball when repotting.
- Material: Terracotta breathes and helps the mix dry faster. Plastic holds moisture longer and can be fine if your mix is extra gritty.
- Stability: Taller varieties can get top-heavy. A wider pot or a heavier material prevents summer wind accidents.
Soil mix: fast draining matters
The most common killer of plumeria in containers is winter wetness, especially in cool conditions. Cold can be lethal too, but it is that chilly, damp combination that turns pots into rot factories.
A simple fast-draining mix
You can buy a cactus or succulent mix and improve it, or build your own. My easy, forgiving blend:
- 2 parts high-quality potting mix (peat-free if you can find it)
- 1 part perlite or pumice
- 1 part pine bark fines (or orchid bark, chopped a bit)
Optional, but helpful:
- A small handful of horticultural charcoal for freshness
- A light dusting of worm castings for gentle biology
Avoid heavy garden soil in containers. It compacts, drains poorly, and turns winter storage into a rot lottery.
Watering: the seasonal rhythm
If you remember one thing, make it this: plumeria watering is seasonal.
Spring wake-up
When nights reliably stay above about 50°F and you see new growth buds swelling, start watering again. Begin modestly, then increase as leaves expand.
- Water thoroughly until it runs out the drainage holes.
- Then wait until the mix is mostly dry before watering again.
Summer growth and bloom
In full sun and heat, potted plumeria can drink often. Many gardeners water every few days during heat waves, but always let the plant and pot tell you, not the calendar. Pot weight is a great cue. And if the top is dry but you suspect it is still wet lower down, check a little deeper with your finger or a moisture meter.
Fall slowdown
As days shorten, start reducing watering. This helps the plant transition toward dormancy and hardens growth for storage.
Winter dormancy
If your plumeria is dormant (leafless or mostly leafless), watering should be rare to none depending on your storage method. Dormant roots in cool conditions do not want moisture.
Rot warning signs: a soft, squishy trunk; dark, expanding patches; a sour smell in the potting mix. If you suspect rot, stop watering immediately and move to the rot triage steps in the overwintering section below.
Quick mantra: cool plus wet is the enemy.
Feeding for fragrant blooms
Plumeria are not delicate feeders, but in a pot they do need nutrients replenished. I like a steady, not frantic approach.
During active growth
- Use a balanced fertilizer or a slightly bloom-leaning formula (something like 5-10-10 or similar) every 2 to 4 weeks during the main growing season, following label rates. More phosphorus is not a magic bloom switch, but many gardeners find these formulas work well when light and heat are already strong. The bigger thing is avoiding excessive nitrogen.
- Or use a controlled-release fertilizer in spring for a simpler routine.
Micronutrients matter for container plants, but pale leaves can have multiple causes (nutrition, watering, root stress, and even pH lockout). If you see interveinal yellowing or persistent chlorosis, a supplement that includes magnesium and iron can help, especially if you water with hard tap water. When in doubt, fix the watering and check roots first.
Stop feeding in fall
As you reduce watering in fall, stop fertilizing too. Pushing tender growth right before winter storage makes the plant more vulnerable.
Pruning and shaping
Pruning plumeria is mostly about size control and branching. More tips can mean more future flower clusters, but there is no need to hack at it every year.
- Best timing: late winter to early spring, right before active growth resumes.
- How much: remove lanky, awkward branches and keep a balanced shape.
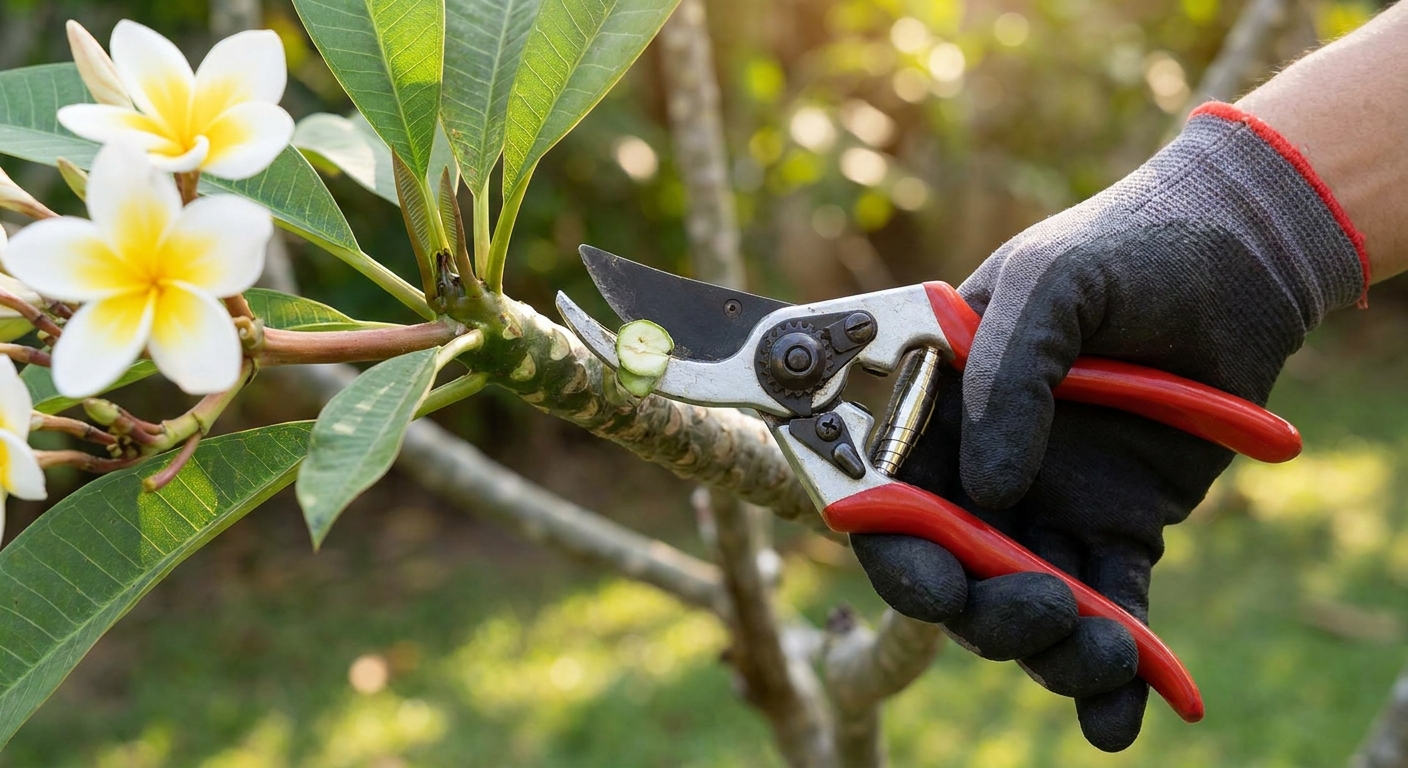
- Tool hygiene: use clean, sharp pruners. Wipe blades with alcohol between plants, or anytime disease is suspected.
Sap safety: plumeria has a milky latex sap that can irritate skin and eyes. Wear gloves when pruning or taking cuttings, avoid touching your face, and keep fresh cut pieces away from kids and pets.
Plumeria cuttings can be rooted, but let cut ends callus for at least several days to a week before potting into a very gritty mix. Wet soil plus fresh cuts is the rot recipe.
Overwintering in cold climates
If you live where frost happens, overwintering is the make-or-break skill. The goal is simple: keep it above freezing and keep it from staying wet.
If you are in a colder region (think roughly USDA zones 8 and below), plumeria is usually best treated as a patio plant that summers outside and winters indoors.
When to bring it in
Bring plumeria inside when nighttime temperatures begin dipping below about 50 to 55°F. Some types, including many obtusa-leaning plants, are more sensitive to chill stress, so earlier is often safer.
Option 1: Cool, dry dormancy
This is the easiest route if your plant naturally drops leaves.
- Let it dry down significantly in fall.
- After leaf drop, place it in a cool, dry area like an attached garage, basement, or utility room. Ideal range is roughly 50 to 60°F, but avoid freezing.
- Give bright light if you have it, but it is not required for a fully dormant, leafless plant.
- Do not water, or water very lightly once every 4 to 8 weeks only if the trunk begins to wrinkle noticeably.
Option 2: Bright indoor growing
If your plumeria stays leafy indoors, it is not fully dormant and it will want more support.
- Place in the brightest window you have, ideally south-facing.
- Consider a grow light if winter light is weak. Weak light plus indoor warmth often leads to leggy growth.
- Water sparingly, only when the mix is mostly dry.
- Skip fertilizer until spring.
Option 3: Bare-root storage
Some gardeners remove plumeria from the pot, shake off most soil, and store it dry. This can work, but it is easier to desiccate a plant or miss early rot. If you try this, make sure roots and any cut surfaces are fully dry and callused, keep the plant above freezing, and check it periodically. If you are new to plumeria, I recommend cool, dry dormancy in the pot first.

How to avoid winter rot
Winter rot is usually a combination of cool temperatures + wet mix + low airflow. Here is how to stack the odds in your favor.
Rot prevention checklist
- Use a gritty, fast-draining mix.
- Never let the pot sit in a saucer of water.
- Reduce water in fall before moving indoors.
- Store in a location that is cool and dry, not warm and damp.
- If the plant is dormant, treat water as a last resort.
If you find a soft spot
Act quickly. Plumeria can often be saved if rot has not traveled too far.
- Stop watering immediately.
- Unpot the plant and inspect roots. Trim away black, mushy roots with sterilized pruners.
- If trunk rot is present, cut back to firm, clean tissue. The cut surface should look pale and solid, not brown and watery.
- Allow cuts to dry and callus in a warm, airy place for several days.
- Repot into fresh, very fast-draining mix and keep dry until you see signs of recovery.
If rot keeps advancing even after cutting back to firm tissue, it may be too far gone. It happens. I have mourned plants too. The lesson is nearly always the same: winter moisture is sneakier than winter cold.
Indoor pests: spider mites and friends
When plumeria comes indoors, spider mites sometimes show up like uninvited guests who refuse to take the hint. They love dry indoor air and stressed plants. Mealybugs and scale can also hitch a ride, especially on stems and leaf joints.
How to check
- Look for fine webbing near leaf stems and undersides (spider mites).
- Check for stippling, tiny pale specks that make leaves look dusty or faded.
- Look for cottony clusters in joints (mealybugs) or small tan bumps that do not wipe away easily (scale).
- Do the white paper test: tap a leaf over paper, then look for tiny moving dots.
What to do
- Rinse the plant in the shower or with a strong spray on leaf undersides.
- Increase humidity nearby if possible, and keep the plant away from heat vents.
- Use insecticidal soap or horticultural oil if needed, following label directions, and repeat because pests have quick life cycles. For scale and mealybugs, wiping with cotton swabs dipped in alcohol can help on light infestations.

Spring transition
When the danger of cold nights has passed, it is time for the fun part.
- Harden off: move it into bright shade for a few days, then gradually increase sun exposure to prevent sunburn.
- Resume watering: start slowly, then increase as leaves emerge and expand.
- Refresh the top: scrape off the top inch or two of old mix and replace with fresh mix or compost, or repot if it is truly rootbound.
Be patient with bloom timing. Flowering depends on light, warmth, variety, and how mature the plant is. A happy, well-lit plumeria often rewards you when summer heat really settles in.
Quick troubleshooting
- Leaves turning yellow in summer: check watering habits first, then consider nutrients and root health. A pot that stays soggy can cause yellowing.
- No blooms: most often not enough direct sun, too much nitrogen, or a plant that is still young.
- Black tips or soft trunk: suspect rot and stop watering.
- Leaf drop in fall: normal for many types in temperate climates.
If you take anything from this page, let it be the plumeria mantra I mutter every autumn while carrying pots toward the garage: cool plus wet is the enemy. Keep it bright, keep it warm in summer, and keep it dry when it sleeps. The flowers will do the rest.