Orchid Ice-Cube Watering: Why It Is Risky and What to Do Instead
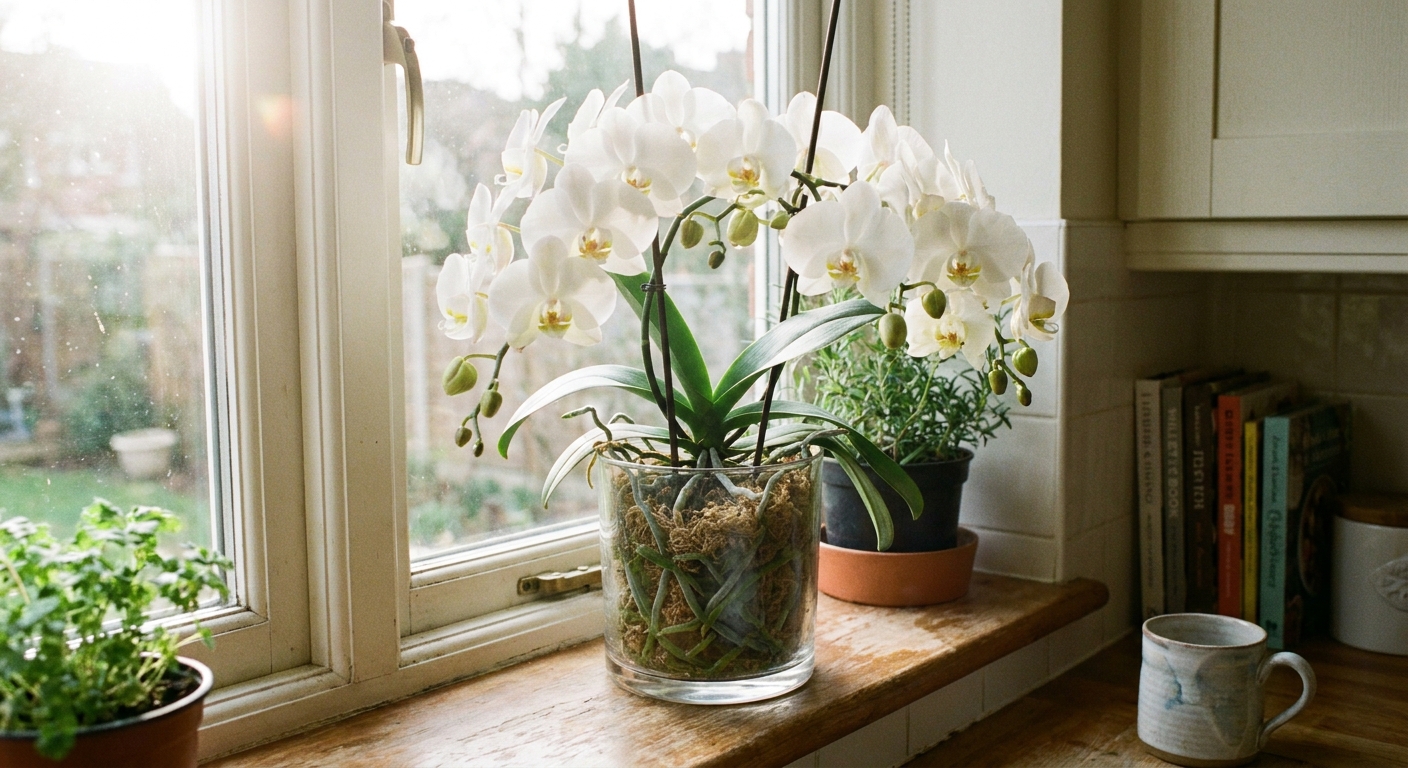
I get why the “just add three ice cubes” trick became popular. It feels tidy, measured, and almost impossible to mess up. But orchids are not sipping cocktails. Most common house orchids (especially Phalaenopsis, the grocery store kind) are tropical plants with roots that prefer gentle warmth, oxygen, and evenly distributed moisture.
The ice-cube method can work in very specific setups (usually a Phalaenopsis in a well-draining bark mix, in a particular pot size, in a stable indoor climate). The problem is that it does not generalize well. If your orchid is struggling, ice on the roots is one of those habits that looks harmless and can create slow, cumulative stress over time.

Why ice cubes can be risky
1) Cold exposure can stress roots
Orchid roots are living tissue designed for warm rain and humid air, not near-freezing meltwater. When ice sits directly against roots or near the crown, it may cause cold stress that slows root function and makes it harder for the plant to take up water and nutrients.
Even in a warm room, an ice cube creates a cold pocket in the pot. Think of it like pressing an ice pack against your skin. It does not have to freeze you to stress you.
- What you might notice: slower growth, limp leaves even though you “water,” buds dropping, roots that stop actively growing.
- What may be happening: the plant conserves energy, and delicate root tips can stall or die back.
Note: These symptoms are not exclusive to ice watering. They also show up with low light, underwatering, root rot, and temperature swings. That is why it helps to check the roots (see the quick troubleshooting note below).
2) Uneven wetting creates extremes
Orchids do best when the whole root zone gets watered thoroughly and then has a chance to breathe. Ice cubes tend to create one wet track where they melt, while other areas stay dry. That can lead to a frustrating cycle:
- some roots stay too dry and dehydrate
- other roots sit too wet and lose oxygen
- you respond by adding more ice, which repeats the problem
Orchid care is often less about “how much water” and more about airflow plus even moisture. Ice-cube watering is often inconsistent at both.
3) It can encourage shallow watering
A good watering usually flushes the potting media and wets the roots fully. Ice cubes deliver water slowly in small amounts, which can leave fertilizer salts and minerals building up over time. That buildup can burn root tips and cause leaf issues that look like mysterious “orchid drama.”
Bark vs moss
This is the part most ice-cube advice skips. The potting mix changes everything.
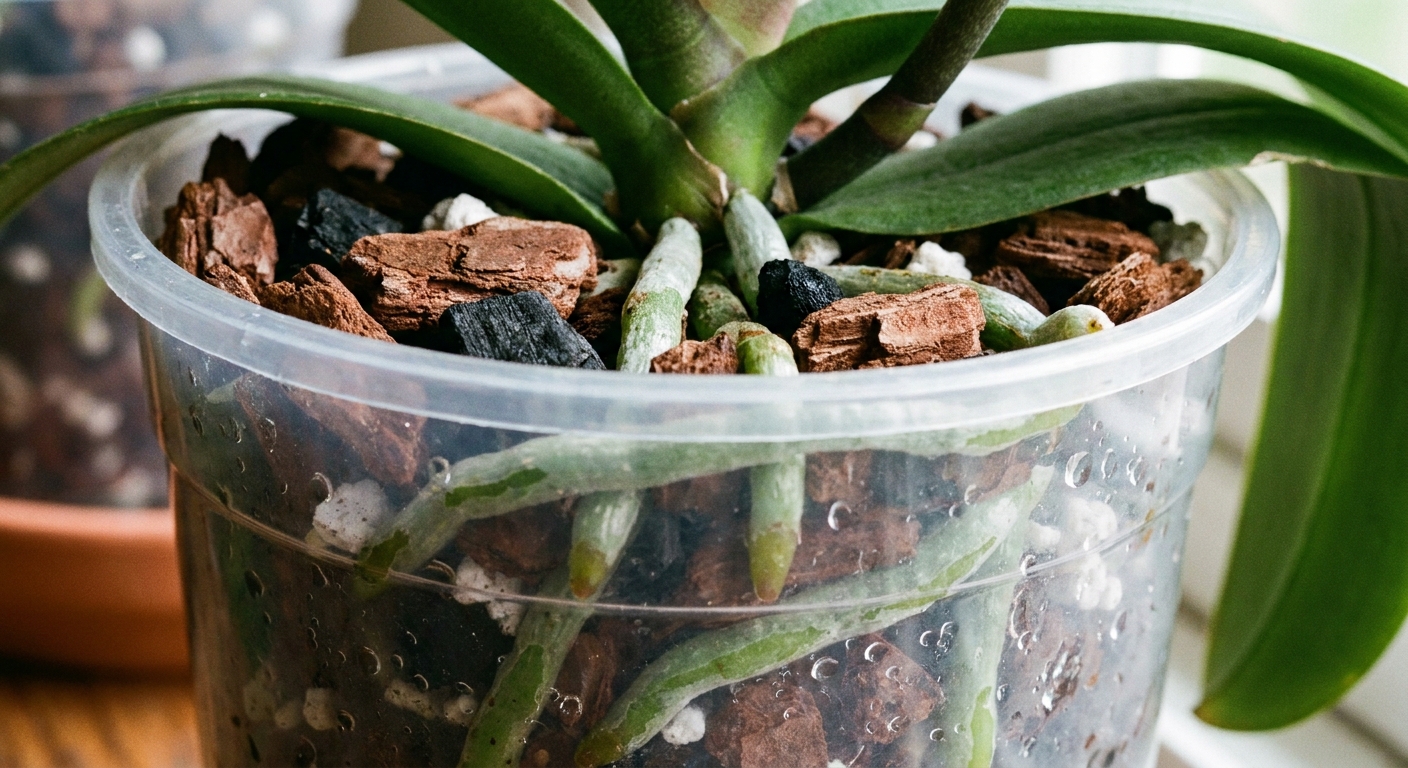
Bark mixes
Bark is chunky and airy. It is wonderful for oxygen, but it can be stubborn about rehydrating once it goes bone-dry. Ice melt often trickles through gaps and misses roots entirely.
- Common outcome with ice in bark: a few wet spots, lots of dry pockets, and roots that never get a real drink.
- Risk you see later: wrinkly leaves, stalled growth, crispy root sections.
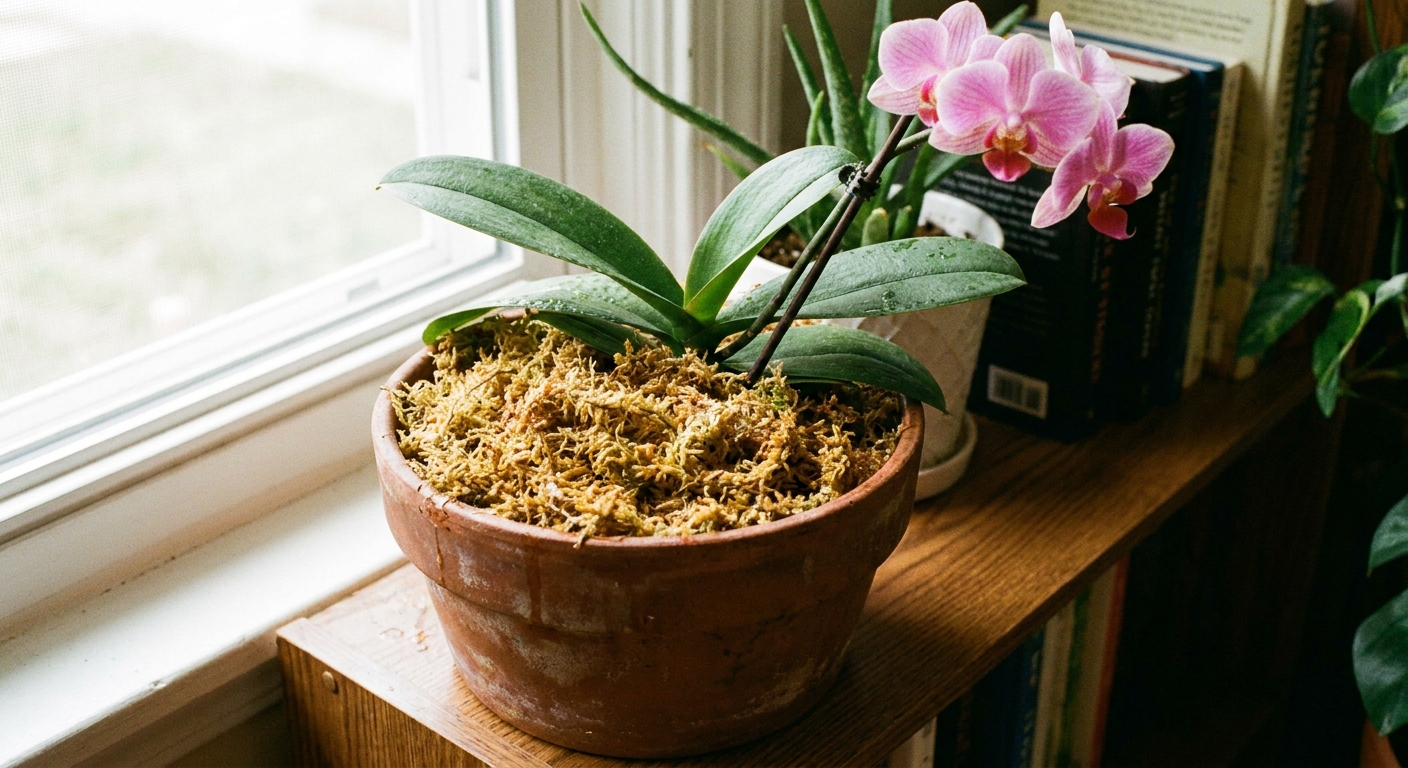
Moss mixes
Moss holds water like a sponge. That can be helpful in a dry home, but it also makes overwatering easier. Ice cubes melting on top can keep the upper moss constantly damp while the center stays compacted and airless.
- Common outcome with ice in moss: chronically wet areas and low oxygen around roots.
- Risk you see later: yellowing leaves, mushy roots, a plant that looks thirsty because the roots are rotting and cannot drink.
So bark tends to lean toward underwatering with ice. Moss tends to lean toward overwatering with ice. Either way, it is often uneven and unreliable.
If you are busy, do this instead
You can keep the “measured and easy” vibe without chilling your plant.
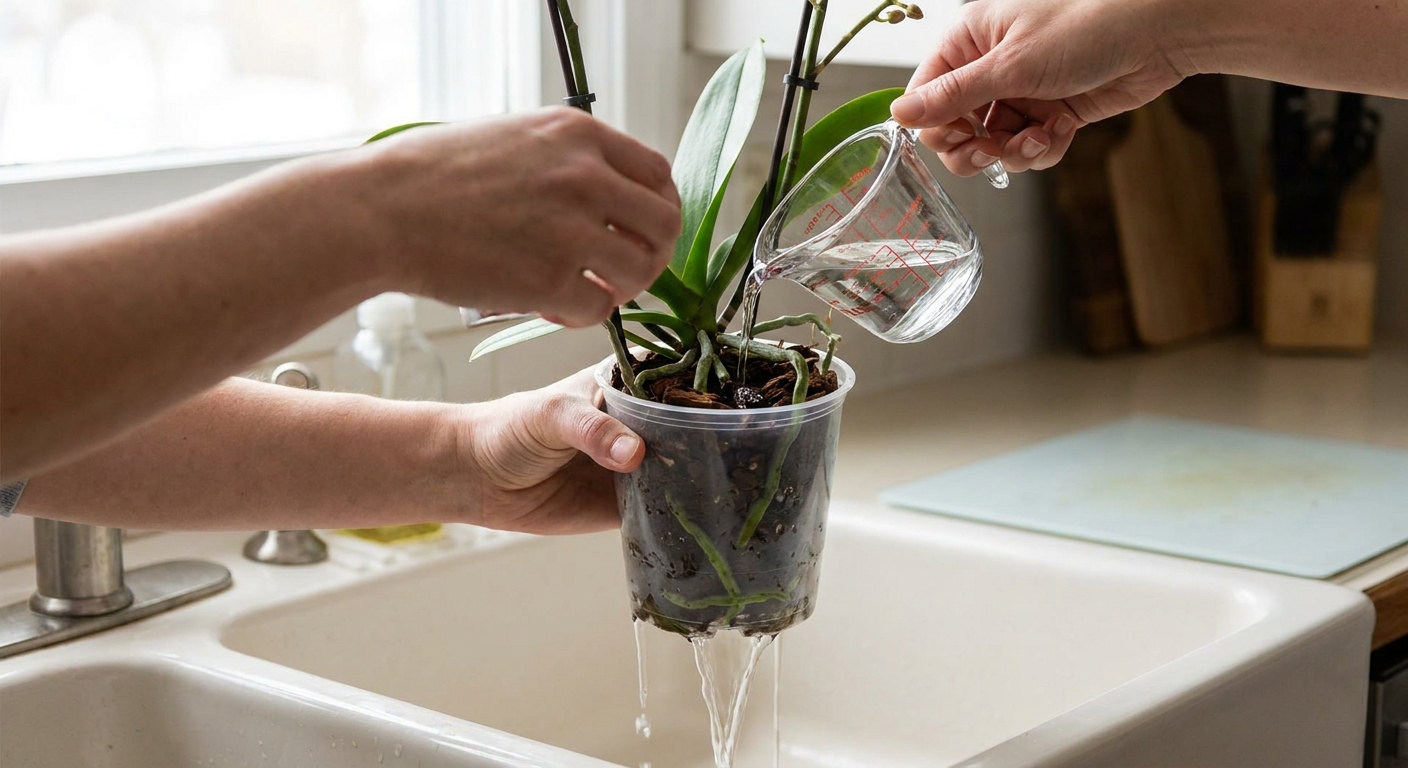
Option A: Measured pour
Use room-temperature water and a small measuring cup. Think of these as starting estimates, not a universal rule. Your media type, pot ventilation, light, and humidity will change the right amount.
- For a 4 to 5 inch pot: start with about 1/4 to 1/3 cup (60 to 80 ml).
- For a 6 inch pot: start with about 1/2 cup (120 ml).
Pour slowly over the media, circling the rim so the whole pot gets moisture. If water runs straight through immediately in bark, pause 30 seconds and pour a second small round.
If your orchid is in very airy bark and actively growing, you may do better watering to full saturation (until you see water run freely from the bottom), then letting it drain completely. The “measure” becomes your frequency check (root color, pot weight), not a tiny fixed dose.
Option B: Sink soak
When bark gets very dry, it can repel water. A short soak fixes that.
- Set the nursery pot in a bowl or sink with room-temperature water.
- Soak 10 to 15 minutes.
- Lift and let it drain thoroughly before putting it back in its decorative cachepot.
This method hydrates evenly and re-wets stubborn bark far better than ice usually can.
Option C: One-bottle routine
If your schedule is chaotic, pre-fill a bottle or jug with water and keep it near the plant. Use the same measuring cup every time. Consistency beats perfection.
A simple routine
This is a no-fuss routine I use when I want results without guesswork. It matches the core idea from solid orchid-care guidance: water based on the plant and the potting media, not the calendar.
Step 1: Check first
- Clear pot: look at roots. Green usually means hydrated. Silvery often means it is time.
- Any pot: lift it. A dry orchid pot feels surprisingly light.
- Touch test: insert a finger about 1 inch into the media. If it feels cool and damp, wait.
Step 2: Water evenly
Use the measured pour or soak method above. Adjust next time based on how long the pot stays damp in your home. If it dries too fast, increase slightly or switch to a soak. If it stays wet too long, reduce the amount and improve airflow and drainage.
Step 3: Keep water out of the crown
Try not to pour water into the crown (the leaf center where new leaves emerge). If water pools there, blot it out with a paper towel. This small habit can reduce the risk of crown rot.
Step 4: Always let it drain
Orchids hate wet feet. Never let the nursery pot sit in standing water inside a decorative pot. Drainage is not optional, it is root insurance.
Step 5: Flush salts regularly
About once a month, take the pot to the sink and run room-temperature water through generously. A simple rule: flush at least a few pot-volumes so water runs freely and thoroughly out the bottom. If you fertilize often or have hard water, flush more heavily or a bit more often.
Quick troubleshooting
If you are not sure whether your orchid is “thirsty” or “too wet,” check the roots and media.
- Dehydration clues: silvery roots that stay thin and dry, wrinkly leaves, media that dries very fast.
- Rot clues: roots that are brown or black and mushy, a sour smell, media that stays wet for many days.
When ice is most likely to backfire
- Newly repotted orchids that need stable conditions to grow fresh roots
- Orchids in moss or any mix that already stays wet for a long time
- Cool homes in winter, especially cold windowsills at night
- Plants with existing root stress (limp leaves, black roots, sour media smell)
- Any orchid where water collects in the crown, which raises crown-rot risk
Myth: “Ice is the perfect amount”
It is true that orchids like a consistent routine. But ice is not actually consistent in the way your plant needs. The real “right amount” depends on:
- pot size
- pot ventilation and material
- bark vs moss (and how old that media is)
- temperature, light, and humidity in your home
- how actively your orchid is growing
Three ice cubes can be too little for bark in a dry home and too much for tight moss in a cool room. Measuring room-temperature water gives you the same simplicity with fewer downsides.
Water quality matters too
If you are fighting salt buildup, your water may be part of the story. Hard water and frequent fertilizing can leave minerals behind in the pot.
- If your tap water is very hard, consider filtered water, rainwater, or distilled water (especially for sensitive orchids).
- If you fertilize regularly, use a lighter dose and flush more thoroughly on your flush day.
Switching from ice
No guilt here. Gardening is a long series of “oh, that is why” moments.
- Switch to room-temperature water immediately.
- Check roots through the pot if you can. Avoid unnecessary disturbance if the plant seems stable.
- Reassess the media. If moss is packed, sour-smelling, or staying wet for a week, repotting may be the kindest move.
- Repot timing: It is often easiest to repot when the plant is not in bloom, but if the media is breaking down or roots are rotting, repotting is worth doing even if flowers are present. Roots come first.
- Commit to a check routine (root color, pot weight, media feel) instead of watering by day-of-week.
References
If you want deeper reading from established orchid organizations, these are solid starting points:
- American Orchid Society (AOS), beginner culture sheets and Phalaenopsis care guidance
- University extension resources on indoor orchid care and watering practices
The calm takeaway
Ice-cube watering is popular because it feels controlled. But orchids want warmth, oxygen, and even moisture, and ice can work against those goals depending on your pot and media.
If you are busy, keep it simple: use room-temperature water, water evenly, let the pot drain, and adjust based on what the roots and media are telling you. Your orchid will respond with stronger roots, steadier leaves, and blooms that feel like a small miracle you actually earned.