Orchid Fertilizer Schedule
Orchid fertilizer does not have to be mysterious. The trick is to feed lightly, on a steady rhythm , and match your schedule to what your orchid is actually doing: growing roots and leaves, setting spikes, blooming, or resting. If you have ever heard “weekly, weakly” and wondered what that even means in real life, you are in the right place.
I am going to give you a simple year-round plan that works for most home conditions, then show you how to tweak it for common types like Phalaenopsis and Cattleya. You will also learn how to dilute fertilizer correctly, when to ease off during rest periods, how to spot over-fertilizing early, and when to flush the potting mix so roots stay crisp and healthy.

The simple rule that works
For most epiphytic orchids grown indoors in bark or moss, a safe, effective baseline is:
- During active growth: fertilize every 2 weeks at a low dose.
- During slower growth or rest: fertilize once a month or pause entirely.
- Flush salts: rinse the potting mix with plain water monthly if you fertilize regularly.
Why this works: orchids are not heavy feeders like tomatoes. Their roots are built to grab small doses often, then breathe. Too much fertilizer, too strong, too often is one of the fastest routes to burned root tips and limp leaves.
Quick definition: “1/4 strength” means 25% of the label rate (whatever the brand calls its normal dilution).
Choose the right fertilizer
What to buy
You have a few solid options, and none need to be fancy:
- A balanced orchid fertilizer such as 20-20-20 or 13-13-13 for general use.
- A “bloom booster” is optional. In most home setups, consistent balanced feeding beats switching formulas constantly.
- MSU-type fertilizer (often labeled for RO or rainwater) is excellent if you use reverse osmosis, distilled, or very soft water.
Urea-free or not?
If you can choose, urea-free is often recommended, especially in bark, inert media, or cooler conditions. Urea typically needs microbial conversion to become plant-available, and potted media can vary in how reliably that happens. That said, many growers use urea successfully, particularly with warm conditions and regular watering that keeps nutrients moving.
Water quality and Ca and Mg
Water quality quietly changes how fertilizer behaves. If you use RO, distilled, or rainwater, choose a formula that includes calcium and magnesium (many MSU-style blends do), or add a light Cal-Mag supplement occasionally per label directions. If you have hard water, you may already be getting some Ca and Mg, but you will want to be more diligent about flushing to prevent buildup.
How to dilute without guesswork
Most fertilizer labels are written for outdoor plants or fast-growing houseplants and can be too strong for many orchids in bark or moss. Treat the label as a maximum, then start gentler and adjust based on results. (Some orchids, like Cymbidium and many terrestrials, can take more, but you can still start low and work up.)
An easy dilution method
- Liquid concentrate: mix at 1/4 strength of the label’s general rate (or its “regular feeding” rate, if that is the only option).
- Powder: start with 1/4 teaspoon per gallon for many common blends, then adjust. This is brand-dependent, so think of it as a starting point, not a universal rule.
If you want a more technical target, many orchid growers aim for roughly 50 to 100 ppm nitrogen during active growth, adjusting by genus, light levels, temperature, and how often they water. You do not need a meter to do well at home. A low dose on a steady rhythm, plus regular flushing, takes you far.
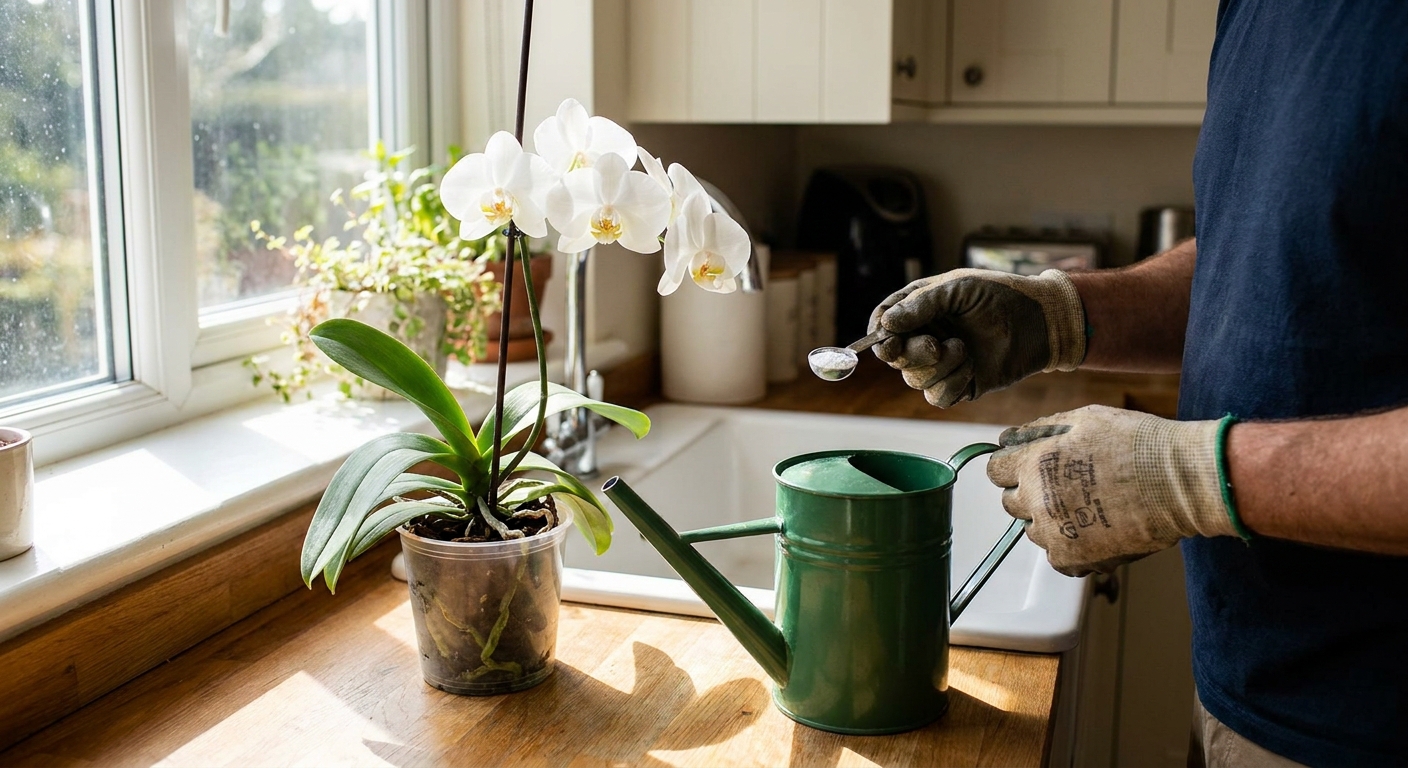
Water first, then fertilize
Never pour fertilizer solution onto bone-dry roots or dry bark. First, run plain water through the pot to pre-moisten the mix, then water again with your diluted fertilizer. This reduces root burn and helps nutrients spread evenly.
Mix and measure safely
- Use a dedicated measuring spoon (do not borrow from the kitchen drawer).
- Add fertilizer to water, not water to fertilizer, so it dissolves evenly.
- Do not mix stronger “to compensate” if you missed a week. Just resume your normal gentle schedule.
Feeding by orchid type
Your orchid’s background matters. Some types grow steadily all year indoors, while others prefer a clear rest period where fertilizer should be reduced or stopped.
Phalaenopsis (moth orchid)
- Growth pattern: often steady indoors, with a slow-down in winter.
- Active growth feeding: every 2 weeks at 1/4 strength.
- When in spike and bloom: continue the same light schedule, or drop to monthly if growth pauses.
- Rest: not a hard rest, but if you see no new roots or leaf growth for weeks, reduce feeding.
Phals love consistency. If you give them bright, indirect light and regular watering, light fertilizer supports larger leaves and stronger roots, which translates to better blooming later.
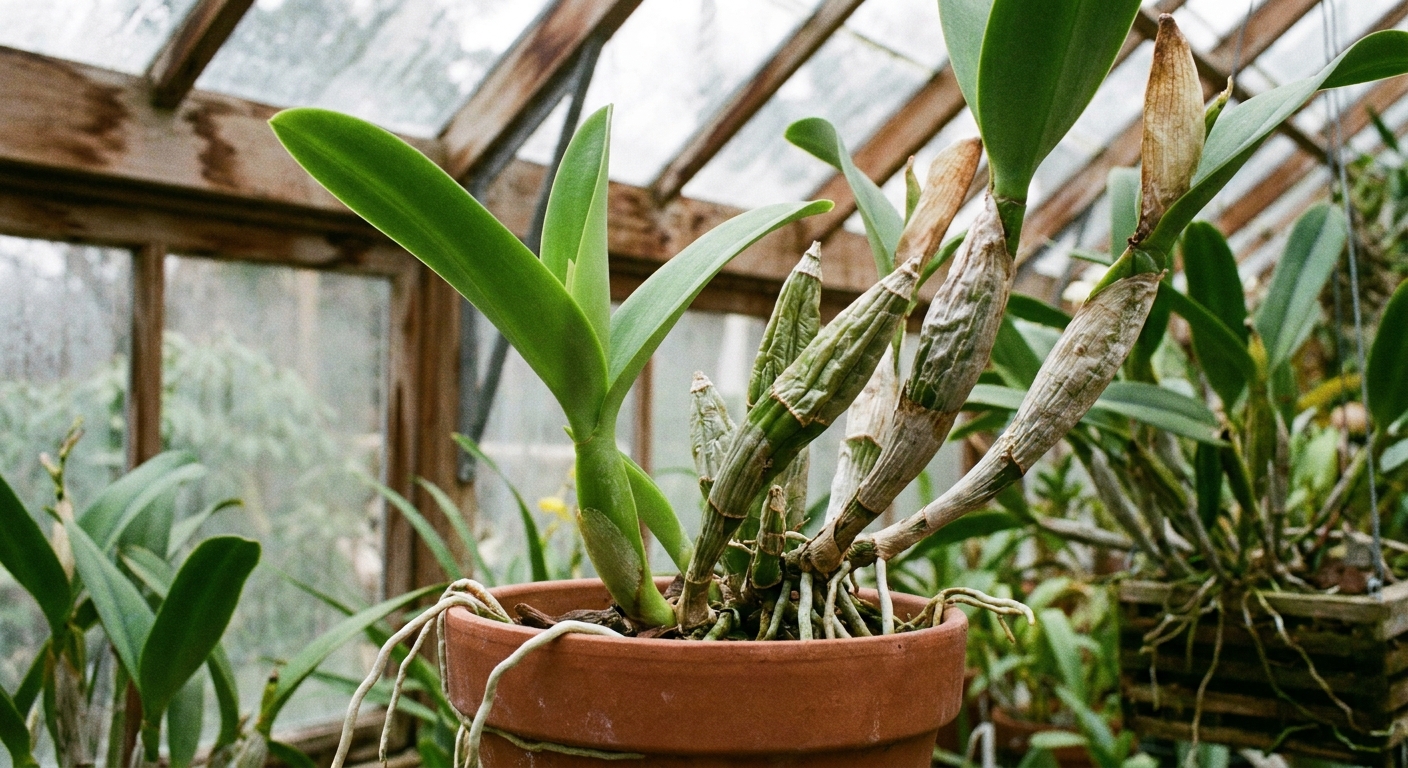
Cattleya
- Growth pattern: strong growth spurts when new pseudobulbs are developing.
- Active growth feeding: every 1 to 2 weeks at 1/4 strength while new growth and roots are moving.
- When growth hardens: reduce to monthly.
- Rest: many Cattleyas appreciate a lighter winter, especially if light levels drop.
Watch the new growth. When it is expanding and pushing roots, it is hungry. When the pseudobulb firms up and growth pauses, back off.
Oncidium alliance (dancing lady types)
- Growth pattern: can be fairly constant, but sensitive to salts.
- Active growth feeding: every 2 weeks at 1/4 strength.
- Flush: do not skip flushing. Salt buildup shows up quickly as crispy tips.
- Rest: reduce to monthly if the plant slows down after blooming.
Dendrobium (two common groups)
Dendrobiums are where “by type” really matters. If you are not sure which you have, look up the tag name or compare canes and leaf habits.
Evergreen Dendrobium (Phalaenopsis-type)
- Active growth feeding: every 2 weeks at 1/4 strength.
- Winter: often keep light feeding monthly if still growing.
Nobile-type Dendrobium (deciduous, needs a rest)
- Active growth feeding: every 1 to 2 weeks during spring and summer growth.
- Rest period (often fall into winter): stop fertilizer and reduce watering when canes mature, especially if nights are cooler.
This rest is not about being strict. It is about encouraging blooms instead of a bunch of leafy growth.
Cymbidium (often grown cooler and brighter)
- Growth pattern: can handle more fertilizer than many epiphytes, especially in bright light with frequent watering.
- Active growth feeding: every 1 to 2 weeks in spring and summer.
- Late summer into fall: keep light feeding as spikes initiate.
- Winter: monthly or pause if growth slows and conditions are cool.
Feeding during bloom
Blooming orchids still use nutrients, but fertilizer is not a switch that forces flowers. The goal during bloom is simple: keep the plant steady.
- If the plant is still making roots or leaves, keep your normal low-dose schedule.
- If growth pauses, drop to monthly or pause, especially in darker winter conditions.
- Avoid big changes. Sudden increases often stress roots more than they help blooms.
What to avoid during rest
Rest is the orchid version of taking a breath. It is not always leaf drop and drama, but it often means slower root activity. Fertilizer salts can linger longer in the pot, and that is when trouble starts.
- Avoid full-strength feeding any time growth is slow.
- Avoid fertilizing dry media, especially in winter when evaporation is slower.
- Avoid frequent “tiny sips” in moss without flushing. Moss can hold onto residues.
- Avoid fertilizing a stressed plant right after shipping, repotting, or severe dehydration. Stabilize watering first.
If your orchid is resting but you are nervous to stop entirely, compromise with once a month at 1/8 to 1/4 strength, plus a flush on the next watering.
Mounted and semi-hydro
This guide assumes orchids in pots with bark or moss. If you grow differently, adjust the pattern:
- Mounted orchids: nutrients wash away fast, so use weaker fertilizer more often (for example, weekly at a very low dose) and rinse with plain water regularly.
- Semi-hydro/LECA: fertilize lightly but consistently, and flush more often since salts can concentrate in the reservoir and on pellets.
Monthly cheat sheet
This is a simple home schedule for indoor growers in the Northern Hemisphere. If you live in a different climate, use it as a pattern: feed more when days are brighter and growth is active, feed less when growth slows.
- January: Most orchids slow down. Feed monthly at 1/4 strength, or pause for resting types. Flush once.
- February: Similar to January. If you see new root tips, resume every 2 weeks. Flush once.
- March: Growth picks up. Feed every 2 weeks. Flush once.
- April: Active growth for many types. Feed every 2 weeks. Flush once.
- May: Strong growth. Feed every 2 weeks. Flush once.
- June: Strong growth. Feed every 2 weeks. Flush once.
- July: Continue every 2 weeks. If heat dries pots fast, keep dose low. Flush once.
- August: Continue every 2 weeks. For Cymbidium and some Dendrobiums, this is prime growing season. Flush once.
- September: Many orchids transition. Feed every 2 to 4 weeks depending on growth. Flush once.
- October: Reduce to monthly if light drops. Nobile-type Dendrobiums often begin rest. Flush once.
- November: Mostly monthly or pause for resting types. Flush once.
- December: Mostly monthly or pause. Flush once.
Fast shortcut: If you only want one rule, do every 2 weeks March through September, and monthly October through February, with a monthly flush all year.
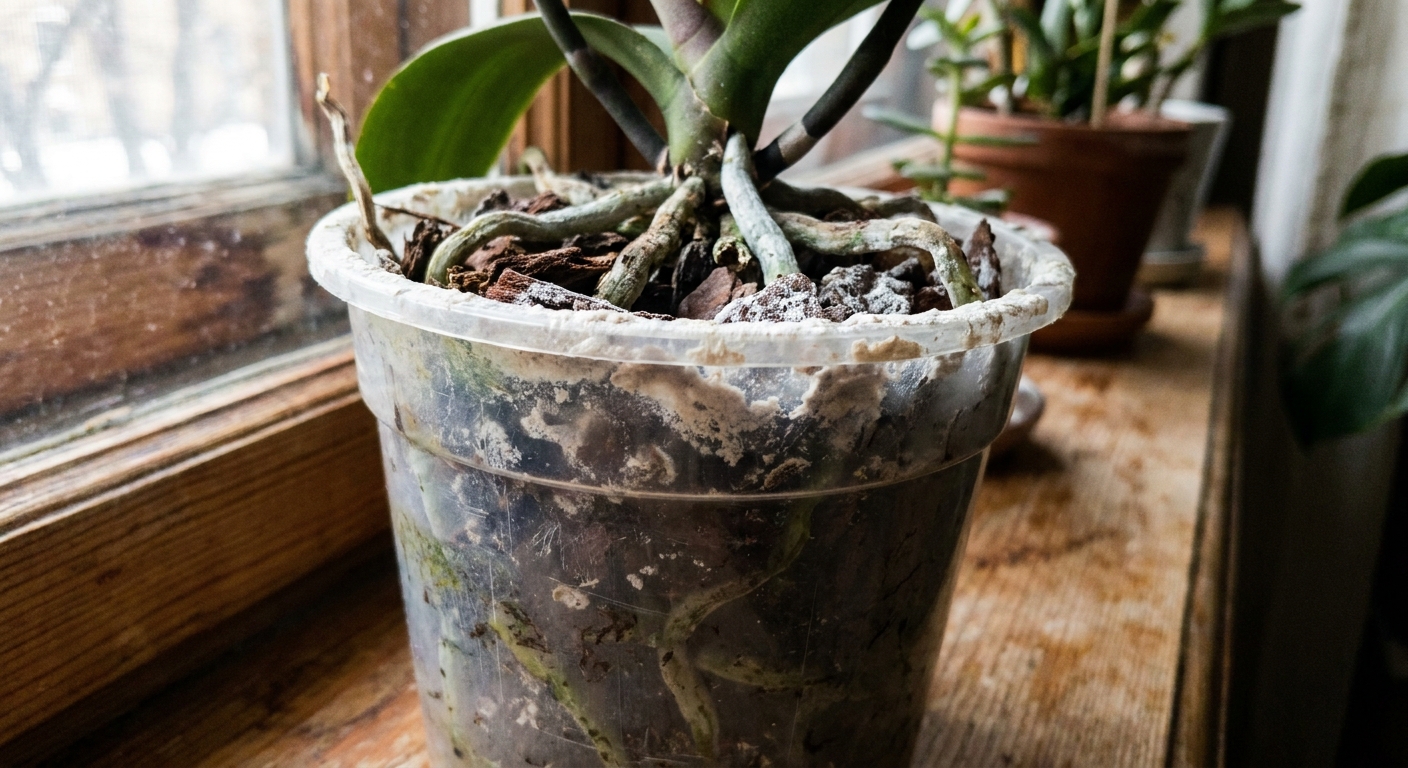
Signs you are over-fertilizing
Over-fertilizing is usually not a single event. It is a slow buildup of salts that quietly damages roots until the plant cannot drink properly.
- Leaf tips turning brown with a dry, crispy look (especially on Oncidium types).
- Blackened or shriveled root tips, even though you are watering.
- White crust on bark, pot rim, or the surface of moss.
- Sudden limp leaves despite a wet potting mix, often due to root damage.
- Media smelling sour or staying swampy, usually from breakdown and poor aeration. (Salt buildup can add stress, but sour media is more often a moisture and decomposition issue.)
What to do
- Flush immediately with room-temperature water. Use several pot-volumes of water so you are actually washing salts out, not just wetting the top.
- Pause fertilizer for 3 to 4 weeks.
- Check roots. If many are mushy, consider repotting into fresh media.
When and how to flush
Flushing is a common missing piece in “my orchid hates fertilizer” stories. Fertilizer salts accumulate in bark and moss over time, especially if you fertilize often or have hard water. A flush resets the pot so roots can function normally.
How often to flush
- If you fertilize every 1 to 2 weeks: flush with plain water once a month.
- If you fertilize monthly: flush every 6 to 8 weeks.
- If you use hard water: flush monthly regardless, and consider using rainwater or RO water occasionally.
How to flush
Take the orchid to the sink or shower. Run lukewarm water through the pot thoroughly, letting it drain completely. A simple way to get it right is to use several pot-volumes of water. For bark, I still like a double pass: water for 30 to 60 seconds, drain, then repeat. The goal is to dissolve and carry away residues, not to drown the plant.
Watch roots and leaves
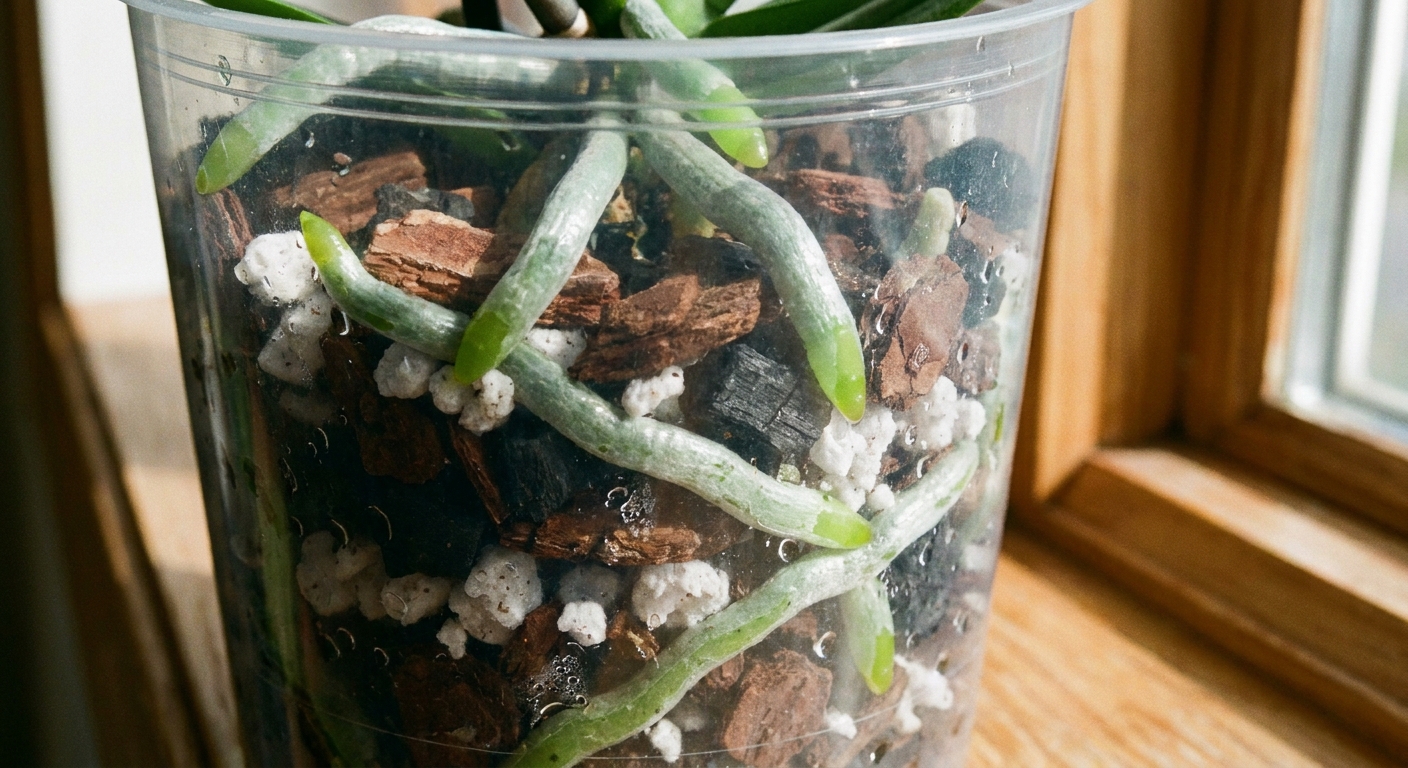
If you want a simple way to know whether your fertilizer schedule is working, stop looking at flowers first. Look at roots and leaves.
- Healthy root growth: plump roots with firm velamen, and active root tips that are green (or pinkish, depending on type) when growing.
- Healthy leaves: steady new leaf growth in season, leaves that feel firm, and a clean, even color for that orchid type.
- Healthy pace: slow, consistent progress. Orchids rarely respond well to sudden changes.
Flowers are the reward for good basics over time: light, watering, and air at the roots. Fertilizer is supportive, not the main character. Keep it gentle, keep it regular, flush the potting mix, and your orchid will show you the difference.
If you want one last mantra to tape to your watering can: feed when you see growth, ease off when you do not, and flush monthly.