Orchid Care
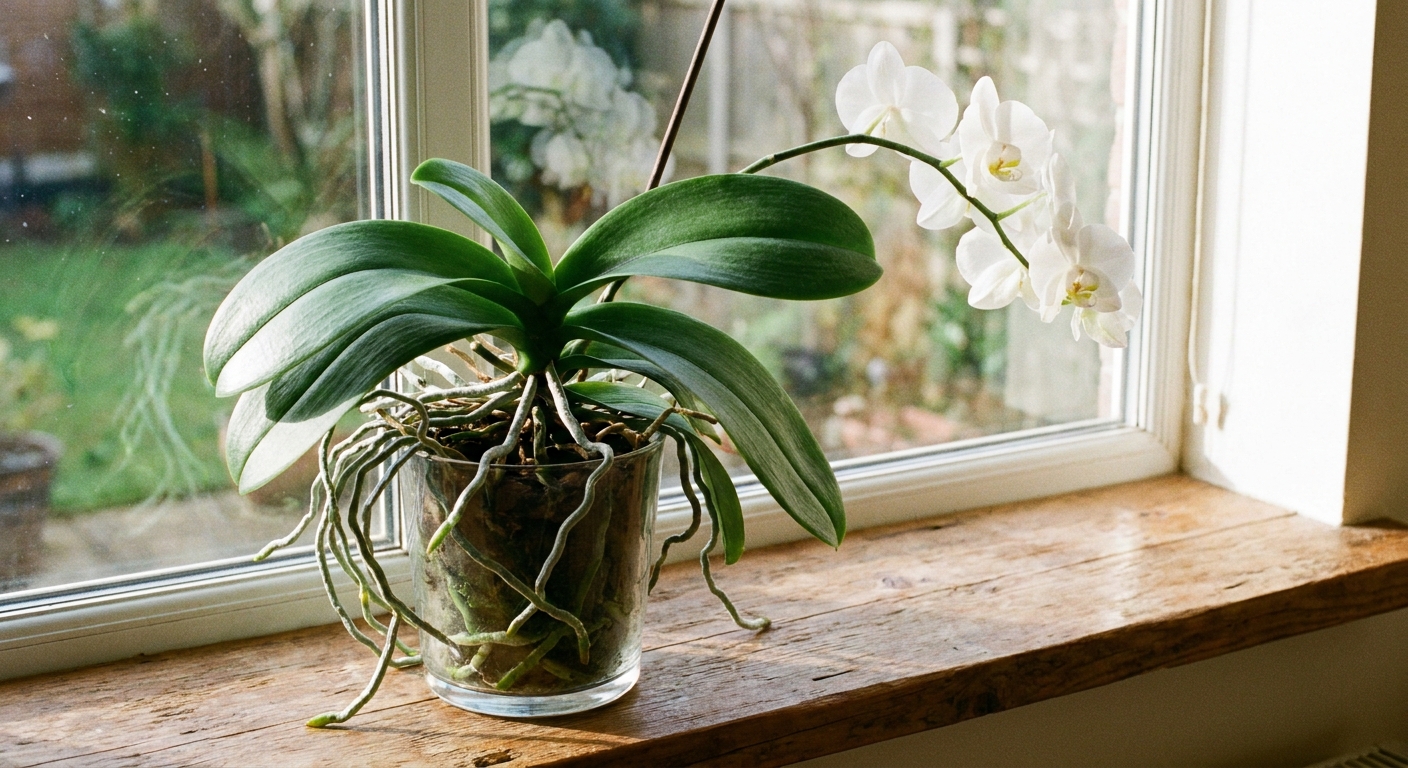
If orchids have ever made you feel like you need a secret password to keep them alive, come sit by my windowsill jungle for a minute. Orchids are not fragile divas. They are simply plants with a different lifestyle than your pothos. Many of the common grocery store orchids are epiphytes, meaning they naturally grow clinging to trees with their roots in airy nooks, not buried in dense soil. Once you match that vibe at home, they get surprisingly easy.
This guide focuses on the orchid most people bring home from the grocery store or nursery, Phalaenopsis (moth orchid). I will also point out where care differs for a few other popular types.

First week at home
Most grocery store orchids are healthy, they are just dressed up for display. Do these quick checks and you will avoid 90 percent of new-orchid drama.
- Quarantine briefly: Keep it a few feet from other plants for 7 to 10 days and peek for pests (especially under leaves and at leaf joints).
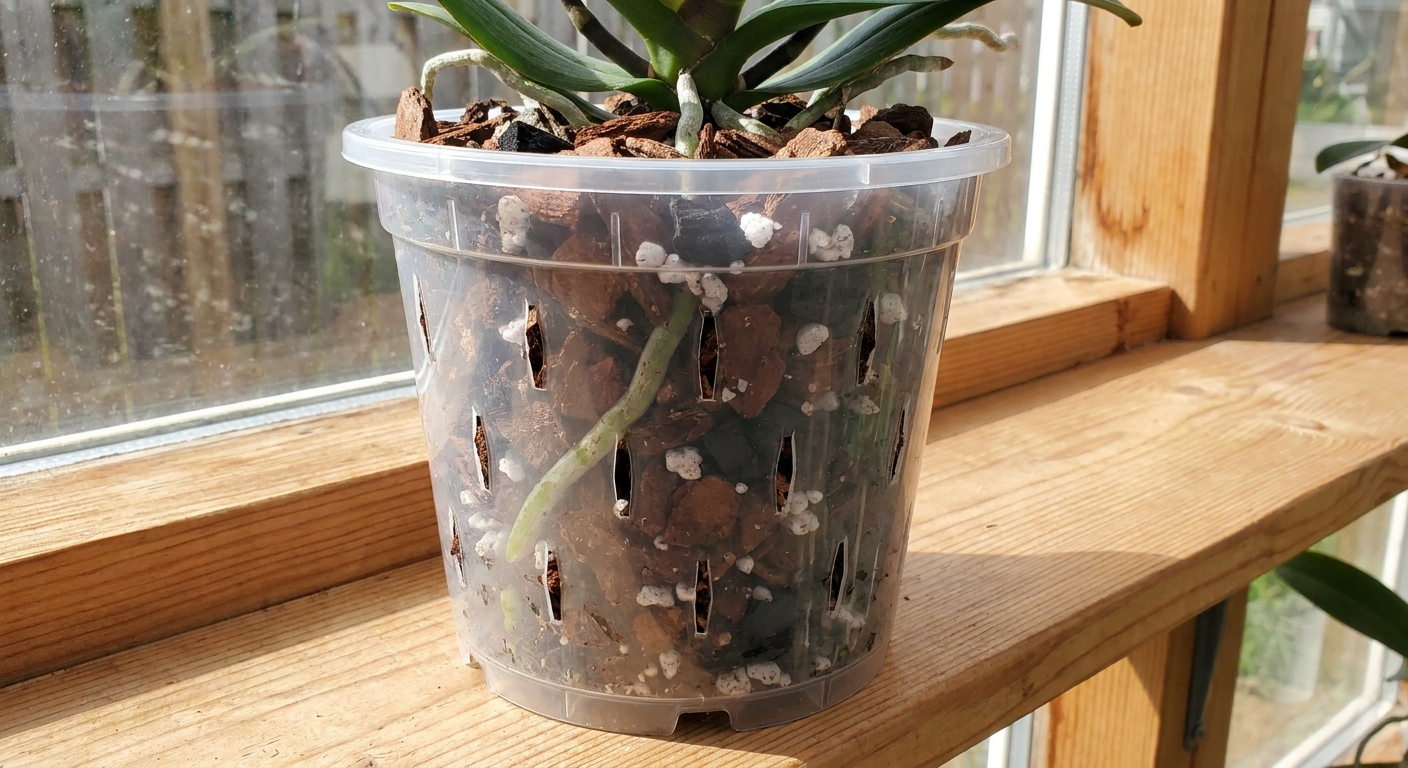
- Check drainage: Make sure there is an inner pot with holes. If it is planted in a solid decorative pot, move it into a slotted inner pot ASAP.
- Look for a moss plug: Many Phals are packed tight in sphagnum (sometimes with a dense plug in the center). That is not automatically “bad,” but it changes watering a lot. If it stays wet for ages, plan a repot after blooming.
- Skip the ice cubes: If your tag says “water with ice,” you can ignore it. Phalaenopsis are tropical. Ice can chill roots and creates uneven wet spots. Use room temperature or slightly tepid water and let it drain fully.
Know what you bought
If your orchid tag says Phalaenopsis, you are in luck. They tolerate typical home conditions and forgive a missed day here and there. Other common types can be happy indoors too, but they may want more light or a cooler rest.
- Phalaenopsis: Low to medium light, warm temperatures, blooms last a long time. Best beginner orchid.
- Dendrobium: Brighter light; some need a cooler, drier rest to bloom well.
- Cattleya: Brighter light and more air movement; often fragrant.
- Oncidium: Likes evenly moist roots and brighter light; blooms can look like dancing sprays.
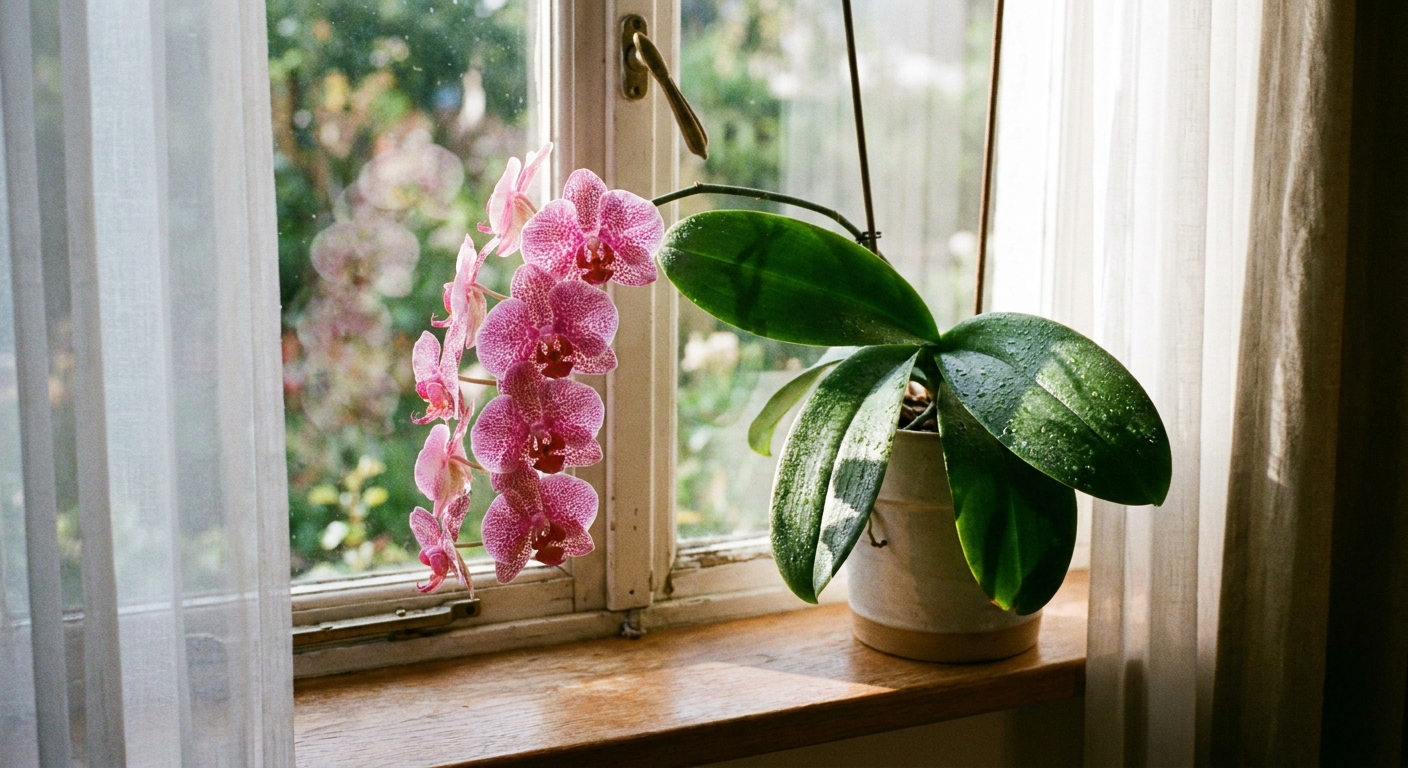
If you are unsure, look at the leaves. Phalaenopsis leaves are usually broad, thick, and arranged in a low rosette.
Light: the rebloom lever
Orchids rarely fail because of fertilizer. They usually fail because they are in the wrong light. Think “bright shade,” like the light under a tree canopy.
Best window placements
- East window: My favorite for Phalaenopsis. Gentle morning sun, bright rest of day.
- South window: Works if filtered with a sheer curtain or set back from the glass.
- West window: Often too hot in summer unless filtered. Watch for leaf scorch.
- North window: Usually too dim for reblooming, though it can keep the plant alive.
Quick light check
If you can comfortably read a book near the plant during the day without turning on a lamp, you are in the “maybe” zone. Another easy test: if you can take a clear photo in that spot during the day without flash, the light is usually in the workable range for a Phal.
If the orchid never makes a flower spike, move it a little closer to the window (brighter spot) while still keeping the sun filtered (no hot direct midday rays).
Leaf clues: medium green leaves are ideal for Phals. Very dark green can mean “too little light.” Yellowing with crispy patches can mean “too much sun.”
Watering: soak, drain, breathe
The fastest way to lose an orchid is to water on a calendar. Water based on root color, the feel of the pot, and how dry the mix is.
How to tell when to water
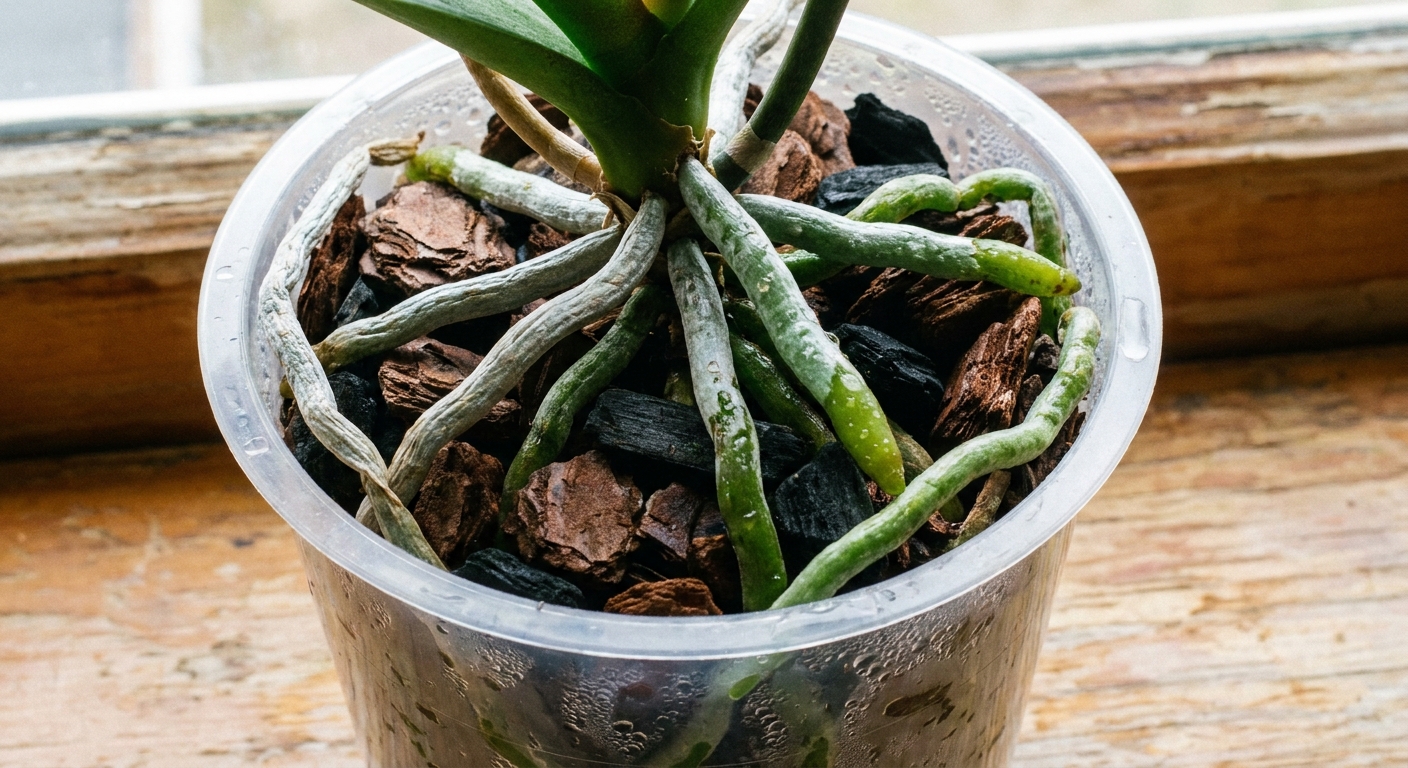
- Silvery gray roots: usually time to water.
- Green roots: still moist, wait.
- Pot feels light: likely ready.
- Mix check: poke a finger or a wooden skewer into the mix. If it feels cool and damp, wait.
Quick caveat: Root color is easiest to read in clear pots. Roots can also look green because of algae or lighting, so pair the color check with the pot weight and mix dryness.
The method I trust
- Take the inner pot to the sink.
- Run room temperature to slightly tepid water through the bark mix for 20 to 30 seconds, or soak the pot in a bowl for 10 minutes.
- Let it drain completely. Never let the inner pot sit in water inside a cachepot.
- Return it to its spot.
Aim for: moisture followed by airflow. Orchid roots want a wet-dry rhythm, not constant damp.
How often is “normal”?
In many homes, Phals need water about every 7 to 10 days in winter and every 5 to 7 days in warmer months. In tight sphagnum moss, it might be less often. In chunky bark in a warm bright spot, it might be more often. But the real answer is: when the roots and mix say so.
Tip: Avoid getting water trapped in the leaf crown (the center). If it happens, dab it out with a tissue. Crown rot is sneaky.
Humidity and airflow
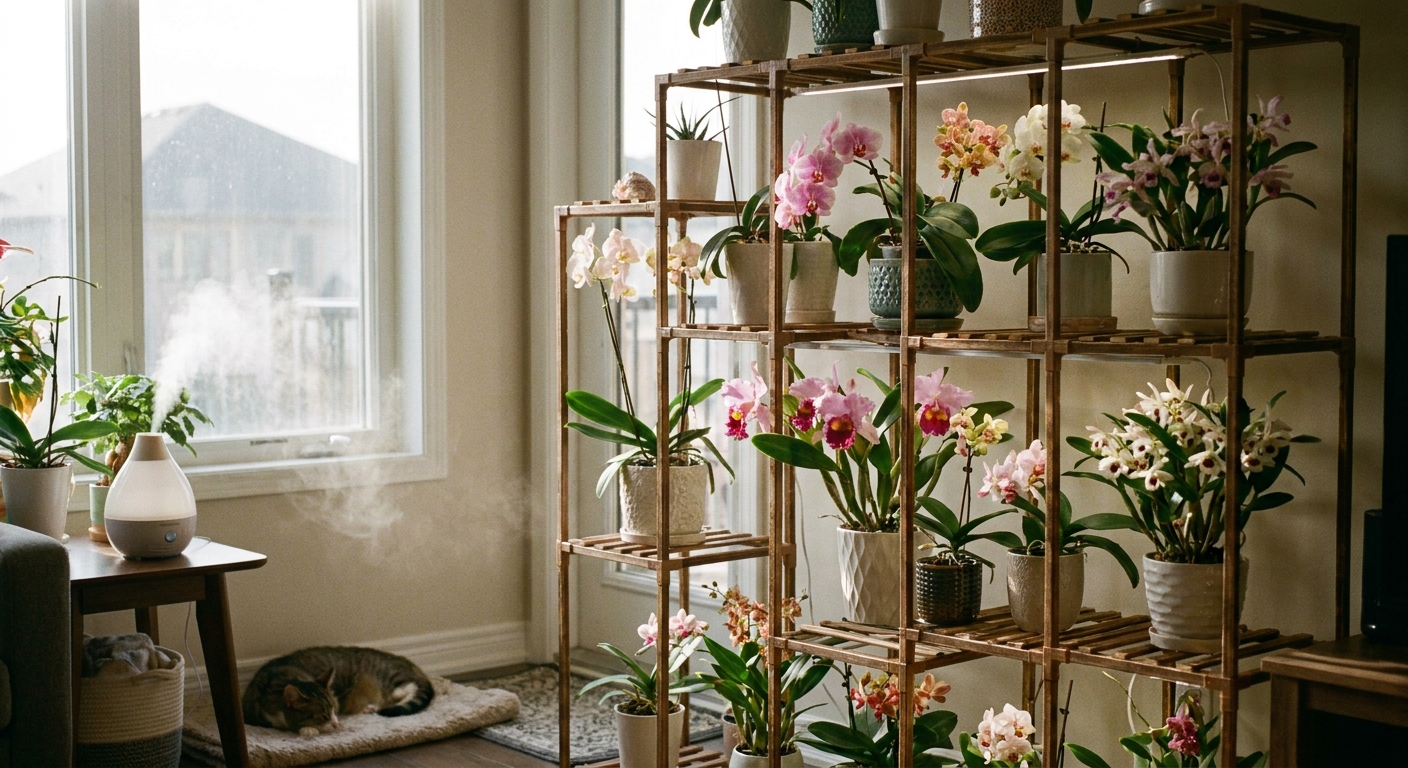
Most homes run 30 to 50 percent humidity, and Phalaenopsis orchids can adapt. They do appreciate a bit more, especially in winter heating season.
- Target humidity: 40 to 60 percent is a sweet spot.
- Easy boost: group plants together or use a small humidifier nearby.
- Skip constant misting: it can encourage spots and does not raise humidity for long.
- Airflow matters: gentle circulation helps prevent fungal issues. A small fan across the room is plenty.
Temperature: mostly easy
Phalaenopsis orchids like typical indoor temperatures.
- Day: 68 to 80°F (20 to 27°C)
- Night: 62 to 70°F (17 to 21°C)
Bloom trigger: Many Phals set a flower spike after a few weeks of slightly cooler nights in fall. Often 60 to 65°F (15 to 18°C) works well. What matters most is usually a day to night difference (around 10°F or 5 to 6°C). You do not need to chill them dramatically. Just keep them away from heat vents and consider a cooler room at night.
Mix and pots: no soil
Standard potting soil suffocates orchid roots. Most store bought Phals do best in a chunky, airy mix.
Good mixes for beginners
- Medium orchid bark mix (often fir bark) with a little perlite and charcoal
- Sphagnum moss can work, but it is easier to overwater because it stays wet longer, especially when packed tight
Best pot style
A clear inner pot with drainage holes is my favorite because you can monitor root health. Put that inside a decorative outer pot if you like, but always empty any collected water.
Repotting: when and how
Repotting sounds intimidating until you do it once and realize it is mostly just untangling roots and giving them fresh air. Plan to repot about every 1 to 2 years, or sooner if the mix breaks down. If your orchid is in bloom, you can usually wait unless the roots are clearly rotting or the mix stays soggy for days.
Repot when you see
- Bark turning spongey or soil like
- Roots that look mushy or hollow
- The plant wobbling because the mix has degraded
- Salt crust on the mix from hard water or heavy fertilizer
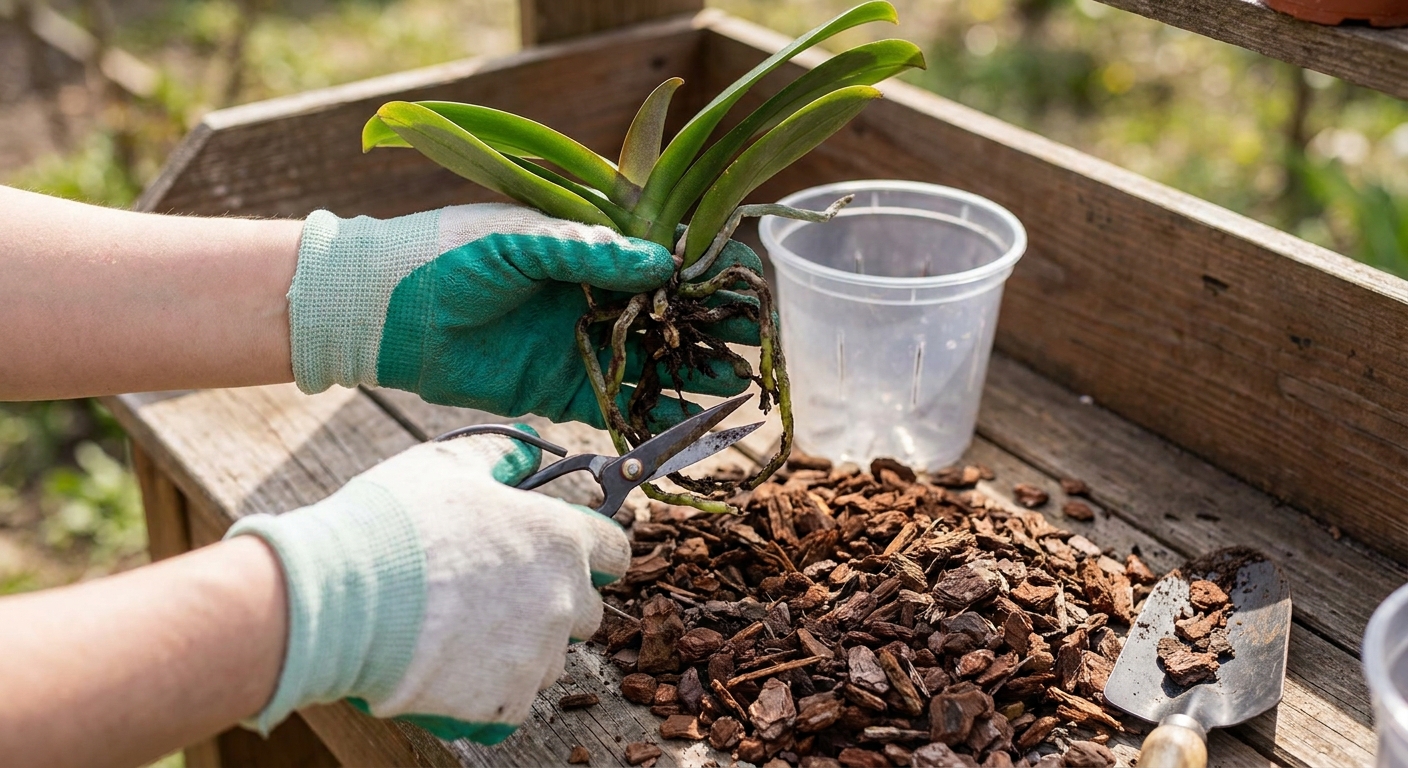
Step by step repot
- Water the orchid the day before so roots are flexible.
- Slide the plant out and gently remove old mix.
- Trim dead roots with sterilized scissors. Dead roots are brown, mushy, or papery hollow strands. Healthy roots are firm and green or silvery. (Wipe blades with 70% isopropyl alcohol between plants.)
- Place in a pot only slightly larger, and tuck bark around the roots. Do not pack it tight.
- Wait 3 to 5 days to water if you trimmed a lot of roots. This reduces rot risk.
Note: Aerial roots are normal. You can tuck a few in if they fit naturally, but do not force them. Orchids like to reach.
Fertilizer: gentle and steady
Orchids are not heavy feeders. Overfertilizing is more common than underfertilizing.
- Simple routine: fertilize at 1/4 strength every 2 to 4 weeks during active growth.
- Type: a balanced orchid fertilizer works well.
- Flush monthly: run plain water through the pot for a minute to remove salts, especially if you use tap water.
If your water is very hard, consider using filtered or rainwater occasionally. Your roots will thank you.
After blooms: spike choices
When blooms drop, your orchid is not “done.” It is simply shifting energy back to roots and leaves.
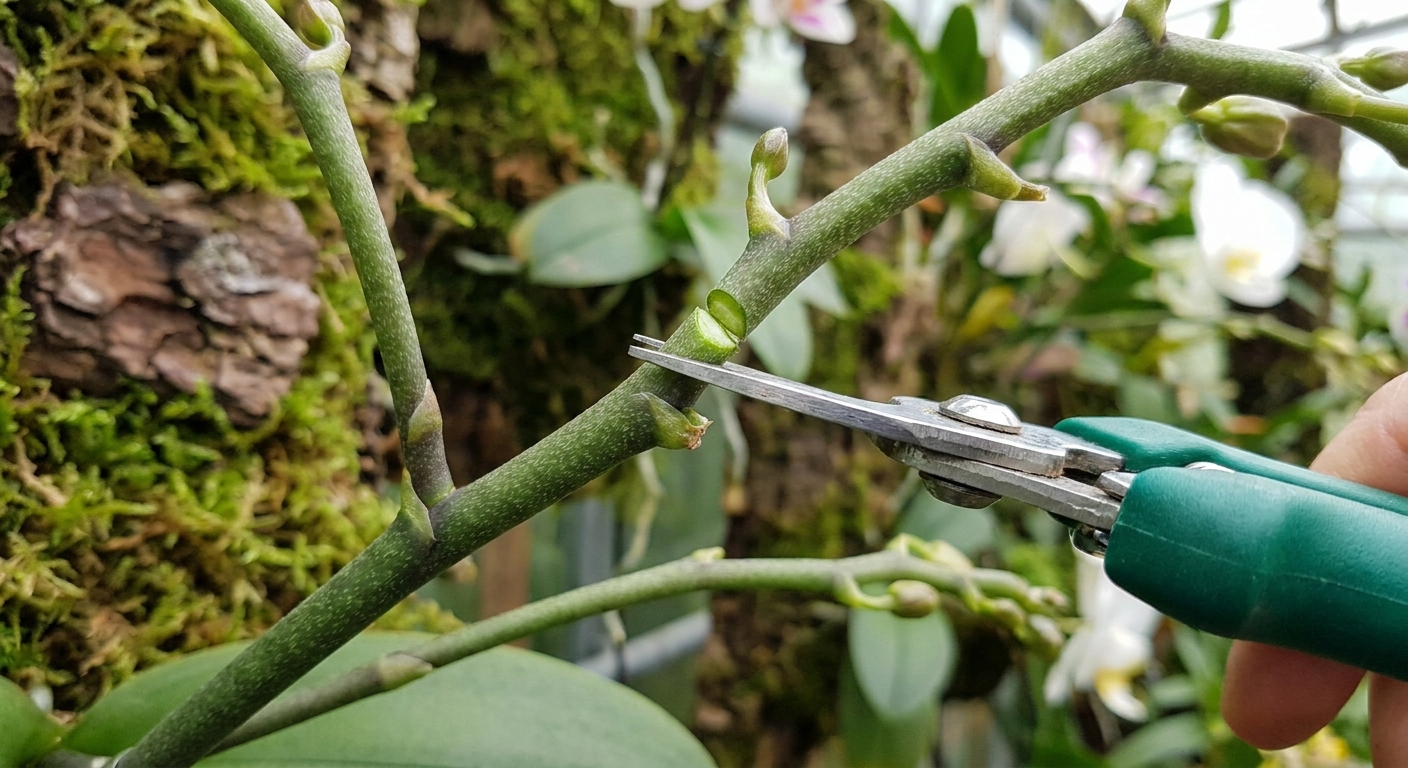
Option A: quick side bloom
If the spike is still green, you can cut it just above a node (a little bump) about halfway down. Sometimes it branches and reblooms sooner with smaller flowers.
Option B: stronger next season
If you want to prioritize long term plant strength, cut the spike down near the base once it starts to yellow or brown, or even while green if the plant looks tired.
My rule of thumb: if leaves and roots look great, I leave a green spike for a possible encore. If the plant looks stressed, I cut it and focus on recovery.
How to rebloom
Reblooming is a light-and-patience game. Here is the gentle recipe that works in ordinary homes.
- Increase brightness without harsh sun. Move closer to an east or bright filtered south window.
- Maintain healthy roots by watering only when the pot lightens and roots turn silvery, and the mix is trending dry.
- Give cooler nights for a few weeks in fall, or aim for a day to night difference around 10°F (5 to 6°C).
- Do not overpot. Slightly snug is good.
- Keep feeding lightly during active growth.
You will usually see a small pointed nub emerge between leaves. A flower spike looks flatter and mitten shaped at the tip. A root is rounder with a shiny green cap. Either one is good news.
Common problems
Wrinkled leaves
- Most likely: roots not taking up water due to rot or chronic dryness.
- Do: check roots. If many are mushy, repot and trim. If roots are firm but dry, adjust watering rhythm.
Yellow leaves
- One old bottom leaf yellowing: normal aging.
- Several leaves yellowing fast: too much sun, overwatering, or temperature stress.
- Do: reassess light and check for soggy mix.
Bud blast
- Triggers: sudden temperature changes, cold drafts, ethylene from ripening fruit, very dry air, inconsistent watering.
- Do: keep location stable, avoid a fruit bowl nearby, and water consistently.
Black spots on leaves
- Possible: fungal or bacterial leaf spot, often from water sitting on leaves with low airflow.
- Do: improve airflow, avoid wet leaves, remove badly affected tissue with sterile tools, and isolate if spreading.
Sticky leaves
- Possible: pests like scale or mealybugs, or natural nectar on spikes.
- Do: inspect leaf undersides and stems. If you see pests, wipe with cotton swabs dipped in 70% isopropyl alcohol. Test a small area first, avoid the crown and roots, and repeat weekly until gone.
Weekly check
If you want a low stress routine, do this once a week with your coffee in hand.
- Lift the pot: light means check roots and mix.
- Look at roots: silvery means water, green means wait (then confirm the mix is drying).
- Scan the crown: no standing water.
- Peek under leaves: catch pests early.
- Rotate the pot a quarter turn for even growth.
And if you ever feel silly talking to your orchid, just know I fully support it. Plants respond to attention in the most practical way possible: we notice their needs sooner.
Care cheat sheet
- Light: bright, indirect; east window is ideal for Phals.
- Water: when roots are silvery, the pot is light, and the mix is drying; soak and drain fully. Skip ice cubes.
- Humidity: 40 to 60 percent with gentle airflow.
- Mix: chunky orchid bark or carefully managed sphagnum, not potting soil.
- Repot: every 1 to 2 years or when mix breaks down (use sterilized tools).
- Fertilize: weakly, every few weeks during growth; flush monthly.
- Rebloom: more bright light plus slightly cooler nights or a day night temperature difference in fall.