Norfolk Island Pine Care Indoors
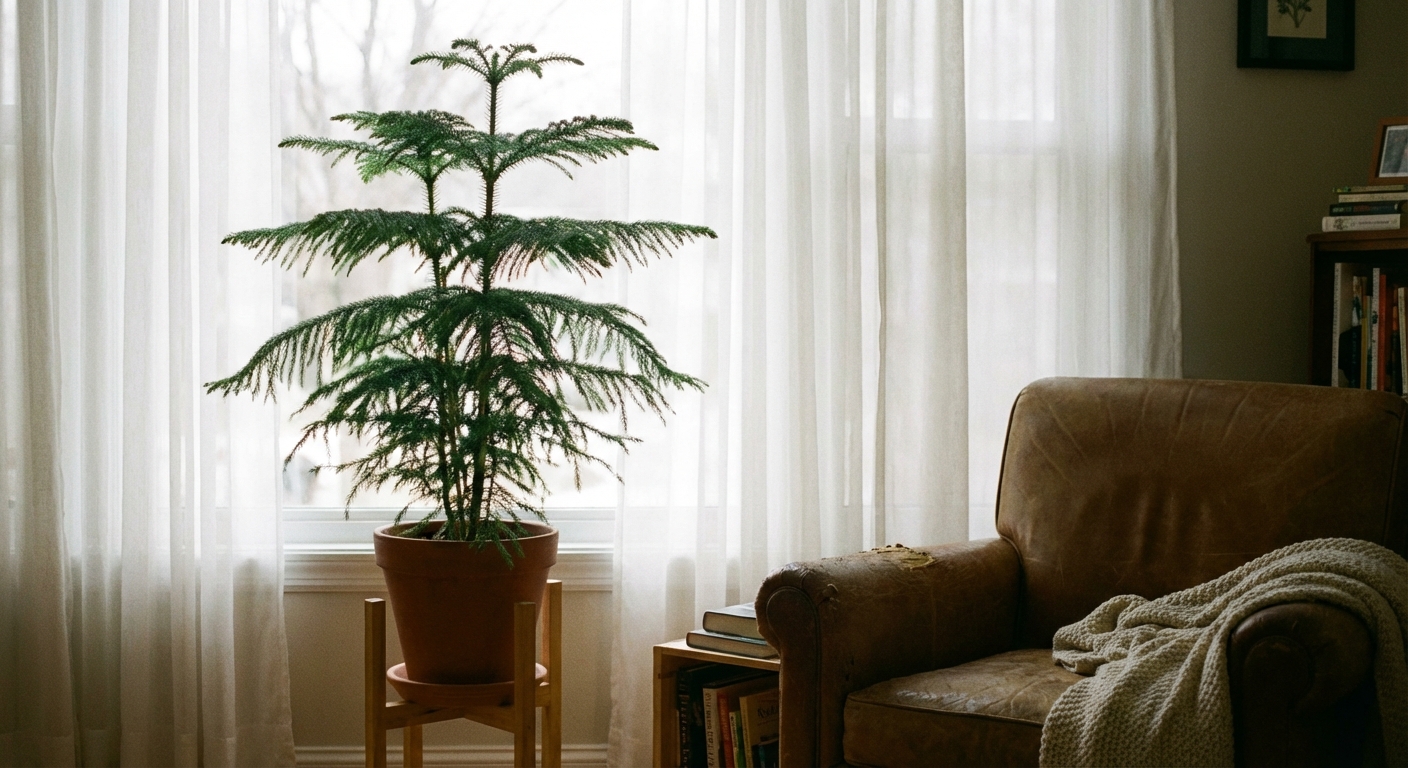
If you have ever wanted a little evergreen magic indoors without the mess of a cut tree, Norfolk Island pine (Araucaria heterophylla) is such a sweet choice. It looks like a tiny, soft Christmas tree, but it is not a true pine. It is a subtropical evergreen conifer relative from Norfolk Island in the South Pacific, and it wants steady warmth, bright light, and a bit more humidity than most homes naturally provide.
The good news: once you understand what it is asking for, it is wonderfully consistent. Think of it like a calm roommate that thrives on routine, not drama. I talk to mine when I water it. It has not complained yet.
Quick note on “needles”: People call them needles, but they are really soft, leaf-like blades. Either way, they tell you a lot about how the plant is feeling.
Quick care checklist
- Light: Bright light near a window. Indirect is great, but it can take a few hours of gentle direct sun once acclimated
- Water: Water when the top 1 to 2 inches of soil are dry
- Humidity: Average home humidity works, but 40% to 60% is ideal for keeping tips from browning
- Temperature: 60 to 75°F is ideal, avoid heat vents and cold drafts
- Soil: Well-draining potting mix in a pot with drainage holes
- Fertilizer: Light feeding in spring and summer, rest in fall and winter
Light: bright, indirect, with some sun
Indoors, the biggest factor in a Norfolk Island pine staying full and symmetrical is light. In nature, it grows with strong light and open air. In a home, it does best right near a bright window.
My practical rule: give it the brightest spot you can, then watch how it responds. If you notice leaning, stretched growth, or increased shedding, it is usually asking for more light.
Best window placement
- East-facing: Often perfect. Gentle morning sun plus bright light the rest of the day.
- South-facing: Great. A sheer curtain helps during intense summer sun.
- West-facing: Works, but watch for hot afternoon sun scorching tender tips.
- North-facing: Often too dim long-term unless the window is large and unobstructed. Expect slower growth and more sparse branching.
Can it handle direct sun?
Yes, many Norfolk Island pines can handle, and even appreciate, a few hours of direct sun indoors, especially in winter. The key is acclimation. Increase exposure gradually over 1 to 2 weeks so the foliage does not scorch.
Rotate for balanced growth
Norfolk pines lean toward light. Give the pot a quarter-turn every week or two so it grows evenly instead of becoming a lopsided little tree.
Tip: If your home gets very low winter light, a small grow light on a timer (10 to 12 hours) can make a noticeable difference in needle retention.
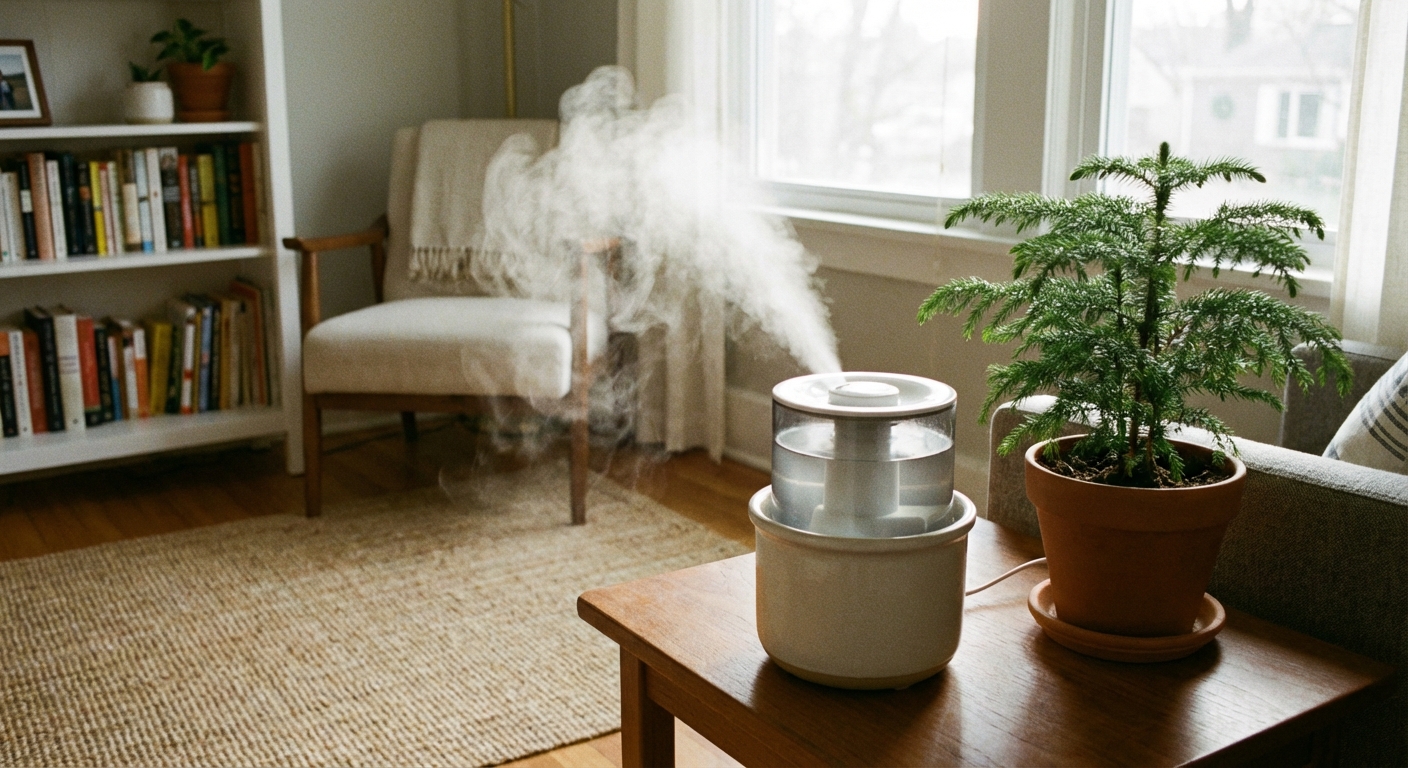
Humidity: helpful, not a hard rule
This plant is from the South Pacific, not a dry, heated living room in January. Low humidity is a common reason for browning tips and needle drop, especially on the lower branches.
You do not need a rainforest to keep it alive, but if you can keep humidity around 40% to 60%, it will usually look noticeably softer and happier.
How to raise humidity without fuss
- Use a humidifier: The most reliable option, especially during winter heating.
- Group plants together: They create a small humid pocket around each other.
- Pebble tray: A shallow tray with pebbles and water under the pot can help a little (keep the pot above the waterline).
- Bathroom boost: If you have a bright bathroom, Norfolk pines often love it.
About misting: A light mist is not harmful, but it is usually too temporary to fix chronic dryness. If you mist, do it in the morning so foliage dries by evening.
Watering: steady, never soggy
The goal is soil that stays evenly moist but airy. Norfolk Island pine roots do not like sitting in water, but they also hate being bone dry for long stretches.
When to water
Check the soil with your finger. When the top 1 to 2 inches feel dry, water thoroughly until excess drains out. Then empty the saucer.
How often is that?
- Spring and summer: Often every 7 to 10 days indoors, sometimes more in bright light.
- Fall and winter: Often every 10 to 21 days, depending on heat, light, and pot size.
Reality check: Your calendar is not the calendar. Always let the soil tell you when it is time.
Water quality tips
If your tap water is very hard or heavily treated, you may see browning tips over time. Filtered water or collected rainwater can help. Letting water sit out overnight may reduce free chlorine in some areas, but it will not remove chloramine (which many utilities use). If you suspect chloramine, stick with filtered or conditioned water.
Soil and pot: drainage matters
A Norfolk Island pine can live indoors for years, but only if its roots can breathe. That means a pot with drainage holes and a mix that drains well.
What soil mix works best
- Simple option: High-quality all-purpose potting mix plus extra perlite (about 20% to 30%).
- Even better: Potting mix + perlite + a small amount of orchid bark for chunkiness and airflow.
Repotting schedule
Repot every 2 to 3 years, or when roots circle the pot and watering becomes tricky. Go up just 1 pot size. Oversized pots hold extra wet soil and invite root issues.
Best time to repot: Spring, when the plant is waking up and can regrow roots quickly.
Temperature and airflow
Norfolk Island pine enjoys typical indoor temperatures, but it strongly dislikes sudden swings.
- Keep away from: heating vents, fireplaces, radiators, drafty doors, and windows that get icy cold at night.
- Ideal range: 60 to 75°F
- Night dips: Slightly cooler nights are fine, but prolonged cold can trigger needle drop.
Fertilizer: light feeding
This is not a heavy feeder indoors. Too much fertilizer can cause weak growth and tip burn.
Easy fertilizing routine
- Spring through summer: Feed every 4 to 6 weeks with a balanced liquid fertilizer diluted to half strength.
- Fall through winter: Skip fertilizer, or feed very lightly only if the plant is under strong grow lights and actively growing.
If your tree is being used as a living Christmas tree and sitting in lower light for a few weeks, hold off on fertilizer until it is back in its brighter spot.
Needle drop: normal vs stress
Needle drop is the number one reason people panic. Let me ease your mind: some needle drop is normal, especially on older, lower branches. The trick is recognizing when it is a gentle shed versus a stress signal.
Normal needle drop
- Small amounts of browning on the inner or lower branches
- Older growth dropping as the plant matures
- Light seasonal shedding, especially in winter when light is low
One important expectation setter: once a branch section turns fully brown, it will not green back up. The plant grows from the tips, so focus on improving conditions and protecting the healthy green parts.
Overwatering vs underwatering
- Too dry: Soil pulls away from the pot, needles feel crisp, lower branches shed first, the pot feels very light.
- Too wet: Soil stays damp for many days, needles may yellow before dropping, growth looks dull, and the pot feels heavy.
Common stress causes and fixes
- Too dry air: Needles brown and crisp. Fix with a humidifier and move away from heat sources.
- Underwatering: Soil gets very dry and the plant sheds from the bottom up. Water thoroughly and then keep a steadier rhythm.
- Overwatering: Soil stays wet, needles yellow then drop, growth looks dull. Let soil dry more between waterings and confirm drainage.
- Low light: Sparse growth, leaning, and increased shedding. Move closer to a bright window, allow some direct sun with acclimation, or add a grow light.
- Drafts: Sudden needle drop after a cold snap near a window or door. Relocate to a stable spot.
- Salt buildup: Browning tips over time. Flush the pot with plenty of water every couple months and use gentler water if possible.
When to inspect the roots
If needle drop is heavy and the soil stays wet for a long time, slide the root ball out and check for mushy, dark roots or a sour smell. That points to root rot and requires faster action: trim damaged roots, repot into fresh airy mix, and adjust watering.
Seasonal care
Spring
- Increase watering slightly as growth resumes
- Start fertilizing again
- Repot if needed
- Rotate regularly to keep shape balanced
Summer
- Bright light is your friend, but protect from harsh midday sun
- Check soil more often, warm windows can dry pots quickly
- Humidity usually improves naturally, but AC can still dry the air
Fall
- Slow down watering as days shorten
- Stop fertilizing once growth slows
- Set up humidity support before indoor heating ramps up
Winter
- Maximize light, move closer to the brightest window you have
- Water less often, but do not let it fully dry out
- Run a humidifier if your home is heated
- Avoid drafty holiday traffic zones and cold window glass
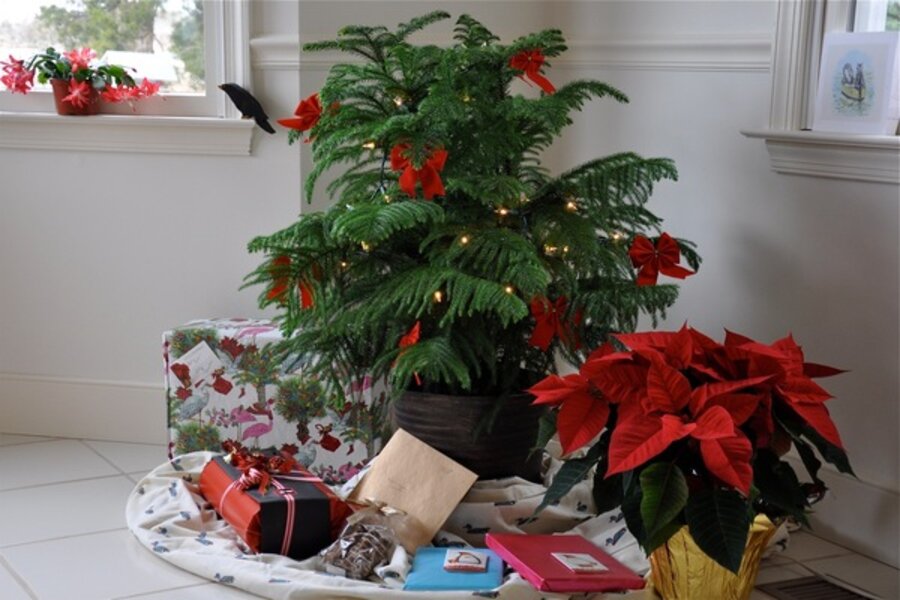
Living Christmas tree tips
A Norfolk Island pine makes a charming living tree, especially in apartments and small spaces. The main challenge is that we often move it away from its best light right when winter light is already scarce.
Holiday success plan
- Choose the brightest holiday spot you can: Near a window is best.
- Limit time in low light: If it must be in a dim corner, keep it there for 1 to 2 weeks, then return it to brighter conditions.
- Skip heavy decorations: Use lightweight ornaments, ribbon, or dried citrus slices. The branches are softer than true pines.
- Avoid hot lights: Use cool LED string lights only, and do not leave them on all night.
- Watch watering closely: Holiday schedules get busy. Set a reminder to check soil weekly.
Pruning and shaping
Norfolk Island pine does not respond like a typical houseplant to hard pruning. Cutting the top growing point can permanently change its shape.
- Do: Remove fully brown, dead lower branches by snipping close to the trunk.
- Do not: Top the tree or shear it into a cone.
- If it gets uneven: Fix the light first, rotate it regularly, and be patient. New growth should balance out over time.
Pests to watch for
Indoors, Norfolk pines are usually pretty unbothered, but dry air can invite pests.
- Spider mites: Fine webbing and stippled needles, often in winter. Increase humidity and rinse foliage in the shower, then treat with insecticidal soap if needed.
- Scale: Small brown bumps on stems. Wipe off with a cotton swab dipped in rubbing alcohol, repeat weekly until gone.
- Mealybugs: White cottony clusters at branch joints. Dab with alcohol and follow up with soap spray.
My routine: Every couple weeks, I do a slow look-over while I water. Catching pests early is half the battle.
Size and long-term planning
Indoors, Norfolk Island pine grows slowly, but it can still become a real floor plant over time. Many eventually reach 5 to 8 feet indoors with good light, sometimes more. If you are buying a cute tabletop tree, it is worth thinking ahead about ceiling height, window access, and how you will move it for watering and rotation.
FAQ
Is Norfolk Island pine toxic to pets?
It is often reported as mildly toxic to cats and dogs if chewed, usually causing stomach upset. Listings can vary by source, so if you have a pet who likes to nibble, check a trusted reference like the ASPCA and consult your vet if you are unsure.
Can I put it outside in summer?
Yes, in many climates it can enjoy a summer vacation outdoors in bright shade. Acclimate gradually for a week or two, protect from hot direct sun, and bring it in before nights get chilly.
Why are the tips turning brown?
The most common causes are low humidity, inconsistent watering, salt buildup from fertilizer or tap water, or heat vent exposure. Increase humidity, water more evenly, flush the soil occasionally, and move it away from hot airflow.
Can I propagate it from cuttings?
Propagation at home is tricky. Norfolk Island pines are typically grown from seed, and cuttings do not reliably root into a well-shaped plant. If you want a second one, it is usually easiest to buy another small plant.
The calm evergreen takeaway
If you remember only three things, make them these: bright light, steady watering, and a little extra humidity when your home is dry. Give your Norfolk Island pine a stable home and it will reward you with that soft, layered greenery all year long, holiday season included.
If you want, tell me where you keep yours (window direction and approximate distance from the glass). I can help you fine-tune the routine so it stays full and happy.