Nepenthes Care for Beginners
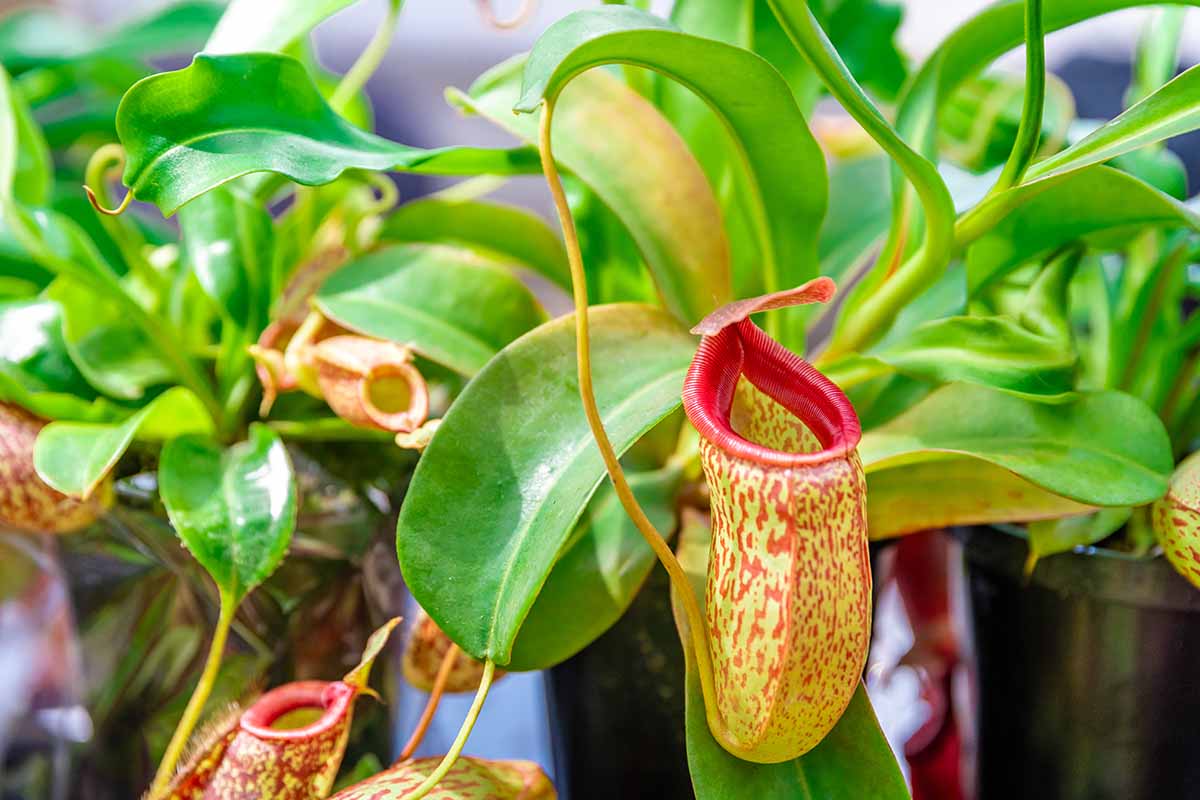
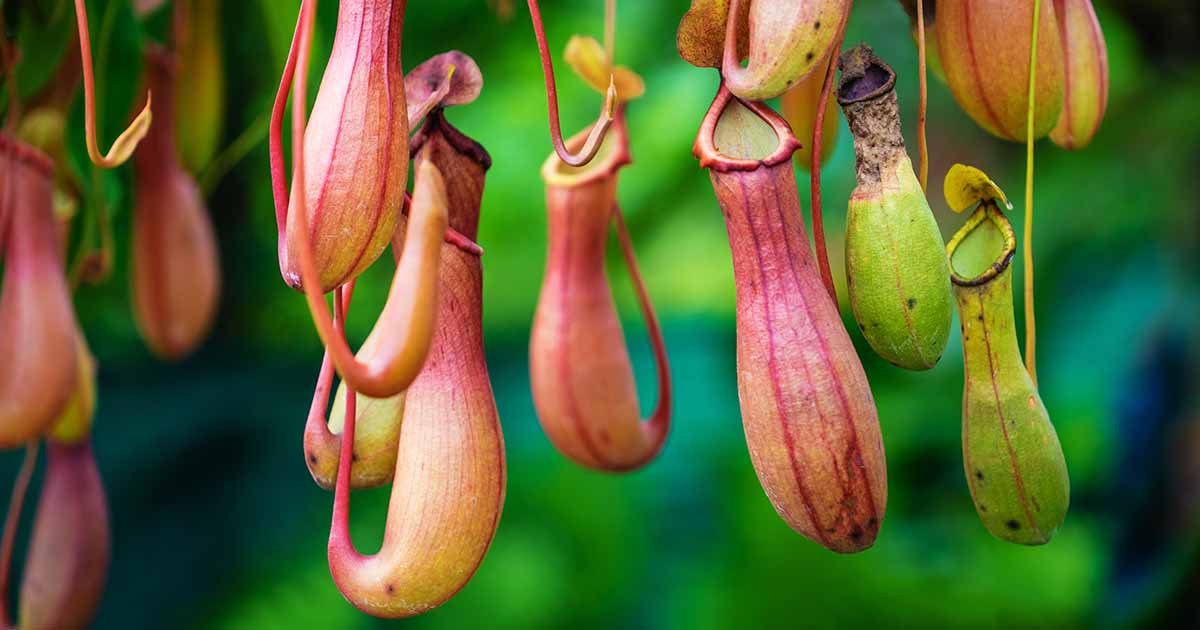
Nepenthes look like something out of a rainforest storybook: leafy vines with dangling, jewel-toned pitchers that double as tiny insect-catching cups. If you have ever kept a Venus flytrap or a North American pitcher plant and thought, “How hard can it be?”, welcome, friend. Nepenthes are carnivorous, yes, but their care rules come from a very different habitat.
The good news: you do not need a greenhouse for most common beginner hybrids. With the right light, very low-mineral water, and a humidity plan, many popular Nepenthes can thrive on a bright windowsill or under a grow light. I talk to my ferns, and I also talk to my Nepenthes. They do not answer, but they definitely communicate through their pitchers.

Nepenthes vs. Sarracenia: not the same pitcher plant
“Pitcher plant” is one of those common names that causes a lot of beginner heartbreak. Nepenthes (tropical pitcher plants) and Sarracenia (North American pitcher plants) both make pitchers, but they come from different worlds.
- Growth habit: Nepenthes are vining plants that make pitchers at the ends of tendrils. Sarracenia are upright rosettes of tube-shaped pitchers that rise from the soil.
- Soil and water approach: Nepenthes like their roots moist and airy, not boggy. Sarracenia are true bog plants and often sit in water trays during the growing season.
- Light tolerance: Many Nepenthes prefer bright, filtered light or gentle sun. Sarracenia typically want full sun to color well and perform.
- Dormancy: Most Sarracenia need a cool winter dormancy. Most common beginner Nepenthes do not want dormancy and will sulk if chilled for long.
- Humidity needs: Nepenthes generally want higher humidity to pitcher reliably. Sarracenia do fine in normal outdoor humidity.
If you remember just one thing, make it this: do not treat Nepenthes like a bog plant. Constant wet feet are one of the fastest ways to lose a tropical pitcher.
Quick-start checklist
If you want the simplest “Clara-approved” beginner recipe, aim for these basics first. You can get fancy later.
- Light: bright indirect light, or gentle morning sun, or 12 to 14 hours under a grow light
- Water: rainwater, distilled, or reverse osmosis (RO) water (aim for very low minerals)
- Humidity: 50 to 70% is a helpful target for many beginner hybrids, with some pitching fine a bit lower if light is strong
- Potting mix: airy and low-mineral (often long-fiber sphagnum plus perlite)
- Feeding: occasional insects, or very light fertilizer only when the plant is actively growing
Light: bright, not scorching
Light is the engine that powers pitcher production. A Nepenthes can stay alive in low light, but it often stops making pitchers and stretches out like it is reaching for hope.
Best beginner light options
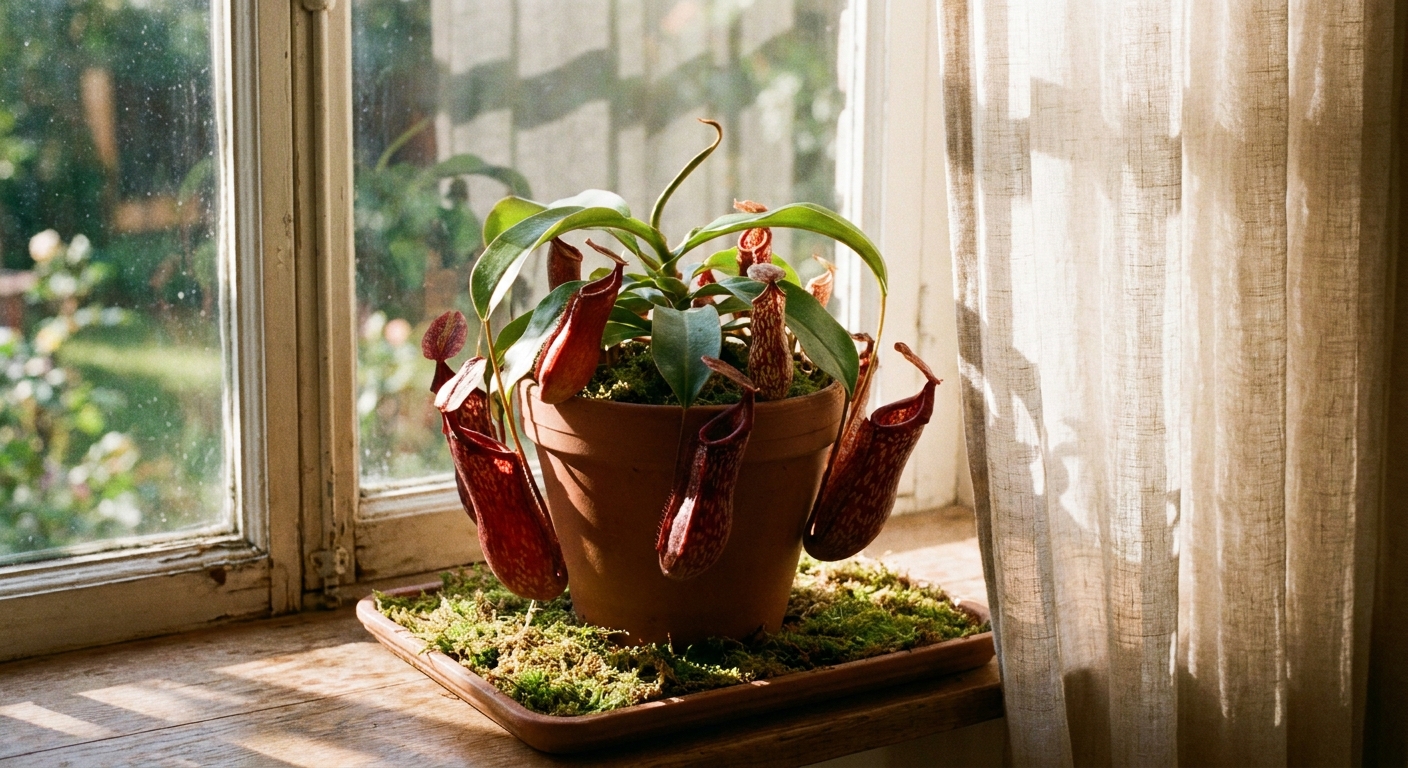
- East window: my favorite for many homes. Gentle morning sun, bright the rest of the day.
- South or west window: possible, but watch for harsh afternoon sun through glass. Use a sheer curtain if leaves look stressed.
- Grow light: an easy “set it and forget it” option. Many setups land around 12 to 18 inches above the plant, but fixtures vary a lot, so adjust based on leaf response and manufacturer guidance.
Acclimation tip: If you are increasing sun or upgrading a grow light, do it gradually over 1 to 2 weeks to avoid leaf burn.
Light clues to watch: If new leaves are smaller, internodes are long and lanky, and pitchers are tiny or absent, increase light. If leaves bleach, crisp, or get brown patches that look sunburnt, back off the direct sun.
Humidity: the secret behind big pitchers
Nepenthes pitchers are modified leaves, and they are picky about dry air. Many modern garden-center hybrids tolerate average home humidity, but they still pitcher better with a boost.
Easy humidity wins
- Group plants together: a little plant crowd creates a gentler microclimate.
- Use a pebble tray correctly: set the pot on a tray of pebbles with water below the pot’s base. It is a small bump, not a rainforest.
- Run a humidifier nearby: the most reliable solution if your home runs dry.
- Terrarium or cabinet: great for small plants, especially in winter heating season.
A note on misting: Occasional misting will not hurt, but it is usually temporary. I would rather you spend that energy on consistent humidity and good watering habits.
Water: keep it very low mineral
If Nepenthes care had one non-negotiable, it is water quality. Their roots are adapted to low-mineral environments. Tap water can slowly salt the potting mix, burning roots and stalling growth.
What to use
- Rainwater: ideal if collected cleanly.
- Distilled water: dependable and widely available.
- Reverse osmosis (RO): excellent if you already have a system.
What “very low TDS” means
If you like numbers, many growers aim for under about 50 ppm TDS, and lower is even better. When in doubt, choose distilled or RO and you will sleep better.
How to water
Water thoroughly until it drains from the bottom, then let the mix move toward evenly moist, not soggy. Nepenthes like air around their roots.
- Do not keep the pot sitting in a water tray long-term like a bog plant.
- Do not use water softener tap water. It is often worse than regular tap.
Soil and pots: airy, not heavy
Nepenthes roots want oxygen. Think “forest floor litter” rather than “mud.” Most beginner-friendly mixes are some variation of:
- Long-fiber sphagnum moss (rinsed if dusty)
- Perlite for airflow
- Optional: orchid bark for structure in larger pots
A simple starter mix that works for many common Nepenthes: 1 part long-fiber sphagnum to 1 part perlite.
Pot choice: plastic pots hold moisture longer and are beginner-friendly. Net pots can work too, but they dry faster. Whatever you choose, make sure it drains freely.
Pitchers: do you add water?
New pitchers usually make their own fluid. You do not need to fill them. If a pitcher arrives dry from shipping, it is fine to add a small splash of distilled or RO water to the bottom (think teaspoons, not a full cup). Then let the plant take it from there.
Feeding: less is more
Nepenthes are carnivorous because they evolved in nutrient-poor habitats, not because they need daily snacks. A healthy plant in good light can catch its own gnats and flies indoors.
Simple feeding options
- Insects: one small bug per pitcher occasionally is plenty. Do not overstuff.
- Fish food flakes or dried insects: a tiny pinch in a few pitchers can work if you have zero bugs.
- Fertilizer (advanced-ish): some growers use very diluted orchid or carnivorous plant fertilizer. If you try it, go extremely gentle and only when the plant is actively growing.
Important: Never put meat, cheese, or kitchen scraps into pitchers. That can rot, smell, and invite mold.
A simple beginner setup (two options)
You can keep Nepenthes successfully without turning your home into a greenhouse. Pick a setup that matches your space and your personality.
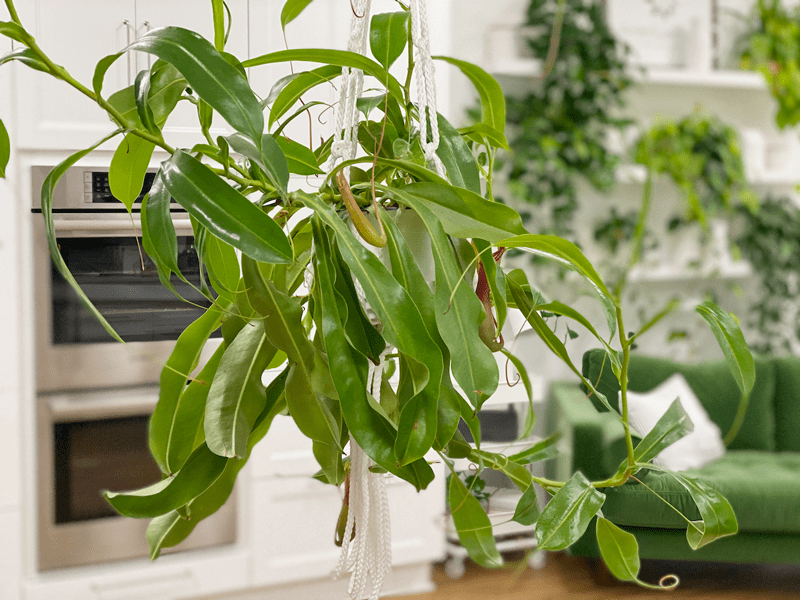
Option 1: Hanging basket by a bright window
This is my favorite low-fuss setup for beginner hybrids like many common garden-center Nepenthes.
- Hang the plant where it gets bright, filtered light and is easy to water.
- Use an airy sphagnum-perlite mix.
- Keep a small humidity boost nearby if your home is dry.
- Rotate the basket every week or two so it grows evenly.
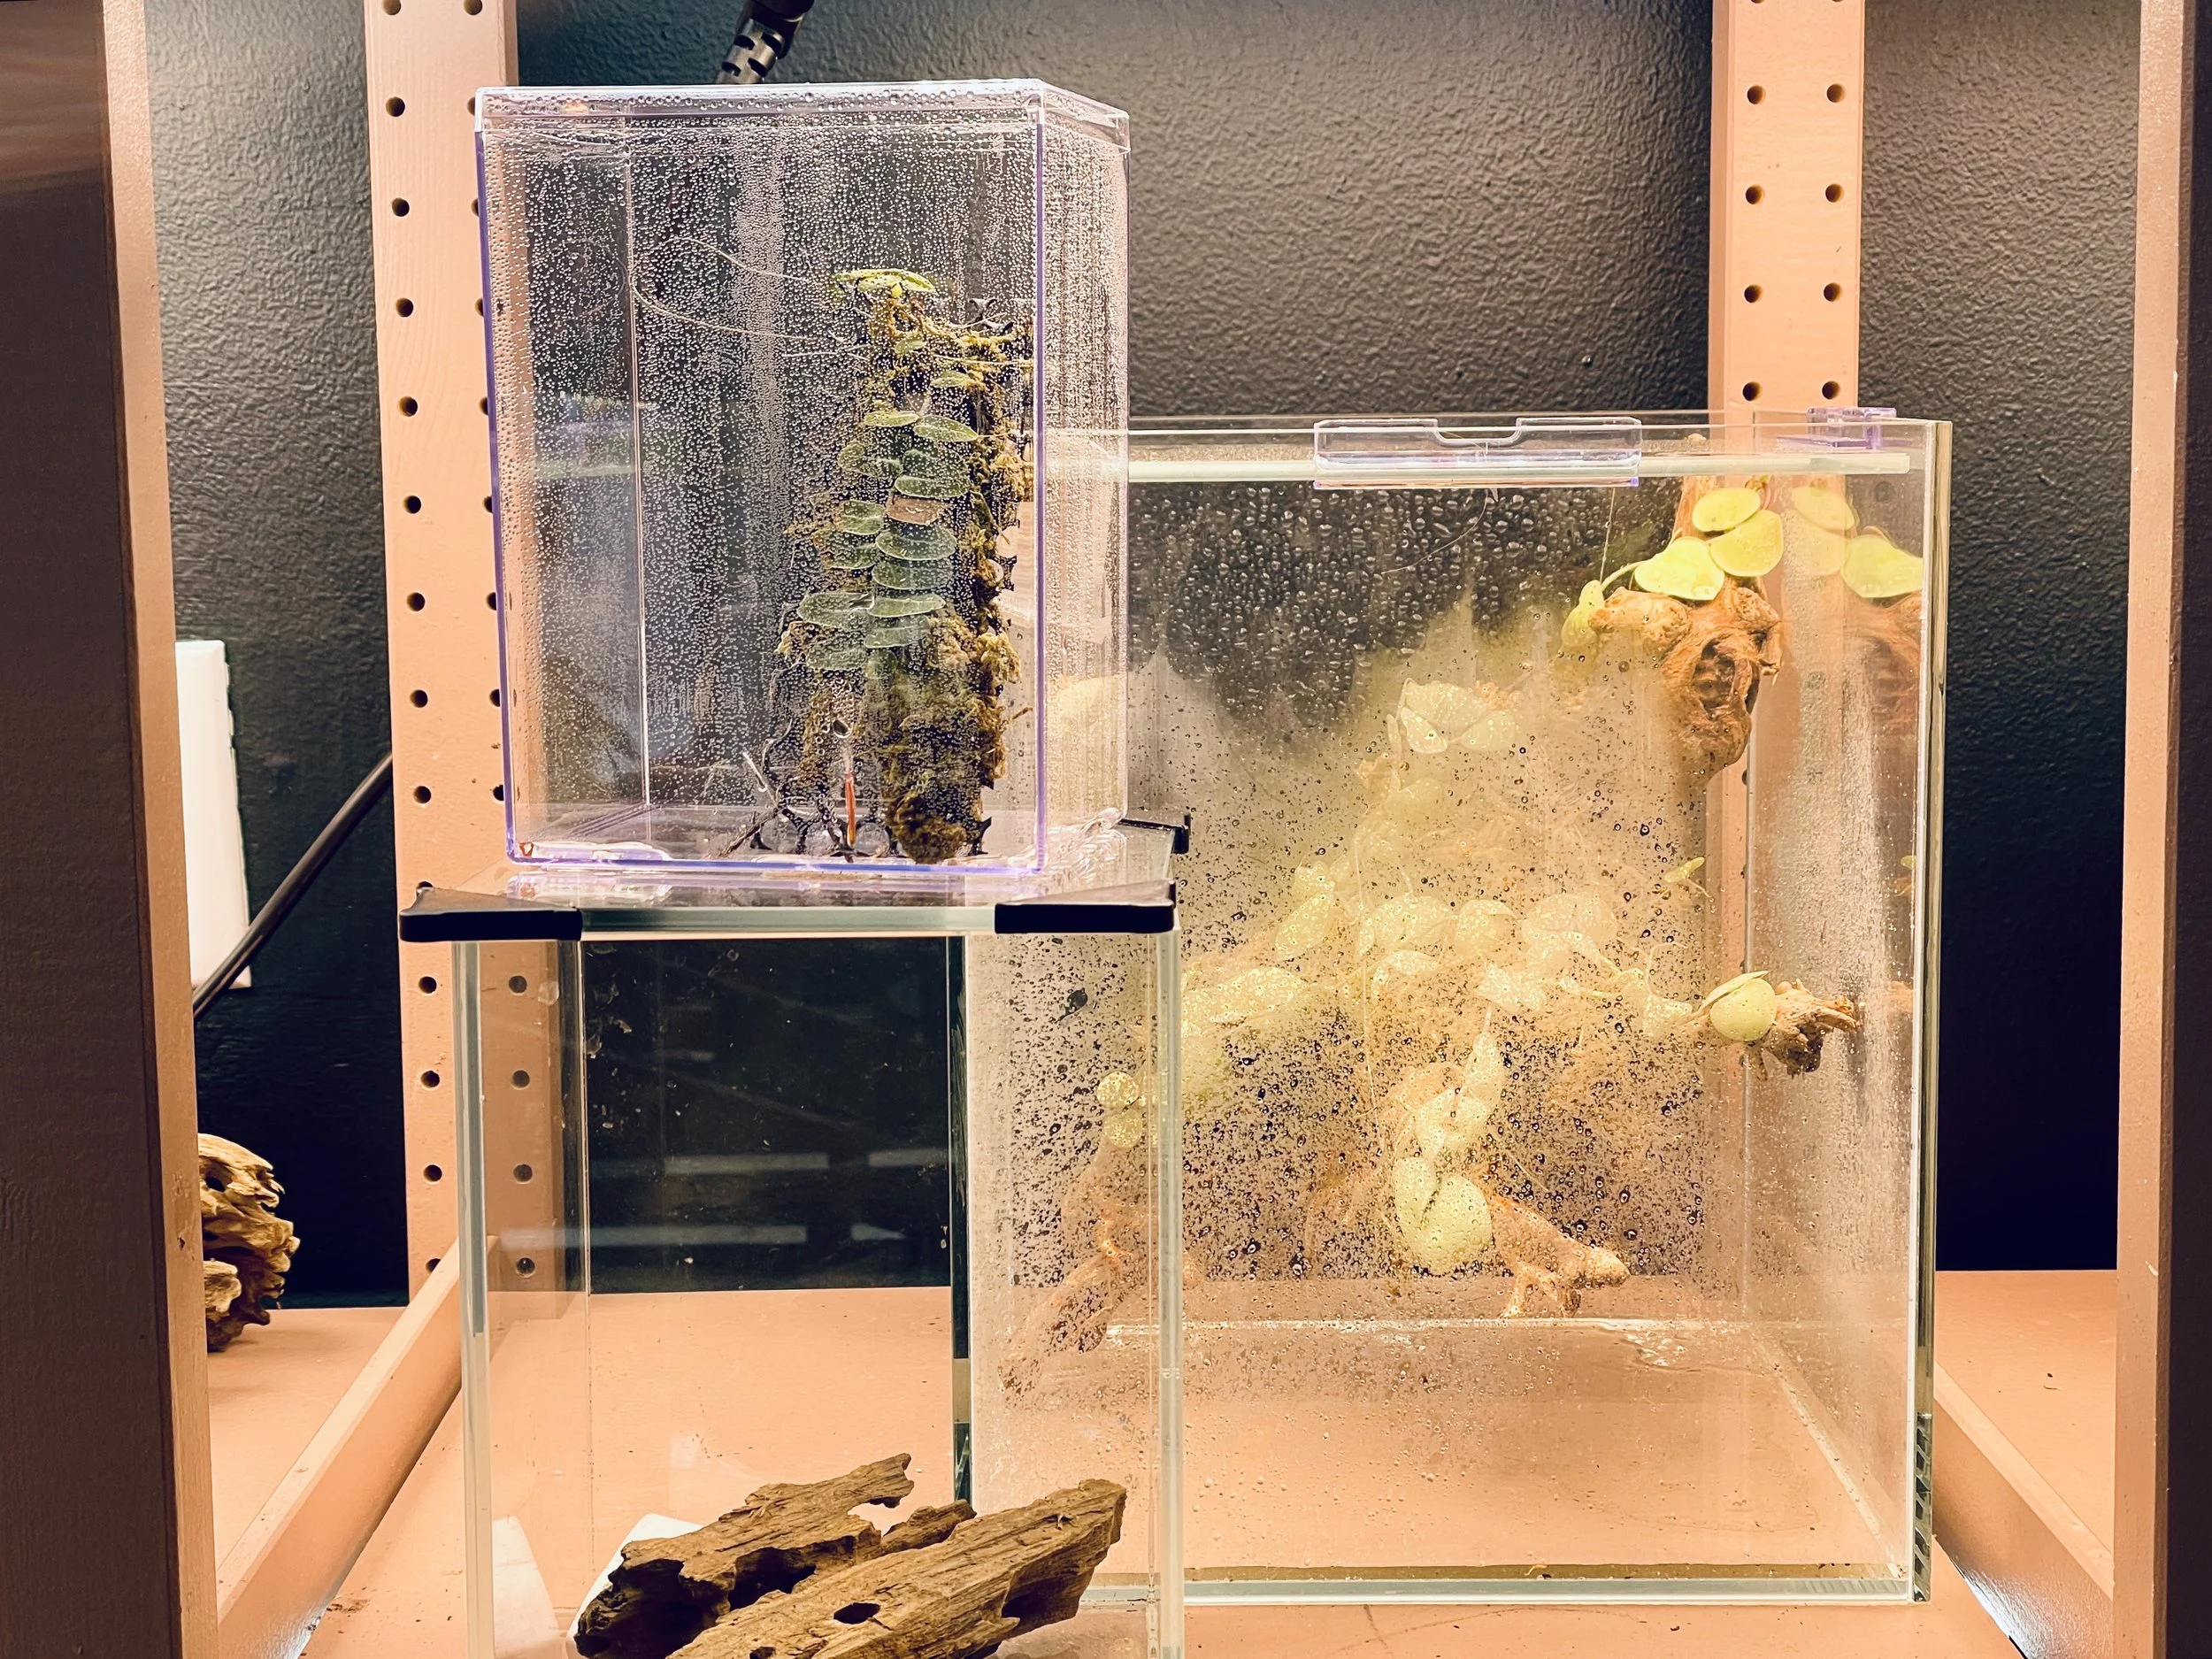
Option 2: Small terrarium for humidity support
If your house sits at 30 to 40% humidity (hello, winter heating), a simple terrarium can keep a young Nepenthes happier.
- Choose a roomy glass tank or clear storage bin with some ventilation.
- Use a grow light above the lid or mounted overhead.
- Keep the plant in its own pot inside the terrarium. This makes repotting and watering safer.
- Add a small fan on low or crack the lid sometimes to prevent stale air and mold.
Tip: Nepenthes can get big. Terrariums are best for small plants and short-term support, not lifetime housing for most varieties.
Temperature: comfortable is best
Many beginner Nepenthes are hybrids that tolerate typical indoor temperatures well.
- Day: roughly 70 to 85°F is comfortable for many plants.
- Night: a small drop is fine, but avoid cold drafts.
If your plant came with a specific label like “highland” or “lowland,” that can affect ideal night temperatures. Beginners do best starting with common hybrids unless you are ready to dial in climate details.
When to repot (and how to be gentle)
Nepenthes do not love root disturbance, so I repot only when there is a reason.
Repot when:
- The potting mix is breaking down and staying too wet or smelling sour
- The plant dries out extremely fast because it is root-bound
- You suspect mineral buildup from past tap-water use
- Roots are pushing out of the pot and growth is stalling
Best timing
Repot in spring or early summer when the plant is actively growing and can recover quickly.
Gentle repot steps
- Prepare fresh airy mix and a slightly larger pot.
- Water the plant lightly first so the root ball holds together.
- Slide the plant out and disturb the roots as little as possible.
- Set it at the same depth, backfill, and lightly firm the mix.
- Water with distilled or RO water until it drains.
- Give it higher humidity for a week or two if possible while it settles.
After repotting, it is normal to lose a pitcher or two. Think of it as the plant reallocating energy, not punishing you.
Pruning and vines: what to do when it gets long
At some point, your tidy little plant may decide it is a vine now. That is normal.
- To keep it compact: you can trim a long vine back. Many plants will respond by branching.
- To make more plants: healthy vine cuttings can often be rooted in damp sphagnum in warm, humid conditions.
- To tidy up: it is fine to snip off fully brown, crispy pitchers. I usually leave green parts alone so the plant can recycle energy.
Common problems (and what they are really saying)
No pitchers
- Most common cause: not enough light.
- Also common: humidity too low, or the plant recently shipped or repotted and is adjusting.
- What to do: increase light gradually, stabilize humidity, and be patient with new growth.
Pitchers dry up or brown at the lid
- Common cause: low humidity or inconsistent watering.
- What to do: keep the mix evenly moist, add humidifier support, avoid hot drafts.
Leaf tips turning brown
- Common cause: mineral buildup or dry air.
- What to do: switch to distilled or RO, consider repotting if mix is old, raise humidity a bit.
Black, mushy base or sudden collapse
- Common cause: root rot from staying too wet, especially in dense mix or low light.
- What to do: move to brighter light, repot into airy mix, cut away rotted material if needed, and water more carefully.
Sticky residue or small bugs
- Likely: aphids, mealybugs, or scale.
- What to do: isolate the plant, wipe pests off, and treat with an appropriate method for houseplants. Test any product on a small area first, follow the label, and avoid letting harsh sprays or soaps build up in the potting mix.
If you ever feel stuck, remember this: Nepenthes respond to slow, steady improvements. More consistent light and cleaner water fix an astonishing number of “mystery problems.”
Beginner-friendly Nepenthes to look for
If you are shopping, ask for hardy hybrids. Many are sold simply as “Nepenthes” without a full name, and that is okay for a first plant. (Many true species have narrower climate needs, so start with the easy crowd.)
- Nepenthes ventrata (very common, forgiving)
- Nepenthes gaya (often colorful and adaptable)
- Other common hybrid Nepenthes sold at garden centers and specialty nurseries
Choose a plant with firm leaves, active growth at the tip, and at least a couple of healthy pitchers or forming tendrils.
My gentle reminder
Nepenthes are not “hard,” they are just honest. Give them bright light, very low-mineral water, an airy mix, and a humidity plan, and they will reward you with pitchers that look like living pottery. And if you mess up, you are in excellent company. Plants teach by doing, and gardeners learn the same way.