Marimo Moss Ball Care
Marimo moss balls are the houseplant world’s quiet little miracle: soft, velvety green spheres that look like they belong in a fairy pond. And even though they are often sold as “almost indestructible,” they do have a few firm preferences. Think cool water, gentle light, and a simple routine that keeps their delicate filaments clean and breathing.
I like to treat marimo the way I treat my seed-starting trays: calm consistency beats heroic fixes every time. Let’s set you up with a care rhythm that keeps them deep green, tidy, and happily rolling along.

What marimo actually are
Despite the nickname, marimo are not moss. They are a form of filamentous green algae (usually Aegagropila linnaei) that naturally grows into a ball shape in cool, clean lakes where gentle wave action rolls them around.
That little detail explains almost all good marimo care:
- Cool water keeps them comfortable.
- Gentle light fuels green color without scorching.
- Rolling helps them stay round and evenly lit.
- Clean water prevents gunk buildup and keeps water circulating through the filaments.
Buy smart and quarantine first
A quick but important note before we get cozy: in recent years, some marimo in North America were found carrying invasive zebra mussels. It is rare, but the consequences are not. To protect local waterways and your other aquatic pets:
- Buy from reputable sellers who clearly state their sourcing and inspection practices.
- Quarantine new marimo in a separate container for a couple of weeks before adding them to an aquarium or display bowl with other plants.
- Inspect closely in bright light: look for tiny, hard, sesame-seed-like bumps or hitchhikers on the surface or tucked into the filaments.
- Never release marimo water or contents into storm drains, ponds, lakes, or streams.
If you suspect an invasive hitchhiker, follow your local wildlife or invasive species guidance for disposal. When in doubt, keep it out of natural water. Always.
The ideal setup
Safe containers
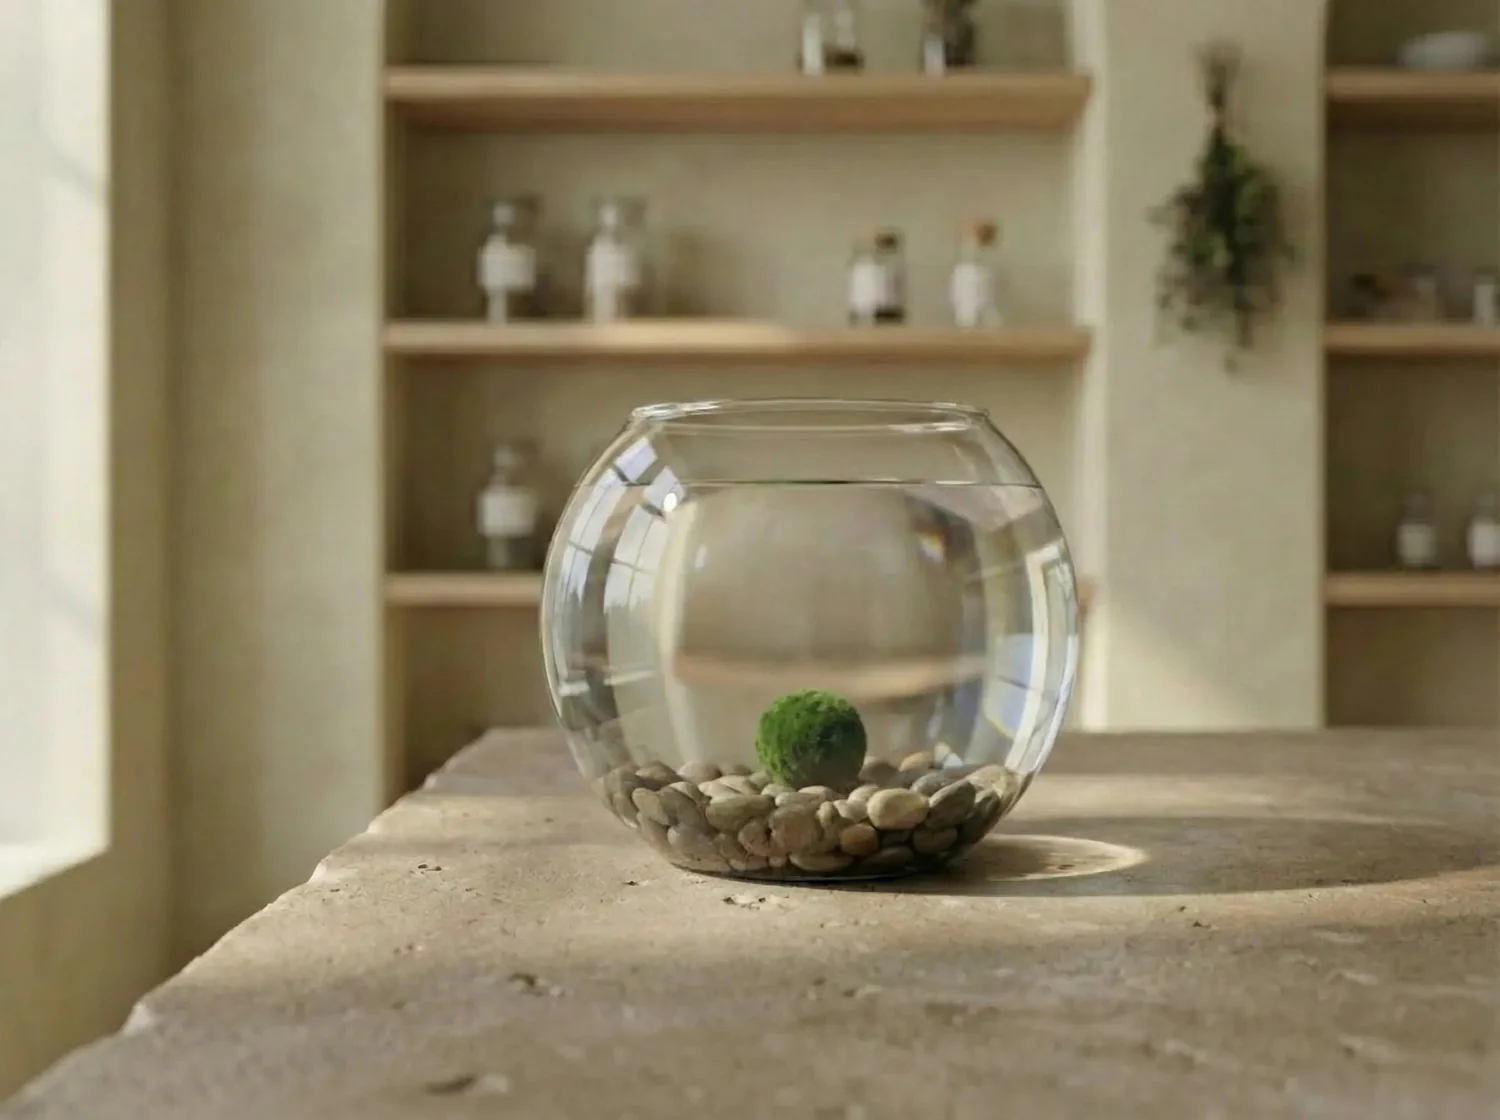
Marimo do best in inert containers that do not leach metals or residues. Good options:
- Glass (jars, bowls, vases): classic, stable, easy to clean.
- Ceramic with a fully glazed interior: fine if it is aquarium-safe and not crazed or flaking.
- Aquarium-safe plastic: useful for larger setups or if you have kids or pets who love gravity experiments.
Avoid containers that may leach or corrode in water over time:
- Untreated metal (including copper or brass accents).
- Unsealed concrete (can alter water chemistry).
- “Mystery” thrifted vessels with peeling coatings or unknown finishes.
Water type
Marimo are not fussy divas, but they are sensitive to extremes. Use:
- Dechlorinated tap water. Letting water sit out for 24 hours can help with chlorine, but it does not reliably remove chloramine (common in many cities). If your water supplier uses chloramine, use a conditioner.
- Filtered water if your tap water is very hard or heavily treated.
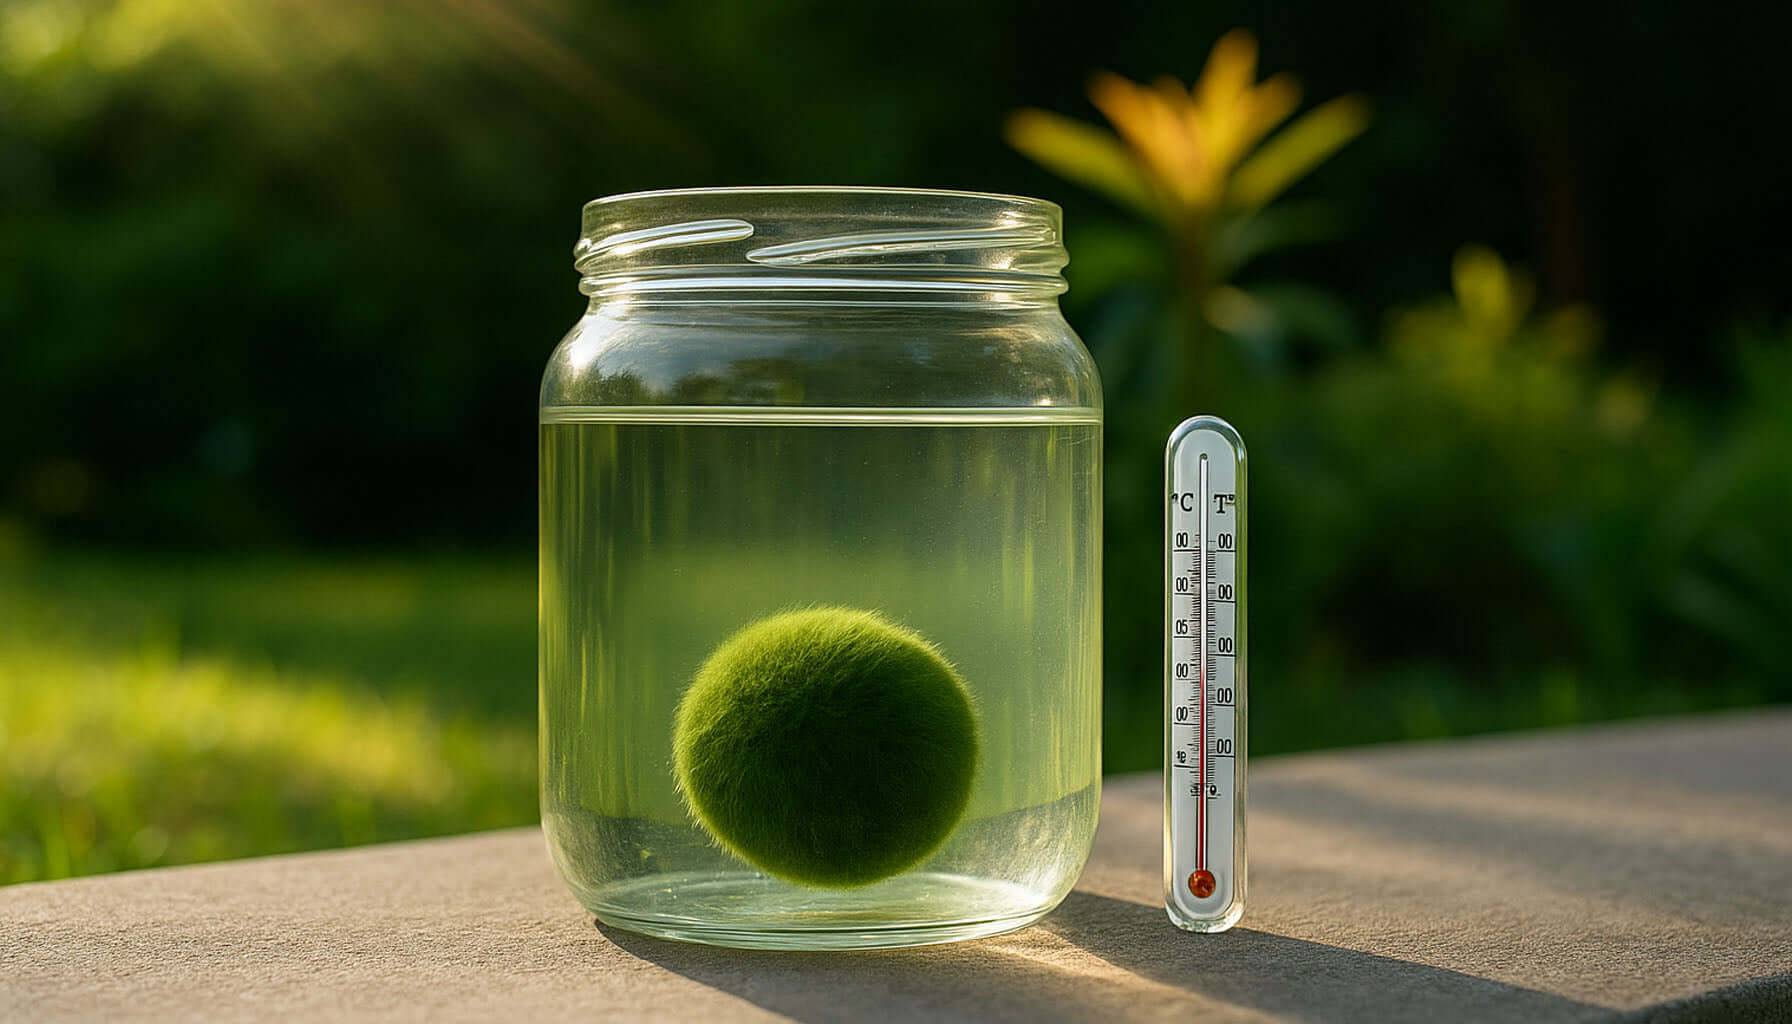
- Cool water, roughly 60 to 75°F (16 to 24°C). Cooler is usually better for long-term color. Try to avoid prolonged warmth above about 75°F / 24°C.
A small aquarium thermometer is the least dramatic way to settle the “is it too warm?” question.
Light
Marimo want bright, indirect light. Too much direct sun can bleach them, encourage nuisance algae, and heat the water.
- Great spot: a few feet back from a sunny window, or in a room with lots of ambient light.
- Okay spot: a lower-light corner, as long as you keep up with water changes (growth will be slower).
- Avoid: a hot windowsill with direct afternoon sun, or right next to a heater, radiator, or warm aquarium light.
Water changes
If you do one thing consistently for marimo, make it this: fresh water on a predictable schedule. Clean water keeps their filaments from getting coated in biofilm and discourages browning and funky smells.
Simple schedule
- Jar or bowl with no filter: change water every 7 to 14 days.
- Warm room (over 75°F / 24°C) or bright light: change water every 5 to 7 days.
- Filtered aquarium: follow the tank schedule, typically weekly partial changes.
How to change the water
- Wash your hands first, especially if you have lotion or soap residue.
- Pour out old water and rinse the container with plain water. Skip detergents.
- Rinse the marimo in a bowl of cool, dechlorinated water.
- Gently squeeze it once or twice like a sponge, then release. This pushes out trapped debris.
- Refill with cool, dechlorinated water and return the marimo.
If you keep marimo with decorative stones, rinse the stones during water changes too. They collect the same gunk, and marimo hate living in gunk.
Rolling routine
In nature, marimo are slowly rolled by waves. At home, they can flatten where they sit, especially if light hits mostly from one direction.
Once a week during your water change, do a tiny “spa day”:
- Roll the marimo between your palms under water to encourage a round shape.
- Rotate its resting spot so the same side is not always facing the light.
- Check for flat spots and gently re-form the ball.
No need to be aggressive. Think bread dough, not stress ball.
Keeping them cool
Marimo are cold-water creatures. If your home runs warm, a little cooling can help them keep color and discourage nuisance algae.
Simple ways to cool things down
- Use cool dechlorinated water at each change.
- Move the container away from direct sun and heat sources.
- Choose a heavier glass bowl that resists temperature swings.
The fridge trick
Yes, occasionally, a short cool-down can help a stressed marimo if your water has been running too warm. This is an optional, occasional trick, not a routine requirement.
- Duration: 24 to 48 hours is plenty.
- Water: fresh, dechlorinated water.
- Container: keep it clean and covered so it does not pick up food odors or kitchen germs.
- Temperature: avoid near-freezing zones in the fridge.
Skip this if you cannot keep it sanitary or if your marimo is already showing signs of rot. Cool water is helpful. A science experiment in the crisper drawer is not.
Why marimo turn brown
Browning is the marimo equivalent of a houseplant saying, “Something about this environment is not working for me.” The good news: most cases are fixable if you catch them early.
Common causes
- Too much direct sun (bleaching and heat stress).
- Warm water over time.
- Dirty water and buildup of biofilm or debris.
- Not enough rolling (uneven light and low circulation through one side).
- Decay in the center from compacted debris or long-term neglect.
Step-by-step rescue
- Move to gentler light: bright shade, not sunbeams.
- Do a full water reset: clean container, fresh dechlorinated cool water.
- Rinse and squeeze the marimo in cool water to flush debris.
- Inspect the brown area: is it surface staining, or slimy breakdown?
- Spot-clean: lightly rub brown patches with clean fingers under water.
- Roll and re-form into a ball, then rotate weekly.
If the marimo is mostly green with a few tan patches, you are usually dealing with light or water quality. If it is slimy, smelly, or falling apart, skip ahead to the decay section below.
Clara’s rule of thumb: green and firm is a good sign, even if it is not perfect. Brown and mushy is an emergency.
The salt trick (optional)
If you are dealing with mild stress or nuisance algae, a tiny pinch of non-iodized aquarium salt can sometimes help marimo tolerate the situation better and discourage some standard freshwater algae. Use this gently and sparingly.
- Only use aquarium salt (not table salt with iodine or anti-caking additives).
- Go tiny: start with a very small amount, and do not treat it like a soup recipe.
- Do not use if your marimo shares a tank with salt-sensitive animals or plants.
If you are unsure, skip salt and lean on the basics: cooler water, less light, and more frequent water changes. Those fixes are the most reliable.
Healthy vs nuisance algae vs decay
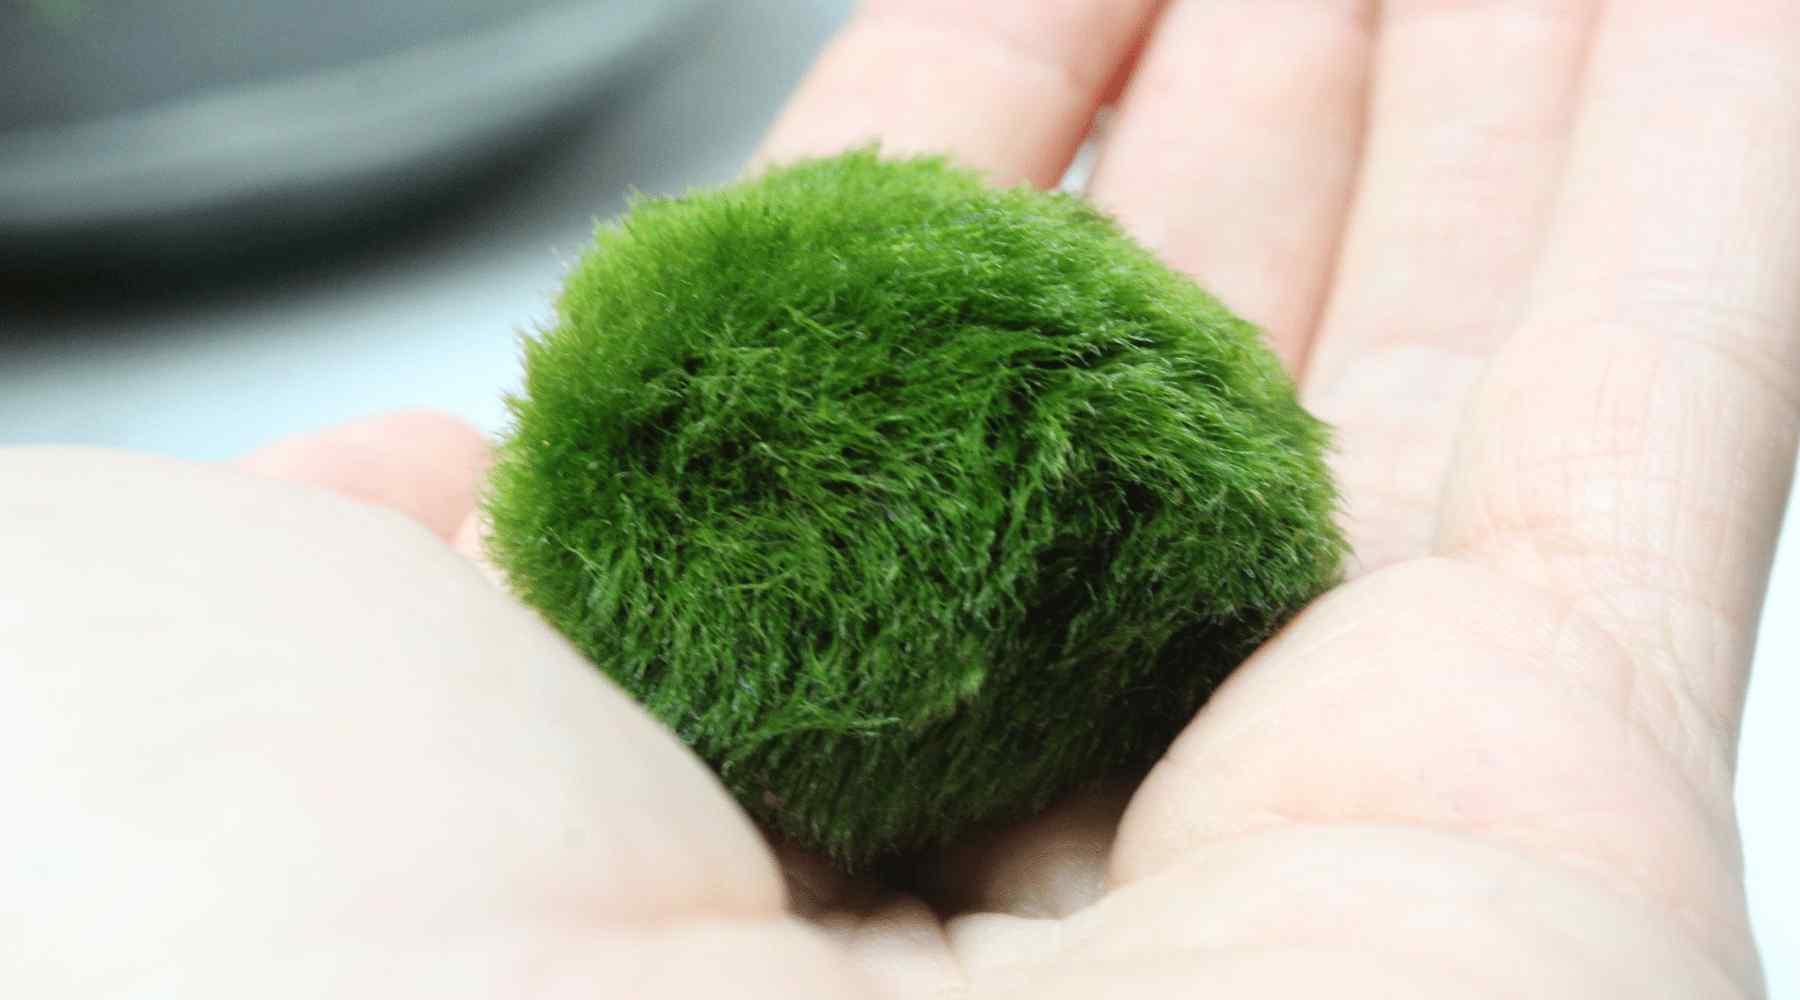
Marimo are algae, so it is normal to see fine green filaments. What you want is a dense, velvety texture and a clean, earthy-water smell.
Healthy signs
- Color is medium to deep green.
- Texture is soft but springy.
- No foul odor.
- Water stays fairly clear between changes.
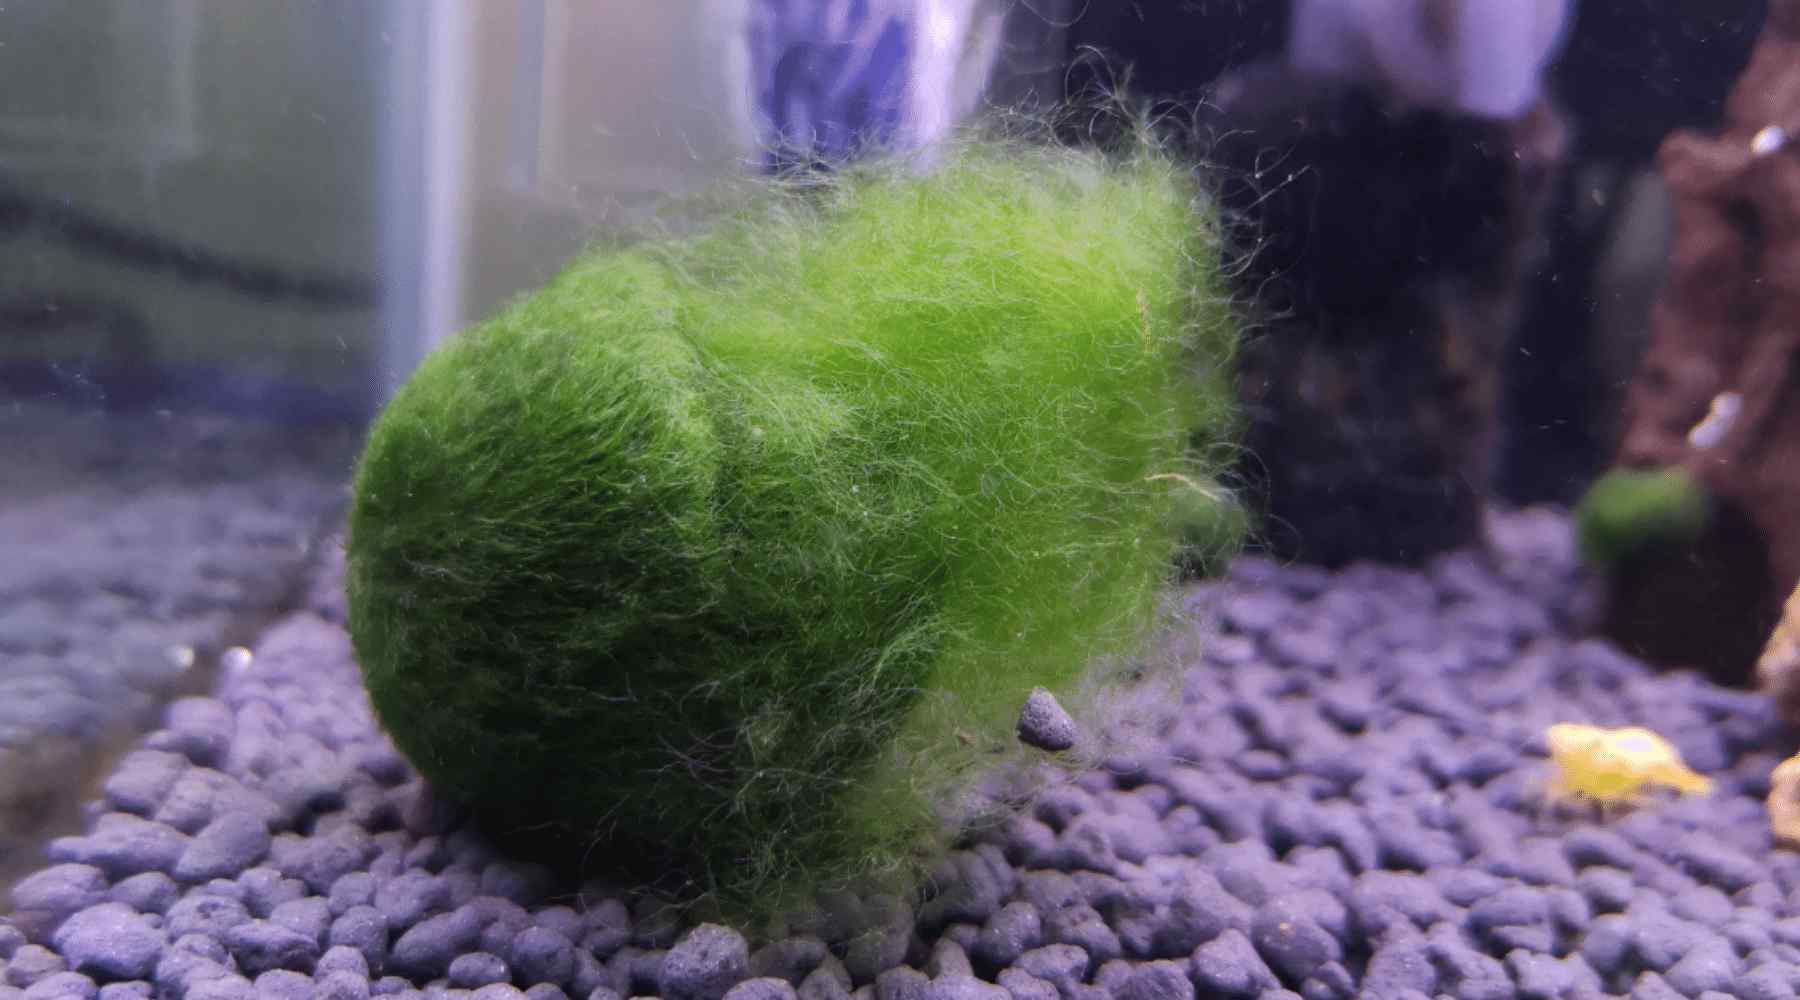
Nuisance algae signs
- Stringy hair algae growing like wisps or threads on the marimo or container.
- Green film coating the glass quickly.
- Slippery feel on surfaces.
Fix: Reduce light, change water more often, rinse the container, and gently swish the marimo in cool water to dislodge algae. In an aquarium, consider adjusting lighting duration and nutrient load rather than scrubbing constantly.
Decay signs
- Brown or black sections that look melted.
- Squishy, slimy texture.
- Rotten smell when lifted from water.
- Cloudy water soon after a change.
Fix: Remove from the container, rinse thoroughly, and trim away rotten material with clean scissors. If decay is in the center, you may need to split the marimo and save only healthy green portions.
When to split a marimo
Marimo grow slowly, so splitting is not a frequent chore. You might split if:
- It has grown large and you want two smaller balls.
- The center is decaying and you need to save healthy outer portions.
- You bought a clump that is lopsided and you want to re-shape it.
How to split
- Rinse the marimo in cool, dechlorinated water.
- Gently pull apart with clean hands, or use clean scissors to cut.
- Shape each piece into a ball by rolling between your palms underwater.
- Optional tie: if it will not hold shape, loosely wrap it with dark cotton thread for a few weeks, then remove once it firms up.
- Increase rolling for the first month so the new balls round out evenly.
After splitting, keep them in extra-clean water and moderate light while they recover.
Cleaning
Marimo do not need soaps, plant food, or special chemicals. They need clean water and a gentle rinse.
- Do: rinse the container with warm to hot water, then let it return to room temp before refilling. Avoid extreme temperature shocks, especially with cold glass.
- Do: swish and squeeze the marimo in a bowl of dechlorinated water.
- Do not: use dish soap, bleach, or cleaning sprays on the jar.
- Do not: add fertilizers . Marimo are adapted to low-nutrient water, and extra nutrients often fuel nuisance algae.
Troubleshooting
My marimo floats
Floating can happen after cleaning when air gets trapped inside. Gently squeeze it under water to release bubbles.
It can also float for a happy reason: in good light, marimo may produce tiny oxygen bubbles from photosynthesis (sometimes called pearling). If it is bright green, smells clean, and feels springy, occasional floating is usually just your marimo doing its thing.
Water gets cloudy fast
Increase water changes, rinse the container, and squeeze-rinse the marimo. Cloudiness often means debris buildup or early decay.
It is getting pale
Usually too much light or water getting too warm. Move it to indirect light and keep water consistently cool.
It is flattening
Roll weekly and rotate its position. Flat spots are common and correctable.
Simple weekly routine
- Once a week: change water, rinse container, squeeze-rinse marimo, roll it into shape, rotate where it sits.
- Daily glance: check that it is not in direct sun and the water is staying cool.
- Once a month: inspect closely for brown patches, slime, odor, or nuisance algae.
If you keep that rhythm, marimo care becomes wonderfully boring, which is exactly what they like.