Lithops Care for Beginners
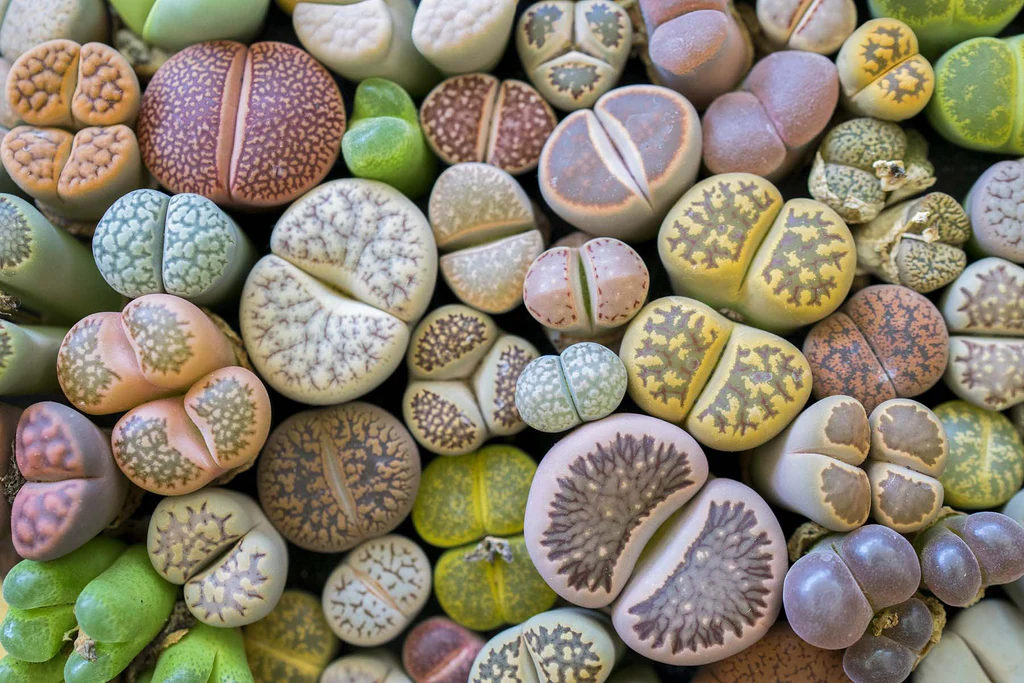
Lithops, also called living stones, are the tiny houseplants that look like someone sprinkled polished pebbles across a pot. And they are just as stubbornly adapted to drought as they look. The biggest beginner mistake is treating lithops like “normal succulents” that want a sip every week or two. Lithops care follows a seasonal script: new leaves grow inside the old ones, then slowly drink them dry. Your job is to match light and water to that cycle, not your calendar. One important caveat: the timing of that script can shift by species, your home conditions, and which hemisphere you are in, so observation always beats dates on a chart.

Meet the life cycle
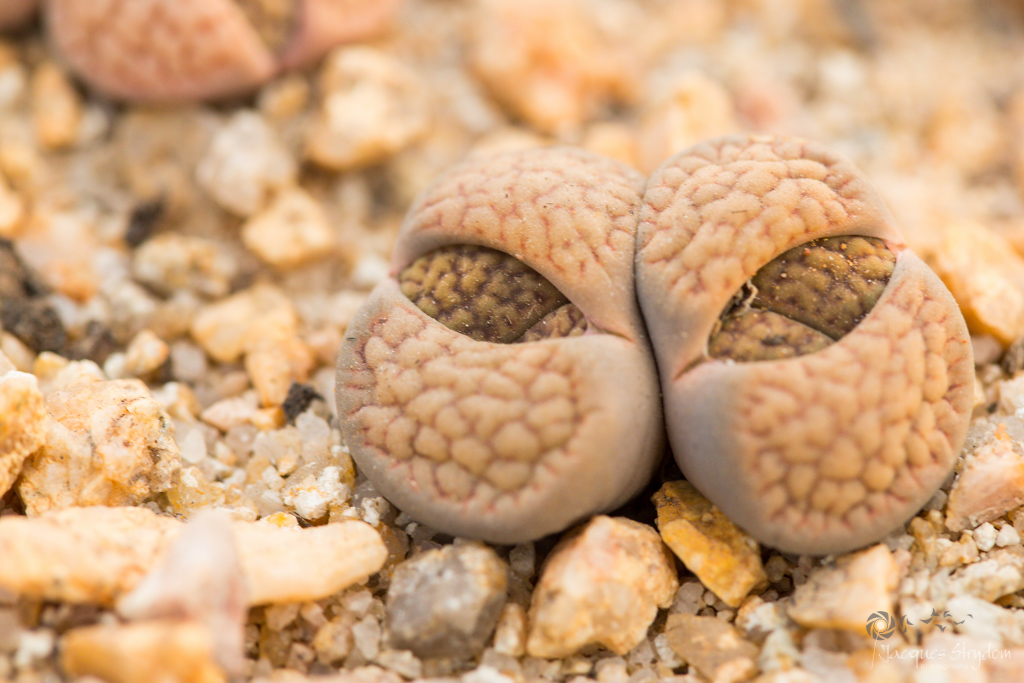
If you understand one thing about lithops, let it be this: they replace themselves from the inside out. Each plant is a pair of thick leaves with a fissure (the split) down the center. At certain times of year, a new pair forms inside and slowly pushes up while the old pair shrivels like paper.
What you might see through the year
- Late summer to fall: Many lithops bloom. A daisy-like flower pops from the center fissure, often after a stretch of warmth and bright light.
- Fall to winter: The plant starts making new leaves inside the old ones. Growth is happening, even if the outside looks unchanged.
- Winter to early spring: The old leaves wrinkle and collapse as the new leaves expand. This is the “absorbing” phase.
- Spring to early summer: New leaves fully emerge, old leaves finish drying. The plant rests and prepares for the next cycle.
This cycle is why lithops watering advice sounds so extreme. It is not about being mean to your plant. It is about not interrupting a process lithops are built to complete without outside help.
Hot-summer note: some lithops slow down in high heat. If your plant seems paused during a hot stretch, treat that as a caution flag and keep water extra conservative.
Light: bright and consistent
Lithops come from places where sunlight is intense and unfiltered. Indoors, they want the brightest spot you can give them.
Best light for beginners
- South or west window: Ideal in most homes. A few hours of direct sun is a good starting point.
- Grow light option: If your home is dim, a grow light can be the difference between a cute pebble and a stretched, unhappy blob.
Signs your lithops want more light
- They get taller, thinner, or “stacked” looking instead of staying low and squat.
- The colors fade and patterns look washed out.
- They lean hard toward the window.
Signs of too much sudden sun
- Bleached patches or tan, crispy scars after moving from low light straight into harsh afternoon sun.
Pro tip: Acclimate slowly. If you are moving a lithops into stronger sun, do it over 7 to 14 days, shifting it closer to the bright spot a little at a time.
Water: less than you think
Lithops store water like a camel. Overwatering does not just “stress” them, it can make them split unpredictably, rot at the base, or fail to complete their leaf change. The safest beginner approach is to water only at specific times, and only when the plant is clearly ready.
The golden rule during leaf change
Avoid watering while the plant is absorbing its old leaves. When you see the outer leaves wrinkling and the new pair emerging, the plant is already drinking what it needs from the old leaves. Adding water at this stage can stall the changeover and raise rot risk, especially in slower-drying mixes.
A simple seasonal watering rhythm (indoor, temperate home)
- Fall: Water sparingly if the plant is actively growing or blooming and the soil is bone dry. Think occasional, not routine.
- Winter to early spring (leaf absorption): Usually no water. Only consider a tiny drink if the old leaves are fully papery, the new leaves are fully out, and the plant is still badly shriveled, or if you suspect roots are desiccating in an extremely dry, warm setup.
- Late spring to summer (after old leaves fully dry): Water lightly and infrequently, only when the plant shows slight softening and the mix is fully dry.
Because homes vary, use the plant as your guide more than the month. If you are in the Southern Hemisphere, the broad pattern is the same, but the months may flip.
How to water correctly
- Drench, then dry: When it is time to water, water thoroughly until it runs out the drainage hole, then let the pot dry out completely.
- Aim for the soil: Try to water the mix, not the tops. A few drops on the plant are not automatically fatal, but moisture sitting in the fissure plus low airflow can invite trouble.
- Err on the dry side: If you are debating, wait a week and reassess.
When not to water (even if you feel guilty)
- The old leaves are still partially plump.
- The plant is in the middle of splitting into new leaves.
- The soil is not fully dry all the way down.
- The plant looks firm and full.
Lithops do not want “a little drink.” They want long dry stretches, then a deliberate soak only when their cycle says it is time.
Red flags that usually mean too much water
- Mushy base or a plant that suddenly collapses.
- Translucent, swollen tissue.
- A sour smell from the potting mix.
- Fungus gnats hanging around a pot that should be dry.
If you suspect rot, stop watering immediately and move the plant to brighter light with airflow. Sometimes a dry-out saves them. Sometimes, heartbreakingly, it does not. Lithops teach patience and restraint in a very real way.
Soil: gritty and low-organic
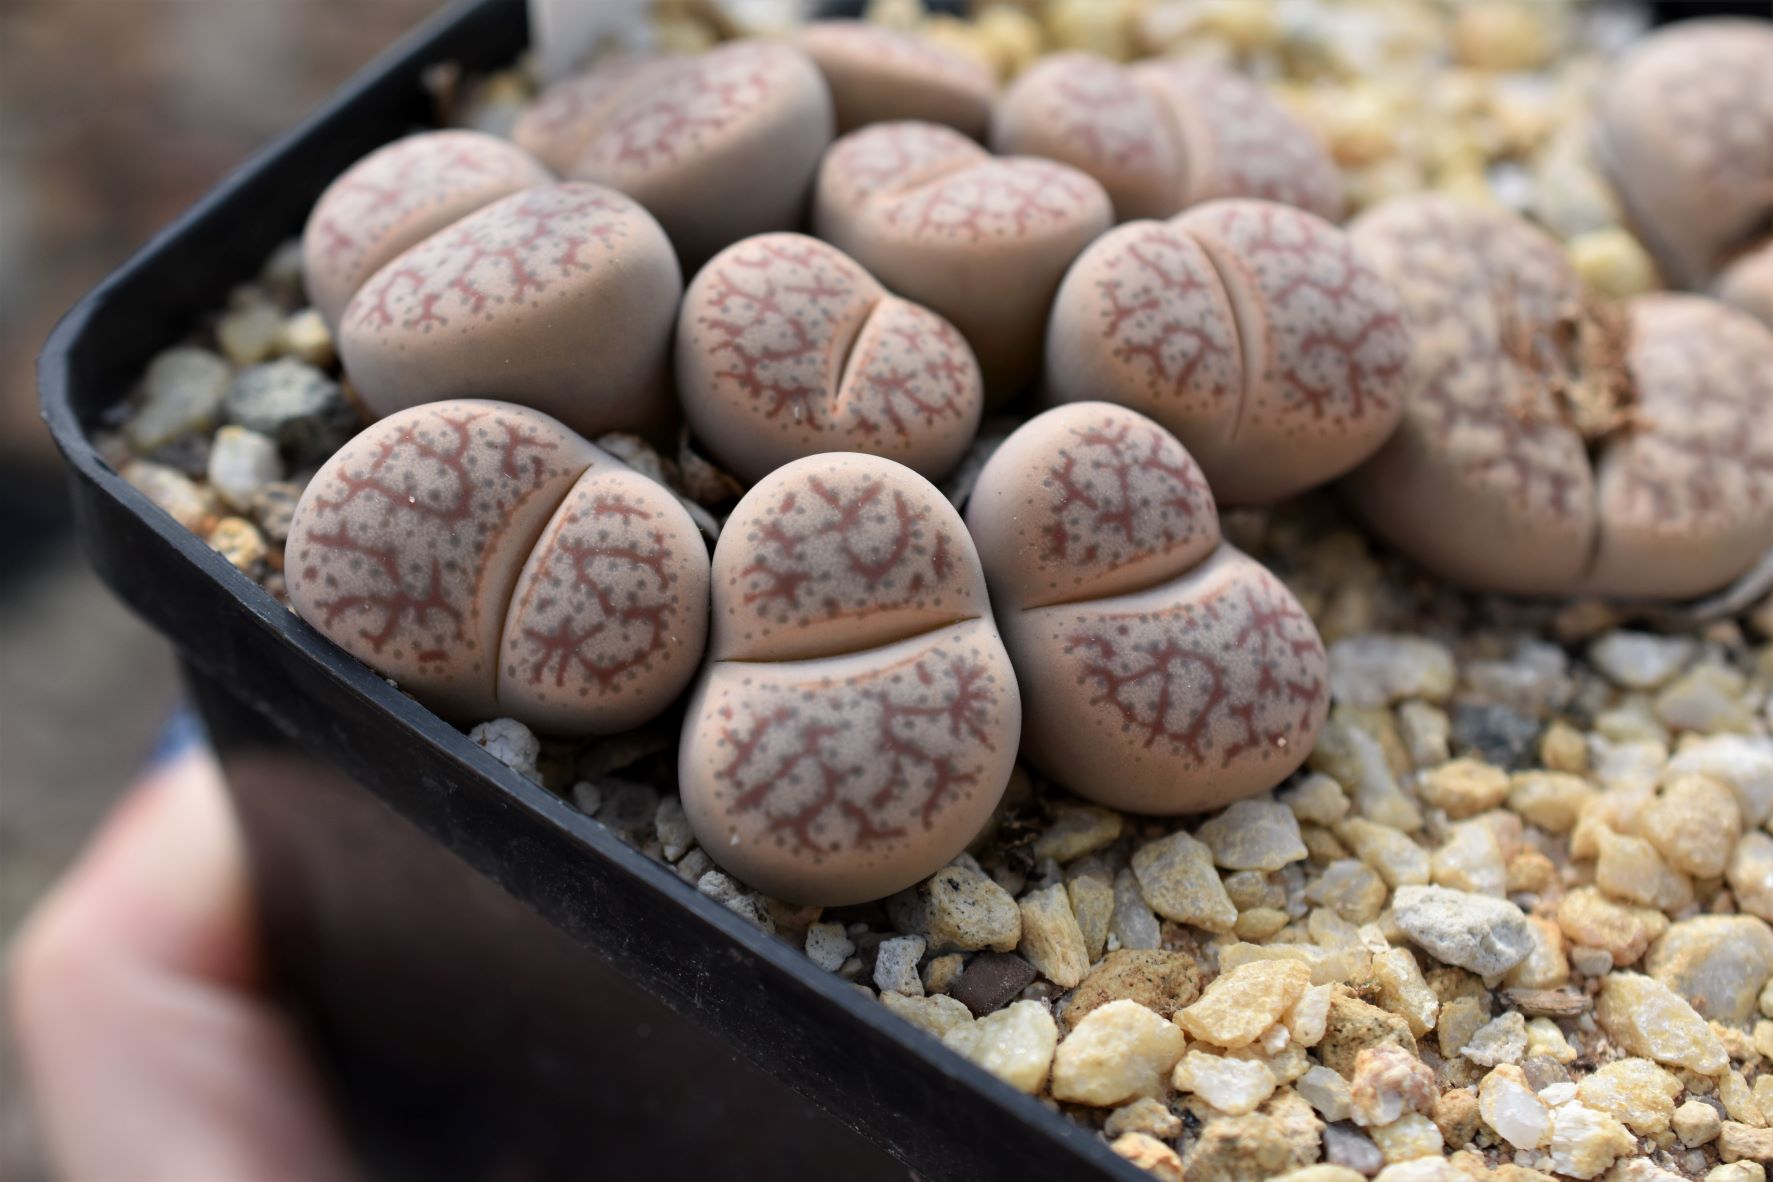
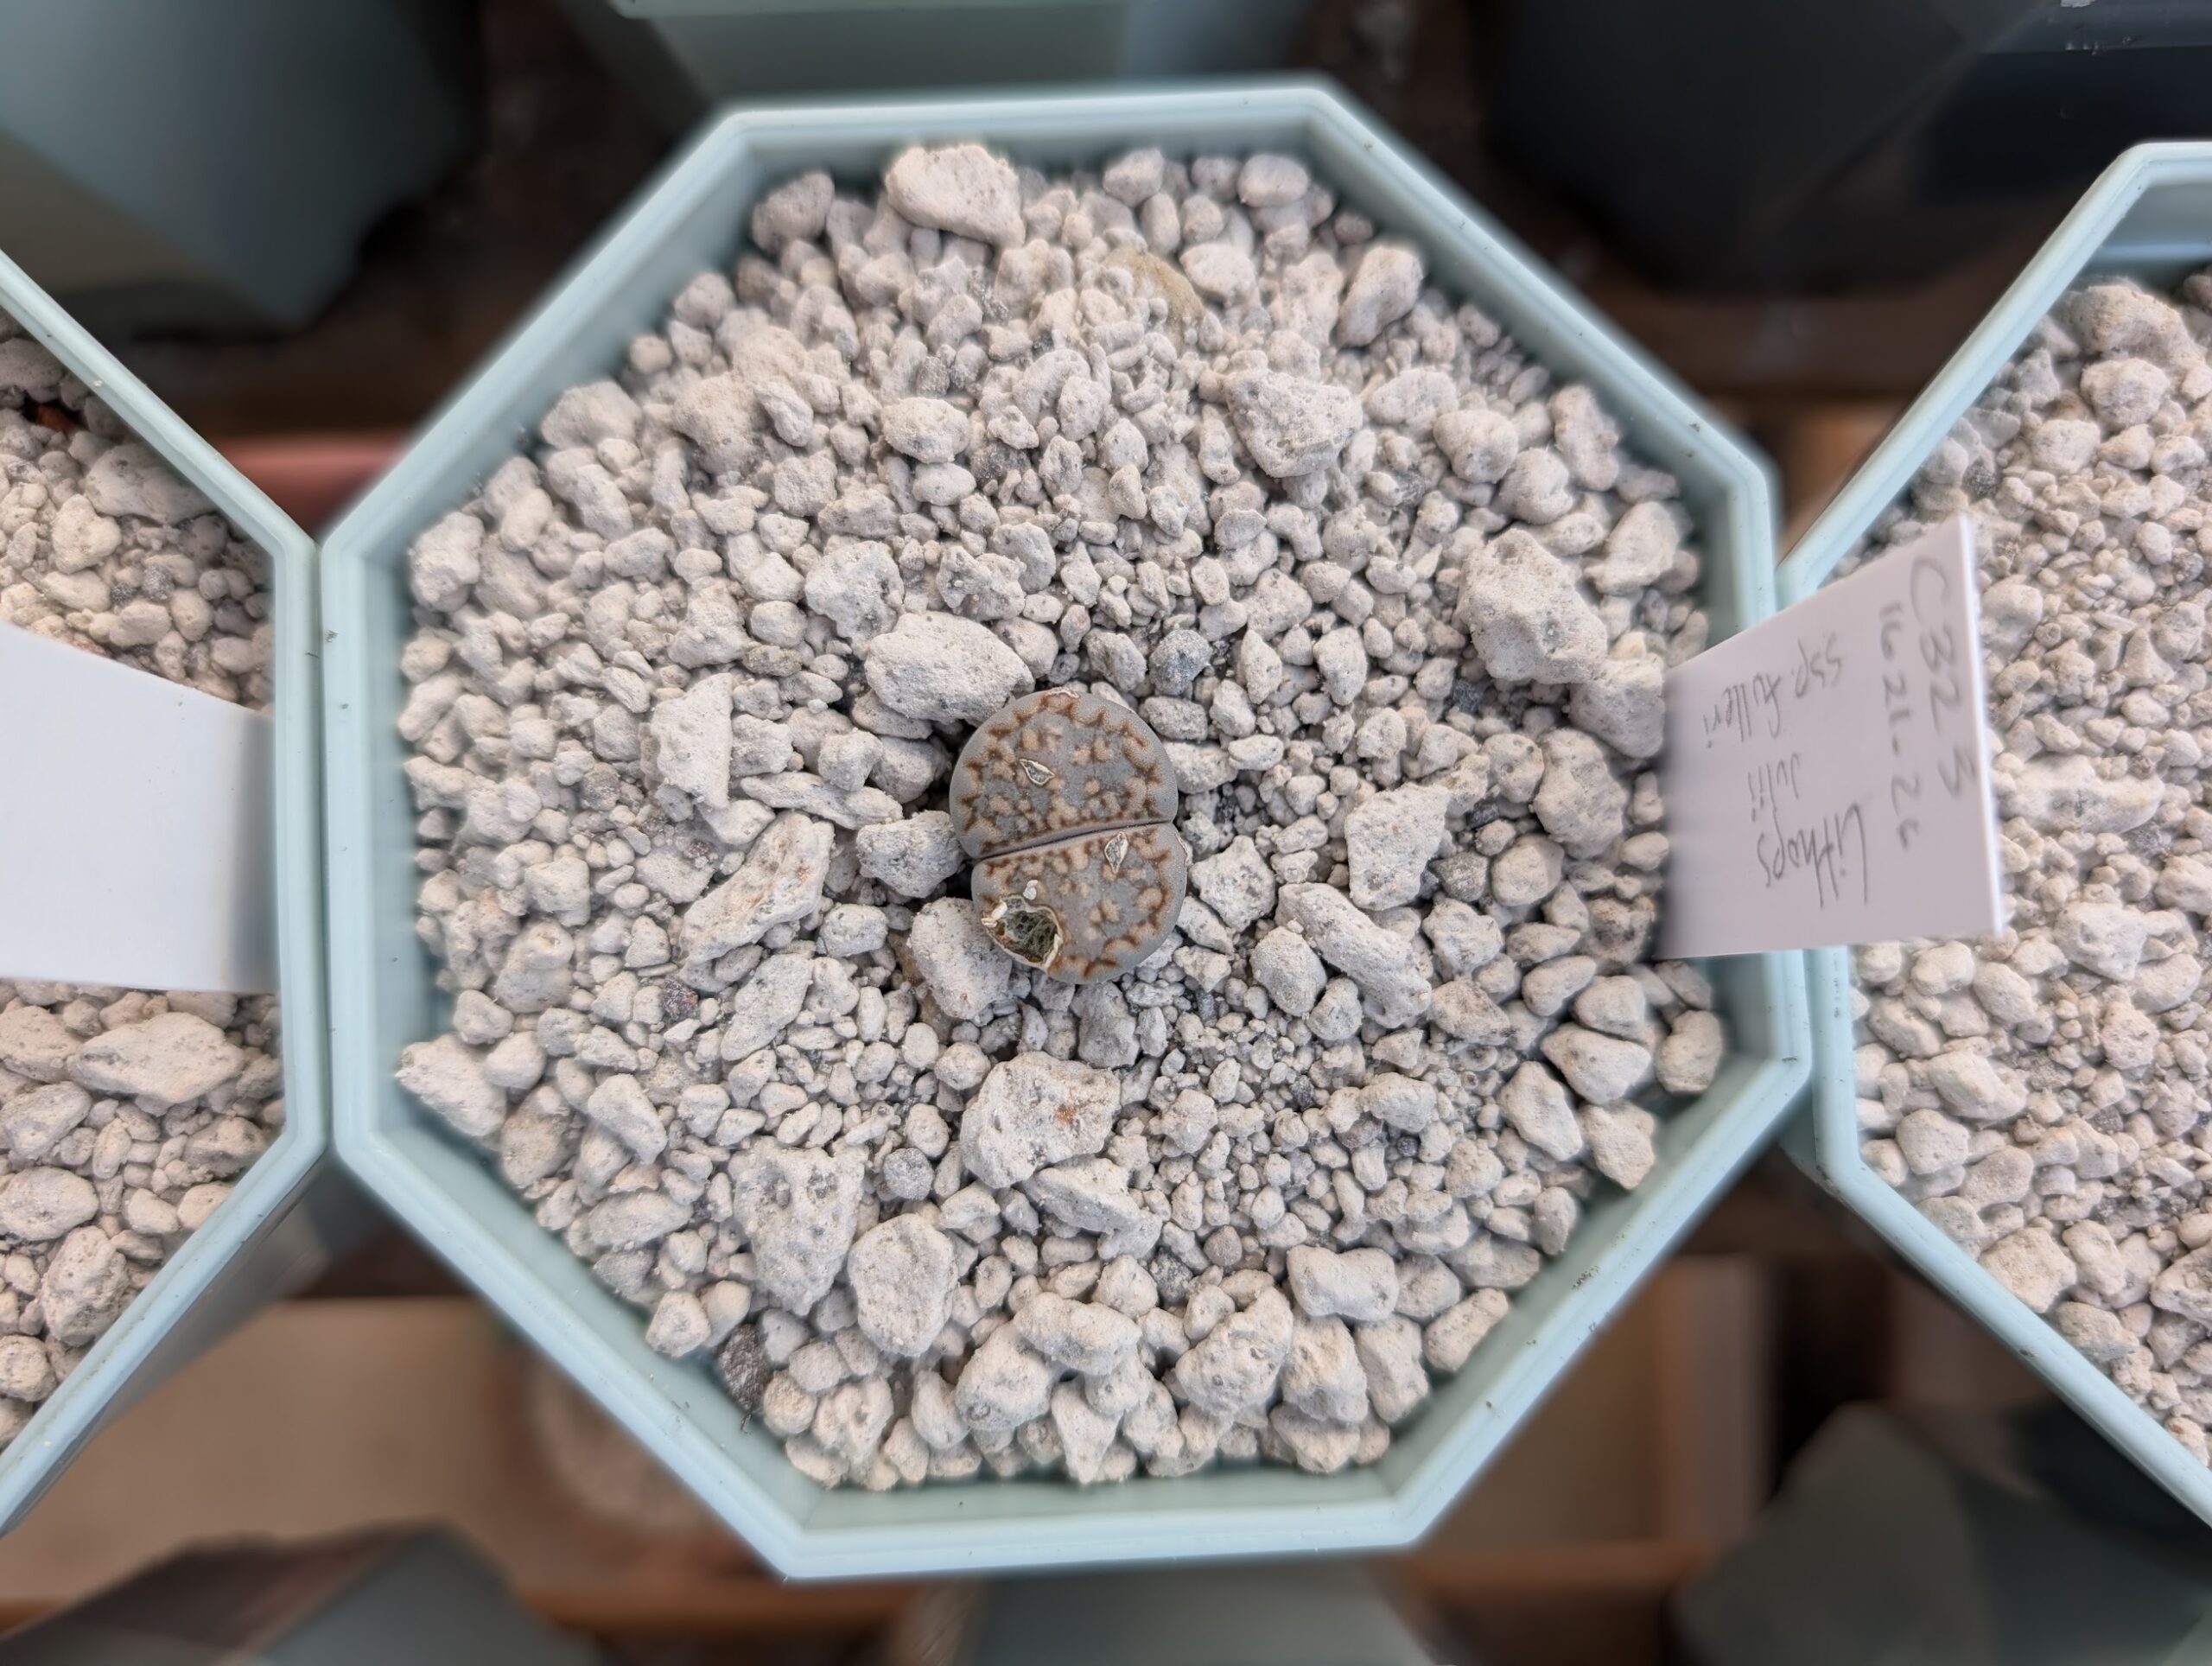
This is where most store-bought succulent setups go wrong. Typical cactus mix often contains enough peat or compost to hold moisture longer than lithops like. Living stones do best in a mineral-heavy mix that dries quickly.
What a good mix looks like
- Mostly grit: pumice, perlite, crushed lava rock, coarse gravel, or coarse sharp sand.
- Small amount of organic material: a little cactus mix or sifted compost, just enough to lightly bind the mix.
A common beginner-friendly target is roughly 70 to 90 percent mineral and 10 to 30 percent organic. You are aiming for a mix that feels like a jar of aquarium gravel with a whisper of soil. Avoid very fine sand that can pack down and reduce airflow.
Pot choice matters too
- Drainage hole required.
- Unglazed terracotta: great for beginners because it breathes and dries faster.
- Pot depth: moderate depth helps accommodate the plant’s main root without staying wet.
Splitting: normal vs multiplying
“My lithops is splitting” can mean two very different things, and one of them is just the plant doing exactly what it should.
1) Normal splitting
This is the yearly process where a new pair of leaves emerges from the center and the old pair shrivels away. Expect wrinkles, papery texture, and a slow reveal. This is when you hold back water.
2) Multiplying heads
Sometimes a lithops produces two new pairs instead of one, creating a little cluster. You might see multiple fissures or the plant forming “stacks” of heads over time. This is not automatically bad, but it can be a cue to repot as the clump expands.
Important: Overwatering can also cause odd, stressed splitting. Healthy multiplication is slow and steady, not sudden and puffy.
Repotting and spacing
Lithops do not need frequent repotting, but they do appreciate fresh, gritty mix and a little elbow room when a clump expands.
When to repot
- The plant has outgrown the pot or is pressing hard against the rim.
- The mix has broken down and holds moisture longer.
- You bought it in a peat-heavy nursery mix.
- A cluster has formed and you want to give each head more space.
Best time to repot
Aim for a period when the plant is not actively absorbing old leaves. Many growers repot after the leaf change is complete, when the old leaves are fully dry and the new leaves are established.
How to repot
- Let the pot dry out completely. Dry roots are less likely to tear.
- Unpot and brush away old mix. Be gentle with the main root.
- Inspect roots. Trim only obviously dead, black, mushy sections with sterile snips.
- Replant in gritty mix. Set the plant so the body sits just above the soil line. Many people top-dress with gravel to keep the neck dry.
- Wait before watering. Give it about a week in bright light so any tiny root injuries can callus.
Pro tip: If your lithops is a tight clump, you do not have to split it into singles. Lithops can happily grow in clusters. Just size up the pot and refresh the mix.
Temp, airflow, fertilizer
Temperature
Lithops enjoy warmth and tolerate heat well if they are dry. Indoors, average home temperatures are usually fine. Protect them from freezing windowsills in winter nights.
Airflow
Good airflow helps the mix dry and reduces the risk of rot. Avoid crowding them among thirsty houseplants that get frequent watering and raise local humidity.
Fertilizer
They are light feeders. If you fertilize at all, use a very diluted cactus or succulent fertilizer during a true growth period, and do it rarely. Overfeeding can encourage soft, watery growth that lithops are not designed to carry.
Pests and new plants
Lithops are not especially pest-prone, but mealybugs and root mealybugs can hide in tight clumps and peat-heavy mixes. If a plant stops growing, wrinkles oddly, or seems unhappy despite correct light and watering, check the roots and the base.
If you are bringing a new lithops home, consider quarantining it for a couple of weeks. And if it came in a peat plug or soggy nursery mix, swapping it into a gritty mix (at an appropriate time in the cycle) can save you a lot of confusion later.
Beginner mistakes to avoid
- Watering on a schedule: Lithops do not care what day it is. Watch the leaves and the soil dryness.
- Using moisture-retentive soil: Peat-heavy mixes are trouble. Go gritty.
- Low light: They stretch and weaken. Bright light is essential.
- Misting: Adds surface moisture without helping roots. Skip it.
- Panicking during wrinkles: Wrinkling during leaf absorption is normal. It is not a cry for water.
Quick checklist
- Light: very bright, some direct sun, acclimate gradually
- Soil: 70 to 90 percent mineral grit, fast-draining, avoid very fine sand
- Pot: drainage hole, terracotta is beginner-friendly
- Water: soak only when appropriate, usually none during leaf absorption
- Splitting: normal yearly leaf replacement, avoid watering through it
- Repot: when mix breaks down, after purchase from peat-heavy mix, or when clumps need space
If you take nothing else from this page, take this: lithops are not “hard.” They are just literal. Give them bright light, gritty soil, and long stretches of dryness, and they will quietly do their pebble-magic for years.