Lipstick Plant Care for Beginners
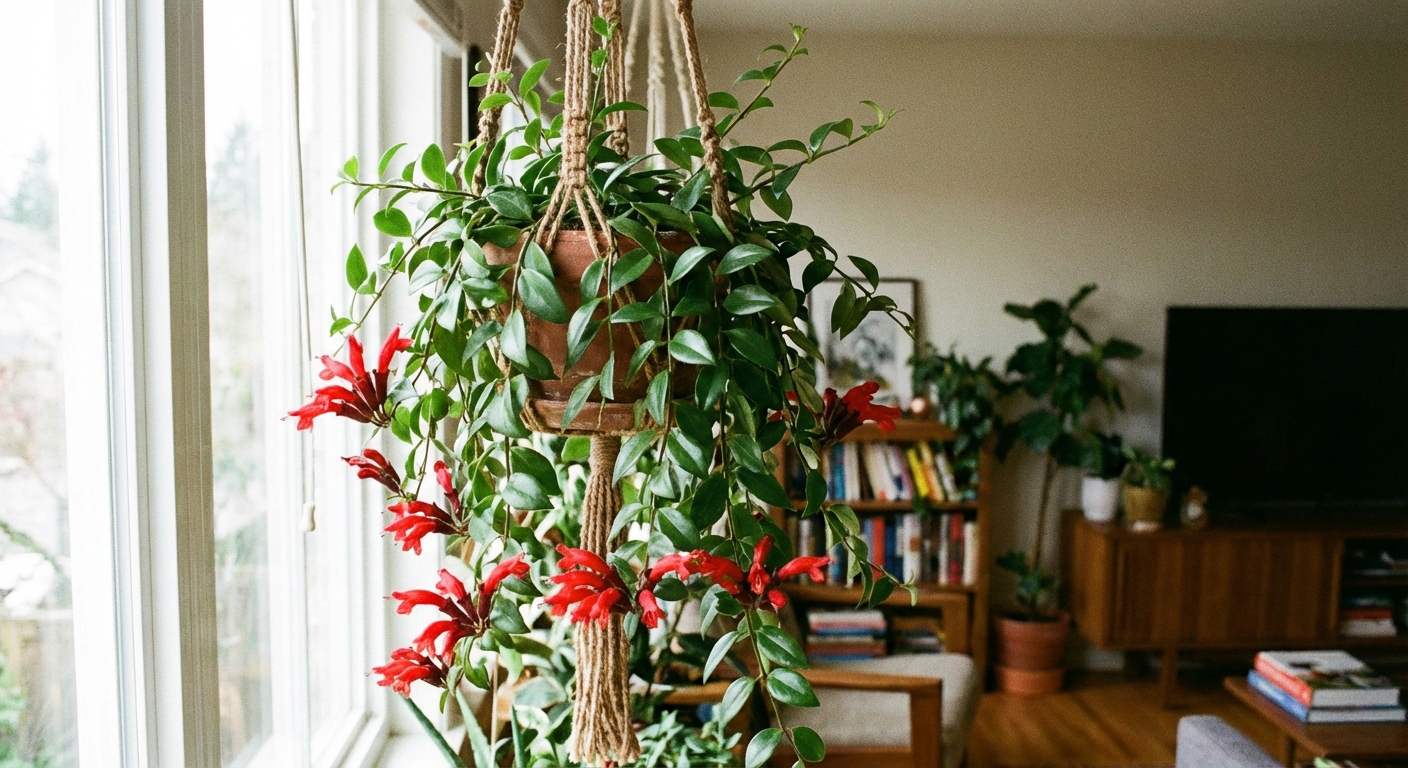
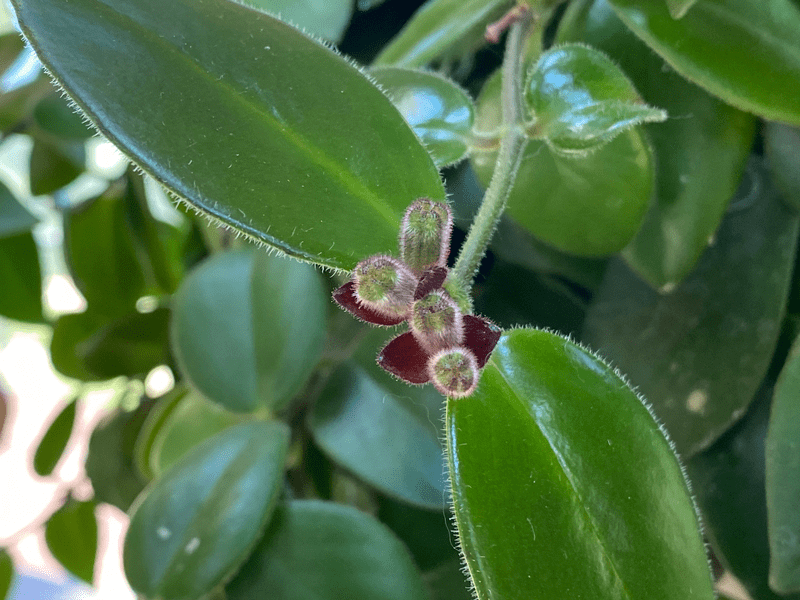
If you love houseplants that actually look like they are trying to put on a show, meet the lipstick plant (Aeschynanthus). It is a trailing tropical epiphyte with glossy leaves and bright tubular flowers that pop out of dark buds like tiny tubes of lipstick. And yes, once you see it bloom, you will start checking it every day like it is a little soap opera on your windowsill.
This guide is for true beginners. We will cover the essentials your lipstick plant needs indoors, how to encourage blooming, and how to propagate it so you can have one for every shelf, hanger, and hopeful friend who claims they have a black thumb.
Quick facts
- Common name: Lipstick plant
- Botanical name: Aeschynanthus (many species and hybrids)
- Growth habit: Trailing, semi-vining
- Best feature: Red, orange, or coral blooms that appear near stem tips
- Toxicity: Generally regarded as non-toxic to cats and dogs in common pet-toxicity references, but it is not as widely documented as some houseplants. Chewing any plant can still cause stomach upset, so if you have a dedicated plant muncher, place it out of reach.
Light: the bloom maker
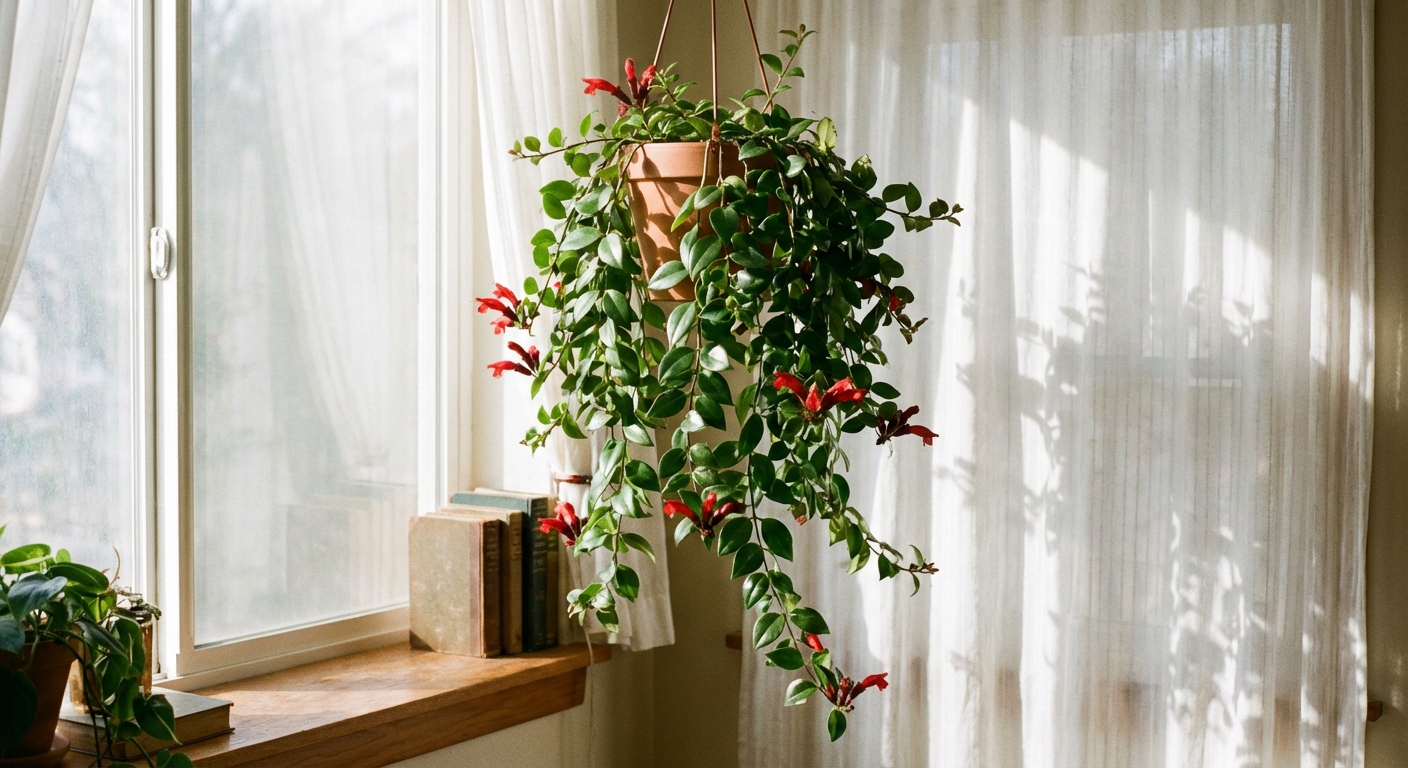
Lipstick plants bloom best when they get bright, indirect light for most of the day. Think of the light in a sunny room, not the harsh beam on a patio table at noon.
Best window placements
- East window: Excellent. Gentle morning sun helps bloom set.
- South or west window: Good if filtered by a sheer curtain, or set a couple feet back from the glass.
- North window: Often too dim for flowering. The plant may live, but it tends to stretch and stay leafy.
Signs your light is off
- Too little light: Long gaps between leaves, pale growth, no buds, slow-drying soil.
- Too much direct sun: Scorched patches, crispy edges, leaves bleaching to a dull yellow-green.
Tip: Rotate the pot a quarter turn every week or two so the trailing stems fill in evenly instead of leaning hard toward the window.
Watering: moist, not soggy
Most lipstick plant problems are watering problems. The goal is a steady rhythm: the plant likes moisture, but it hates sitting in wet soil.
When to water
Water when the top 1 to 2 inches of potting mix feel dry. In many homes that is about once a week in warmer months, and less in winter, but always trust the soil over the calendar.
Adjust as needed: Small pots, terracotta, and hanging baskets can dry out fast. Larger pots, plastic pots, and cooler seasons dry more slowly.
How to water correctly
- Water thoroughly until it runs out the drainage holes.
- Empty the saucer so the roots are not soaking.
- Use room temperature water if possible.
Common watering mistakes
- Overwatering: Yellowing leaves, mushy stems, fungus gnats, sour-smelling soil.
- Underwatering: Droopy leaves, crispy edges, buds dropping before opening, potting mix pulling away from the pot.
My beginner-friendly rule: If you are unsure, wait one more day, then check again. Lipstick plants bounce back from slight dryness far better than from root rot.
Humidity and temperature
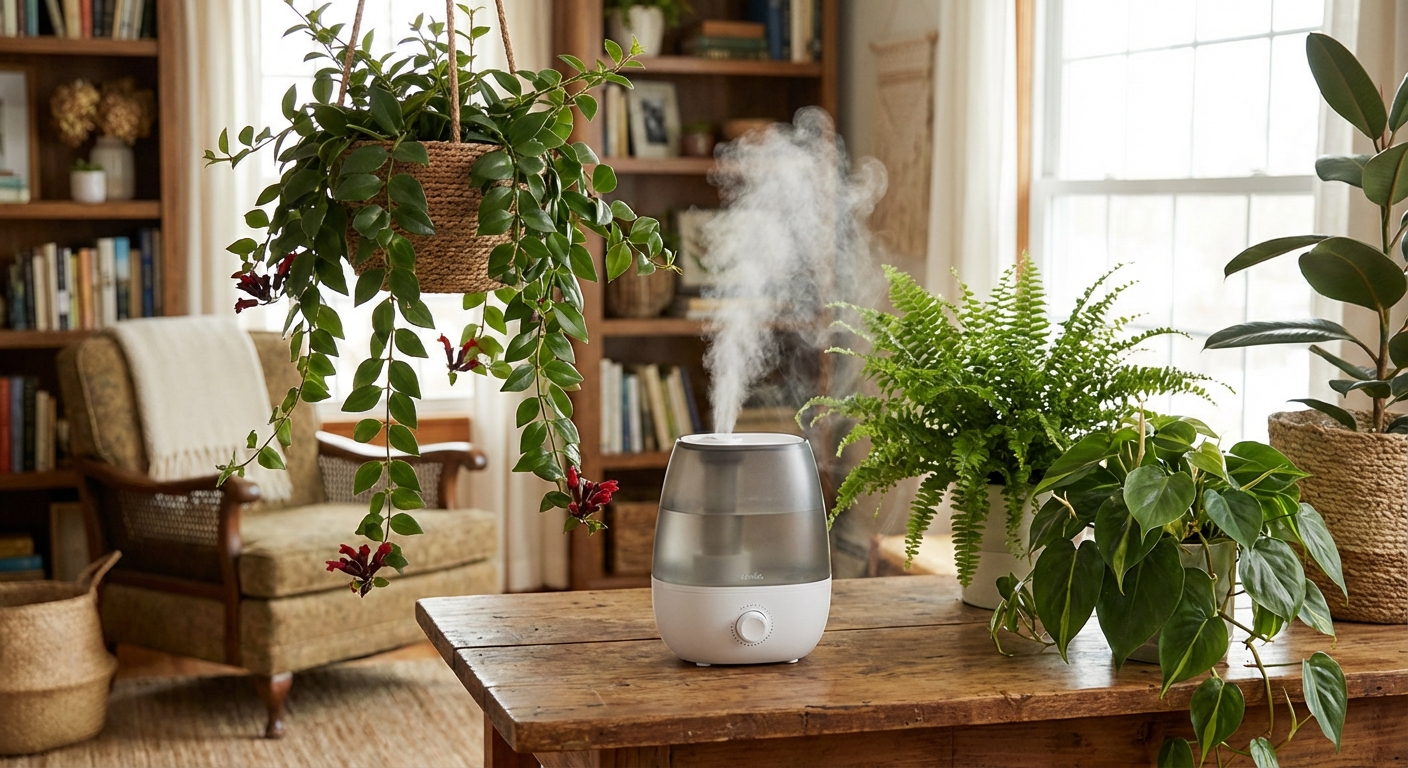
Lipstick plants come from warm, humid environments, so they appreciate a little extra moisture in the air, especially during winter heating season.
Ideal range
- Humidity: 40 to 60 percent is great, and 50 percent plus is often ideal. Higher is fine if air still circulates.
- Temperature: 65 to 80 F is the sweet spot.
Easy ways to boost humidity
- Group plants together so they share a humid microclimate.
- Run a small humidifier nearby.
- Use a pebble tray with water under the pot, keeping the pot base above the waterline.
Avoid: Cold drafts, heat vents blowing directly on the plant, and any spot that regularly dips below about 55 F.
Soil and pot
Lipstick plants are often epiphytes in nature, meaning they grow on trees and cling to bark and debris rather than sitting in dense ground soil. Indoors, they want a mix that holds some moisture but still lets roots breathe. If the soil stays wet for days, it is too dense.
Potting mix that works
- Start with a quality indoor potting mix.
- Add perlite or orchid bark to increase airflow.
Easy recipe: 2 parts potting mix + 1 part orchid bark + 1 part perlite. You are aiming for an airy, epiphyte-style blend that drains well but does not turn to dust the second it dries.
Pot choice
- Use a pot with drainage holes, always.
- Terracotta: Dries faster, helpful if you tend to overwater.
- Plastic or glazed ceramic: Holds moisture longer, helpful if your home is dry or you forget to water.
- Hanging baskets are perfect for trailing growth, but make sure you can water without soaking your floor.
Repotting
Repot every 1 to 2 years, or when roots circle the pot and the plant dries out unusually fast. Size up just 1 to 2 inches in diameter. Oversized pots hold extra wet soil, which invites root issues.
Fertilizer
For blooms, lipstick plants appreciate consistent, gentle feeding during active growth.
A simple schedule
- Spring through early fall: Fertilize every 2 to 4 weeks at half strength with a balanced houseplant fertilizer.
- Late fall and winter: Reduce or pause feeding, especially if growth slows.
Bloom tip: Too much nitrogen can push lots of leaves and fewer flowers. If your plant is lush but refuses to bloom, feed less often or switch to a fertilizer with slightly lower nitrogen.
Bloom timing
Most lipstick plants bloom in warmer, brighter months, often from spring through summer. Some varieties rebloom in flushes, and some are more of a once-and-done seasonal performer. If yours pauses after a bloom show, that is normal. Your job is to keep the growth healthy so it has the energy to do it again.
Cool period for blooms
If your lipstick plant grows nicely but never blooms, it may need a gentle seasonal cue. A short, slightly cooler period often helps bud set in many Aeschynanthus, but it is cultivar dependent. If you have a variety that blooms easily, you might never need this trick.
How to do it
- Timing: Try this in late fall or winter.
- Temperature: Place the plant in a spot that stays around 60 to 65 F for about 4 to 6 weeks.
- Light: Keep it in bright, indirect light.
- Water: Water a bit less often, but do not let it bone dry.
- After the cool period: Return it to normal warm indoor temps and resume regular watering and light feeding. Buds often appear at stem tips in the weeks that follow.
Important notes
- Do not expose it to cold drafts or near-freezing temps. Cool is not the same as cold.
- Do not prune heavily right before you want blooms. Flowers form near the ends of newer growth.
Pruning and shape
Lipstick plants can get leggy over time, especially if light is low. The cure is simple: brighter light and a little haircut.
How to prune
- After a flowering flush, trim back overly long stems by a few inches.
- Cut just above a leaf node to encourage branching.
- Pinch soft tips occasionally to promote a bushier cascade.
Beginner-friendly strategy: Never prune more than about one third of the plant at a time. You want it to respond with healthy new growth, not sulk.
How to manage the vines
- Hanging: Let it trail naturally from a basket for the classic waterfall look.
- On a shelf: Turn the pot every week so one side does not become bare.
- With support: You can loosely loop stems around a small hoop or trellis, but do not force stiff stems. They can snap.
Propagation from cuttings
Propagating lipstick plant is the kind of small miracle that makes you feel like a wizard. It is also the best way to thicken a sparse plant, because you can root cuttings and tuck them back into the mother pot.
When to propagate
Spring and summer are easiest, when the plant is actively growing.
What to cut
- Choose healthy, non-flowering stems.
- Cut a piece about 4 to 6 inches long.
- Make sure it has at least 2 to 3 leaf nodes.
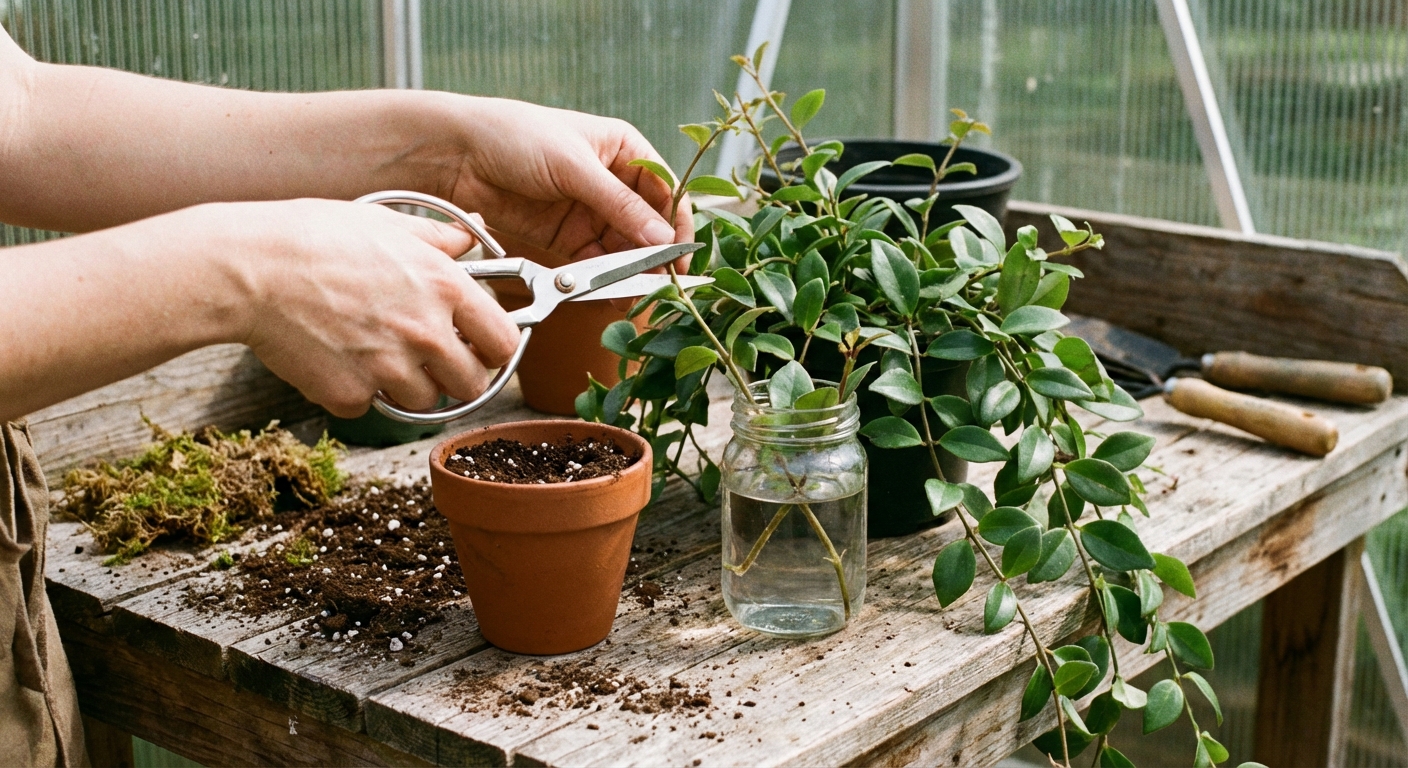
Step by step: water propagation
- Snip below a node using clean scissors.
- Remove the leaves from the bottom third of the cutting.
- Place the cutting in a small jar of water, keeping nodes submerged and leaves above water.
- Set in bright, indirect light and refresh the water every few days.
- When roots are 1 to 2 inches long, pot it up into a small container with an airy, well-draining mix.
Step by step: soil propagation (my favorite)
- Prepare a small pot with lightly moist, well-draining mix.
- Remove lower leaves and optionally dip the end in rooting hormone.
- Poke a hole, insert the cutting so at least one node is buried, then firm the soil.
- Cover loosely with a clear bag to hold humidity, leaving a little airflow.
- Keep warm and bright. Water lightly when the surface begins to dry.
- In 3 to 6 weeks, a gentle tug should meet resistance, which means roots.
Pro move: Root 3 to 5 cuttings and plant them together for an instant fuller pot.
Not blooming?
If your plant is healthy but flower-free, run through this checklist. Most issues are fixable with small tweaks.
Troubleshooting checklist
- Not enough light: Move closer to an east window or add a grow light for 10 to 12 hours daily.
- Pruned off the tips: Flowers form near the ends of new growth. Prune after blooms, not right before.
- No seasonal cue: Try the 4 to 6 week cool period at 60 to 65 F. It often helps, but not every variety needs it.
- Overfed with nitrogen: Reduce fertilizer strength or frequency.
- Rootbound stress or soggy roots: If it dries too fast, consider repotting. If it stays wet too long, switch to a chunkier mix and check drainage.
- Air is too dry: Buds can drop in very dry air. Boost humidity and keep watering consistent.
Common problems
Yellow leaves
- Most common cause: Overwatering or dense soil.
- Fix: Let the top couple inches dry before watering again, and consider repotting into a more airy mix.
Leaf drop
- Possible causes: Cold drafts, sudden temperature swings, or inconsistent watering.
- Fix: Stabilize the environment and settle into a predictable watering rhythm.
Brown, crispy edges
- Possible causes: Underwatering, very low humidity, or too much direct sun.
- Fix: Adjust watering, add humidity, and filter harsh sun.
Pests
Watch for mealybugs, scale, and spider mites, especially in dry winter air. Check leaf undersides and the leaf axils where pests like to hide.
- Isolate the plant so pests do not spread.
- Rinse foliage in the sink or shower.
- Wipe stems and leaf undersides with insecticidal soap, or a gentle castile soap mix (about 1 teaspoon per quart of water). Test on a small area first.
- Do not spray in direct sun, and repeat weekly for a few rounds to catch hatchlings.
Weekly routine
- Check soil: Water when the top 1 to 2 inches are dry.
- Scan tips: Look for buds and pinch only if you are aiming for bushiness, not blooms.
- Rotate: A quarter turn for even growth.
- Wipe leaves: Dust blocks light. A damp cloth once in a while works wonders.
And if you are still feeling nervous, here is the truth I wish more people heard: plants are not grading you. They are communicating. When your lipstick plant sulks, it is not judging you. It is just asking for a slightly brighter window, a little less water, or a breath of humid air.