Lawn Brown Patches: Grubs, Fungus, Dog Urine, Insects, or Drought?
Brown patches can feel like your lawn is trying to communicate in Morse code. The good news is that most causes leave behind very specific clues. If you can slow down for five minutes, look closely, and do one simple hands-on test, you can usually sort out whether you are dealing with grubs , a fungal disease, pet urine, surface-feeding insects, or plain old drought stress.
This page is a diagnosis-first guide. It will help you identify the most likely culprit, then point you toward the right next step without trying to cram an entire treatment manual into one spot.

Start here: a 3-minute checklist
Before you treat anything, grab a glass of water, a screwdriver or trowel, and your phone for notes. Then walk the lawn and answer these in order:
- Shape and pattern: Are the patches round, ring-shaped, streaky, or in high-traffic areas?
- Leaf detail: Do you see spots on individual blades, a dusty coating, ragged chewing, or just crispy tan grass?
- Edge color: Is there a dark green ring around the brown area?
- Roots and soil: Does the turf lift easily, or is it anchored?
- Timing: Did it show up fast after hot humid weather, after heat and no rain, or after fertilizer and a dog visit?
- Movement: Do you see birds pecking, or wildlife digging, or insects scattering when you part the grass?
If you only do one thing from this whole article, do the tug test below. It is one of the quickest ways to separate root damage (like grubs) from blade-level issues, but it is not a courtroom-proof verdict.
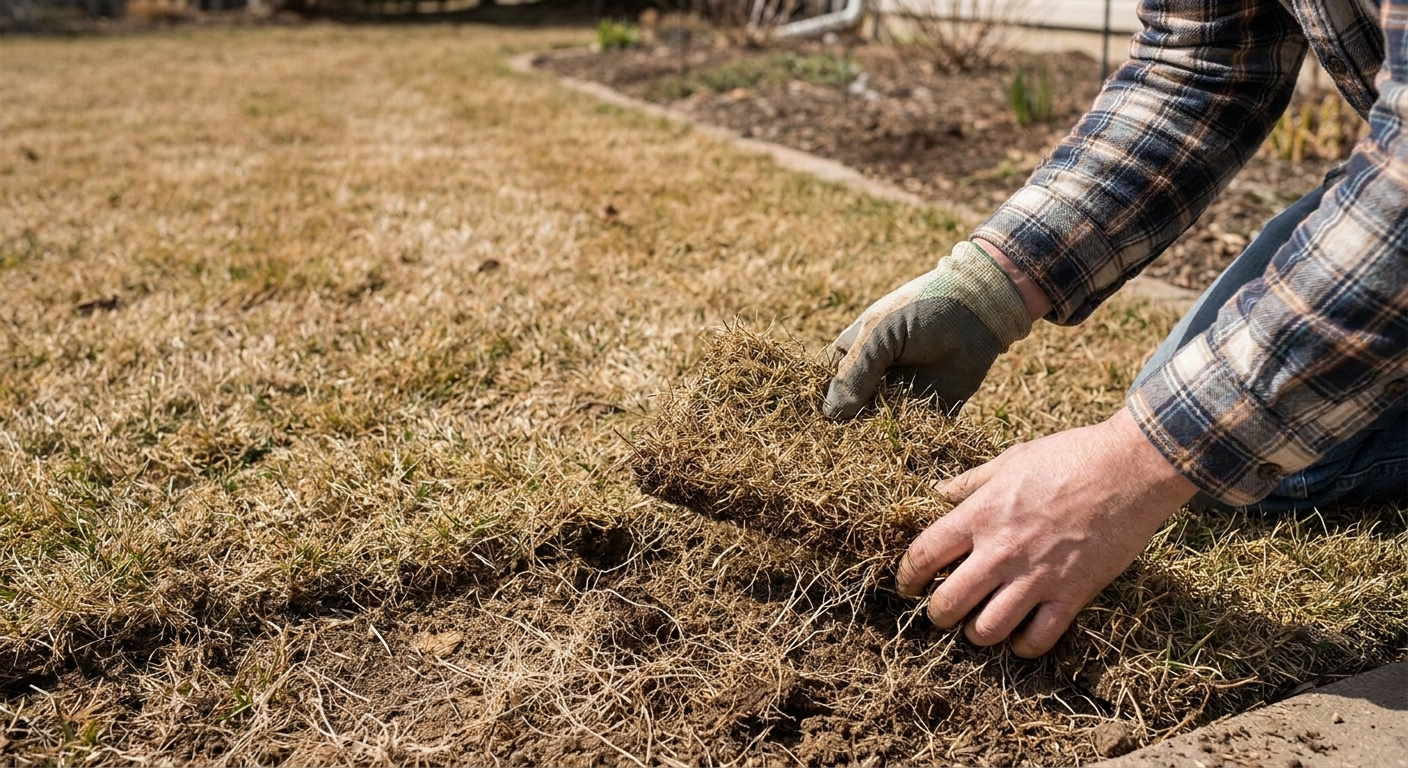
The tug test: a strong grub clue
Grubs are the larval stage of several beetles. They feed on grass roots, which means your lawn can look fine from above until the root system has been chewed down.
How to do it
- Choose a spot on the edge of a brown patch where grass transitions from green to tan.
- Grab a handful of grass and pull straight up with steady pressure.
- If it lifts very easily and comes up in sheets, roots are likely damaged.
- Lift back a small flap (about a 1 to 2 inch edge) and look for white, C-shaped grubs curled in the soil.
What grubs look like
- Typical ID: Creamy white, C-shaped body, brown head, and six legs near the front.
- Texture: Patch can feel spongy underfoot.
- Roots: Thin, shortened, or missing roots under the patch.
- Wildlife clue: Birds, skunks, or raccoons digging can be a big neon sign .
- Patch shape: Often irregular, expanding, and not perfectly circular.
One caveat (because lawns love plot twists)
Turf can also lift if the soil is bone-dry and roots have died back, if sod never rooted well, or with some root diseases. So think of the tug test as a strong clue, then confirm by actually finding grubs or seeing clear root loss.
When the evidence points to grubs
If you lift a flap and find multiple grubs in a small area, your next best move is to jump to a focused grub-treatment plan (see our detailed grub control guide).
Quick benchmark: Many extension sources use an action threshold of roughly 5 to 10 or more grubs per square foot (it varies by grub species, grass type, and lawn health). If you are near that range and the turf is thinning, treatment is more likely to be worth it. If you only find a couple, keep monitoring and focus on recovery.
Timing note: Preventive products are typically used earlier in the season, while curative options are used when larger grubs are actively feeding. If you are not sure which you are holding, take a photo and check local extension timing so you do not apply the right thing at the wrong time.
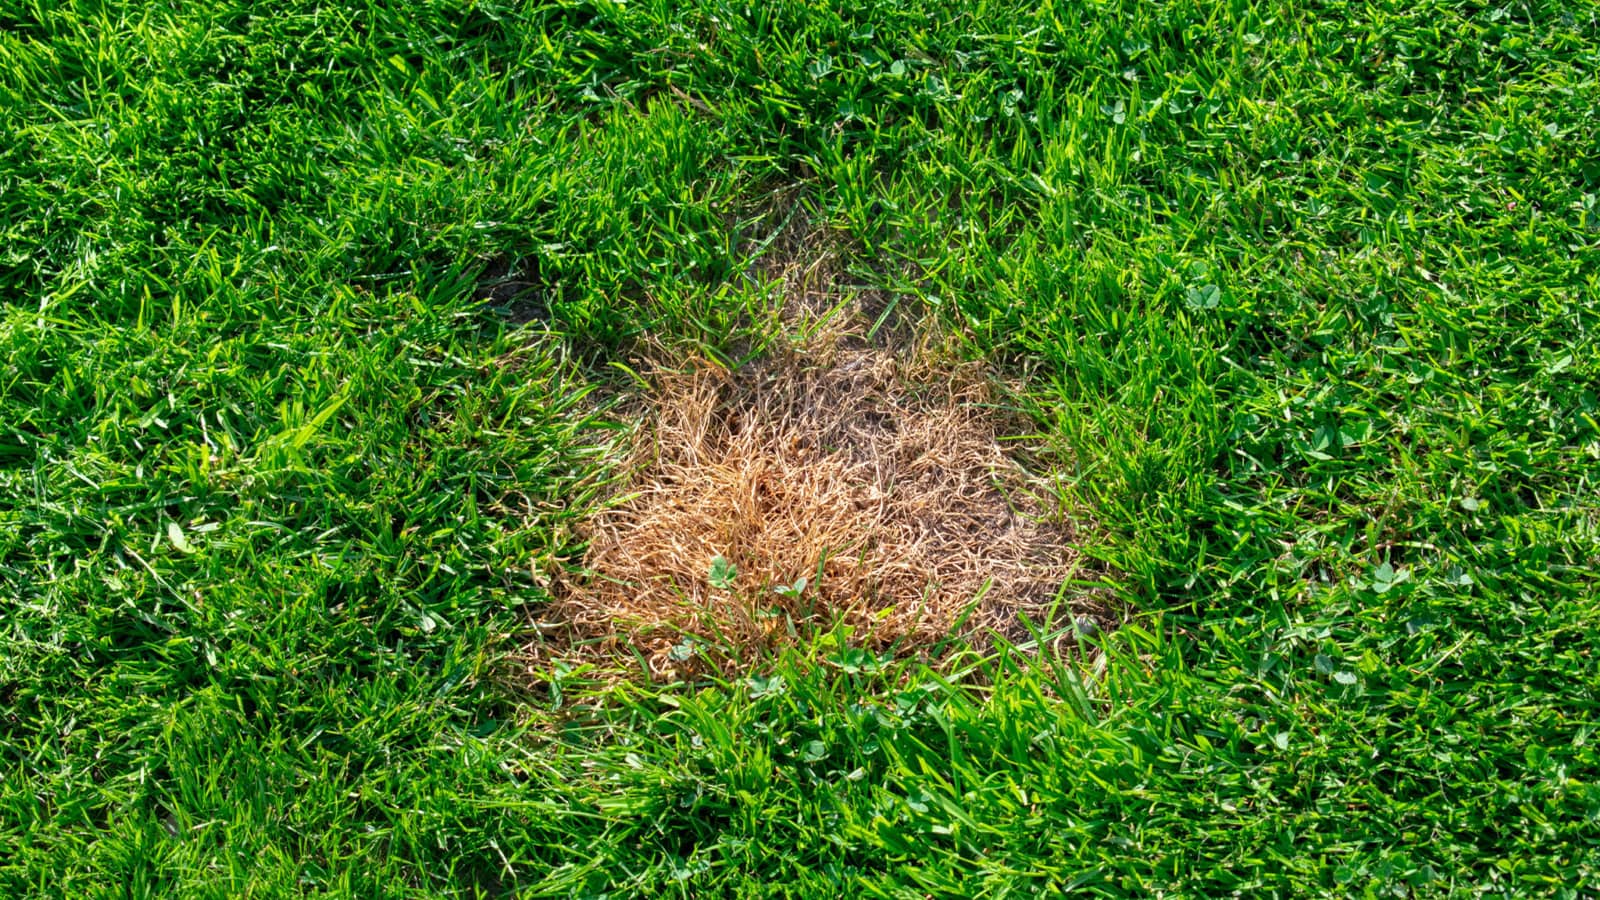
Dog urine: the green ring giveaway
Dog urine tends to create a very specific look because it acts like a concentrated fertilizer dose. In small doses nitrogen greens grass up. In a concentrated splash, nitrogen and salts can burn.
What to look for
- Small round spots (often 3 to 8 inches across).
- Tan or straw center with a darker green ring around it.
- Clusters along paths, fence lines, or a favorite corner.
- Fast appearance: You notice it within a few days of hot weather and repeat visits.
Simple confirmation
If you can, watch where your pet goes for a day or two and match it to the pattern. If the spots line up with bathroom habits and have that green halo, you have your answer.
What to do next
- Dilute immediately: A quick watering right after urination helps a lot.
- Deep rinse (older spots): Water enough to dilute and leach salts through the root zone. Results depend on soil type and drainage, so think “helpful,” not “guaranteed.”
- Skip extra nitrogen there: Avoid fertilizing those spots until they recover.
- Repair: Rake out dead blades, loosen the top inch of soil, and overseed or patch with sod when temperatures are favorable.
If you are seeing lots of urine spots, a separate deep dive on lawn spot repair and pet-friendly strategies will be more helpful than blanket treatments.
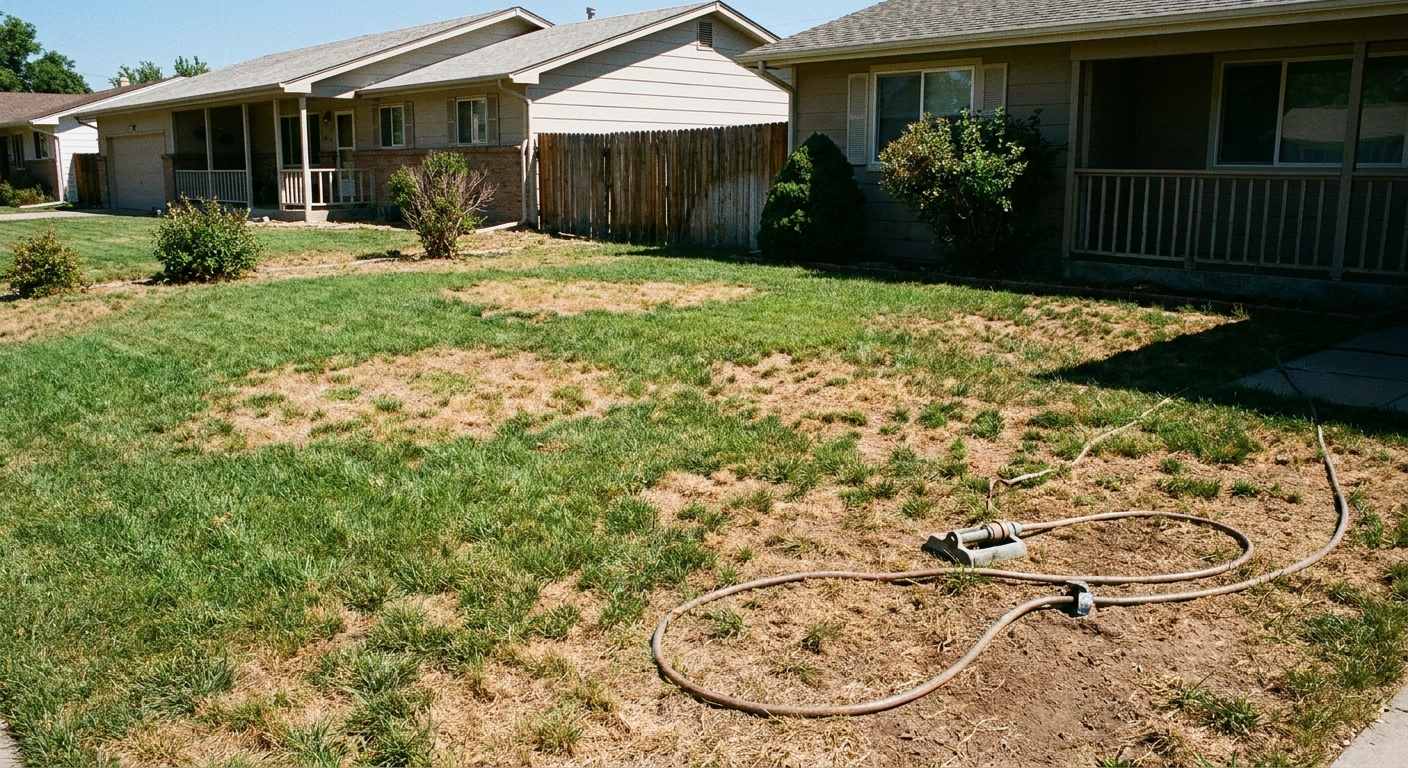
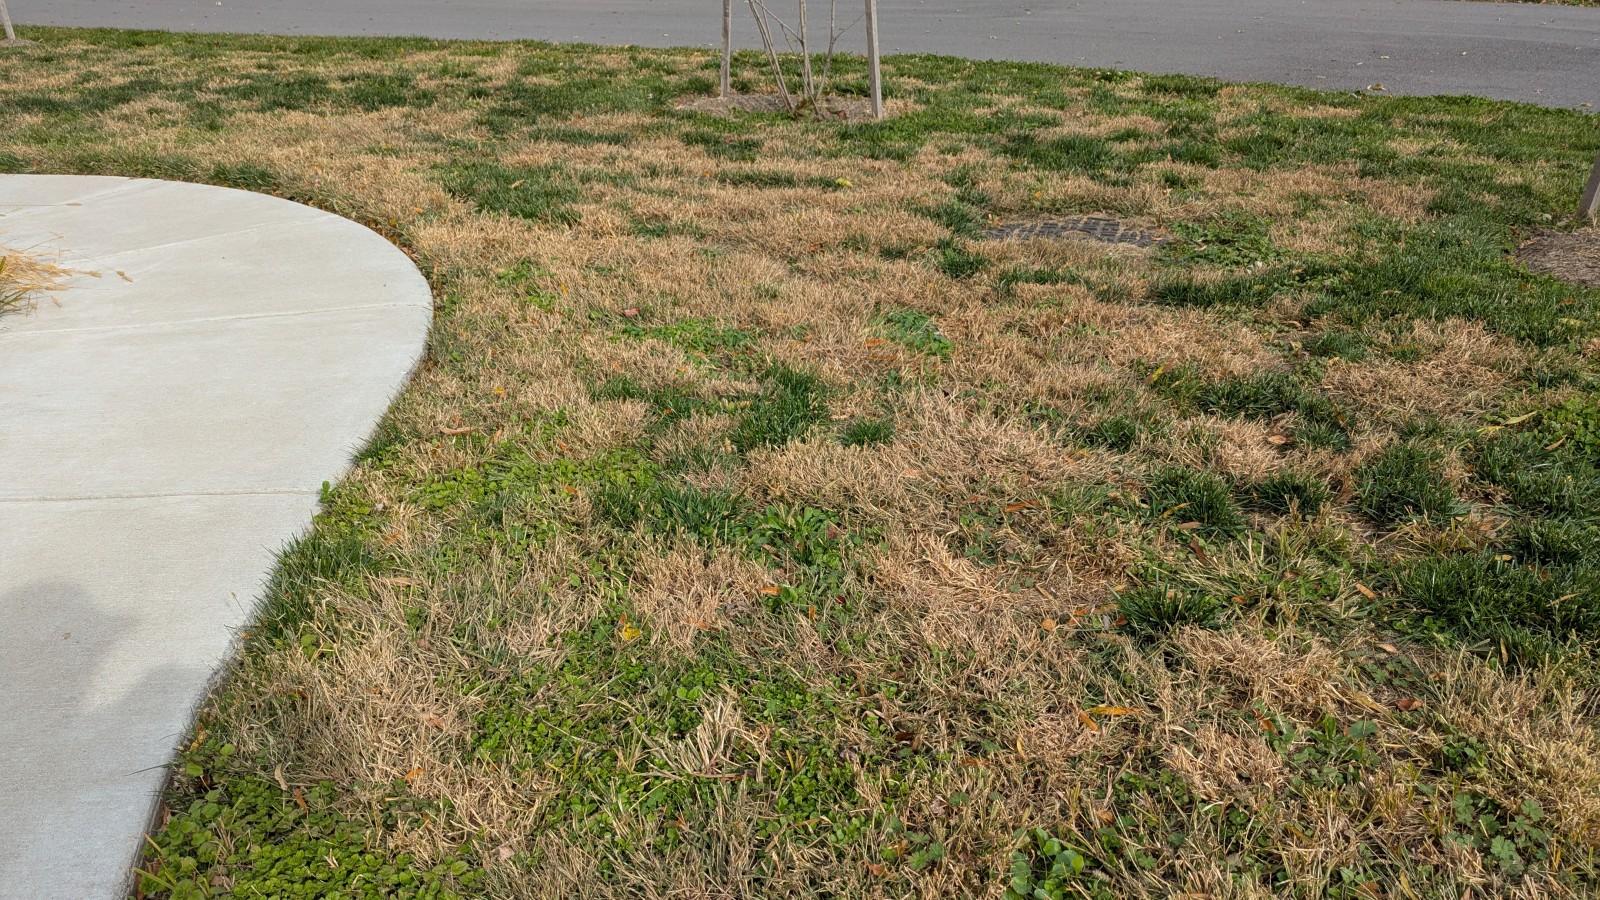
Drought stress: crispy and consistent
Drought stress is the most common and the most emotionally unfair. It can show up even if you are watering, especially if the lawn has compacted soil, shallow roots, heavy thatch, or inconsistent sprinkler coverage.
What drought stress looks like
- Color shift: Green to dull bluish-green, then tan.
- Texture: Crispy tips and a dry, papery feel.
- Footprint test: Walk across the area. If footprints linger instead of springing back, the grass is stressed.
- Pattern: Larger, more uniform patches, often near pavement, slopes, or sandy sections that dry out faster.
Quick sprinkler reality check
Place 6 to 10 straight-sided cups or tuna cans around the brown area and run irrigation for 15 minutes. If the water levels vary a lot, the issue may be coverage more than total watering time.
Is it dead or just sleeping?
Cool-season grass can go tan and look dramatic during heat. Before you rip everything out, check the base of the plant. If the crown still has a little green and the area improves after a week or two of correct watering or rain, you were probably seeing dormancy or stress, not total loss.
What to do next
- Water deeply, less often: Aim for fewer, longer sessions that wet the root zone rather than daily sips.
- Water early morning: Less evaporation, less disease risk.
- Reduce stress: Mow a bit higher (often 0.5 to 1 inch higher in summer) and keep blades sharp.
- Consider aeration: If water runs off or puddles, compaction can mimic drought even when you water regularly. A dedicated aeration guide can help you time and do it correctly.
- Quick thatch check: If you peel back a small wedge and see a spongy layer thicker than about 0.5 inch, thatch can block water from reaching roots and create patchy stress.
Fungus: read the blades
Fungal problems often get blamed for every brown patch, but they have telltale signs if you get down at blade level. Many turf diseases flare when the weather is warm and humid, especially when nights stay wet from heavy dew or evening watering.
Two common looks: dollar spot vs summer patch
These are lay-level descriptions of symptoms you can observe without a microscope.
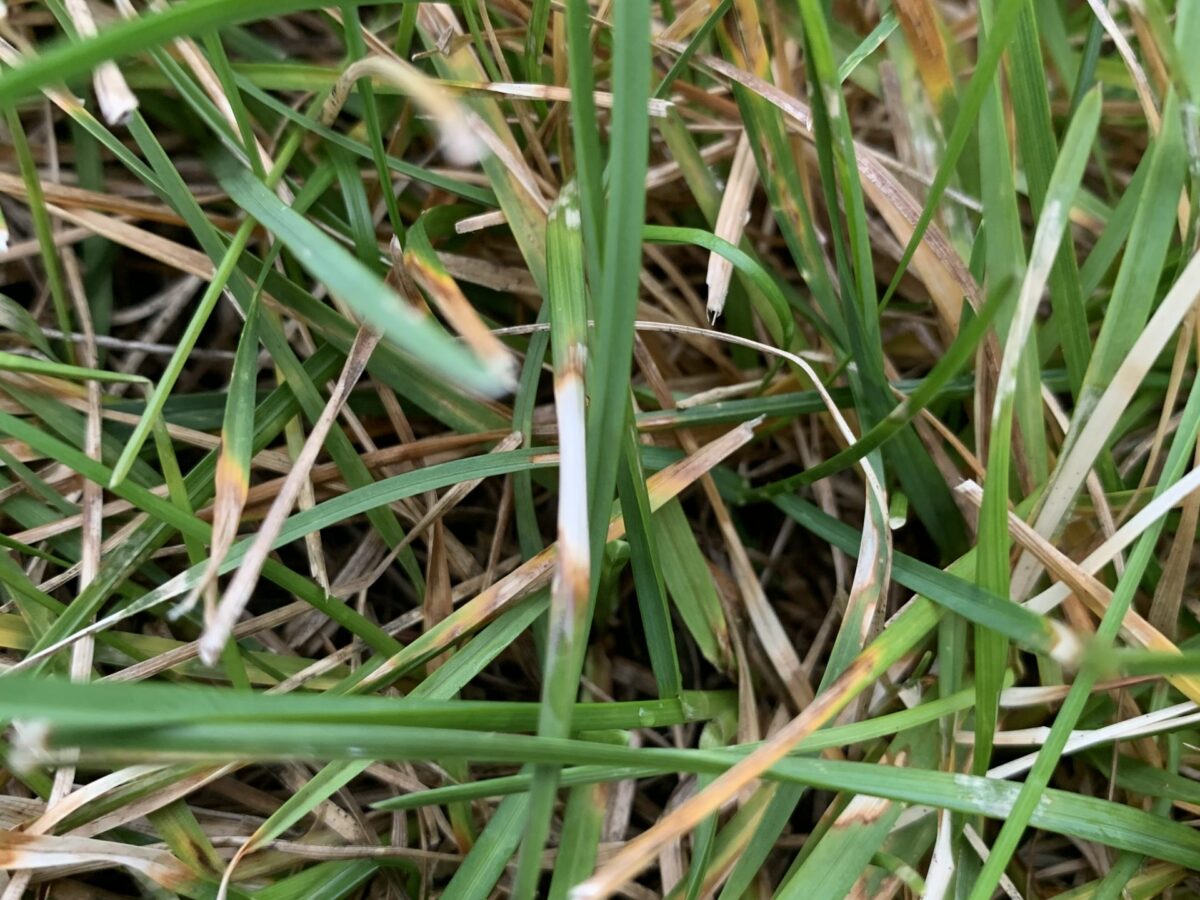
Dollar spot symptoms
- Small spots about 1 to 6 inches that can multiply and merge.
- Individual blades may show tan lesions with darker margins.
- Morning clue: In early light, you might see a faint cottony growth on leaf edges in heavy dew.
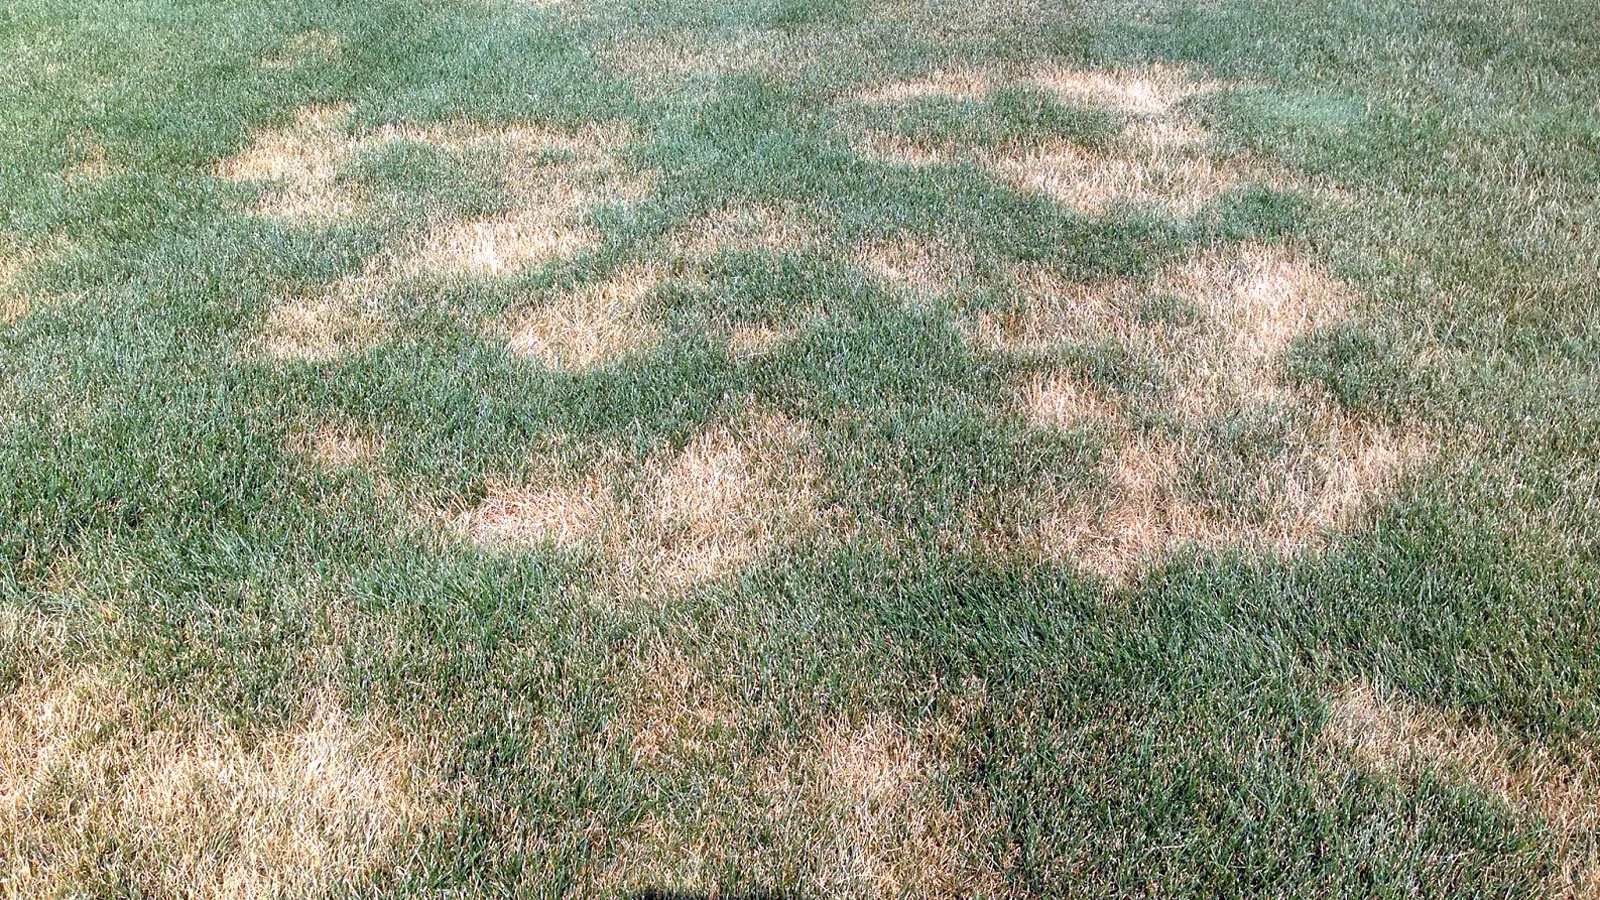
Summer patch symptoms
- Larger patches that can be 6 inches to a few feet wide.
- Shape: Often circular or ring-like as it expands.
- Location: Frequently shows up in hot, sunny areas and on lawns with compacted soil.
- Roots: Unlike classic grub damage, turf usually does not peel up like carpet, but roots may be weak and the crown can be stressed.
When fungus is likely
- The lawn is not lifting easily in the tug test, or it lifts but you do not find grubs.
- You see lesions or spotting on individual blades.
- Patches appeared after a stretch of humid nights, frequent irrigation, or heavy thatch.
What to do next
Fungus management is usually a mix of cultural fixes and, sometimes, targeted products. The best next step is to confirm the disease type and then follow a disease-specific plan. In the meantime:
- Water early morning: Keep blades dry at night.
- Improve airflow and sun: Prune back dense shrubs if the lawn stays damp.
- Bag clippings temporarily: This may help reduce spread during active outbreaks.
- Do not over-fertilize: Fast, lush growth can worsen some diseases (like brown patch or pythium).
- Also do not starve it: Dollar spot often shows up in low-nitrogen lawns. If symptoms match dollar spot and your lawn has been underfed, a light, appropriately timed nitrogen application can be part of the fix.
Surface insects: the soapy water check
If the tug test does not point to grubs and you are not seeing classic blade lesions, do not forget the insects that feed above the soil line. Chinch bugs, sod webworms, and armyworms can brown out patches fast, especially in heat.
Common clues
- Irregular patches that spread quickly.
- Chewed blades or a “scalped” look even when you did not mow low.
- Activity at the edges: Insects often hang out where green meets brown.
- Birds suddenly interested in one area (not digging like skunks, more like constant pecking).
Simple soapy water flush
- Mix about 1 to 2 tablespoons of dish soap in 1 gallon of water.
- Pour it slowly over a 1 to 2 square foot section at the edge of a patch.
- Wait 5 to 10 minutes and watch for insects surfacing.
If you see a noticeable number of pests, take a quick photo and match it to your grass type and region before treating. Targeted treatment beats “spray and pray” every time.
Fast pattern guide
- Lifts very easily + grubs visible: Grubs are the top suspect.
- Small circles with dark green ring: Dog urine burn.
- Large uniform tan areas + footprints linger: Drought stress or uneven watering.
- Blade spots or ring-like patches after humidity: Fungal disease.
- Ragged chewing or insects surface in soapy flush: Surface-feeding insects.
What not to do (I have made these mistakes for you)
- Do not apply fungicide just in case if the tug test plus a soil peek suggests grubs or missing roots. Fungicides do not fix absent roots.
- Do not dump extra fertilizer on brown patches hoping to green them up. If the cause is urine, heat, or the wrong disease, it can make things worse.
- Do not scalp the lawn to remove dead grass. Mowing too low stresses surviving turf and exposes soil.
- Do not ignore irrigation coverage. Many mystery patches are sprinkler gaps or compacted spots that shed water.
- Do not blanket-apply insecticides or fungicides without a diagnosis. Follow the label, spot-treat when possible, and protect beneficial insects and pollinators by avoiding unnecessary applications.
If you want a sure diagnosis
If you are still on the fence after the tug test, a blade-level look, and a quick insect check, take two photos:
- A wide shot showing the patch pattern in the yard.
- A close-up at grass level showing blades, thatch, and soil.
Then consider bringing a small turf plug to a local extension office or trusted garden center. A confident diagnosis saves money, saves time, and saves beneficial insects from unnecessary treatments. Your lawn, your soil, and your future self will thank you.