Lavender in Pots: Container Care and Overwintering
Lavender is one of those plants that makes you feel like you have your life together. Rub a leaf between your fingers, breathe in that clean herbal perfume, and suddenly your patio feels like a tiny Provençal getaway. The catch is that lavender is picky about one thing: wet feet . In the ground, good drainage is the whole game. In pots, drainage is everything.
The good news is that container lavender is totally doable. It is even ideal if you garden on a balcony, rent your home, or deal with heavy clay soil. Let’s set your lavender up with the right pot, the right gritty mix, a calm watering rhythm, and a winter plan that does not involve crossing your fingers until spring.

Choosing the right pot
If lavender fails in a container, it is usually because the pot is too small, holds water too long, or both. Lavender likes room for roots and quick drainage.
Best size
- For a young plant (4 inch to 1 gallon nursery pot): A 10 to 14 inch wide container is a good starting range. If you garden in cool, low-light conditions or tend to water generously, lean toward the smaller end of that range and use a very gritty mix.
- For most mature container lavenders: Aim for 16 to 20 inches wide. Bigger pots buffer temperature swings and dry out less wildly in summer, but they still need a gritty mix to avoid staying soggy.
- Smaller upgrades can work: If your mix is fast-draining and your plant gets serious sun and airflow, moving up “one size” at a time is fine. The goal is not maximum pot size. The goal is roots that get oxygen.
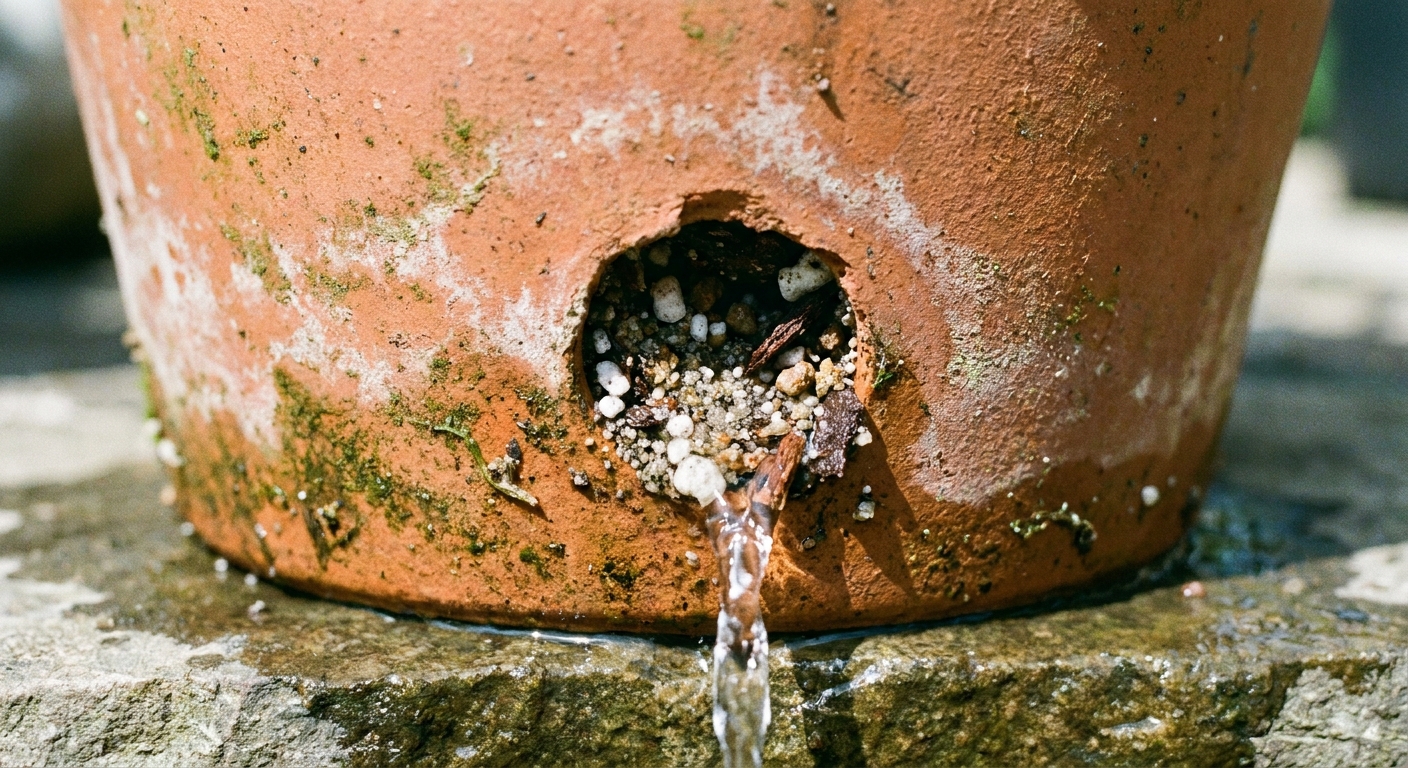
Drainage: non-negotiable
Choose a pot with at least one large drainage hole, or several. If your dream container has no hole, treat it like a decorative cachepot and keep lavender in a plain nursery pot inside it.
Skip the rocks in the bottom. They do not improve drainage in a container. They reduce the amount of mix available for roots, and they can leave the root zone wetter than you expect. The fix is not a “drainage layer.” The fix is a well-built gritty mix and a pot with real holes.
Material matters
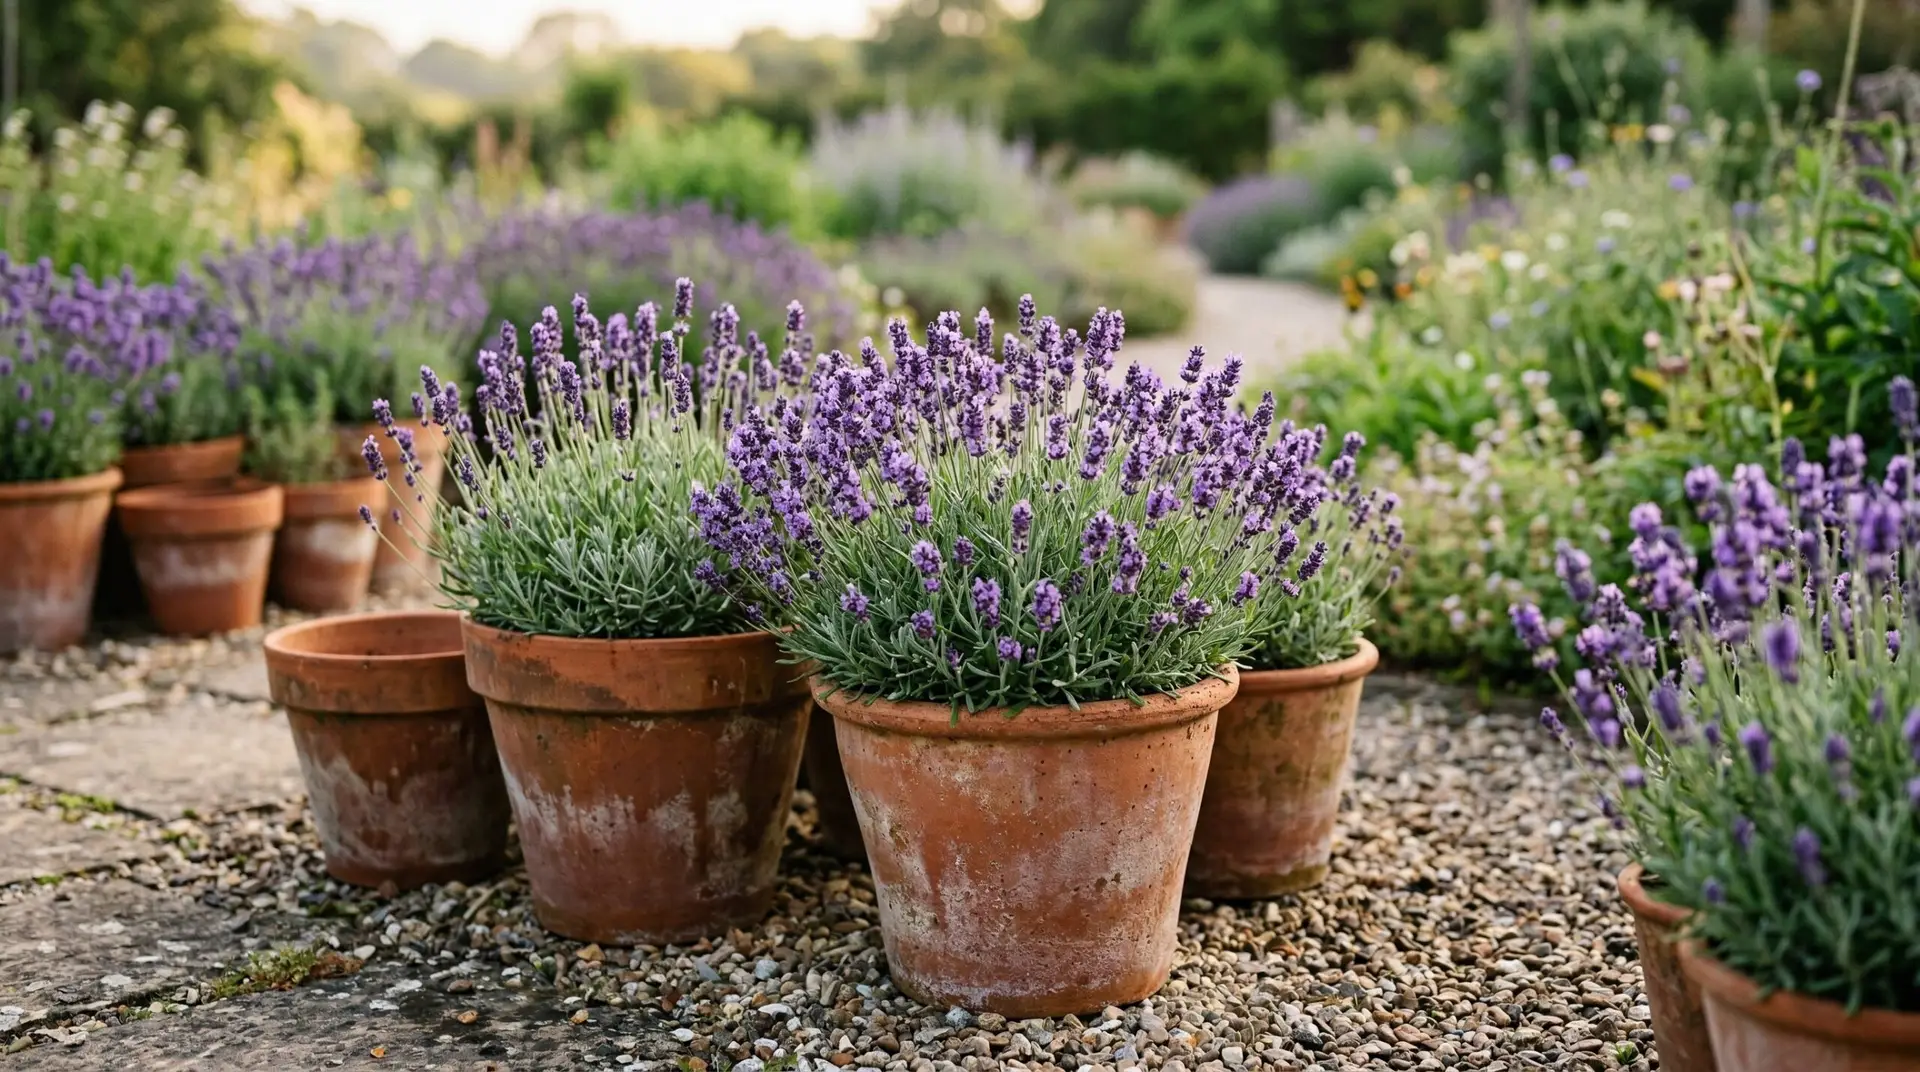
- Terracotta: My favorite for lavender. It breathes and helps the mix dry evenly.
- Unglazed ceramic: Similar to terracotta, often heavier and more stable in wind.
- Plastic or resin: Lightweight and budget-friendly, but holds moisture longer. It can work if your mix is extra gritty and you are careful with watering.
- Wood: Great insulation, but make sure drainage is excellent and the wood is not treated with anything you would not want around edible beds.
The gritty mix lavender wants
Lavender is Mediterranean at heart. In containers, that translates to a mix that is lean, airy, and fast-draining. Regular peat-heavy potting soil stays wet too long, especially in cool weather.
An easy container mix
Try this starting point:
- 2 parts high-quality potting mix (not garden soil)
- 1 part pumice or perlite
- 1 part horticultural grit (like chicken grit) or coarse sand
A quick note on sand: Avoid play sand and anything very fine, which can compact. If you cannot find grit, choose true coarse horticultural sand and keep the mix on the airy side.
If you use plastic pots or live where winters are wet, bump up the grit:
- 1 part potting mix
- 1 part pumice or perlite
- 1 part horticultural grit
Do you need lime?
Lavender prefers neutral to slightly alkaline conditions, and many potting mixes land close enough for container growing. If your water is very acidic or you have struggled with weak growth, you can mix in a small amount of garden lime (often dolomitic lime).
- Practical dose: About 1 to 2 tablespoons per gallon of potting mix is a reasonable, conservative range.
- If you already use a potting mix that contains lime, you can usually skip adding more.
- If you want to be precise, a simple pH test is your best friend.
Fertilizer: lighter than you think
Lavender is not a heavy feeder. Too much nitrogen makes floppy, leafy growth with fewer flowers and more winter dieback.
- In spring, top dress with a thin layer of compost or use a low-nitrogen organic fertilizer.
- Stop fertilizing by mid-summer in colder zones so growth can harden before winter.
Light and placement
Lavender wants sun, airflow, and a spot where rain does not keep the pot soaked for days.
- Sun: Aim for 6 to 8+ hours of direct sun.
- Airflow: A breezy patio or open balcony helps foliage dry quickly and reduces fungal issues.
- Heat reflection: South- or west-facing walls are great in cool climates, but in very hot areas the reflected heat can scorch pots. A little afternoon shade can help in extreme heat.
Watering rhythm
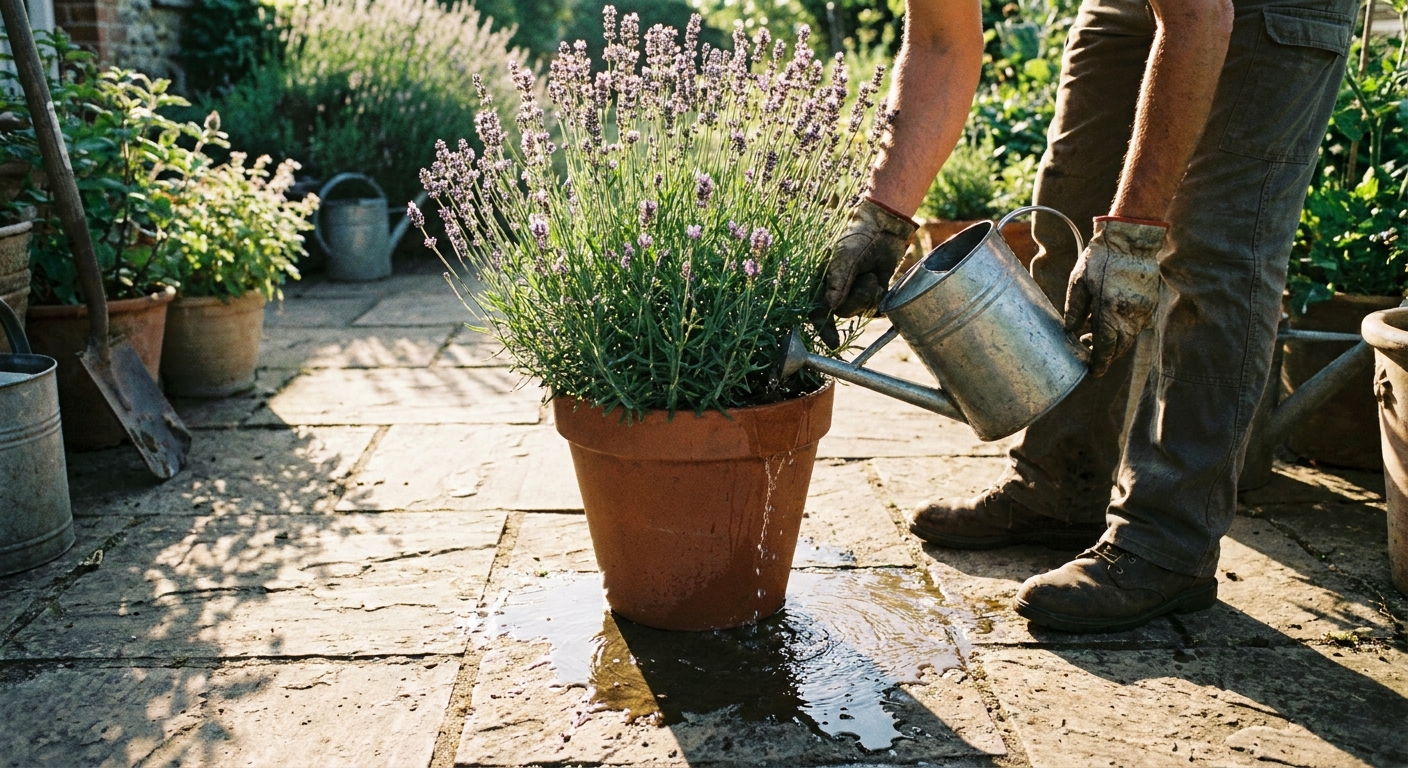
This is the container lavender secret: water deeply, then let the mix dry down significantly before watering again. Lavender does not want a constant sip. It wants a good drink followed by breathing room.
How to water
- Water until you see a steady stream coming from the drainage holes.
- Empty saucers after 10 to 15 minutes so the pot does not reabsorb runoff.
- Water at the soil level when you can, not over the foliage.
How often
Frequency depends on pot size, sun, wind, and your mix. Use these as a starting point, then adjust:
- Spring: About every 7 to 14 days once the top few inches are dry.
- Summer heat: Every 3 to 7 days, sometimes more for small terracotta pots in windy spots.
- Fall: Slowly stretch the time between waterings as temperatures drop.
- Winter (when overwintering): Very little. Enough to prevent bone-dry roots, but not enough to keep the mix damp.
Quick “is it time?” checks
- Finger test: If the top 2 inches are dry and the pot feels lighter, it is usually time.
- Lift test: Learn the weight of your pot when freshly watered versus dry. This is my favorite no-fuss method.
- Warning sign: Yellowing at the base plus consistently damp soil is often overwatering .
Pruning in pots
Container lavender benefits from regular, gentle pruning because pots exaggerate stress. A plant that is tidy and well-shaped is less likely to split under snow or suffer dieback from weak, leggy growth.
After flowering
- Shear off spent flower stems.
- Lightly trim the green growth to keep a rounded mound.
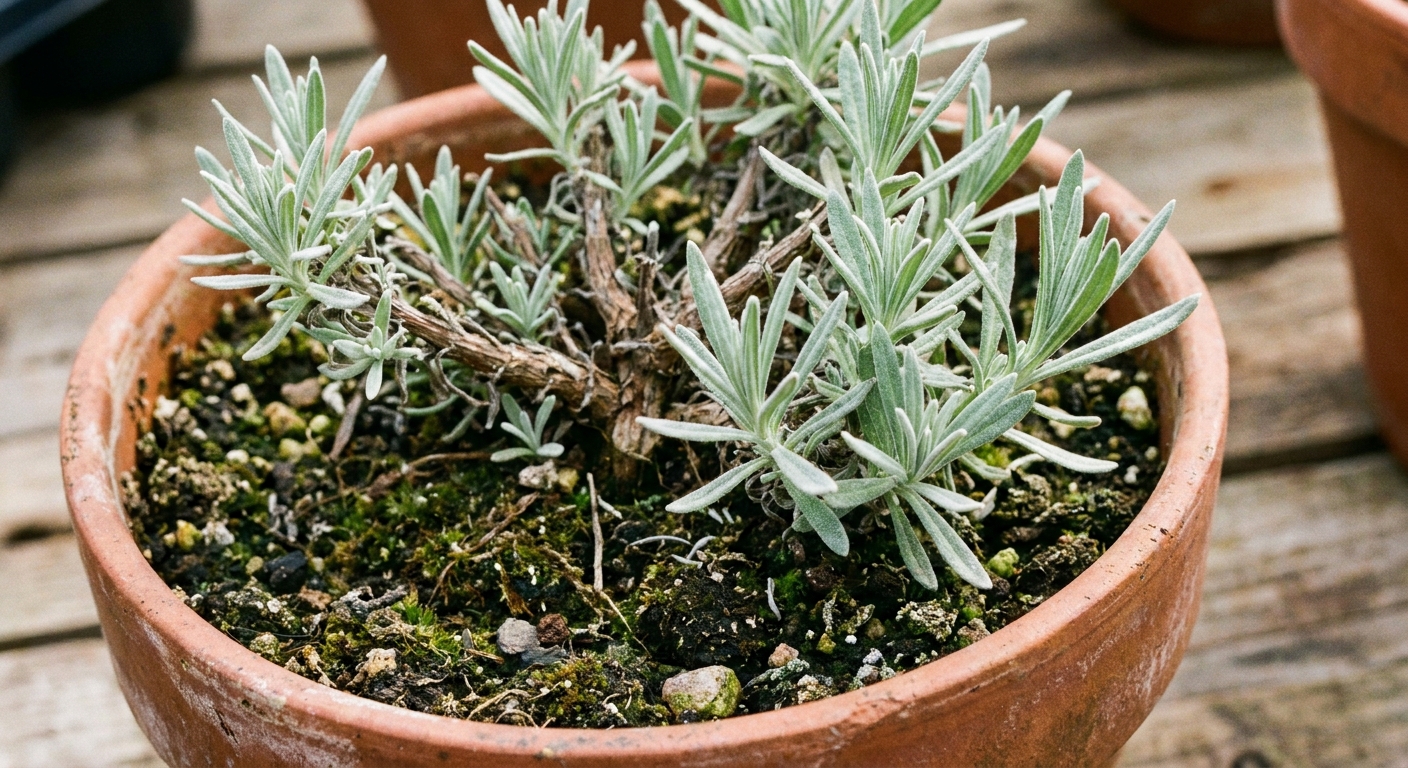
- Do not cut into old woody stems with no leaves. Lavender often does not resprout from bare wood.
Spring cleanup
In early spring, wait until you see new growth buds. Then trim back winter damage and reshape. If you live where winters are harsh, spring is the safest time for heavier pruning.
If you want more detail, our pruning content on LeafyZen pairs beautifully with this container routine. The big takeaway is simple: prune to keep lavender compact, but always leave green.
Best types for pots
Overwintering success starts at the nursery tag. “Lavender” is a whole group, and some types handle cold much better than others.
Hardy choices
- English lavender (Lavandula angustifolia): Usually the hardiest. Often listed for USDA zone 5, with some cultivars down to zone 4 in the ground.
- Lavandin (Lavandula x intermedia): Typically a bit less hardy than true English lavender, often zone 5 to 6. Bigger, more vigorous plants can be harder to overwinter in small pots.
Tender types
- Spanish lavender (Lavandula stoechas): Gorgeous “bunny ear” blooms, but far less cold tolerant (often zone 8 to 9). Treat as tender in many climates.
- French lavender (often sold as Lavandula dentata): Also tender (often zone 8 to 9) and best for mild-winter areas or indoor overwintering.
Important container reality: A plant in a pot is effectively less hardy than the same plant in the ground because roots are exposed to colder temperatures. If your lavender is “hardy to your zone” in-ground, assume it may need winter help in a container.
Compact cultivars that behave nicely
If you want a lavender that stays tidy in a pot, look for compact English types like ‘Hidcote’ or ‘Munstead’. Lavandins are gorgeous and productive, but they can outgrow containers faster and get top-heavy in wind.
Overwintering potted lavender
Winter problems in pots usually come from one of three things: frozen roots, waterlogged soil, or wind and sun drying the plant out when the soil is frozen. Choose the strategy that fits your climate and your space.
Option 1: Sheltered outdoors
This is my favorite for hardy types because lavender wants dormancy and cold, just not extreme root freezing.
- After the first hard frosts, move the pot next to the house on the south or east side.
- Block wind with a wall, fence, or shrub line.
- Raise the pot slightly off bare ground with pot feet or a small piece of wood so drainage stays open.
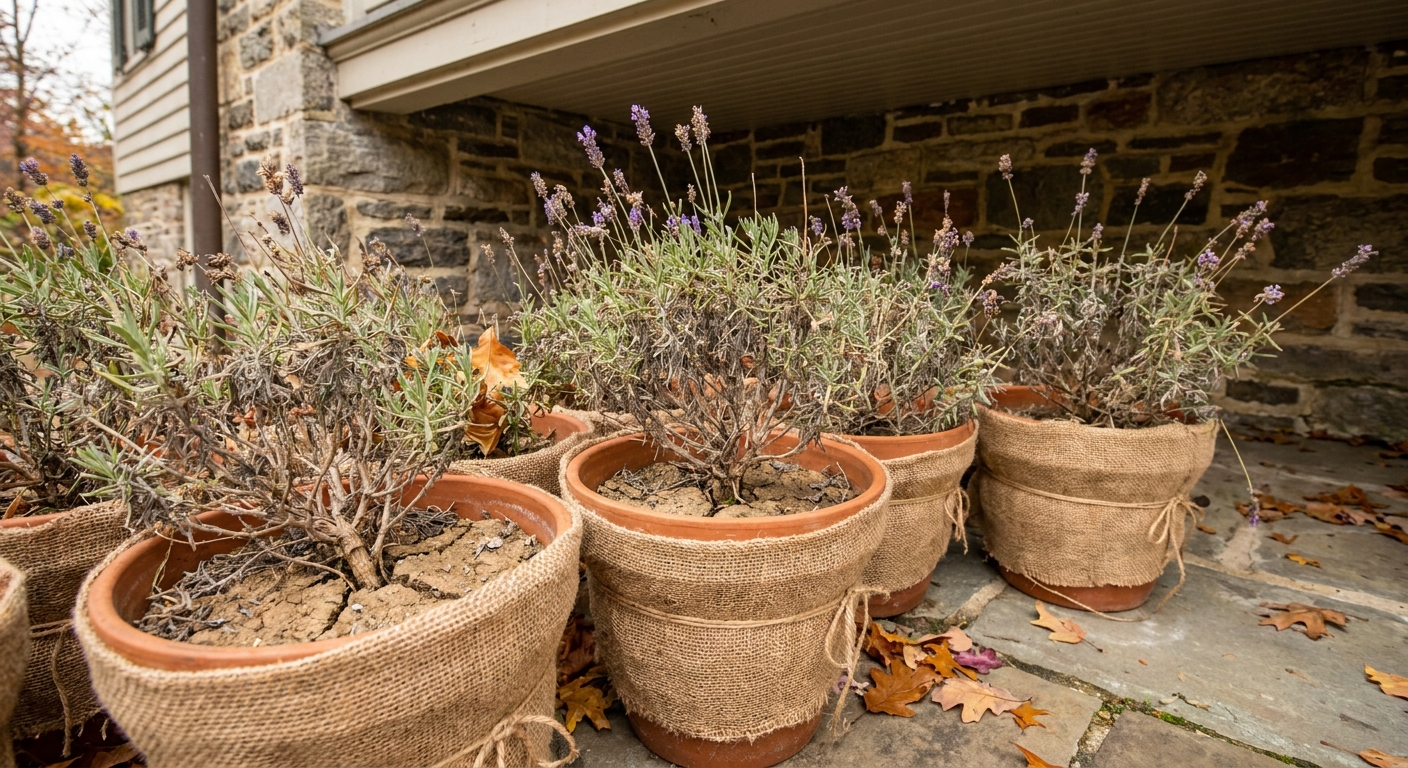
In very cold zones, wrap the container with burlap or bubble wrap, then cover that with burlap so it is more UV-stable and less visually obtrusive. Leave the top open for airflow.
Option 2: Heel the pot into the ground
If you have a garden bed, this is an easy hack: dig a hole and sink the pot so the rim is at soil level. The earth insulates the roots.
- Pick a well-drained spot that does not stay soggy.
- Mulch around the pot with straw or shredded leaves, but keep mulch off the crown of the plant.
- In spring, pull the pot back out once hard freezes are done.
Option 3: Bring it into a cool bright space
For Spanish or French lavender, or for anyone in a very cold winter climate, indoor protection can be the difference between a living plant and a pot of sticks.
- Move the plant to a bright, cool spot like an unheated sunroom, enclosed porch, or garage with a window.
- Aim for roughly 35 to 55°F if possible.
- Temperature reality check: Many garages dip below freezing. Try to avoid repeated freeze and thaw cycles in pots, and aim to keep stored plants above about 25 to 30°F. Tender types prefer it brighter and a bit warmer than that.
- Water sparingly, only when the mix is mostly dry.
- Give it airflow. Stagnant indoor air plus damp soil invites disease.
Winter watering
Lavender in winter is like a sleeping cat. It does not want to be poked constantly, but it also should not be ignored until it is crispy.
- Outdoor overwintering: Water only during warm spells when the soil has thawed and is dry. If winter is wet, you may not water at all.
- Indoor cool space: Check every 2 to 3 weeks. Give a small drink when the pot feels very light and the mix is dry several inches down.
Aim for “barely moist deep down,” not “damp all the time.”
Repotting and refreshing
Lavender likes consistency. It does not need constant pot upgrades, but it does appreciate fresh, airy mix once in a while.
- Refresh cadence: Plan to refresh the mix or repot about every 2 to 3 years.
- Signs it is time: The pot dries out extremely fast, roots circle the bottom, water runs straight through without soaking in, or growth stalls even with good sun.
- How to repot: Go up in size only if the plant truly needs it. Otherwise, prune a small amount of roots, replace tired mix with gritty blend, and replant at the same depth.
Common problems
Leggy growth with bare stems
- Cause: Not enough sun, or no annual shaping.
- Fix: Move to brighter light and prune lightly after bloom. Avoid cutting into leafless wood.
Yellowing leaves, drooping, and soggy soil
- Cause: Overwatering or poor drainage, sometimes leading to root rot.
- Fix: Repot into a grittier mix, confirm the drainage hole is open, and switch to soak-and-dry watering.
Winter dieback
- Cause: Roots froze solid, the pot stayed too wet, or winter wind desiccated foliage.
- Fix: Use a larger pot, add insulation, move to shelter, and keep the mix on the dry side going into winter.
No blooms
- Cause: Too little sun or too much fertilizer.
- Fix: Increase sun exposure and go easy on feeding. Lavender blooms best when it is not coddled.
Sticky pests and minor leaf issues
- What you might see: Aphids, spittlebugs, or occasional fungal spotting in humid, low-airflow areas.
- Fix: Increase sun and airflow, avoid wet foliage, and rinse pests off with a strong spray of water. If a plant stays chronically damp and spotty, the real solution is almost always more sun and a faster-draining setup.
Spring wake-up
When winter loosens its grip, your job is to help lavender transition without a shock.
- Step 1: Move outdoor protected pots back into full sun gradually over 5 to 7 days if they were in deep shelter.
- Step 2: Remove wrapping once nights stay consistently above hard-freeze levels for your area.
- Step 3: Check drainage holes and refresh the top few inches of mix with gritty blend if it has compacted.
- Step 4: Prune dead tips after new growth shows you what is alive.
- Step 5: Resume deep watering only when the mix dries down.
And if your lavender looks a little rough at first, do not panic. I have seen many “goners” push out fresh silver-green shoots once the sun is warm and the soil is breathing again. Plants are surprisingly forgiving when we give them the conditions they crave.