How to Thin and Transplant Overcrowded Seedlings
There is a particular kind of panic that hits when you peek into a seed tray and see a tiny forest where you meant to grow a neat little row. Take a breath. Overcrowded seedlings are incredibly common, especially when you are sowing small seeds or using older packets. Thinning and transplanting are not punishments. They are simply the next step in raising strong plants with sturdy stems and room to breathe.
In this guide, I will walk you through the best timing (hello, true leaves), the gentlest way to separate roots without bruising stems, and how to space common crops so you end up with fewer but happier plants. We will also cover hardening off if your transplants are headed outdoors, plus a delicious bonus: what you can safely eat from your thinnings.

When to thin
The best time to thin most seedlings is when they have their first set of true leaves. Not the first round baby leaves (those are called cotyledons). True leaves look more like the mature plant’s leaves. They also signal that the seedling has a bit more energy in reserve and can handle being nudged.
Quick timing guide
- Thinning by snipping: as soon as seedlings are easy to handle and you can identify the strongest ones, typically at true-leaf stage.
- Transplanting extras (pricking out): best at true-leaf stage, while roots are still small and untangled.
- Do not wait too long: the longer seedlings share space, the more their roots braid together and the more likely you are to damage them during separation.
If your seedlings are already tall and leaning, that is a sign they are reaching for light. Thinning helps, but you will also want to fix the cause. After you finish here, pop over to our leggy seedling prevention content for lighting distance, airflow, and temperature tips that keep stems stocky instead of spindly.
Pick a method
You have two good options, and which one you choose depends on the plant and your goals.
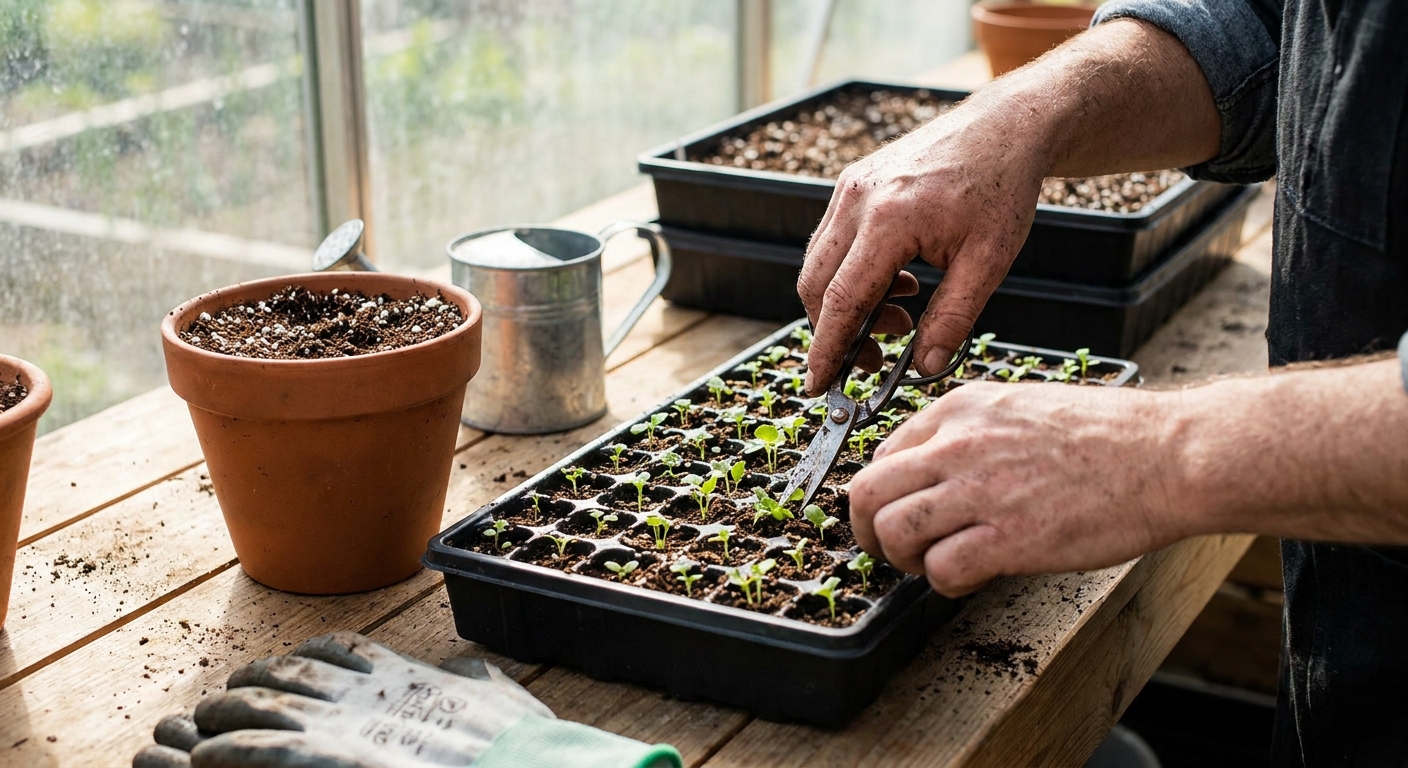
Option 1: Snip at soil level
This is the gentlest method for the seedlings you are keeping, because you are not disturbing their roots at all.
- Water the tray lightly first so stems are less brittle.
- Pick the strongest seedlings to keep: thick stems, compact growth, good color.
- Use clean scissors or spring snips to cut unwanted seedlings at the soil line.
- Leave the cut roots in place. They will decompose and add a tiny bit of organic matter.
Best for: thinning seedlings you plan to keep in place, especially plants that dislike root disturbance (most root crops). If you started carrots, parsnips, radishes, or beets in a tray by accident, your safest move is usually to snip and keep just one, then direct sow next time. Beets are a special case because each “seed” is often a cluster: you can sometimes separate very young beet seedlings successfully, but snipping is the most reliable option.
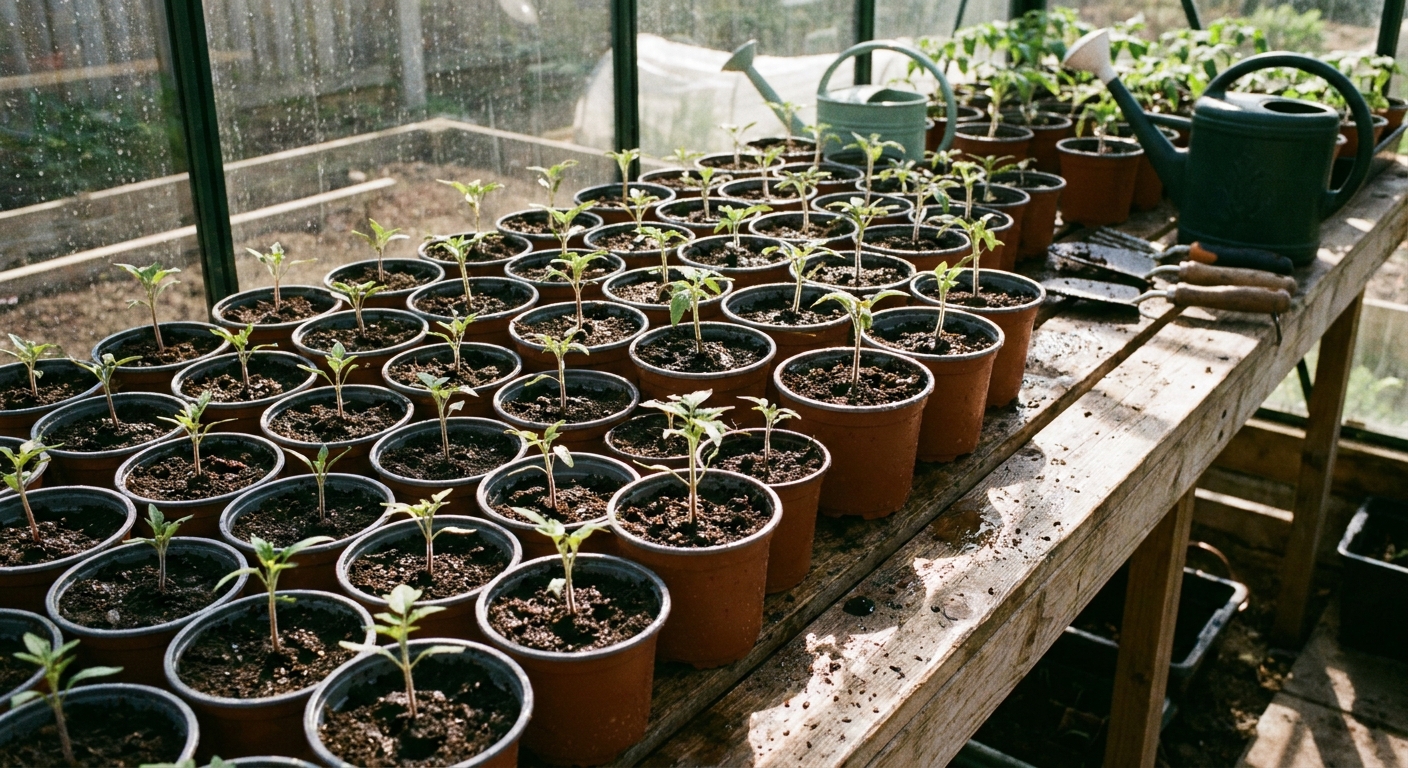
Option 2: Transplant the extras
If you want to save as many seedlings as possible, you can gently separate and pot them up. This works beautifully for tomatoes, lettuce, brassicas, and many flowers.
- Moisten the tray so the mix holds together but is not muddy.
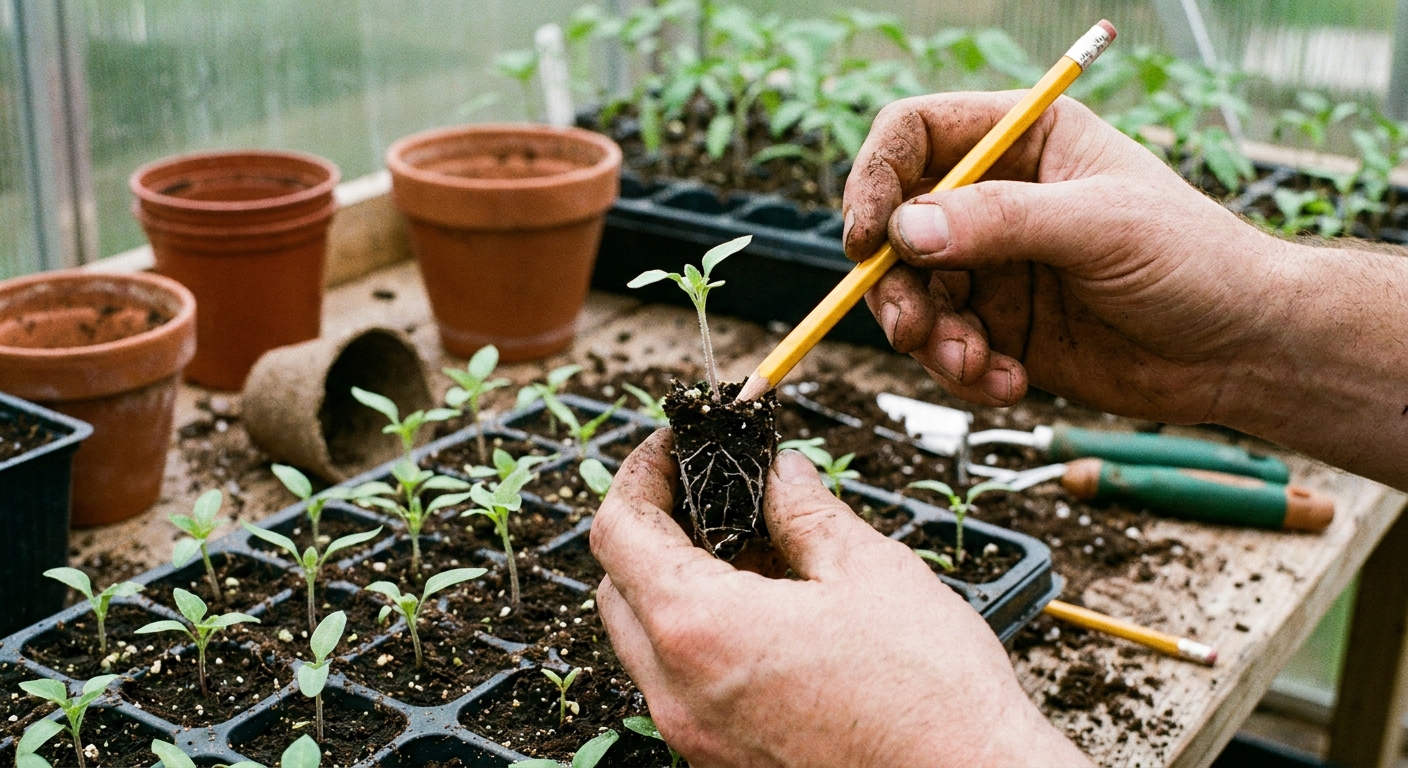
- Use a dibber, pencil, or spoon handle to lift from underneath the root zone.
- Hold seedlings by a leaf, not the stem.
- Move seedlings quickly so roots do not dry out.
Thin without damage
Seedling stems are like little drinking straws. They crush easily, and once a stem kinks, it often does not recover. Here is how to keep your keepers safe.
Gentle handling rules
- Always handle by leaves: leaves can regrow, crushed stems usually do not recover.
- Work with slightly damp soil: dry mix grips roots and makes yanking more likely.
- Loosen first, then lift: slide a tool under the root zone and wiggle to free it.
- Untangle in water if needed: for very crowded trays, dip the root mass in a bowl of water and gently tease roots apart.
- Shade after transplanting: bright sun right after root disturbance can wilt seedlings fast.
- Water gently: bottom-water when you can, or use a very soft pour or mist so you do not topple freshly moved seedlings.
If you have leggy seedlings, transplanting can help because you can set some crops deeper. Tomatoes can be planted deeper, often up to the cotyledons or even the first true leaves, and they will grow extra roots along the buried stem. Many brassicas and lettuces prefer to be planted at the same depth they were growing, so do not automatically bury everything deeper.
Step-by-step transplanting
Set yourself up like you are making a tiny plant spa day. Everything within reach, gentle music optional. I talk to my ferns, so no judgment if you narrate the process.
What you will need
- Small pots or cell packs with drainage
- Fresh seed-starting mix or a light potting mix
- Clean snips and a dibber (pencil works)
- Tray to catch water
- Watering can with a soft rose or a spray bottle
Cleanliness tips
- Use clean pots and fresh mix to reduce damping off risk.
- Wipe snips and tools before you start, especially if you have been working around older plants.
- Wash your hands. Seedlings are small and fungi are not.
Transplant steps
- Pre-moisten your mix: it should clump when squeezed, but not drip.
- Fill pots and make a hole: deep enough for the roots to hang straight down.
- Lift seedlings carefully: loosen from below and lift by a leaf.
- Separate if needed: tease apart roots slowly. If a root tears a little, most seedlings recover if the stem and growing tip are intact.
- Plant at the right depth: tomatoes can go deeper, peppers usually at the same depth, brassicas at the same depth.
- Firm lightly: press the soil gently around roots for good contact, no packing.
- Water in: a thorough drink settles air pockets. Let excess drain.
- Recover in mild light: 24 to 48 hours in bright shade or under lights slightly raised helps prevent wilt.
Spacing by crop
Spacing depends on where the plants will end up. Your seed tray spacing is temporary, but your final spacing is what determines airflow, disease pressure, and how big your harvest gets.
Tray and pot-up spacing
- In a cell tray: a common practice is sowing 2 to 3 seeds per cell, then thinning to 1 seedling per cell once true leaves appear (or once you can confidently pick the strongest).
- In a shared flat: thin so seedlings are about 1 to 2 inches apart until potting up.
- Leafy greens: you can keep a slightly denser cluster if you plan to harvest baby leaves, but still avoid leaf-to-leaf crowding for long.
Final spacing
These are general home-garden ranges. Variety and growing system matter, but this will get you very close.
- Tomatoes: 18 to 24 inches for determinate types or heavily pruned, staked plants; 24 to 36 inches is often better for vigorous indeterminate varieties (especially if not pruned hard)
- Peppers: 12 to 18 inches
- Eggplant: 18 to 24 inches
- Lettuce (head): 10 to 12 inches
- Lettuce (leaf or baby): 6 to 8 inches apart, or harvest young and reseed
- Kale, broccoli, cauliflower, cabbage: 18 inches (up to 24 for big varieties)
- Cucumbers: about 8 to 12 inches apart on a trellis; 18 to 24 inches without a trellis (variety and row spacing matter here)
- Squash and zucchini: 2 to 3 feet
- Carrots: thin to 2 inches
- Beets: thin to 3 to 4 inches
- Radishes: thin to 2 inches
- Onions (bulbing): thin to 4 to 6 inches
If you are gardening in containers, lean toward wider spacing or fewer plants. Pots dry out faster, and crowded roots lead to stressed plants that bolt, wilt, or attract pests.
Hardening off
If your seedlings are moving from indoors to the big wide world, hardening off is not optional. Indoor seedlings are pampered. Even a breezy, bright spring day can scorch or snap them if they have not been introduced gradually.
A simple 7 to 10 day plan
- Days 1 to 2: 1 to 2 hours outside in bright shade, sheltered from wind.
- Days 3 to 5: increase outdoor time and add gentle morning sun.
- Days 6 to 8: longer sun exposure, a bit more breeze, keep soil evenly moist.
- Days 9 to 10: most of the day outside, then transplant if nights are suitable for the crop.
Do’s and don’ts
- Do protect seedlings from strong afternoon sun at first.
- Do water before they go out and check them often.
- Do not harden off during a surprise cold snap or windstorm. Pause and resume.
- Do not transplant into cold soil for warm-season crops like tomatoes, peppers, and basil.
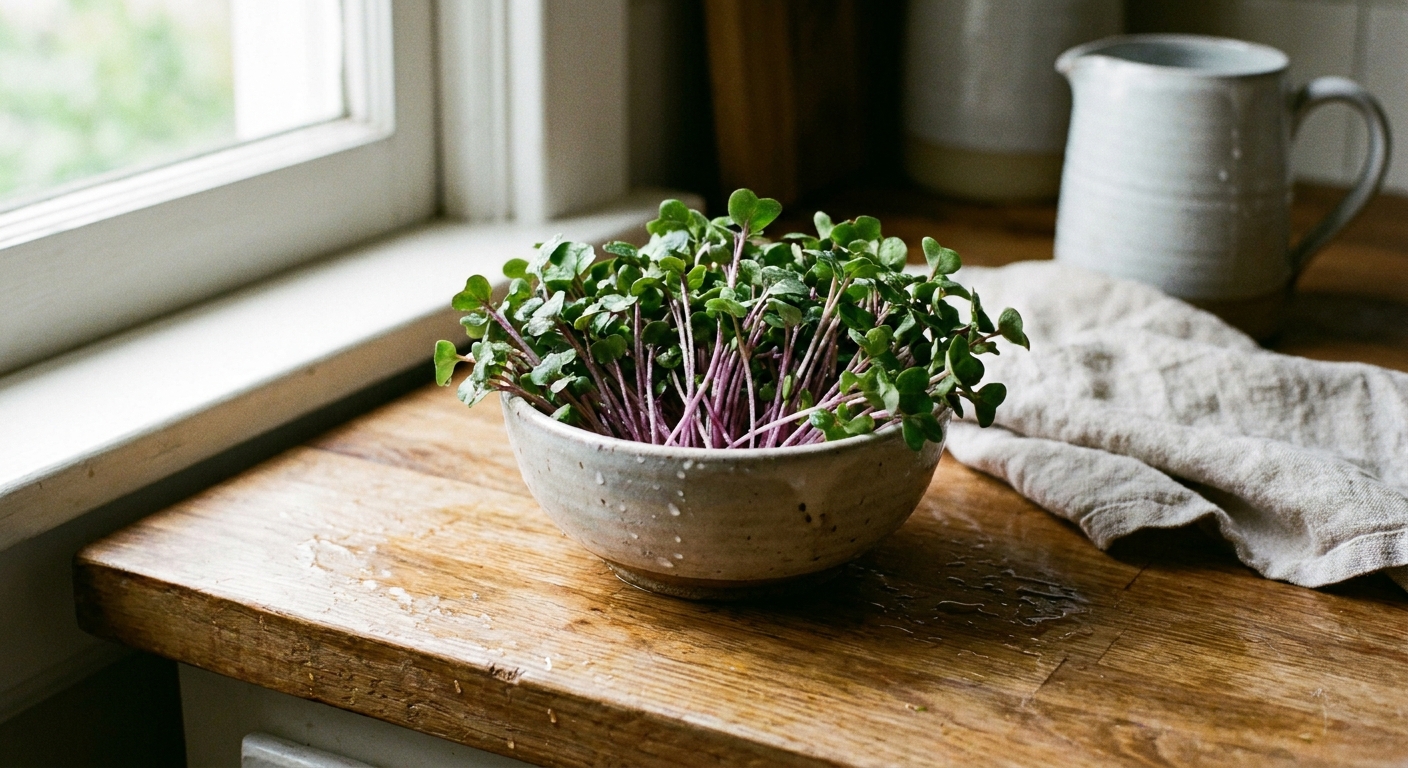
Can you eat thinnings?
Thinning feels less heartbreaking when you realize some of those tiny plants are dinner. If you started your seeds in clean potting mix and have not used any chemical treatments, many thinnings are delicious as baby greens. (Microgreens are usually grown in their own tray and harvested intentionally, but the eating idea is similar.)
Good salad candidates
- Radish (peppery bite)
- Broccoli, kale, cabbage (mild brassica flavor)
- Beet greens (earthy, tender)
- Pea shoots (sweet and crisp)
- Lettuce (soft, mild)
Safety notes
- Skip anything that has been sprayed with pesticides or grown in questionable soil.
- Do not eat thinnings from plants with toxic leaves. A big beginner gotcha is the nightshade family: tomato, pepper, and eggplant leaves are not edible.
- If sanitation is poor, tender seedlings can carry soil-borne pathogens. Use clean mix, rinse thinnings well, and treat them like any delicate green.
- Rinse well and keep refrigerated.
Aftercare
The first 48 hours after thinning or transplanting are the settling-in window. If something is going to droop, it is usually right away. A little tenderness here pays back quickly.
- Light: bright light, but avoid harsh direct sun for a day or two after root disturbance.
- Water: keep evenly moist, not soggy. Overwatering is a common reaction to droop, and it can invite damping off.
- Airflow: a gentle fan indoors helps stems strengthen and reduces fungal issues.
- Feeding: once seedlings are established (usually 1 to 2 weeks after potting up), use a half-strength organic liquid fertilizer if needed.
If your seedlings keep stretching, it is not because they need more fertilizer. It is almost always a light, temperature, or spacing issue. Thinning is one part of the fix. Strong light and airflow finish the job.
Troubleshooting
Seedlings wilted after transplanting
- Give them shade and steady moisture. Most bounce back in 24 hours.
- Check that roots are not bent upward in the hole. Straight roots matter.
I pulled up the wrong seedling
- Replant immediately and water in gently. Seedlings are surprisingly forgiving if you act fast.
- Next time, snip instead of pulling when you are thinning around delicate keepers.
Seedlings look weak and leggy
- Move lights closer (without overheating), extend light duration, and add airflow.
- Pot up deeper only for crops that tolerate it well, like tomatoes.
- Thin earlier next round so they are not competing for light.
Takeaway
Thinning is not wasting plants. It is choosing the seedlings that will have enough light, airflow, and root space to become sturdy, productive adults. The goal is not a tray packed with green. The goal is a garden full of plants that can hold their own.
If you want the next piece of the puzzle, head to our leggy seedling prevention content. Thinning solves the crowding problem, but great light and airflow are what turn those little stems into confident, upright growers.