How to Save Vegetable Seeds at Home
Seed saving feels like bottling up a little bit of summer. One minute you are slicing tomatoes for dinner, the next you are tucking away next year’s garden in a paper envelope like a secret promise. It is also one of the most quietly sustainable things you can do in an edible garden: fewer purchased packets, less packaging and shipping, and more plants that slowly adapt to your soil and your microclimate.
This guide walks you through the basics of saving, drying, and storing vegetable seeds at home, with special attention to moisture control, labeling, cold storage, and how to test seed viability before you bet your spring plans on them.

Start here: Open-pollinated vs hybrid seeds
Before you save anything, you need to know what kind of plant you’re saving from. This one detail decides whether the seeds will grow “true” next season.
Open-pollinated (best for seed saving)
Open-pollinated varieties are pollinated naturally by wind, insects, or self-pollination and, when isolated from other varieties of the same species, their seeds grow plants that resemble the parent. Heirlooms are a subset of open-pollinated varieties, typically with a long history of being saved and shared.
- What you can expect: Similar plants next year, especially if you prevented cross-pollination.
- Why gardeners love them: Reliability, flavor, and gradual adaptation to your yard over time.
Hybrids (possible to save, but expect surprises)
Hybrids are crosses of two different parent lines, bred for traits like uniformity, disease resistance, and productivity. The first-generation hybrid (often labeled F1) is consistent, but the seeds from that plant can produce a mixed bag next season.
- What you can expect: Variation in size, flavor, vigor, and even shape.
- When it is still worth saving: If you’re curious, like experiments, or want to select from the “surprises” over multiple seasons.
Quick check: If your seed packet says “F1,” it is a hybrid. If it says “open-pollinated,” “OP,” or “heirloom,” you’re in prime seed-saving territory.
Choose the right plants
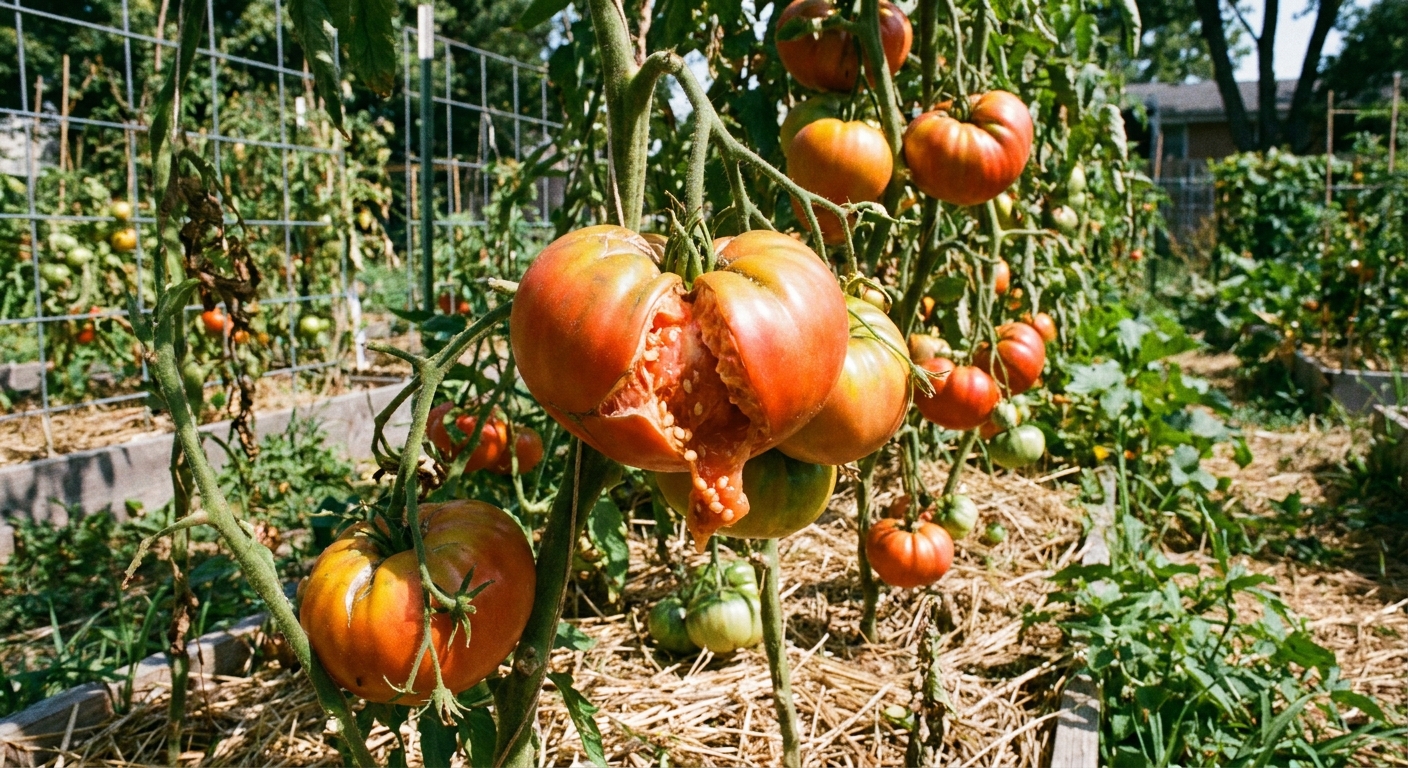
Saving seeds is easiest when you start with healthy plants and truly ripe produce. Seeds finish maturing later than we typically harvest for eating, so you often need to let a few fruits or pods go past the “perfect dinner” stage.
Pick your best candidates
- Health: Save from plants that stayed vigorous and productive without constant intervention. Skip plants with clear disease symptoms, especially viral-looking mottling, severe stunting, or deformity.
- Flavor and performance: If a tomato tasted like sunshine, save it. If a lettuce never bolted, save it.
- True-to-type traits: If you’re growing an heirloom, save from plants that match the variety’s typical shape and color.
Know the pollination risk
Some vegetables mostly self-pollinate and are easy for beginners. Others cross-pollinate readily and need distance, timing, or physical barriers if you want predictable results.
- Easiest (mostly self-pollinating): tomatoes, beans, peas, lettuce
- Moderate (can cross with insects): peppers, eggplant
- Trickier (cross-pollinate easily): squash and pumpkins, cucumbers, corn, many brassicas like kale and broccoli
A quick caveat: Tomatoes usually self-pollinate, but some varieties and conditions can bump up crossing. Peppers can cross more than you’d think in a busy pollinator garden. If purity matters, use a simple isolation trick (you’ll find options below).
If you’re new, start with tomatoes and beans. They’re generous teachers.
Variety purity basics
If you only grow one variety per crop, life gets simple fast. If you’re growing multiple varieties and want them to stay true-to-type, use one of these low-fuss strategies.
- Distance: Spread varieties out as much as your space allows. More distance is better, especially for corn, brassicas, and cucurbits.
- Timing: Stagger planting so different varieties do not flower at the same time.
- Physical barriers: Bag blossoms (organza bags work well) and hand-pollinate if needed, then tag the fruit you’re saving for seed.
- Grow one variety: For corn and many brassicas, this is often the easiest home-garden “purity plan.”
Small but important note: “Same crop” is not always “same species.” Squash is the classic example. Many squashes cross within a species (like C. pepo), but not across species. If you’re not sure what you’re growing, treat it as a potential cross and label it that way.
Dry seeds vs wet seeds
Vegetable seeds fall into two broad categories, and each one has a best practice for extraction and drying.
Dry seeds (pods and seed heads)
These are seeds that mature dry on the plant, usually inside pods or in seed heads.
- Examples: beans, peas, lettuce, many herbs, okra
- Core idea: Let the pod or seed head dry on the plant, then finish drying indoors.
Wet seeds (inside juicy fruits)
These are seeds surrounded by gel or pulp. Many of them benefit from a simple fermentation step to remove coatings and reduce some seed-borne disease issues.
- Examples: tomatoes, cucumbers, melons, squash
- Core idea: Scoop seeds out, clean them well, then dry thoroughly before storage.
How to save dry seeds
Step 1: Let them fully mature
For beans and peas, wait until pods are papery and rattly. For lettuce and herbs, wait until seed heads look dry and a light rub releases seeds easily.
Step 2: Harvest on a dry day
Moisture is the enemy of stored seeds. If rain is coming and your pods are nearly dry, you can pull whole plants and hang them indoors to finish.
Step 3: Thresh and winnow
- Threshing: Crack pods open by hand over a bowl, or place pods in a paper bag and gently crush.
- Winnowing: Pour seeds between two bowls in a light breeze or in front of a fan on low so the chaff blows away.
Step 4: Final air-drying
Spread cleaned seeds in a single layer on a plate, mesh screen, or parchment paper in a warm, dry room out of direct sun. Stir once a day.
How long? Usually 1 to 2 weeks, depending on humidity and seed size.
How to save wet seeds
Wet seeds can be very easy, but they demand patience during drying. Store them even slightly damp, and you’ll discover mold the hard way.
Tomatoes: Fermentation (my favorite)
Tomato seeds are coated in a gel that helps prevent premature germination and can harbor pathogens. Fermentation breaks down that coating and helps clean the seed. It can reduce some seed-borne disease risk, but it isn’t sterilization.
- Scoop: Squeeze or spoon tomato seeds and juice into a small jar or cup.
- Add water: Add enough to cover the seeds and pulp by about 1 to 2 cm.
- Ferment: Leave loosely covered at room temperature for 2 to 4 days. Stir once daily. You’re looking for a layer of bubbles or light mold on top and seeds that sink.
- Rinse: Add water, swirl, and pour off floating pulp. Good seeds usually sink. Repeat until the water runs mostly clear.
- Dry: Spread seeds in a single layer on a ceramic plate, glass dish, or screen. Avoid paper towels, as seeds can stick like glue. Dry 1 to 3 weeks.
Notes from the tomato patch: If it smells tangy, you’re doing it right. If it smells rotten or turns black, toss it and start again with fresher fruit and a cleaner jar.
Cucumbers and melons: Scoop, quick soak, rinse
These do not need fermentation in the same way tomatoes do, but a short soak helps separate seeds from pulp. Don’t let them sit too long, because a soak can slide into fermentation. Rinse and start drying as soon as the seeds are clean.
- Scoop seeds: Use very ripe fruit.
- Soak briefly: Swish seeds and pulp in water for 1 to 6 hours. Rub gently to free seeds.
- Rinse well: Strain through a fine mesh sieve.
- Dry thoroughly: Spread in a single layer and dry 1 to 3 weeks.
Drying seeds well
Seeds often come from fruits you adore, which means you’ll be tempted to rush. Try not to. Drying is the make-or-break step for storage life.
Best drying setup
- Surface: Ceramic plate, glass dish, baking sheet, or a fine screen
- Location: Warm, dry room with airflow, out of direct sun
- Technique: Spread seeds in a single layer and stir or shake the tray daily
How to tell they are dry
- Beans and peas: Hard as little pebbles, cannot dent with a fingernail.
- Tomatoes: Seeds feel dry and slightly fuzzy, and they do not clump together when rubbed between fingers.
- Peppers: Seeds snap cleanly when bent instead of flexing.
If you’re unsure, give them a few more days. Seeds forgive extra drying. They do not forgive trapped moisture.
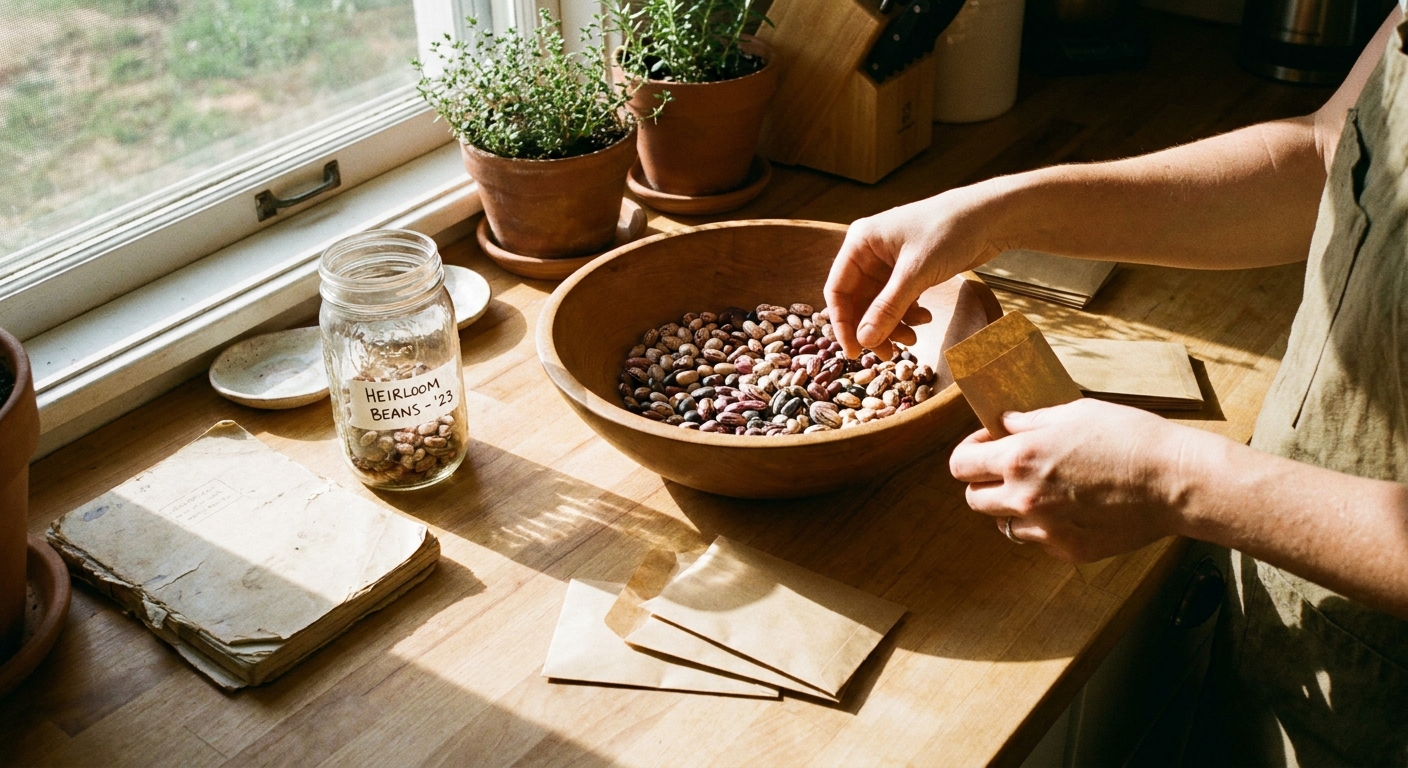
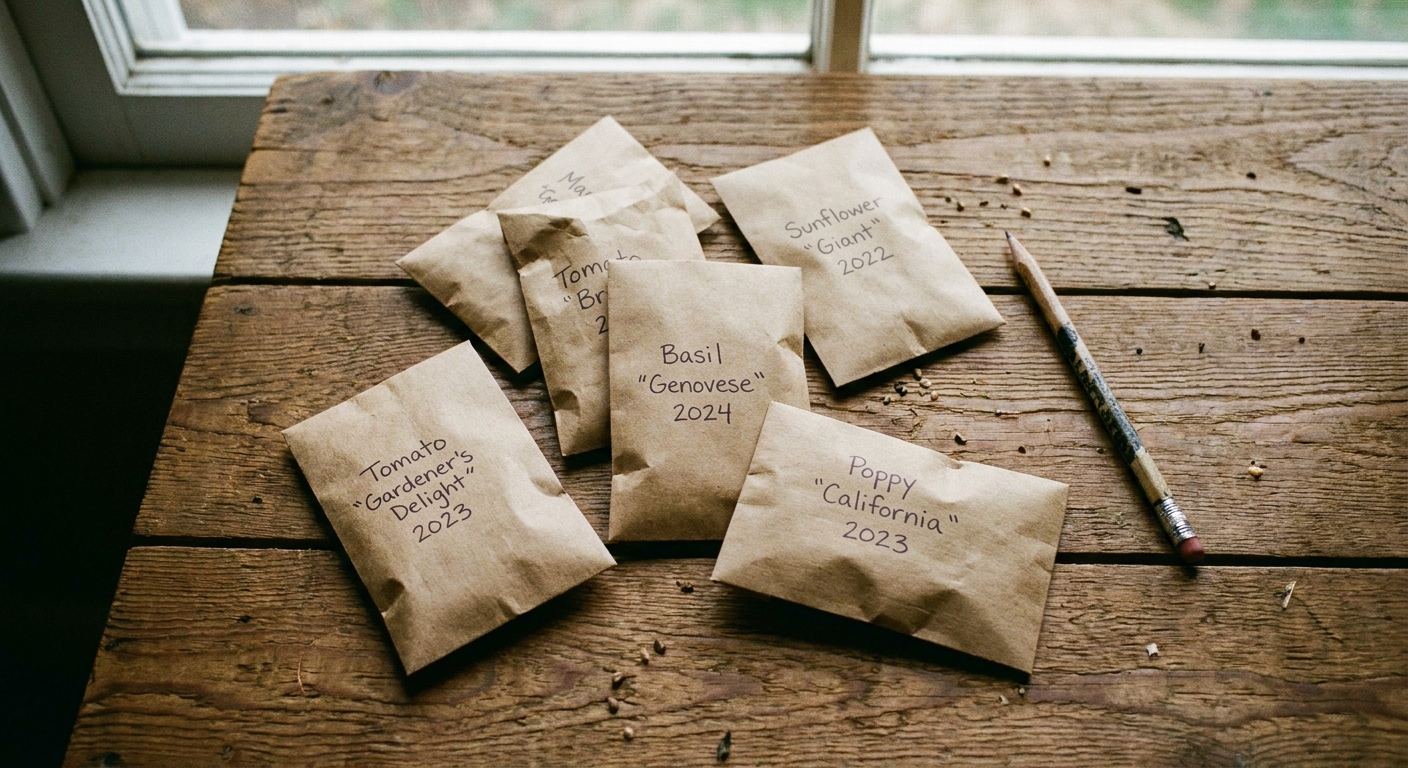
Labeling that helps
Every gardener has a mystery envelope somewhere. It always seems like a good idea at the time to write “tomato” and move on. Future-you deserves better.
What to write on every packet
- Crop and variety: “Tomato, Brandywine” beats “pink tomato”
- Year saved: Essential for tracking viability
- Source notes: “Best plant, north bed” or “drought-tolerant row”
- Any cross notes: If pollination control was uncertain, write “possible cross”
My simple system
I label envelopes first, before seeds touch the table. Then I keep a matching note in my garden journal with a sentence about why that plant earned a spot in next year’s lineup.
Storage basics
Most seed-saving heartbreak comes from moisture and temperature swings. Your goal is a stable environment.
Best containers
- Short-term: Paper envelopes inside a glass jar with a tight lid
- Longer-term: Airtight jars or food-grade containers, seeds first packed in envelopes
Add moisture control
Slip a desiccant packet (silica gel is best) into the jar. If you want a DIY option, use a tablespoon of powdered milk wrapped in tissue. Rice can help a little, but it is mild insurance compared to silica gel or dry milk.
Where to store them
- Good: A closet in a cool room, a basement that stays dry, or the refrigerator
- Avoid: A hot shed, a humid laundry room, or anywhere with big temperature swings
Refrigerator tip: Put seed jars in the back where temps are steadier. Make sure seeds are fully dry before chilling them. Condensation is sneaky.
Rule of thumb: Many gardeners aim for “cool plus dry,” and you may hear the 100 rule (temperature in °F plus relative humidity under 100). Treat it as a guideline, not gospel.
How long do seeds last?
Seed life depends on the crop and how well you stored it. Here are realistic home-garden expectations with good drying and cool, dry storage.
- 1 to 2 years: onions, parsnips (not commonly saved at home, but worth noting)
- 3 to 5 years: tomatoes, peppers, beans, peas, lettuce, many brassicas (sometimes longer in ideal storage)
- 4 to 6 years: cucumbers and melons (often still fine, but test to be sure)
Even if a seed can last years, I still like to do a quick viability test before I plan bed space around it.
Test viability (paper towel method)
This is my no-drama way to see if your saved seeds are ready to perform.
- Count out 10 seeds from your packet.
- Moisten a paper towel so it is damp, not dripping.
- Place seeds inside and tuck it into a zip bag or a covered container.
- Keep warm on a counter out of direct sun.
- Check daily and re-moisten if needed.
- Count sprouts after the typical germination window for that crop.
How to read the result: If 8 out of 10 sprout, you have about 80% germination. Plant a little thicker to compensate, or save your best seeds for prime spots.
Common mistakes
- Saving from unripe fruit: Let seeds fully mature, especially in tomatoes, cucumbers, and squash.
- Not drying long enough: When in doubt, dry longer.
- Skipping labels: Label immediately, not later.
- Storing airtight without a desiccant: Airtight is great only when seeds are truly dry and you buffer moisture.
- Expecting hybrids to come true: Save them for fun experiments, not for exact repeats.
A simple plan for next harvest
If you want an easy on-ramp, here is a low-stress approach that fits into normal cooking and harvesting.
- Pick one open-pollinated tomato and one bean variety you love.
- Let a few fruits and pods go fully mature.
- Ferment tomato seeds, dry both crops thoroughly.
- Label clearly and store in a jar with a desiccant packet.
- Do a 10-seed germination test in late winter before you start trays.
And if you make a mistake, welcome to the club. I’ve composted plenty of “almost dry” seeds in my day. The good news is that seed saving rewards repetition. Each season you get a little more confident, and your garden gets a little more like home.