
How to Save Tomato Seeds for Next Year

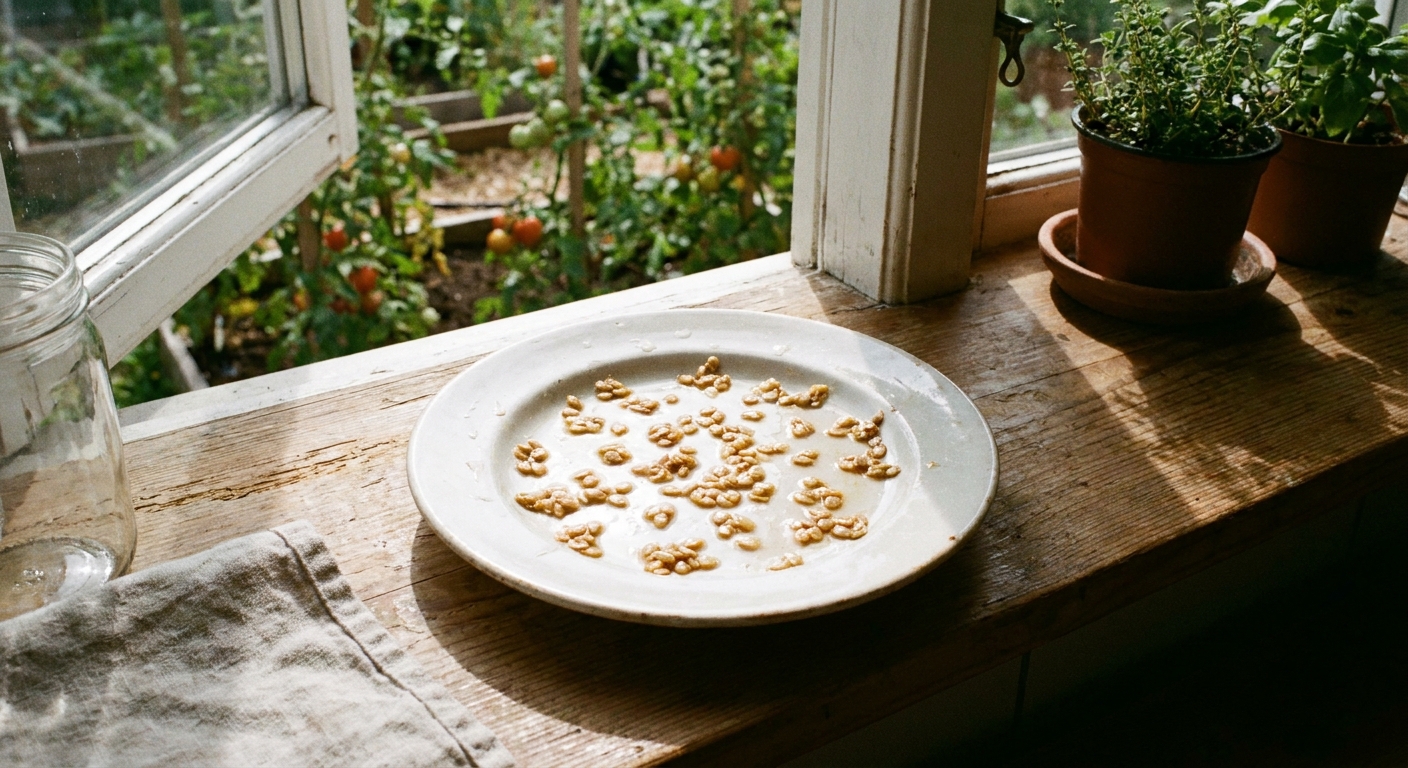
The first time I saved tomato seed, I felt like I was being let in on a quiet garden secret. That slippery gel around each seed looks like a nuisance, but it is actually the key to doing this well. Once you learn the simple fermentation step, saving tomato seeds becomes as routine as watering. And it is deeply satisfying to carry a favorite variety forward, year after year, from your own soil.

Start with the right tomatoes
If you want next year’s plants to look and taste like this year’s, seed choice begins before you ever grab a jar.
Choose open-pollinated or heirloom varieties
Open-pollinated tomatoes produce offspring that are true to type, meaning their seeds reliably grow plants similar to the parent, as long as they were not cross-pollinated by a different variety.
Heirlooms are open-pollinated varieties with a history of being passed down through generations. They are my favorite for seed saving because the traits are stable and the flavors are often spectacular.
Why hybrid tomato seeds do not grow true
Hybrid tomatoes, usually labeled F1 on seed packets or plant tags, are created by crossing two different parent lines. That first-generation hybrid often has great traits like disease resistance, heavy yields, or uniform fruit.
But the seeds inside a hybrid tomato are the next generation. When you plant them, the seedlings can split into a wide mix of traits from the grandparents. In real life, that means your “same” tomato next year might be different in:
- Flavor and sweetness
- Fruit size and shape
- Days to maturity
- Plant vigor and productivity
- Disease resistance
It is not that hybrid seeds are useless. It is just that they are unpredictable. If you love experimenting, go for it. If you want consistency, save seed from open-pollinated or heirloom plants.
Pick your best fruits, not your first fruits
For seed saving, I aim for fruits that are:
- Fully ripe on the vine (deep color, slightly soft, fragrant)
- Healthy (avoid fruit from plants with severe disease)
- Typical of the variety (great flavor, good size, good shape)
Let the chosen tomato get dead ripe. Slightly overripe is fine. Under-ripe seeds can have lower germination.
A quick note on cross-pollination
Tomatoes are mostly self-pollinating, so varieties often stay true even when planted near each other. That said, insects can sometimes cause crosses, especially with varieties that have exserted stigmas or other more exposed flower parts, plus plenty of pollinator traffic.
If you grow many varieties close together and need purity, you can:
- Save seeds from only one variety that season
- Separate varieties by distance if you have the space
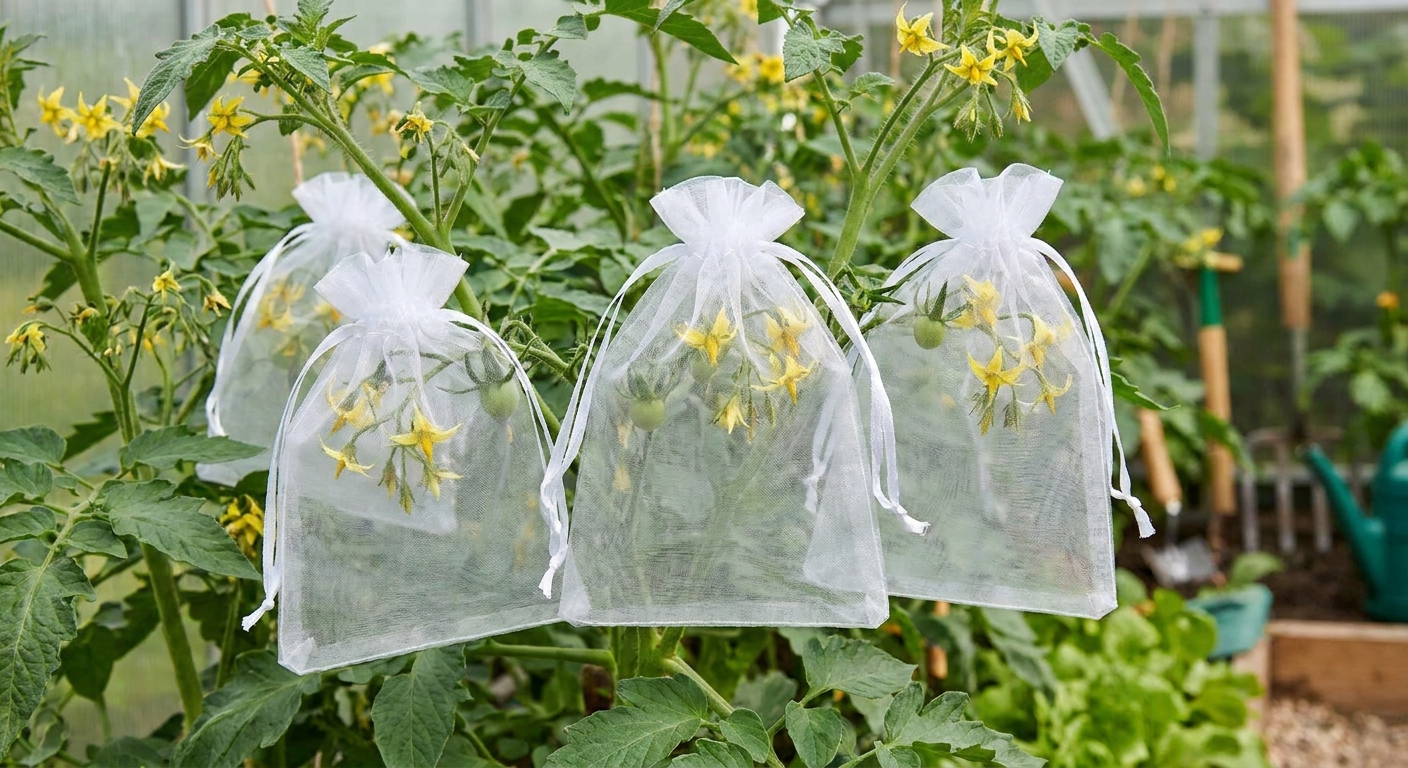
- Bag a few blossoms (organza bags work well) and hand-pollinate, then save seed only from those trusses
Supplies you will need
- A ripe tomato
- A clean jar or glass (a small mason jar is perfect)
- Water (non-chlorinated is best, but tap water is fine for rinsing)
- A spoon
- A fine mesh strainer
- Paper coffee filters, a ceramic plate, or a piece of parchment paper for drying
- Labels and a pen
- An envelope or airtight container for storage
A small practical note: give your jar and spoon a quick wash first. You are trying to grow next year’s garden, not a science experiment.
Step-by-step: ferment tomato seeds
That gel around tomato seeds contains compounds that can slow germination and it can also hold onto pathogens. Fermenting breaks down that coating and helps reduce some seed-borne disease issues. This is the method seed savers use because it works.
1) Scoop seeds and gel into a jar
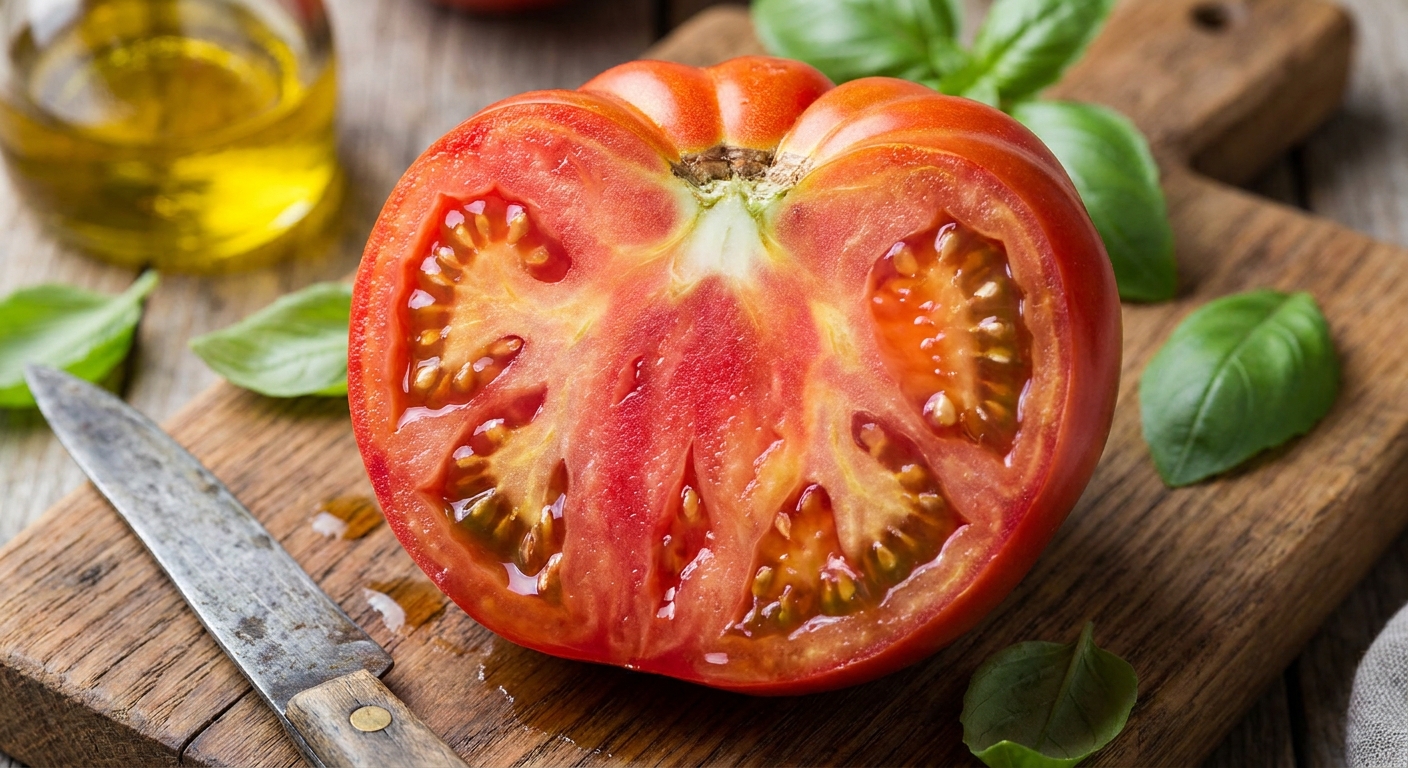
Cut the tomato across the middle (through the equator) so you expose the seed cavities. Squeeze or spoon the seeds and their gel into a jar. Include a bit of pulp, but you do not need to dump the whole tomato in there.
2) Add a small splash of water
Add just enough water to make a loose slurry. You are not filling the jar, you are aiming for something that swirls easily when you tilt it. For a small batch, I usually add 1 to 2 tablespoons.
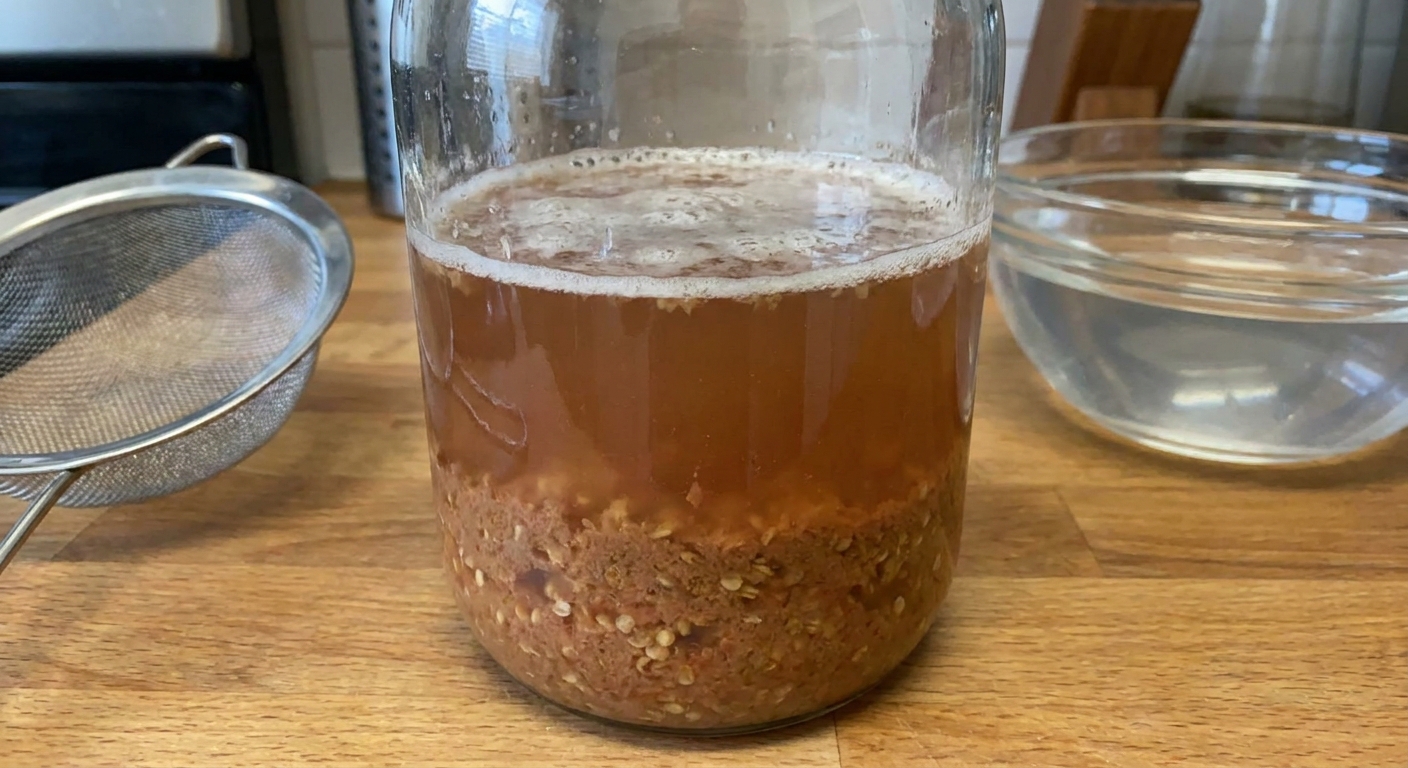
3) Cover loosely and let it ferment 2 to 4 days
Set the jar somewhere warm, out of direct sunlight, ideally around normal room temperature or a bit warmer. Stir once a day.
I like to cover the top with a coffee filter or a piece of paper towel held on with a rubber band. It keeps fruit flies out, lets gases escape, and prevents the jar from becoming a tiny tomato bomb.
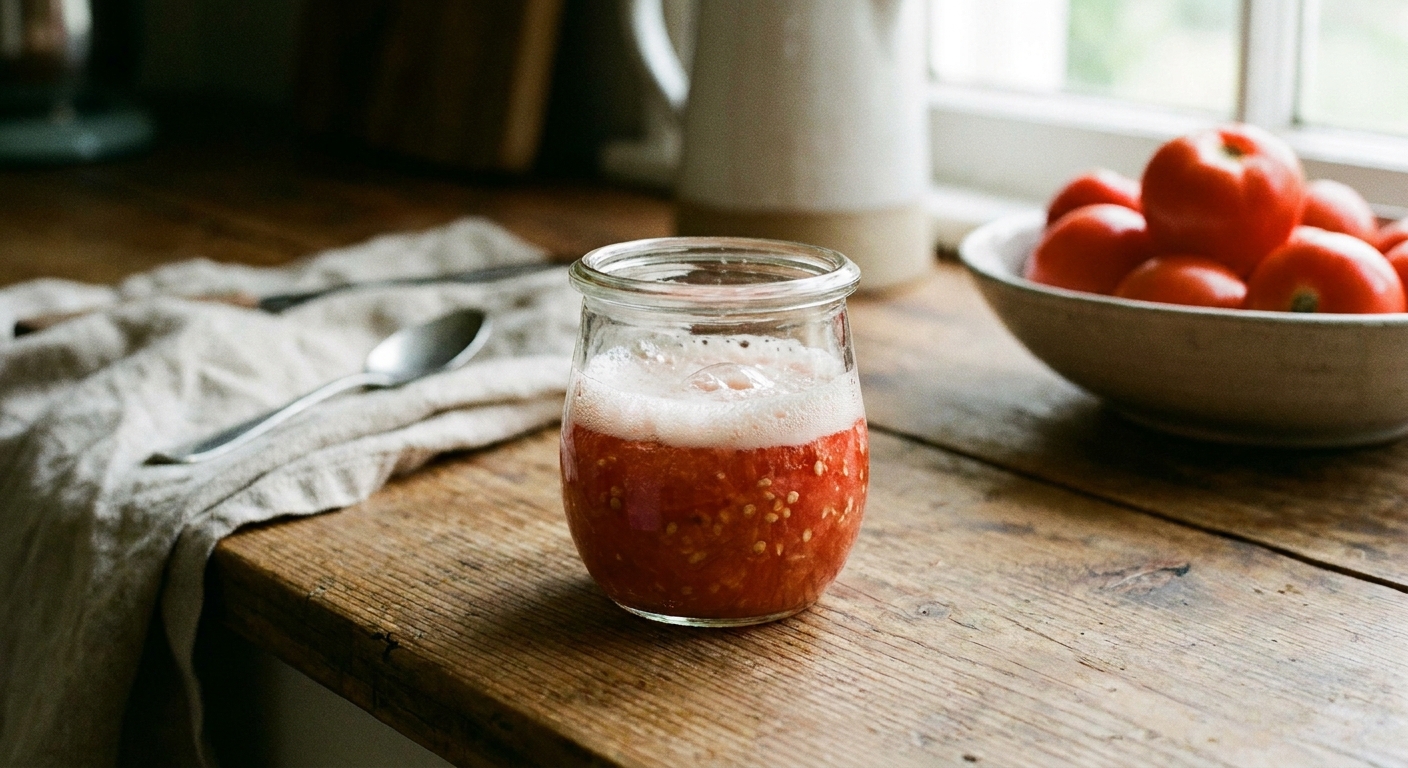
You will know fermentation is happening when you see:
- Bubbles
- A light layer of foam
- A whitish film (this is normal)
Stop once the gel is dissolved and seeds rinse clean, usually in 2 to 4 days. A strong sour smell is normal. If you see seeds starting to sprout, you waited too long (or the jar was too warm).
What about mold?
A bit of surface mold can happen and is not automatically a disaster. It is one reason you do not want the jar sealed tight. If you see mold, proceed to rinsing sooner rather than later.
Rinse and separate seeds from debris
1) Add water and swirl
Fill the jar with water, swirl, and let it settle for 10 to 20 seconds.
Many viable tomato seeds sink, while pulp and some immature seeds tend to float. Use this as a rough cleanup step, not a perfect germination test. If you still have lots of gel or trapped air, good seeds can float too.
Carefully pour off the floating layer, keeping what settled at the bottom.
2) Repeat until the water runs mostly clear
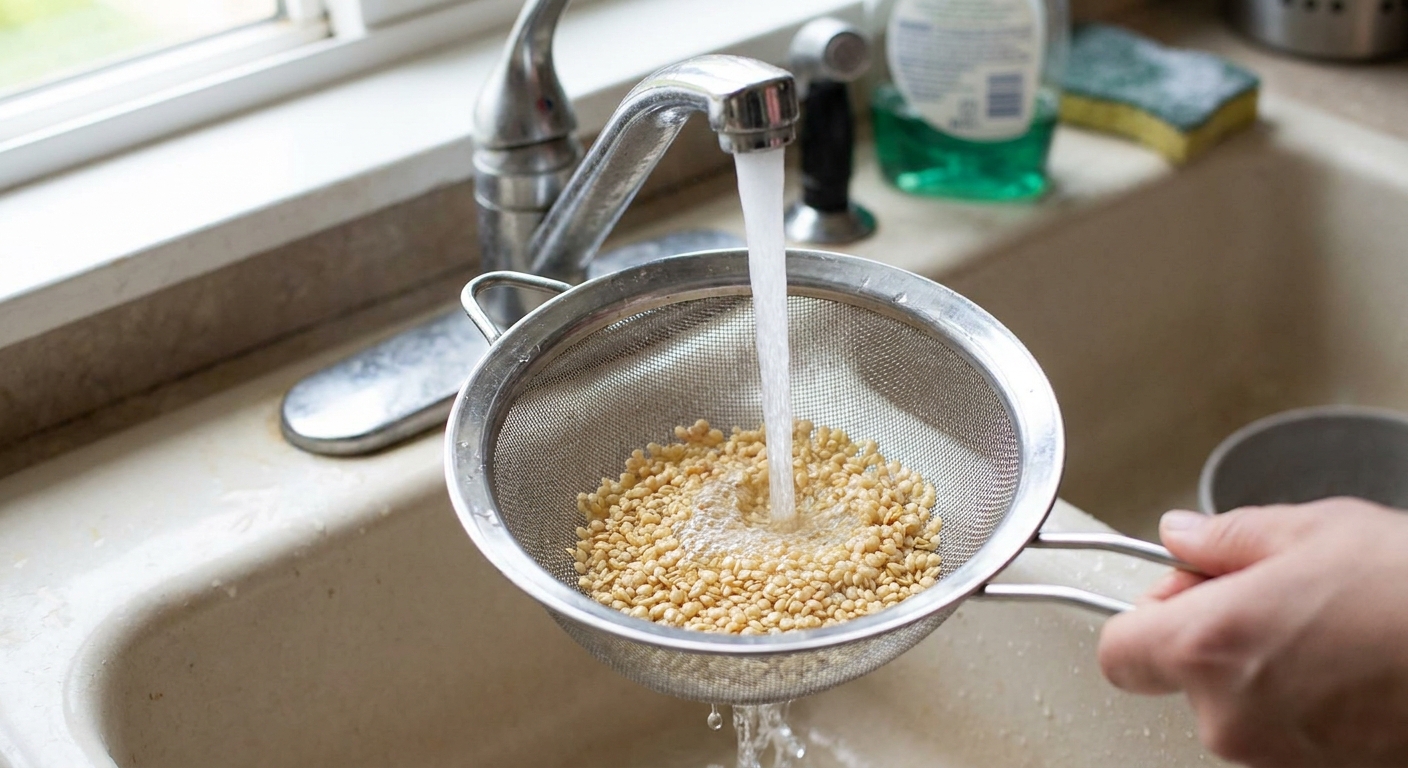
Do this rinse and pour-off cycle a few times. Then dump the remaining seeds into a fine mesh strainer and rinse under gentle running water, rubbing lightly with your fingers to remove any last bits of gel.
Drying
If tomato seeds are not fully dry before storage, they can mold or lose viability. Slow, thorough drying is your friend.
Best surfaces for drying
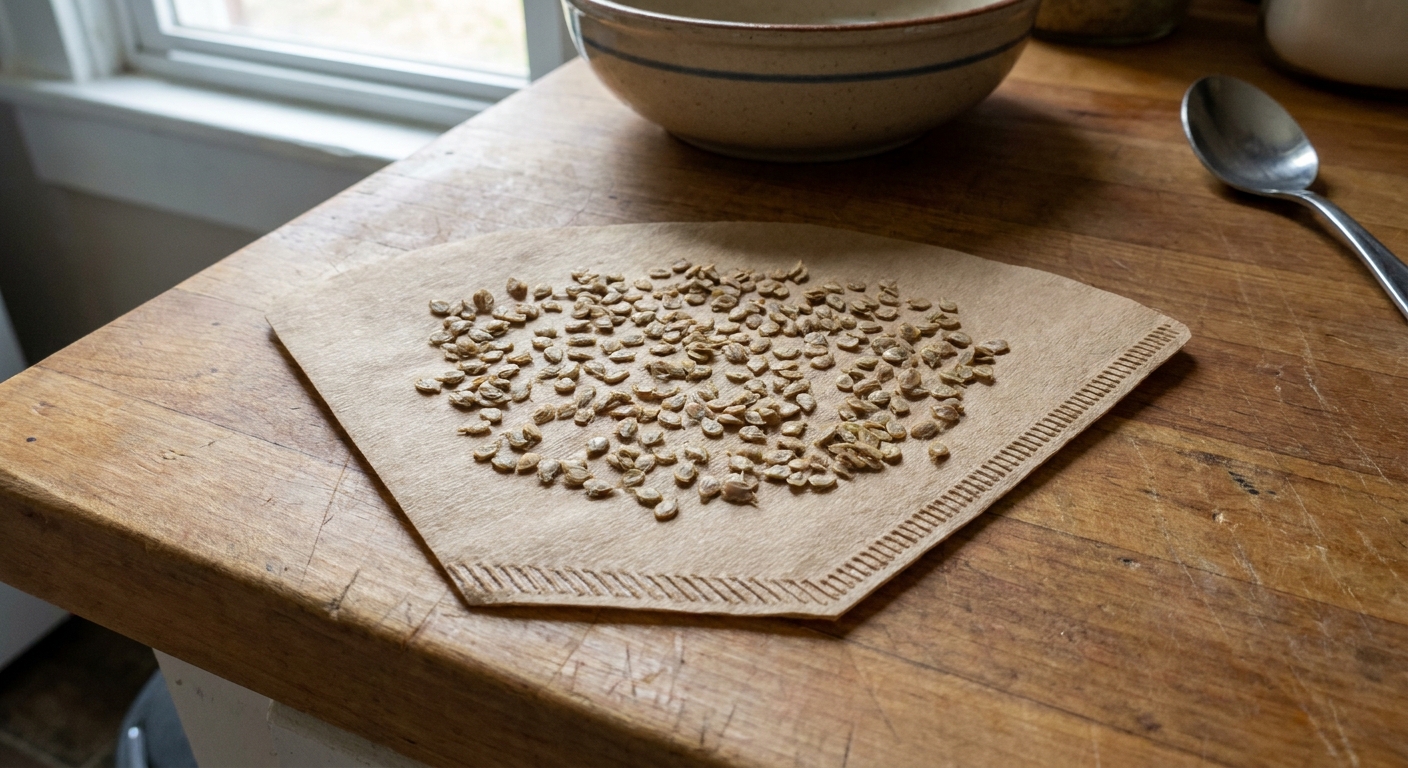
- Paper coffee filter: my favorite because seeds do not stick much and air moves through.
- Ceramic plate: works well, just stir seeds occasionally so they do not cling.
- Parchment paper: good option, especially in humid climates.
Avoid paper towels if you can. Seeds love to glue themselves into the fibers.
How to dry them
- Spread seeds in a single layer.
- Keep them out of direct sun.
- Let them dry in a warm, airy room.
- Stir or break up clumps once or twice a day.
Drying time: usually 5 to 10 days, longer if your air is humid.
How to tell if they are dry enough
Properly dried tomato seeds feel hard and papery. A bent seed should snap rather than flex. If you are unsure, give them two more days. I have never regretted extra drying time.
Labeling
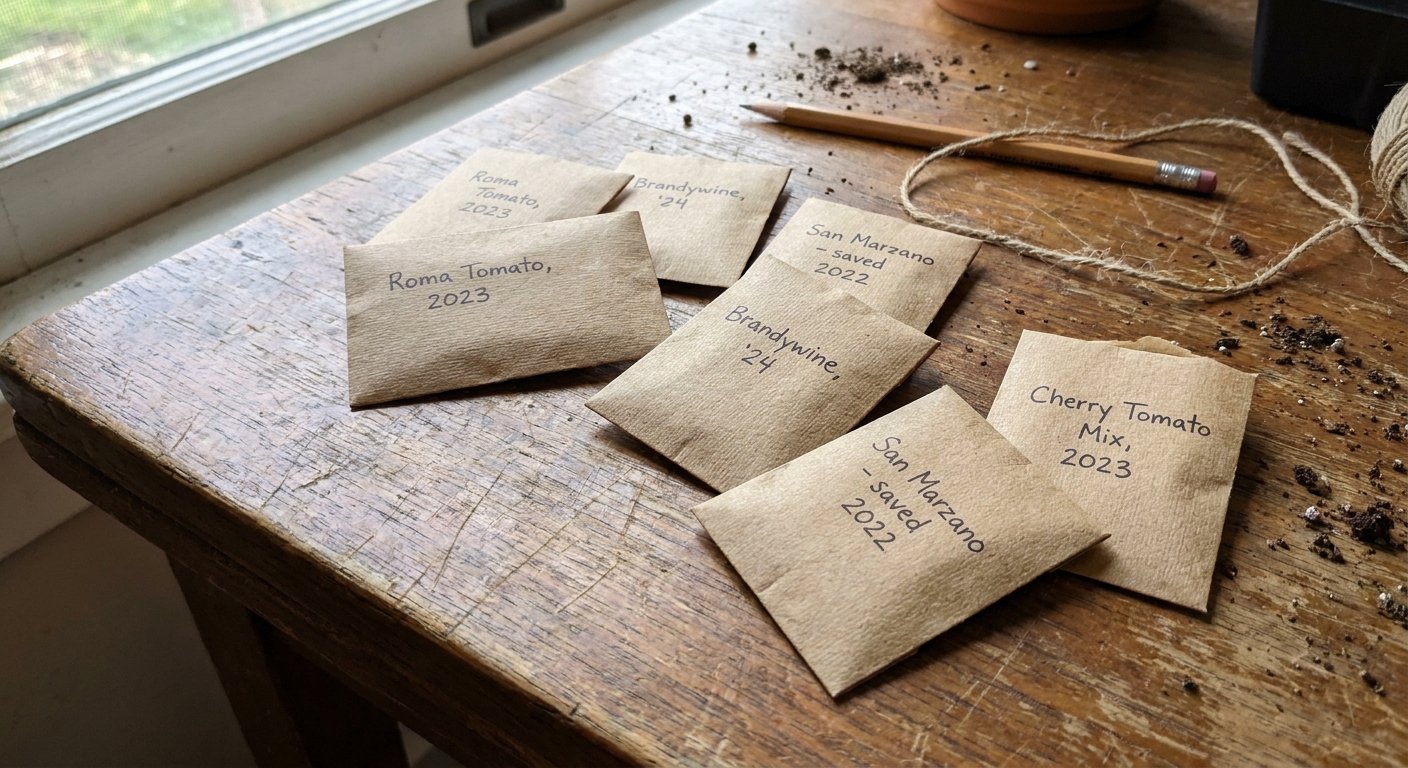
I say this with love because I have absolutely created the mystery envelope labeled “red tomato, probably good.” Label the moment the seeds hit the drying surface, not later.
- Variety name
- Year saved
- Any notes (flavor, plant habit, disease resistance, where it grew best)
Storage
Seed longevity is mostly about moisture and temperature. Dry seeds stored in a stable, cool spot can stay viable for years.
Best containers
- Paper envelopes placed inside a sealed jar
- Glass jar with a tight lid
- Airtight food container
If you live somewhere humid, add a small desiccant packet if you have one, or a spoonful of dry rice in a separate little paper packet inside the jar. The goal is to buffer moisture, not to let seeds touch rice dust.
Best place to store
- A cool closet in an air-conditioned home
- A basement that stays dry
- The refrigerator, if your seeds are truly dry and sealed well
If you store seeds in the refrigerator, try to avoid lots of opening and closing that can cause condensation inside containers. I keep mine in a sealed jar toward the back and only open it when I am ready to pull out what I need.
Try to avoid temperature swings, like a shed that bakes during the day and cools sharply at night.
How long do tomato seeds last?
When well dried and stored cool and dry, tomato seeds commonly remain viable for 4 to 6 years, and often longer under ideal conditions. Germination tends to decline gradually, so older seed may still sprout, just at a lower percentage.
Quick germination test
If you are working with older seed, a quick test can save you a season of guessing. Put 10 seeds on a damp paper towel, fold it up, slide it into a plastic bag, and keep it warm. Check daily. If 7 out of 10 sprout, you are in great shape. If only a couple do, sow thicker or start fresh seed.
Quick troubleshooting
My seeds sprouted during fermentation
Fermentation went too long or the jar was too warm. You can still dry and store the unsprouted seeds, but discard any that have visibly germinated.
Seeds are clumping into a pancake
Spread them thinner and stir once or twice a day. Next time, rinse a bit more thoroughly before drying.
Seeds got moldy in storage
That is almost always incomplete drying or storage in a humid spot. Toss moldy seeds. Next batch, dry longer and store in an airtight container with a moisture buffer.
I only have grocery store tomatoes. Can I save those seeds?
Sometimes. Many grocery tomatoes are hybrids, so they may not grow true. Also, some are picked underripe for shipping, which can mean immature seed. If you have a really ripe, flavorful tomato from a local farm stand that you suspect is an heirloom, your odds are better.
FAQ
Do I have to ferment tomato seeds?
For best results, yes. Fermentation removes the gel more completely and mimics the natural process of a fallen tomato rotting and releasing seeds. It also helps reduce some disease issues that can cling to seed coats, though it is not a guarantee against every disease.
Can I save seeds from cherry tomatoes?
Absolutely. The process is the same, just a bit fiddlier because the seeds are smaller and you are usually working with smaller batches. I often ferment cherry tomato seeds in a small drinking glass.
Should I save seeds from my first ripe tomato?
You can, but I prefer saving from mid-season fruits when the plant is in its groove and the tomatoes are most typical of the variety.
How many tomatoes do I need to save enough seed?
One healthy, fully ripe tomato is usually plenty for a home garden. You can easily get dozens of seeds from a single fruit.
Should I avoid saving seed from sick plants?
Yes. I skip seed saving from plants with major disease problems, especially anything that looks virus-like (mottled leaves, twisted growth, stunting). Fermentation can reduce some seed-borne pathogens, but it does not magically clean up everything.
A gentle seed-saving habit to start this year
If you are new to seed saving, start small. Pick one open-pollinated variety you truly love and save seeds from one perfect, fully ripe fruit. Next spring, when those seedlings pop up, you will feel that satisfying click of continuity, like your garden remembered itself.
And if you make a mess the first time, welcome to the club. Tomato seed saving is gloriously sticky work. I usually end up with a spoon glued to my hand and a jar that looks vaguely suspicious. It is still worth it.