How to Propagate Lavender from Cuttings
If you have one happy lavender plant, you can have five. Or ten. Propagating lavender from cuttings is one of those quietly magical garden skills that feels like you're getting away with something, snipping a few stems and turning them into brand new plants that smell like summer.
It's also the best way to keep a favorite variety going, because lavender grown from seed can be unpredictable. Cuttings give you a clone of the parent plant in almost all cases, meaning the same color, the same scent, the same growth habit.
Which lavender is easiest to propagate?
Most lavender can be propagated from cuttings, but some types root faster and more reliably than others.
Usually easiest
- Lavandula x intermedia (Lavandin): Commonly sold varieties like 'Grosso' and 'Provence' tend to root readily and grow vigorously.
- Lavandula angustifolia (English lavender): Favorites like 'Hidcote' and 'Munstead' propagate well, especially from softwood cuttings taken in spring.
Can be trickier (still doable)
- Lavandula stoechas (Spanish lavender): Often roots more slowly and can be fussier about humidity and rot. It's not impossible, just less forgiving.
- Lavandula dentata (often sold as French lavender): Similar story, it can root well with warmth and careful moisture control. Common names get messy here, since some gardeners also call L. stoechas “French lavender” in certain regions.
If you're brand new to propagation, start with an English lavender or a lavandin. They're the “confidence builders” of the lavender world.
When to take lavender cuttings
Timing matters because lavender stems change as the season progresses. You'll see two main cutting types mentioned, softwood and semi-hardwood.
Softwood cuttings
- Best time: Mid to late spring through early summer, when plants are actively growing.
- What they look like: Flexible green stems that bend easily.
- Pros: Root quickly.
- Cons: Can wilt if humidity is too low.
Semi-hardwood cuttings
- Best time: Late summer into early fall.
- What they look like: Stems that are starting to firm up and turn slightly woody at the base, but still have some give.
- Pros: Less prone to wilting.
- Cons: May root more slowly than softwood.
Pick a day when your plant is well hydrated. I like to water the parent plant the day before, then take cuttings in the morning when stems are plump and perky.
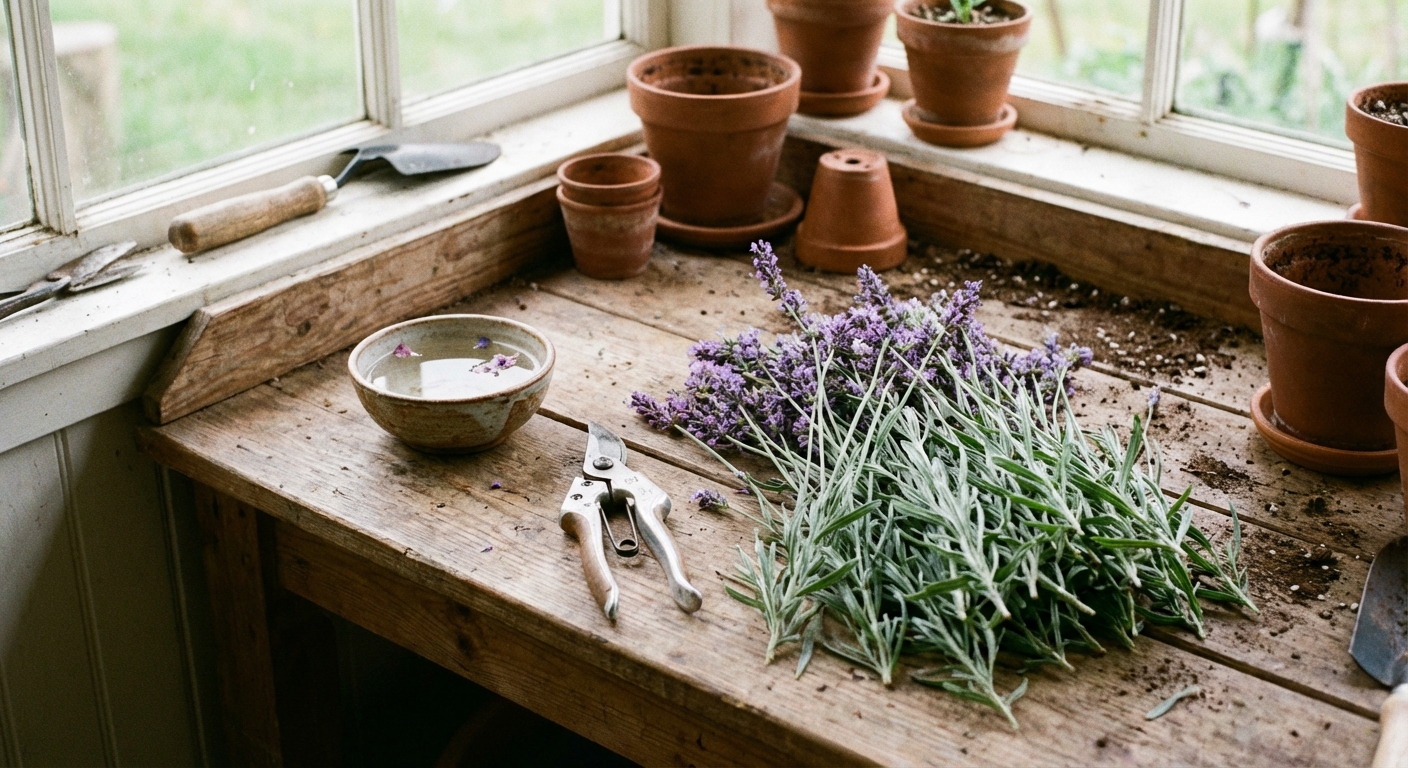
What you need
- Clean snips or sharp scissors (wipe with rubbing alcohol)
- Clean pots or a seed tray with drainage (a quick wash helps, especially if you're reusing anything)
- Rooting medium (details below)
- Optional rooting hormone (helpful, not required)
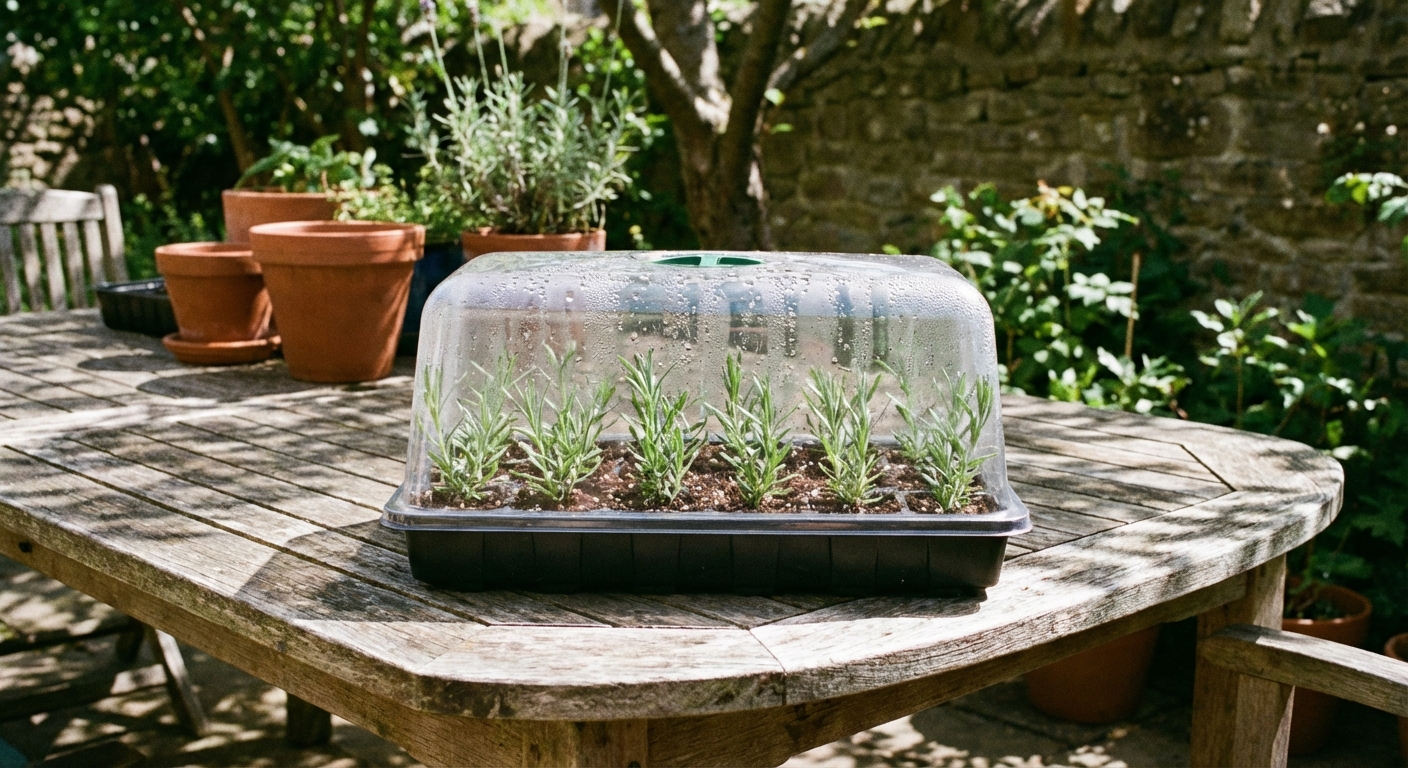
- A humidity cover: clear plastic bag, propagation dome, or a clear storage bin lid
- Plant labels if you're rooting multiple varieties
Lavender doesn't want a rich, compost-heavy mix for rooting. It wants oxygen around the stem base, and it wants moisture that doesn't linger.
Best rooting medium
The goal is a mix that stays lightly moist but drains fast. Lavender stems rot when they sit soggy.
Great options
- 50% perlite + 50% peat moss or coco coir
- 50% perlite + 50% seed-starting mix
- Coarse sand + perlite (excellent drainage, a bit less forgiving if you forget to mist)
If you only have regular potting soil, lighten it aggressively with perlite. Think airy, not fluffy-rich.
Step-by-step cuttings
This process is the same for softwood and semi-hardwood cuttings. The main difference is how quickly they root and how carefully you manage wilting.
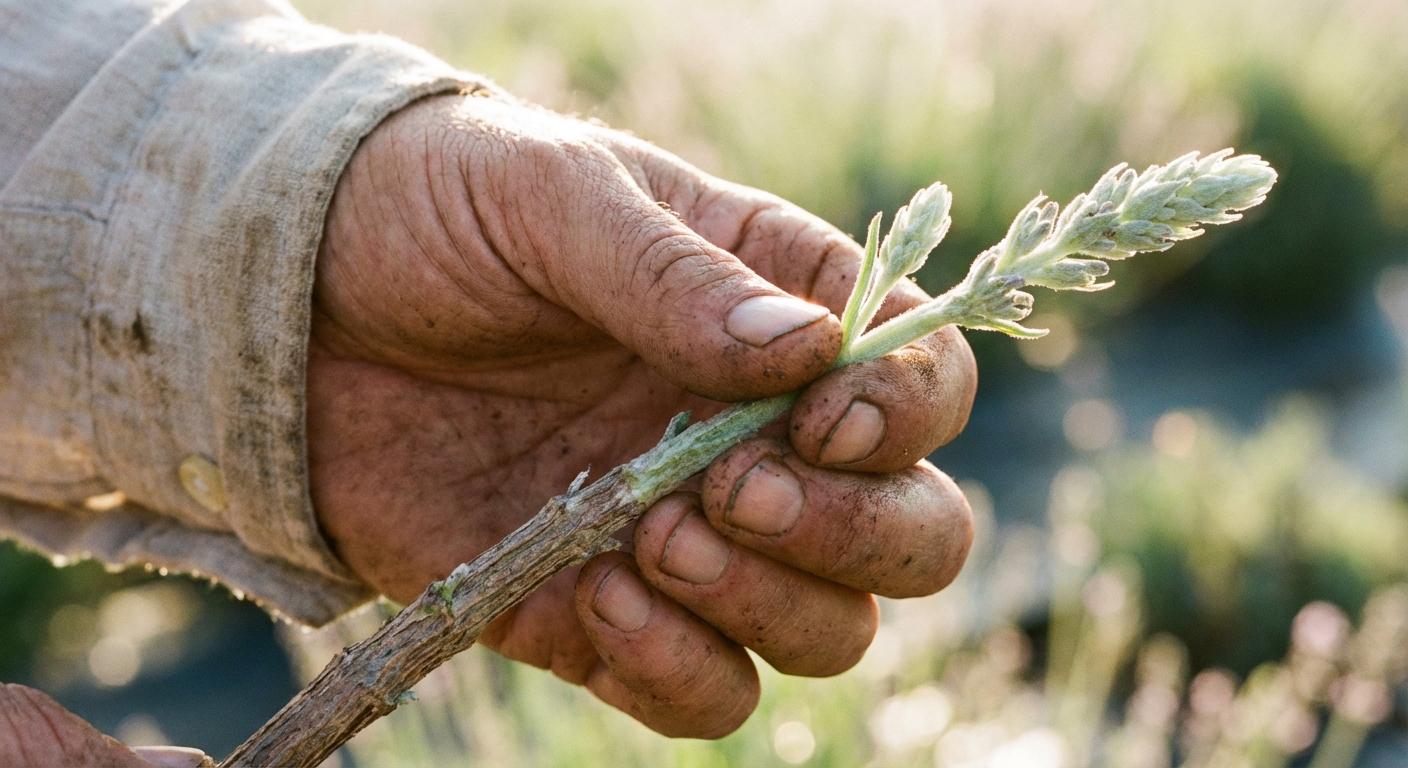
1) Pick the right stems
Choose healthy, non-flowering side shoots from the current season's growth. Skip stems with buds or blooms, and avoid old, thick, woody pieces. Flowering stems spend their energy on flowers, not roots.
2) Take 3 to 5 inch cuttings
Snip just below a leaf node (the little bump where leaves emerge). Aim for:
- Softwood: 3 to 4 inches is plenty.
- Semi-hardwood: 4 to 5 inches often gives a sturdier cutting.
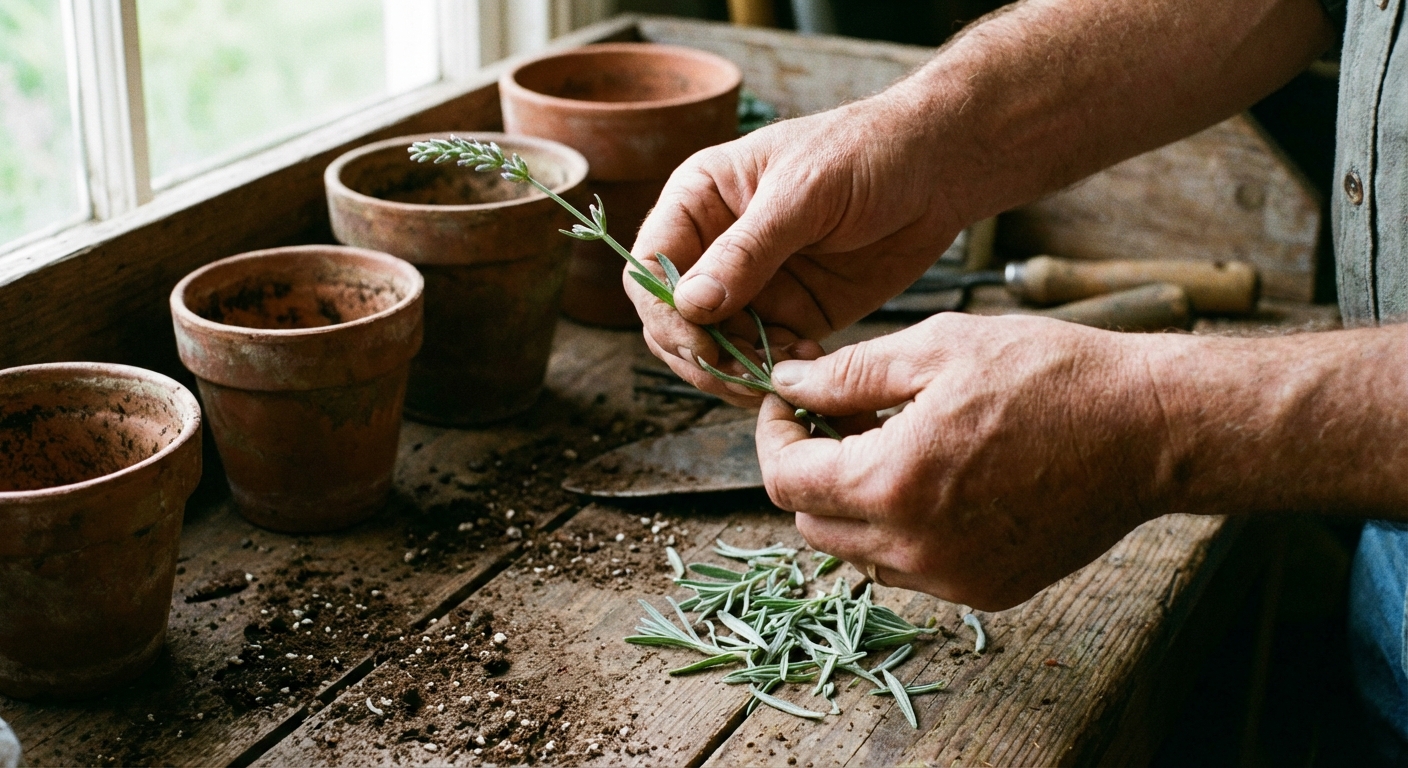
3) Strip the lower leaves
Remove leaves from the bottom 1.5 to 2 inches of the stem. This is the part that will go into your rooting medium.
Be picky here. Any leaves buried in the mix can decay and invite rot.
4) Optional: lightly wound the base
For semi-hardwood cuttings especially, you can gently scrape a thin sliver of the outer skin off one side of the bottom half-inch of stem. This can encourage rooting, but do it lightly. We want “encouraged,” not “mangled.”
5) Dip in rooting hormone
Rooting hormone can improve success rates, particularly for fussier lavender types. Tap off excess powder so it doesn't clump in the mix.
6) Stick cuttings and firm the mix
Use a pencil or chopstick to make a hole first, then insert the cutting so the stripped section is buried. Gently firm the mix around the stem so it has good contact.
Space cuttings so leaves aren't crammed together. Crowding traps moisture and encourages fungal issues.
7) Water in gently
Give the pot or tray a gentle, thorough watering to settle the mix, then let excess drain fully. If you're working with small pots, bottom-watering for a few minutes is great because it wets evenly without flattening the mix. After that first watering, switch to light watering or misting only when the surface is starting to dry. You're aiming for evenly moist, never swampy.
Humidity management
Cuttings have no roots, so they lose water through their leaves. Humidity is your safety net, especially for softwood. The balancing act is this: keep the air humid, but keep the rooting mix on the slightly drier side of “moist.”
Easy humidity methods
- Clear plastic bag “tent”: Place a bag over the pot and keep it from touching leaves with a couple of chopsticks.
- Propagation dome: Convenient and reusable.
- Clear storage bin: Great for multiple pots, lid loosely set on top.
Ventilation matters
High humidity plus stagnant air can invite mold. I like to:
- Open the cover once daily for 5 to 10 minutes.
- Wipe off heavy condensation.
- Keep cuttings in bright, indirect light, not full sun.
Light and temperature
- Light: Bright shade or an east-facing window, or under grow lights.
- Temperature: Roughly 65 to 75°F (18 to 24°C).
Direct hot sun on a covered tray is the fastest way to cook your cuttings. If you see wilting at midday, move them to gentler light and cooler temps.
How long to root?
Rooting time depends on variety, cutting type, and conditions. And yes, it can take longer, especially in cooler weather or low light.
- Softwood cuttings: Often 2 to 4 weeks.
- Semi-hardwood cuttings: Often 4 to 8 weeks (sometimes longer).
How to tell if roots formed
- Tug test: Give the cutting a gentle pull. If you feel resistance, roots are likely forming.
- New growth: Fresh leaf growth is a good sign, though it can happen before strong roots form.
If a cutting turns black at the base, goes mushy, or drops most leaves, toss it. This isn't you failing. This is compost doing its job.
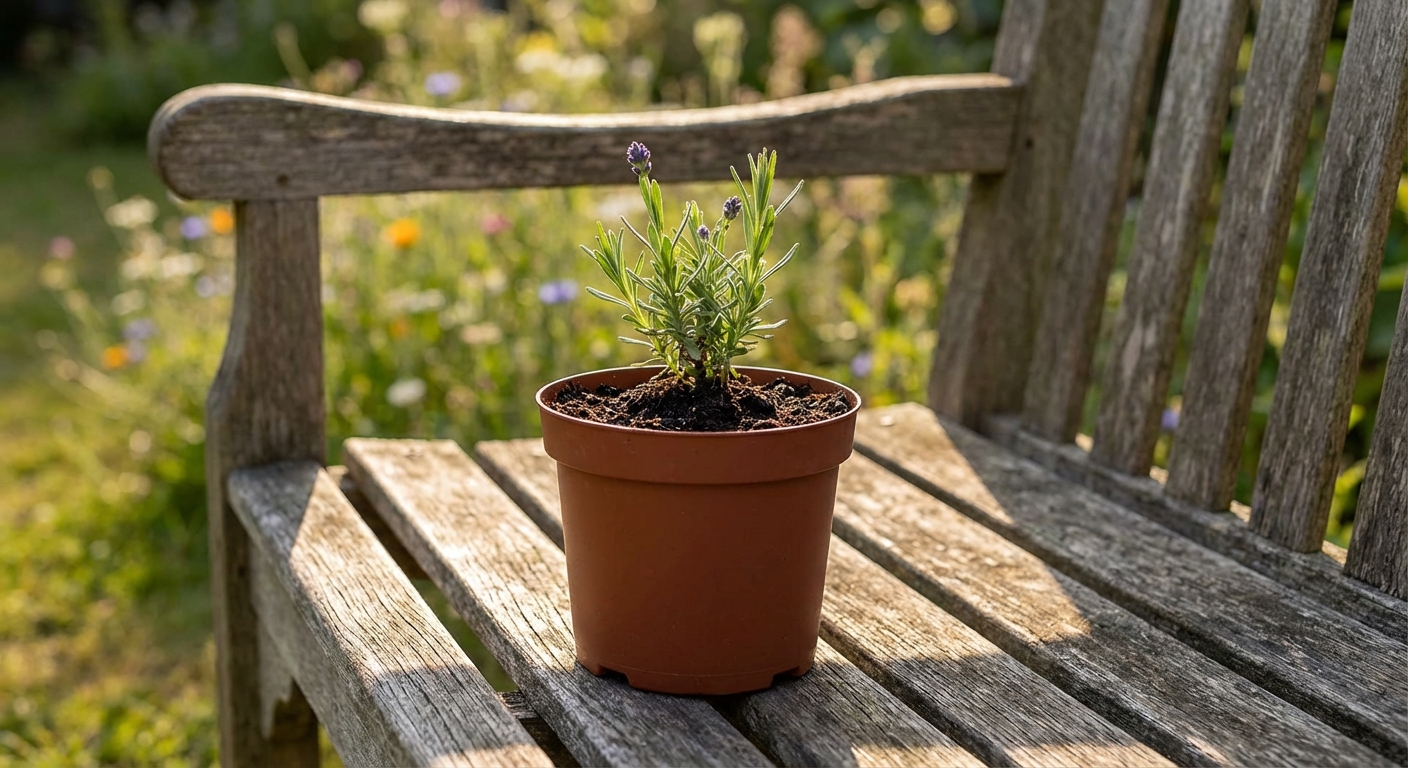
Potting up
Once roots are 1 to 2 inches long (or the tug test shows solid resistance), it's time to move them into their own pots.
What to plant them in
Use a free-draining mix similar to what lavender likes long-term:
- Quality potting mix amended with extra perlite, or
- A Mediterranean-style mix that drains quickly
How to pot up
- Water the propagation mix lightly first so it holds together.
- Lift each cutting gently, keeping as much of the root zone intact as possible.
- Plant at the same depth it was rooting.
- Water in, then let the top inch of soil dry between waterings.
Aftercare (simple timeline)
- Week 1: Keep them in bright, indirect light while they settle. Water lightly when the top starts to dry.
- Weeks 2 to 4: Gradually move toward more light. If you want a bushier plant, you can pinch the very tip once it has clear new growth and a small root system. Don't do it while it's still struggling to root.
Hardening off
This step is where many baby lavenders get sulky. Cuttings rooted under high humidity need time to adjust to normal air and brighter light.
Hardening off indoors or sheltered
- Days 1 to 3: Crack the humidity cover open for a few hours daily.
- Days 4 to 7: Remove the cover for half the day, then all day.
- Week 2: Move to brighter light, but still avoid harsh afternoon sun.
Once the plant is putting out steady new growth and holds itself upright without wilting, you can transition it outdoors full-time. If you're planting in the ground, wait until conditions are mild. Avoid heat waves and cold snaps.
Overwintering fall cuttings
If you took semi-hardwood cuttings in early fall, it's often smartest to keep the young plants potted and protected through winter, then plant them out in spring. In cold climates, an unheated garage with a window, a cold frame, or a sheltered porch works well. Keep them on the dry side and protect them from hard freezes and soggy soil.
Troubleshooting
My cuttings are wilting
- Increase humidity (cover them).
- Check heat and light. If they're warm, move them to cooler, bright indirect light. If they're too dim, move them to brighter indirect light.
- Check moisture. Too dry causes wilting, too wet causes rot. The mix should feel like a wrung-out sponge.
The stems are turning black or mushy
- Medium is too wet or not airy enough. Add perlite next round.
- Too little ventilation under the cover. Air them daily.
- Leaves buried in the mix. Strip more cleanly.
White fuzzy mold on the soil surface
- Increase airflow and reduce condensation.
- Let the surface dry slightly between misting.
- Remove any fallen leaves immediately.
They're not rooting after weeks
- Temperature may be too cool. Aim for the mid-60s to 70s°F.
- Cuttings may be too woody. Try younger softwood in spring, and focus on current-season side shoots.
- Try rooting hormone, especially for Spanish lavender.
Tips I swear by
- Take more cuttings than you need. Even experienced gardeners plan for a few duds.
- Label everything. Lavender varieties look identical as babies.
- Skip fertilizer while rooting. Roots first, feeding later.
- Don't overwater. Lavender is drought tolerant once established, and it prefers to breathe.
If you try this and only half your cuttings root, you're still winning. That's the thing I love about propagation. It's gentle math: a small effort turns into a whole row of plants.