How to Propagate Dieffenbachia (Dumb Cane)
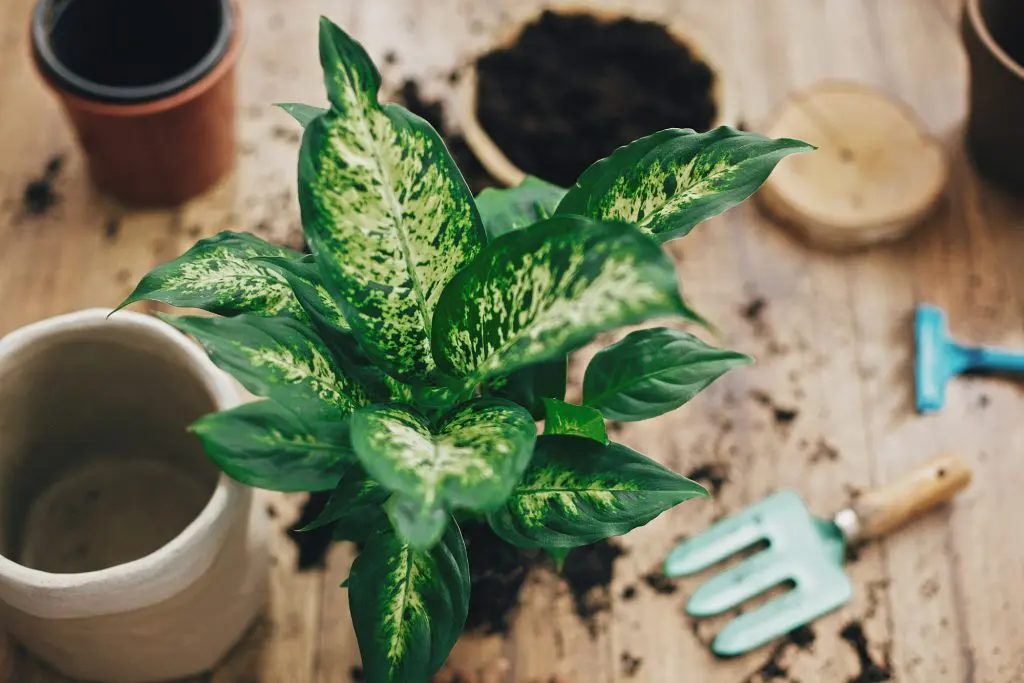
If your dieffenbachia has gotten tall, bare, and a little Dr. Seuss-looking, you are not stuck with it. Dieffenbachia, also called dumb cane, is generally an easy houseplant to multiply because its thick stems are packed with nodes that want to grow. The only tricky part is patience. Rooting can be slow, especially in cool, dry homes.
Below, I'll walk you through two reliable methods: cane section cuttings (to make several new plants) and reusing the top cut (to quickly reset a leggy plant). We will also talk about gentle bottom heat, humidity, timing, and the very real safety issue of the sap.

Before you start: sap and pet safety
Dieffenbachia sap contains calcium oxalate crystals (raphides). It can irritate skin and eyes, and it is dangerous if chewed by pets or children. The nickname “dumb cane” is commonly linked to the swelling and pain it can cause in the mouth and throat.
- Wear gloves and avoid touching your face while cutting.
- Protect surfaces with newspaper or a washable tray. Sap can drip.
- Keep cuttings away from pets while they callus and root. A curious cat can do damage fast.
- Wash tools and hands with soap and water when you are done.
If sap gets in eyes or a pet chews the plant, contact a medical professional or veterinarian right away. For toxicity details, see a reputable source like the ASPCA’s toxic plant list or a local extension service.
What you need
- Clean, sharp pruners or a knife (sterilize with rubbing alcohol)
- Gloves
- Small pots with drainage
- Fresh, airy rooting mix (see below)
- Clear plastic bag or a humidity dome
- Optional but helpful: a seedling heat mat with thermostat
- Optional: rooting hormone (not required, but can help with slower cane pieces)
- Plant labels (trust me, you will forget which end is up)
A simple rooting mix
Dieffenbachia roots want oxygen more than they want richness. Use one of these:
- 50% potting mix + 50% perlite
- 2 parts coco coir + 1 part perlite
- Or straight perlite if you tend to overwater
Best time to propagate
Propagation is usually fastest in spring and summer when the plant is actively growing and your home is warmer and brighter. You can still propagate in fall or winter, but expect slower rooting and be extra careful with watering in cool rooms.
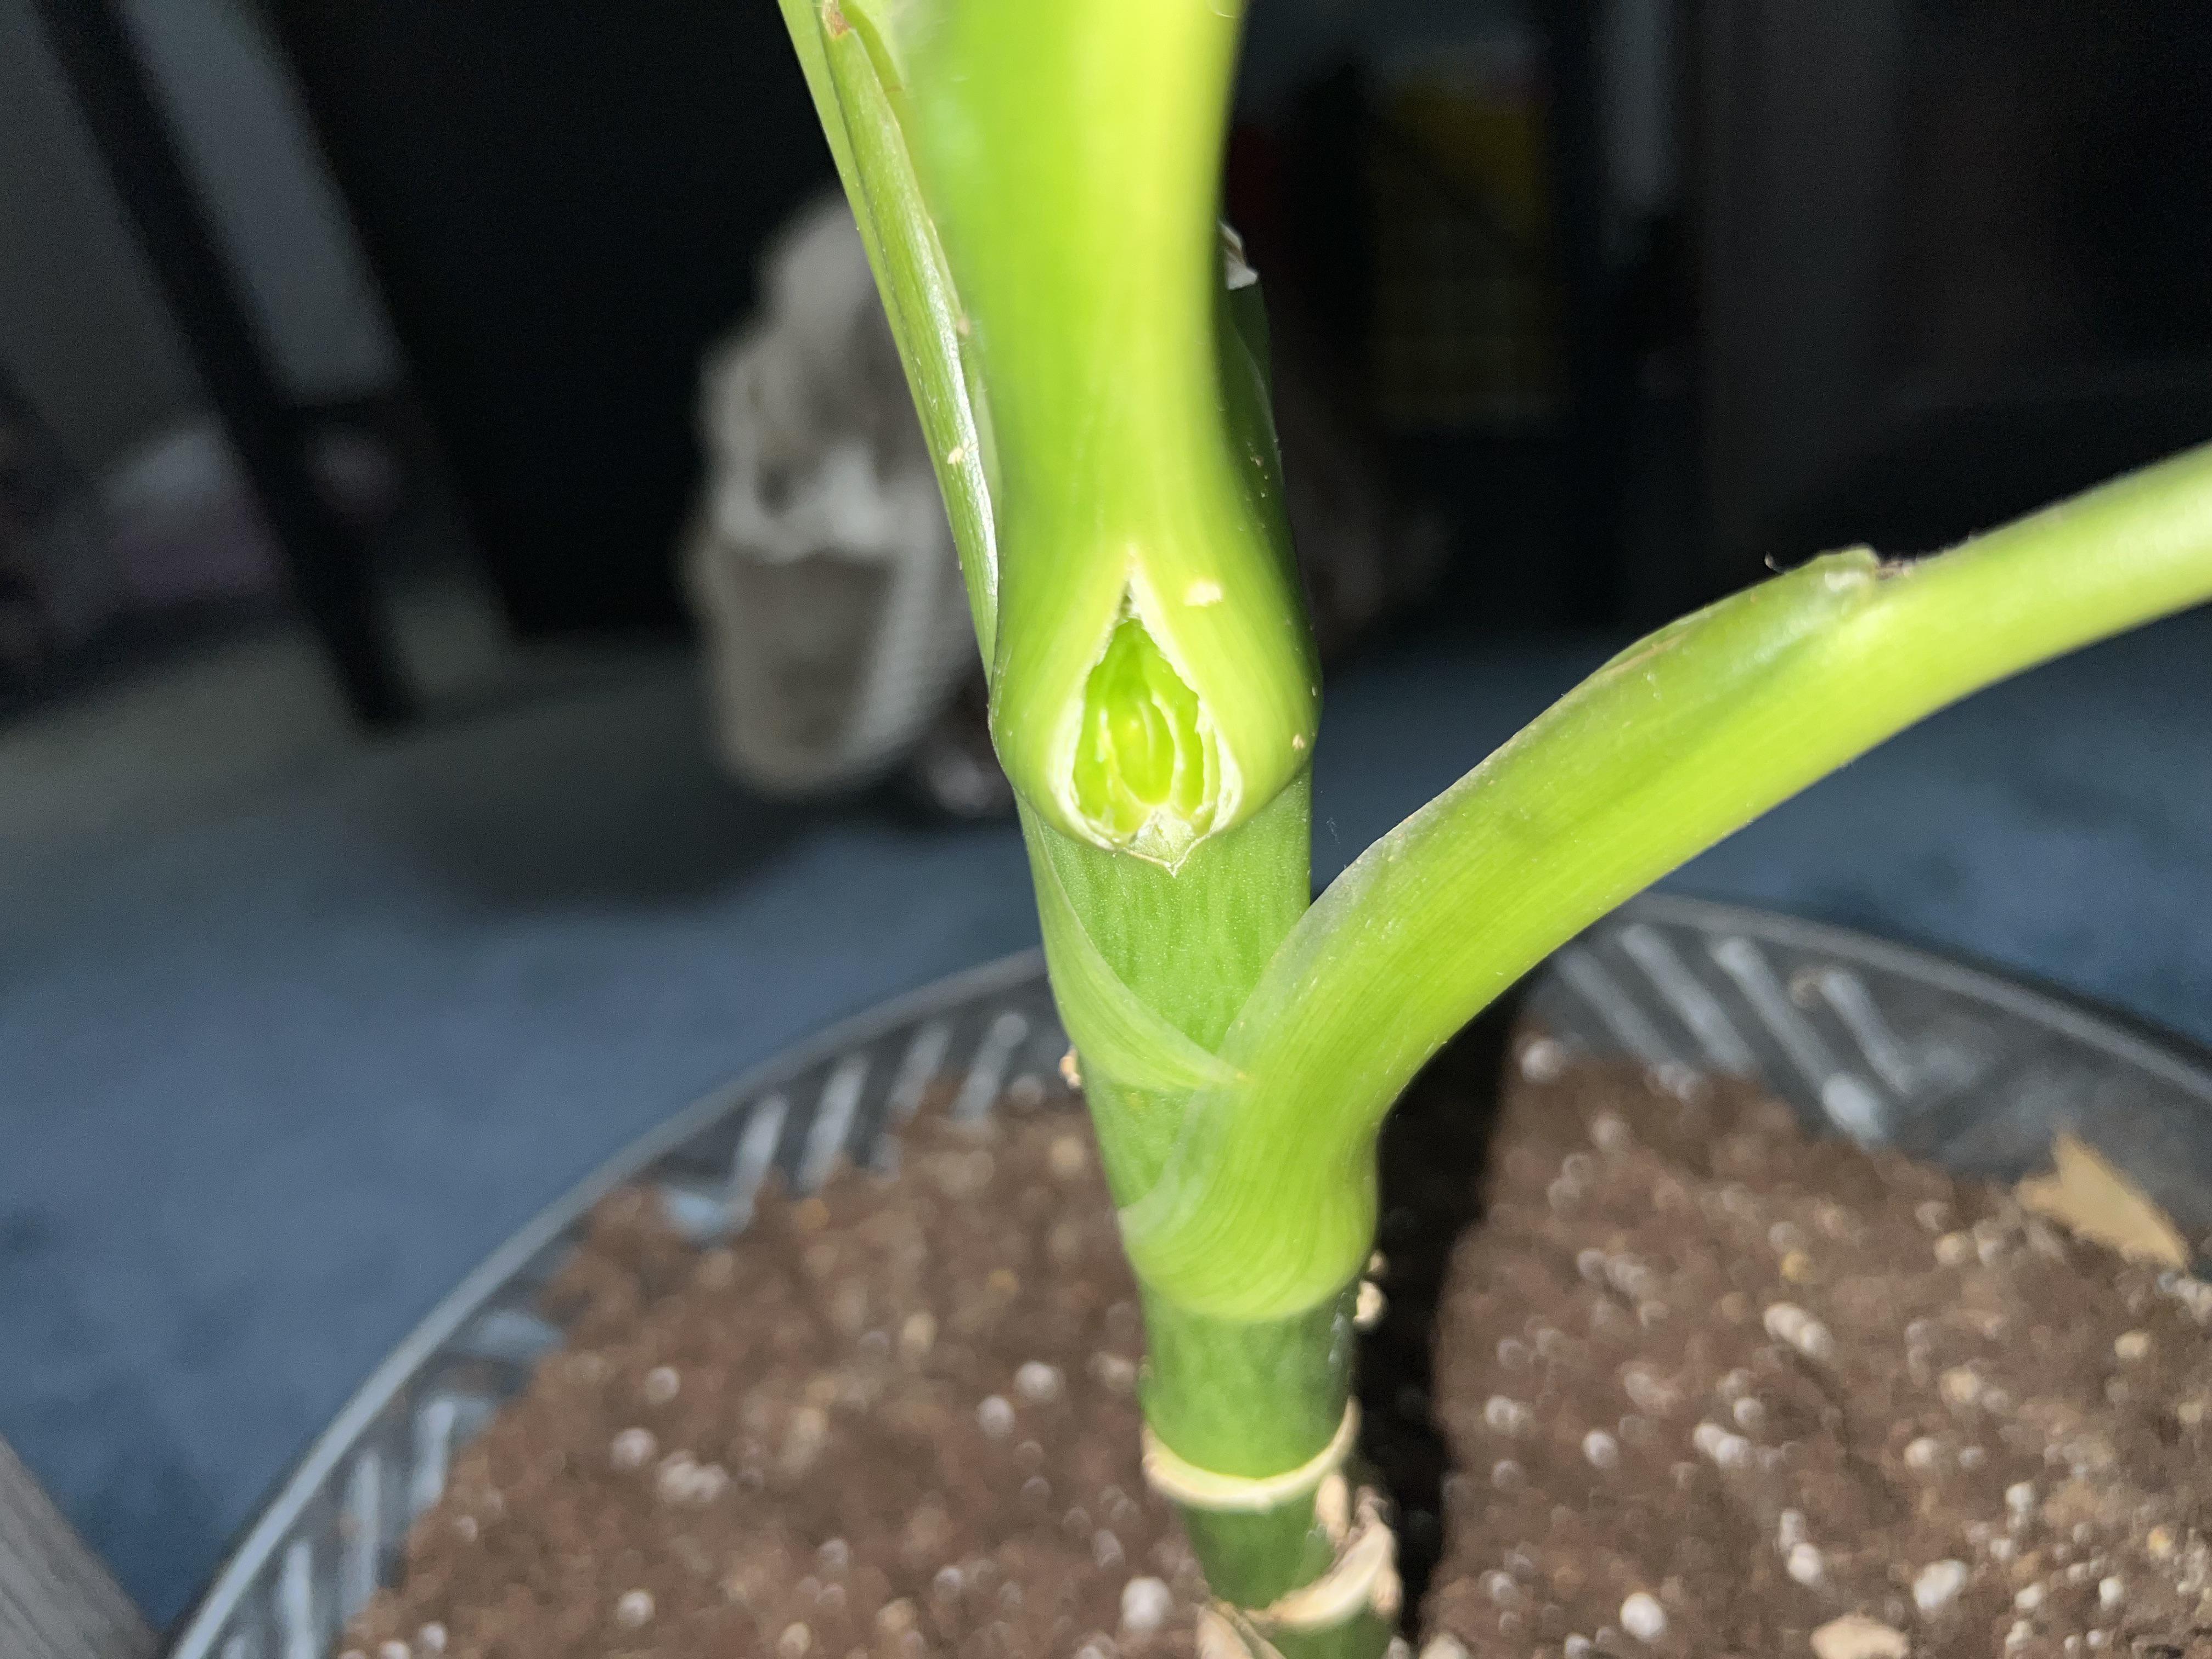
Know your nodes
Nodes are the slightly raised rings or bumps along the cane where leaves once emerged. That is where new roots and new shoots can form. Internodes are the smooth sections between nodes and they are much less useful.
When you make cane cuttings, you are basically making “node packages.” More nodes usually means more chances for success.
Method 1: Cane cuttings
This method is ideal when a dieffenbachia is leggy or you want several new starts. You can turn one bare cane into a whole tray of baby plants.
Step 1: Pick a cane
Choose a healthy stem that is not mushy or severely damaged. For each cutting, aim for 3 to 6 inches long with at least one node. Two to three nodes per piece is even better.
Step 2: Cut and mark the top
Cut straight across the cane. Then immediately mark which end was facing upward. You can:
- Cut the bottom end at a slight angle and leave the top end flat, or
- Use a marker dot on the top end, or
- Label each piece
Planting upside down is a common reason cuttings stall.
Step 3: Let ends dry (optional)
Some growers plant immediately and do fine. That said, in cool or damp conditions, letting sections sit out for 30 minutes to a few hours can help reduce rot by slightly drying the cut surface.
Step 4: Plant the sections
You have two options:
- Vertical planting: Insert the lower end into the mix so one node is below the surface and at least one node is above or near the surface.
- Horizontal planting: Lay the cane section on its side and lightly cover it so the nodes are in contact with the mix but not buried too deep. Orientation is less fussy here. The key is good node contact and not planting so deep that the cane stays wet and airless.
Step 5: Water lightly
Moisten the mix evenly, then let excess water drain. After that, aim for lightly damp, never soggy. A cane with no roots cannot drink much, and constant wetness invites rot.
Step 6: Bright, indirect light
Place cuttings near a bright window with filtered light, or under a grow light for 10 to 12 hours a day. Avoid hot direct sun that can overheat a humidity dome.
Method 2: Top cut
If your dieffenbachia has a leafy top and a bare lower stem, you can take a top cutting and root it into a new plant. The leftover stump often resprouts too, so you may end up with two plants.
Step 1: Cut below a node
Choose a spot a few inches below the lowest healthy leaves. Make your cut just below a node. A top cutting with 2 to 4 leaves is a nice balance, not too heavy and not too bare.
Step 2: Let it dry briefly
Give the cut end 30 to 60 minutes to dry, especially if your home runs cool or you tend to overwater.
Step 3: Root in mix or water
Dieffenbachia can root in water, but it often transitions to soil more smoothly when it starts in an airy mix.
- In mix: Plant the cutting so at least one node is under the surface. Firm the mix gently around it.
- In water: Submerge one to two nodes, keep leaves above water, and change the water every few days. Pot up once roots are a few inches long. Transition tip: for the first week after potting into soil, keep the mix a bit more evenly moist than you normally would (still not soggy). This helps water-grown roots adjust.
Step 4: Help the stump resprout
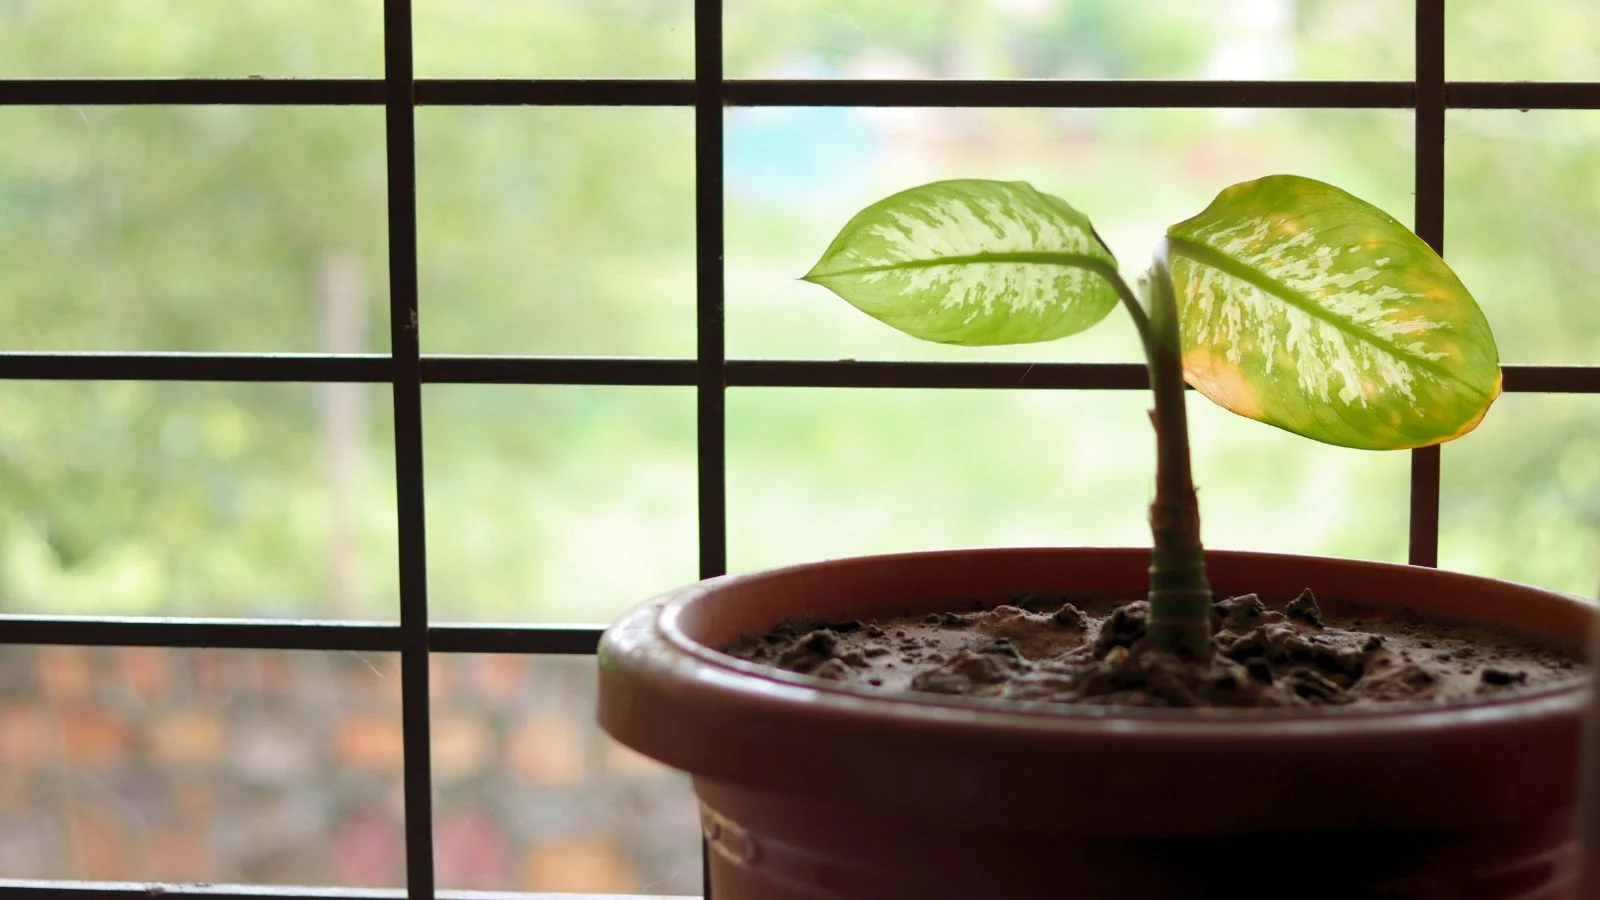
Do not toss the original pot unless the stem is rotten. Keep the stump in bright, indirect light and water sparingly. New shoots often pop from nodes below the cut within a month or two.
Heat and humidity
Dieffenbachia can take its sweet time. In a warm, humid setup, you often see progress sooner and lose fewer cuttings to rot. The trick is pairing humidity with airflow so things do not get funky.
Temperature
- Air: 70 to 80°F (21 to 27°C)
- Root zone: 75 to 85°F (24 to 29°C) is a cozy target
A warming mat helps because the mix stays consistently warm even if your room cools off at night. Use a thermostat if possible, and never let pots sit in hot, dry air right above a heating vent.
Humidity
While cane sections are working on roots, higher humidity reduces stress and shriveling. Aim for about 60% to 80% around the cutting, but do not trap stale air.
- Use a clear bag or dome, but vent it daily to prevent mold.
- Keep foliage from touching plastic to avoid rot spots.
- Gentle air movement in the room helps a lot.
How long does rooting take?
Most dieffenbachia cuttings root in 4 to 10 weeks, but cane sections can take longer, especially in winter. Some will sit quietly for weeks and then suddenly push a little green nub that turns into a whole plant.
Signs things are going well:
- The cane stays firm, not mushy
- You see a small bud or shoot emerging near a node
- There is resistance if you gently tug, meaning roots are anchoring
When to transplant: pot up once you have several healthy roots (often 2 to 4 inches long) and you see new growth starting. If you rooted in water, move a little sooner rather than later so the roots do not get too adapted to water-only life.
When roots are established and you see new growth, gradually remove the humidity cover over a week.
Troubleshooting
Black or mushy cane
- Most often: mix is too wet, temperatures are too cool, or the cutting went into the mix before the cut surface dried at all.
- What to do: cut back to firm tissue with a sterile blade, let it dry, and restart in a drier, airier mix (more perlite). Add gentle bottom heat.
No growth
- Most often: low light, low heat, or the cutting is upside down (for vertical pieces).
- What to do: move to brighter indirect light, warm the root zone, and double-check orientation.
Shriveling cane
- Most often: humidity is too low or the mix is drying hard between waterings.
- What to do: increase humidity and keep the mix evenly lightly damp.
Fungus gnats
- Most often: mix staying too wet.
- What to do: let the top inch dry a bit more, use yellow sticky traps, and consider bottom watering once roots begin forming.
Aftercare
Once your cuttings have roots and new growth, treat them like young houseplants that prefer consistency.
- Pot size: Move up only 1 to 2 inches wider than the root mass. Oversized pots hold too much wet soil.
- Soil: Use a chunky, well-draining houseplant mix with added perlite or orchid bark.
- Light: Bright, indirect light keeps variegation crisp and growth sturdy. (Some variegated varieties may grow a bit slower.)
- Water: Water when the top 1 to 2 inches feel dry, then drain thoroughly.
- Fertilizer: Wait 4 to 6 weeks after potting up, then feed lightly during active growth.
If your original stump resprouts, rotate the pot weekly so new shoots do not lean, and pinch back tips later to encourage a fuller shape.
Quick recap
- Cane sections: Cut into 3 to 6 inch pieces with nodes, plant vertically or horizontally, keep lightly damp.
- Top cut: Root the leafy top, and let the stump resprout for a bonus plant.
- Heat mat: Warm root zones often root faster and with less rot.
- Humidity: Higher humidity helps slow-rooting cuttings, as long as you vent and avoid stale air.
- Safety: Wear gloves, avoid sap contact, and keep all cuttings away from pets and kids.