How to Propagate Dieffenbachia (Dumb Cane)
Dieffenbachia is one of those houseplants that looks lush and dramatic even when you have done nothing but admire it from across the room. Then one day it gets tall and leggy, the lower leaves drop, and you are left with a leafy “palm tree” on a bare cane. The good news is that this is the perfect moment to propagate. With a little warmth, patience, and respect for that spicy sap, you can turn one stretched plant into several healthy starts.
Before you start: sap safety
Dieffenbachia is nicknamed “dumb cane” because its sap contains insoluble calcium oxalate crystals. If chewed, it can cause sharp burning and swelling of the mouth, tongue, and throat, which may temporarily make it hard to speak or swallow. You can still propagate it safely. You just need a few non-negotiables.
- Wear gloves and avoid touching your face while you work.
- Use clean, sharp tools. A crisp cut calluses faster and reduces rot.
- Keep kids and pets away from fresh cuttings, the sap, and any fallen leaf bits. Dogs and cats can get painful mouth irritation from chewing it.
- Rinse skin quickly with soap and cool water if sap gets on you. Sap can irritate skin, especially if you are sensitive. Flush eyes with clean water and seek medical advice if irritation is severe.
- Dispose of trimmings in sealed trash. Bag everything (including fallen leaf pieces) so curious noses and wildlife cannot investigate.
If you are sensitive to plant sap, double up: gloves plus long sleeves. I also like to keep a damp paper towel nearby to wipe tools and drips before they travel.
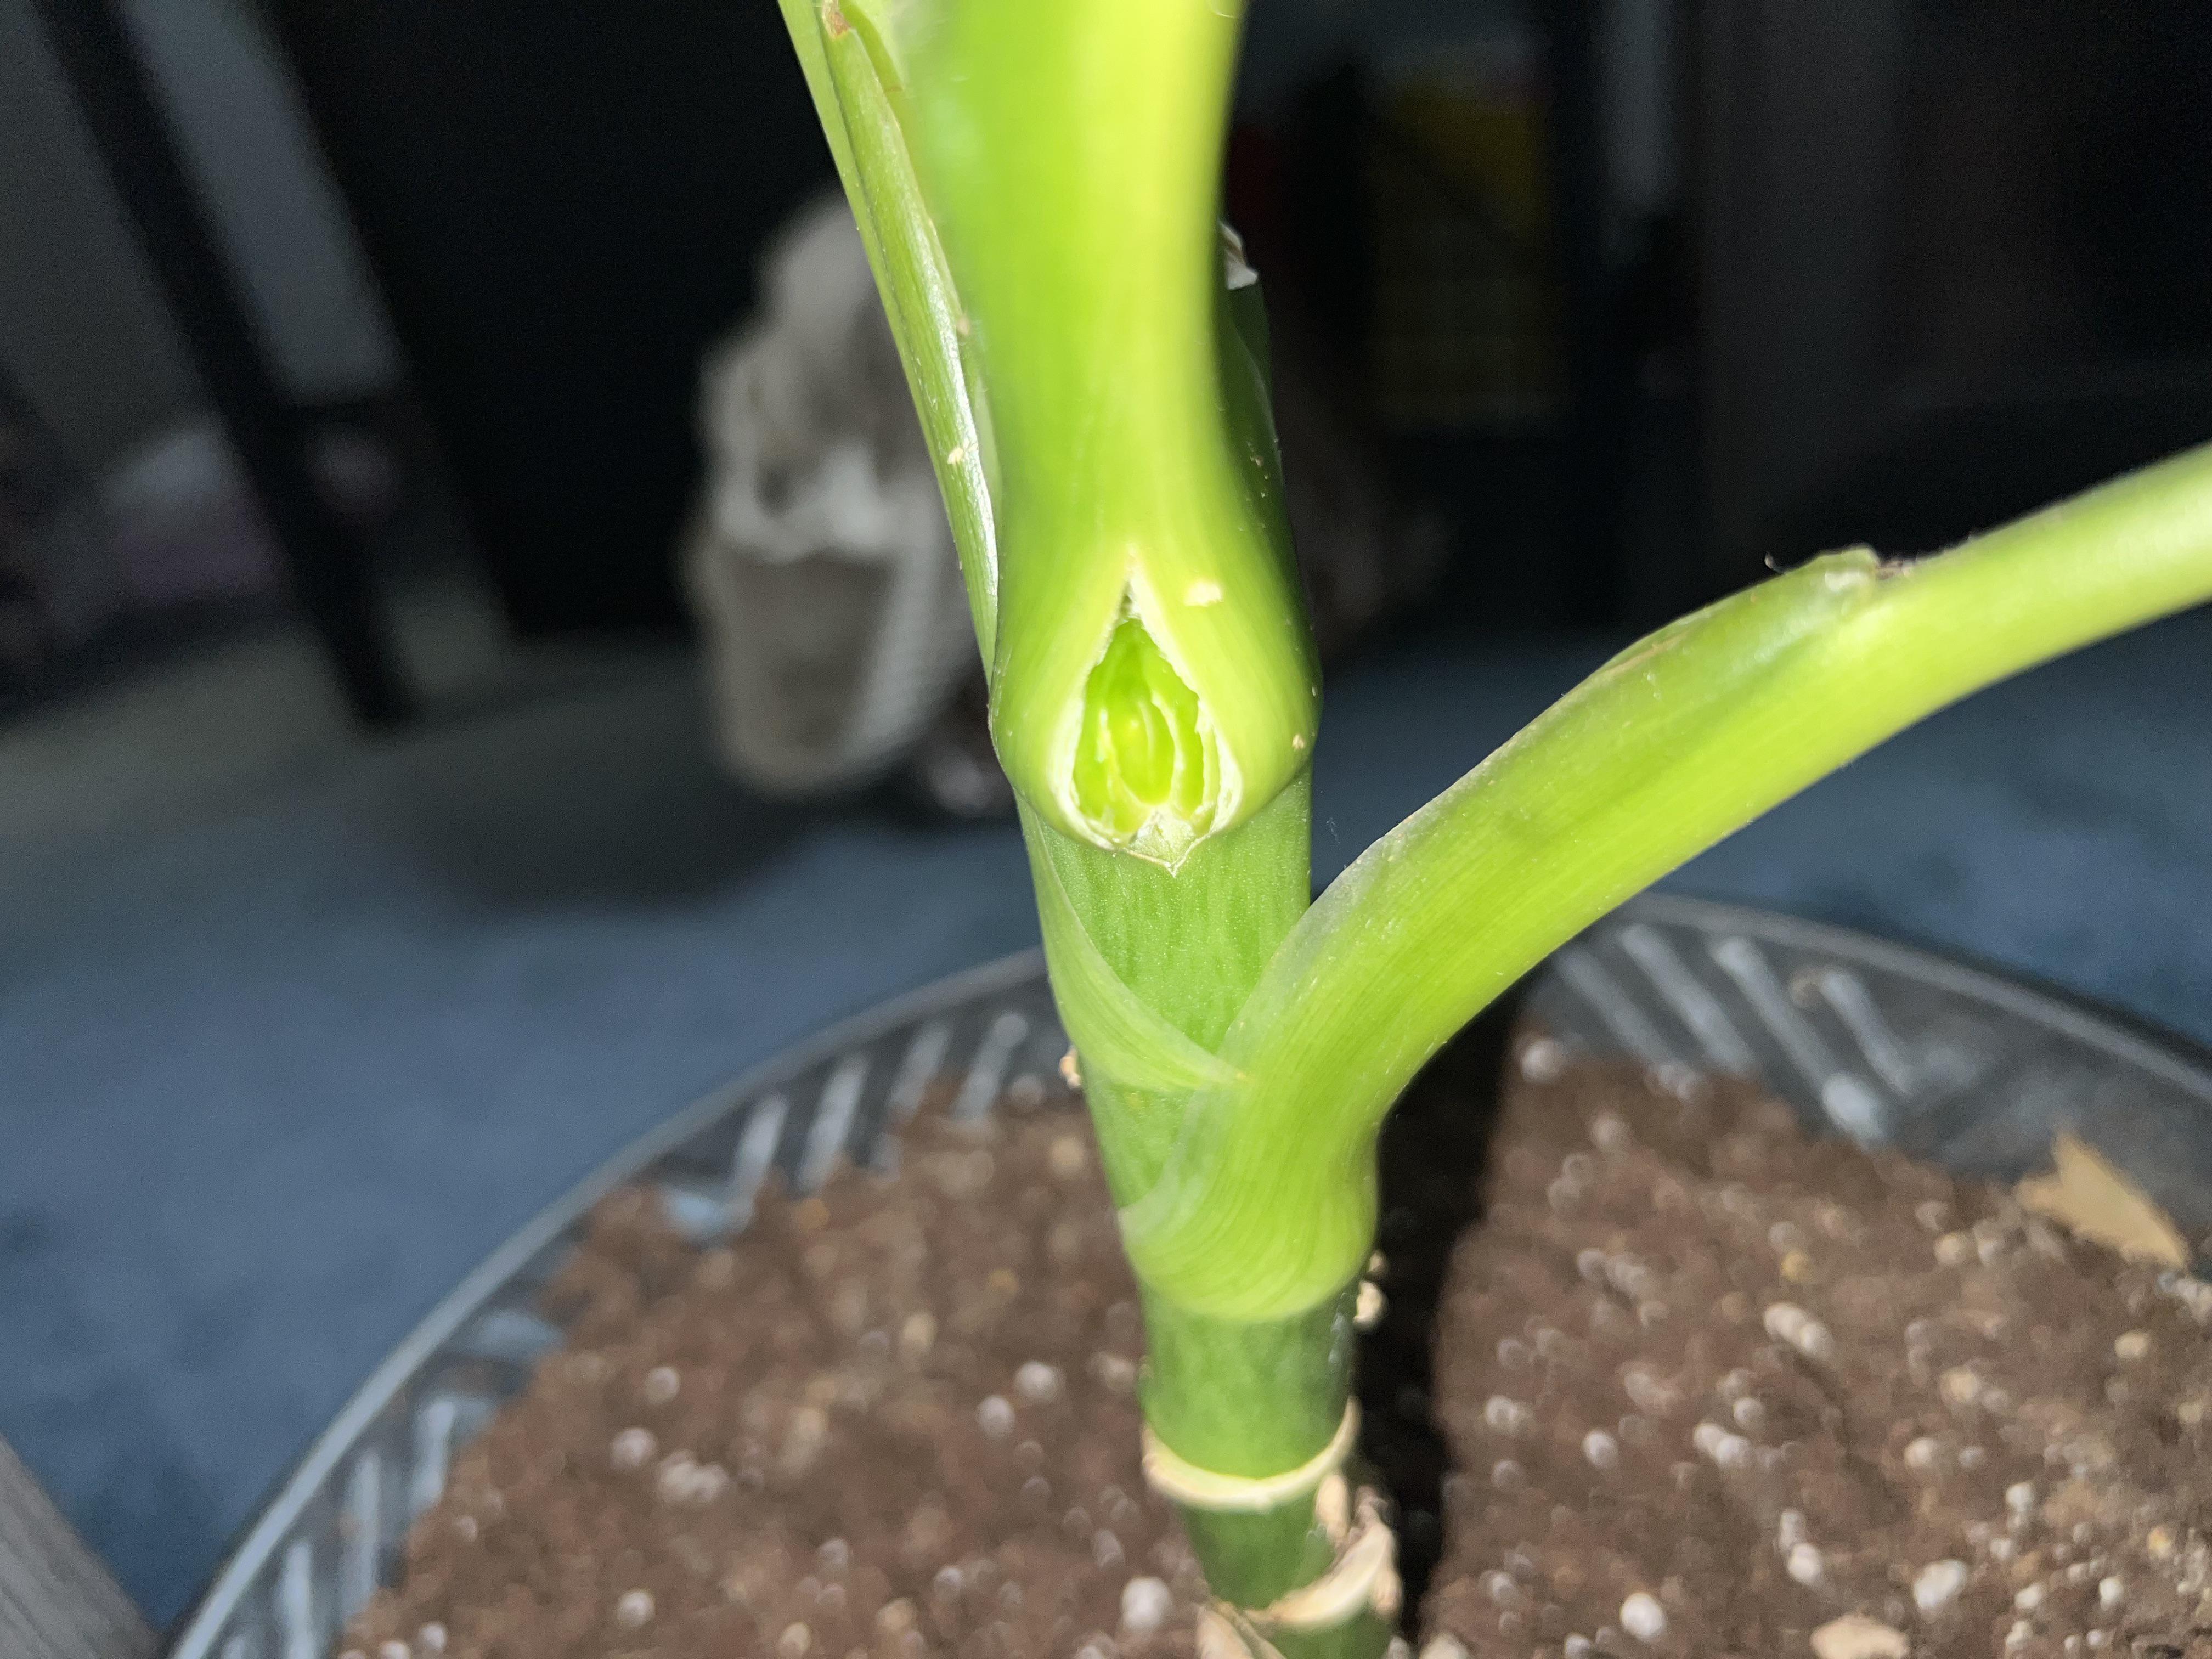
What makes a cutting viable
Propagation success comes down to one thing: nodes. Nodes are the slightly raised rings or bumps along the cane where a leaf attached. You will often see them right at a leaf scar. Those nodes contain dormant buds that can wake up and push new shoots.
- Cane section cuttings root and sprout from nodes along a leafless stem piece.
- Top cuttings are the leafy crown. They often root faster because they already have active growth.
When you cut, aim to include at least one node, but two to three nodes per piece gives you better odds, especially since dieffenbachia can be slow to root.
Best time to propagate
Spring through early summer is easiest because the plant is naturally geared to grow. You can propagate at other times, but expect slower rooting and a higher risk of rot if your home is cool and dim.
Choose a day when you can give the cuttings steady conditions for a few weeks. Dieffenbachia rewards consistency.
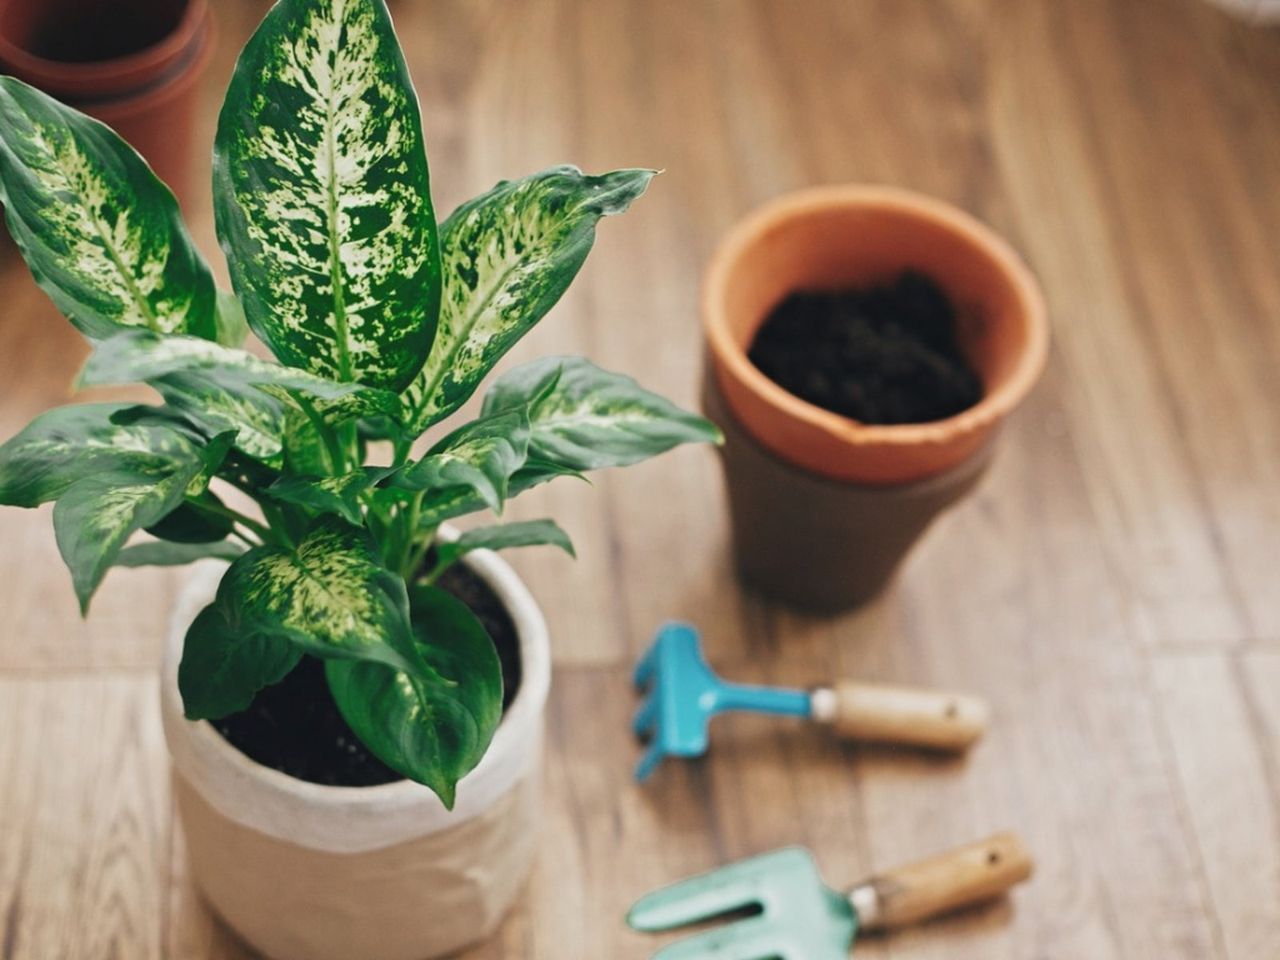
Supplies you will want
- Clean pruning shears or a sharp knife
- Nitrile or gardening gloves
- Small pots with drainage holes
- Fresh propagation mix: 50% coco coir or peat + 50% perlite (or a chunky houseplant mix with extra perlite)
- Clear humidity dome, plastic bag, or a large clear container
- Optional: rooting hormone (helpful, not required)
- Heating mat with thermostat (highly recommended for faster, safer rooting)
- Stakes or chopsticks to keep plastic off leaves
- 70% isopropyl alcohol (or a disinfectant wipe) for tool sterilizing
Clara tip: “Clean” tools means more than a rinse. Wipe blades with 70% isopropyl alcohol before you start and between cuts, especially if you trim away any soft tissue.
If you tend to overwater, go extra chunky with the perlite. Air in the propagation mix is your best anti-rot insurance.
Method 1: Cane cuttings
This method is ideal when your plant is tall and bare at the bottom. You will cut the cane into segments and root them like little plant “logs.” Each segment can sprout a new growing point.
Step 1: Plan the mother plant cut
Decide what you are keeping and what you are chopping. You can take a top cutting, then use the remaining cane for sections. If you leave the original pot with a stump that has a few nodes, it can resprout later (more on that in aftercare), so do not toss it too quickly.
Step 2: Pick your cane and make sections
Look for a healthy, firm cane that is not mushy or wrinkled. Cut the cane into sections 3 to 6 inches long, with at least one node per section.
Clara tip: Before you cut, mark the “top” side of each cane piece with a dot from a pencil or a tiny notch. Orientation matters because dieffenbachia is happiest rooting with the original top facing up.
Step 3: Let cuts callus briefly
Set the cane pieces on a clean paper towel for 30 to 90 minutes so the cut surfaces can dry a bit. This small pause helps reduce rot, especially in humid setups.
Step 4: Plant cane sections upright or horizontal
You have two good options:
- Upright: Insert the bottom end into lightly moistened propagation mix so one node sits just under the surface. This is the simplest approach.
- Horizontal: Lay the cane section on its side with nodes facing up. Press it into the propagation mix so it is about halfway buried, then lightly cover it with a thin layer of mix (about 1/4 to 1/2 inch). You want node contact with the mix, not a deep burial.
Either way, the propagation mix should be barely damp, not wet. Think “wrung-out sponge.”
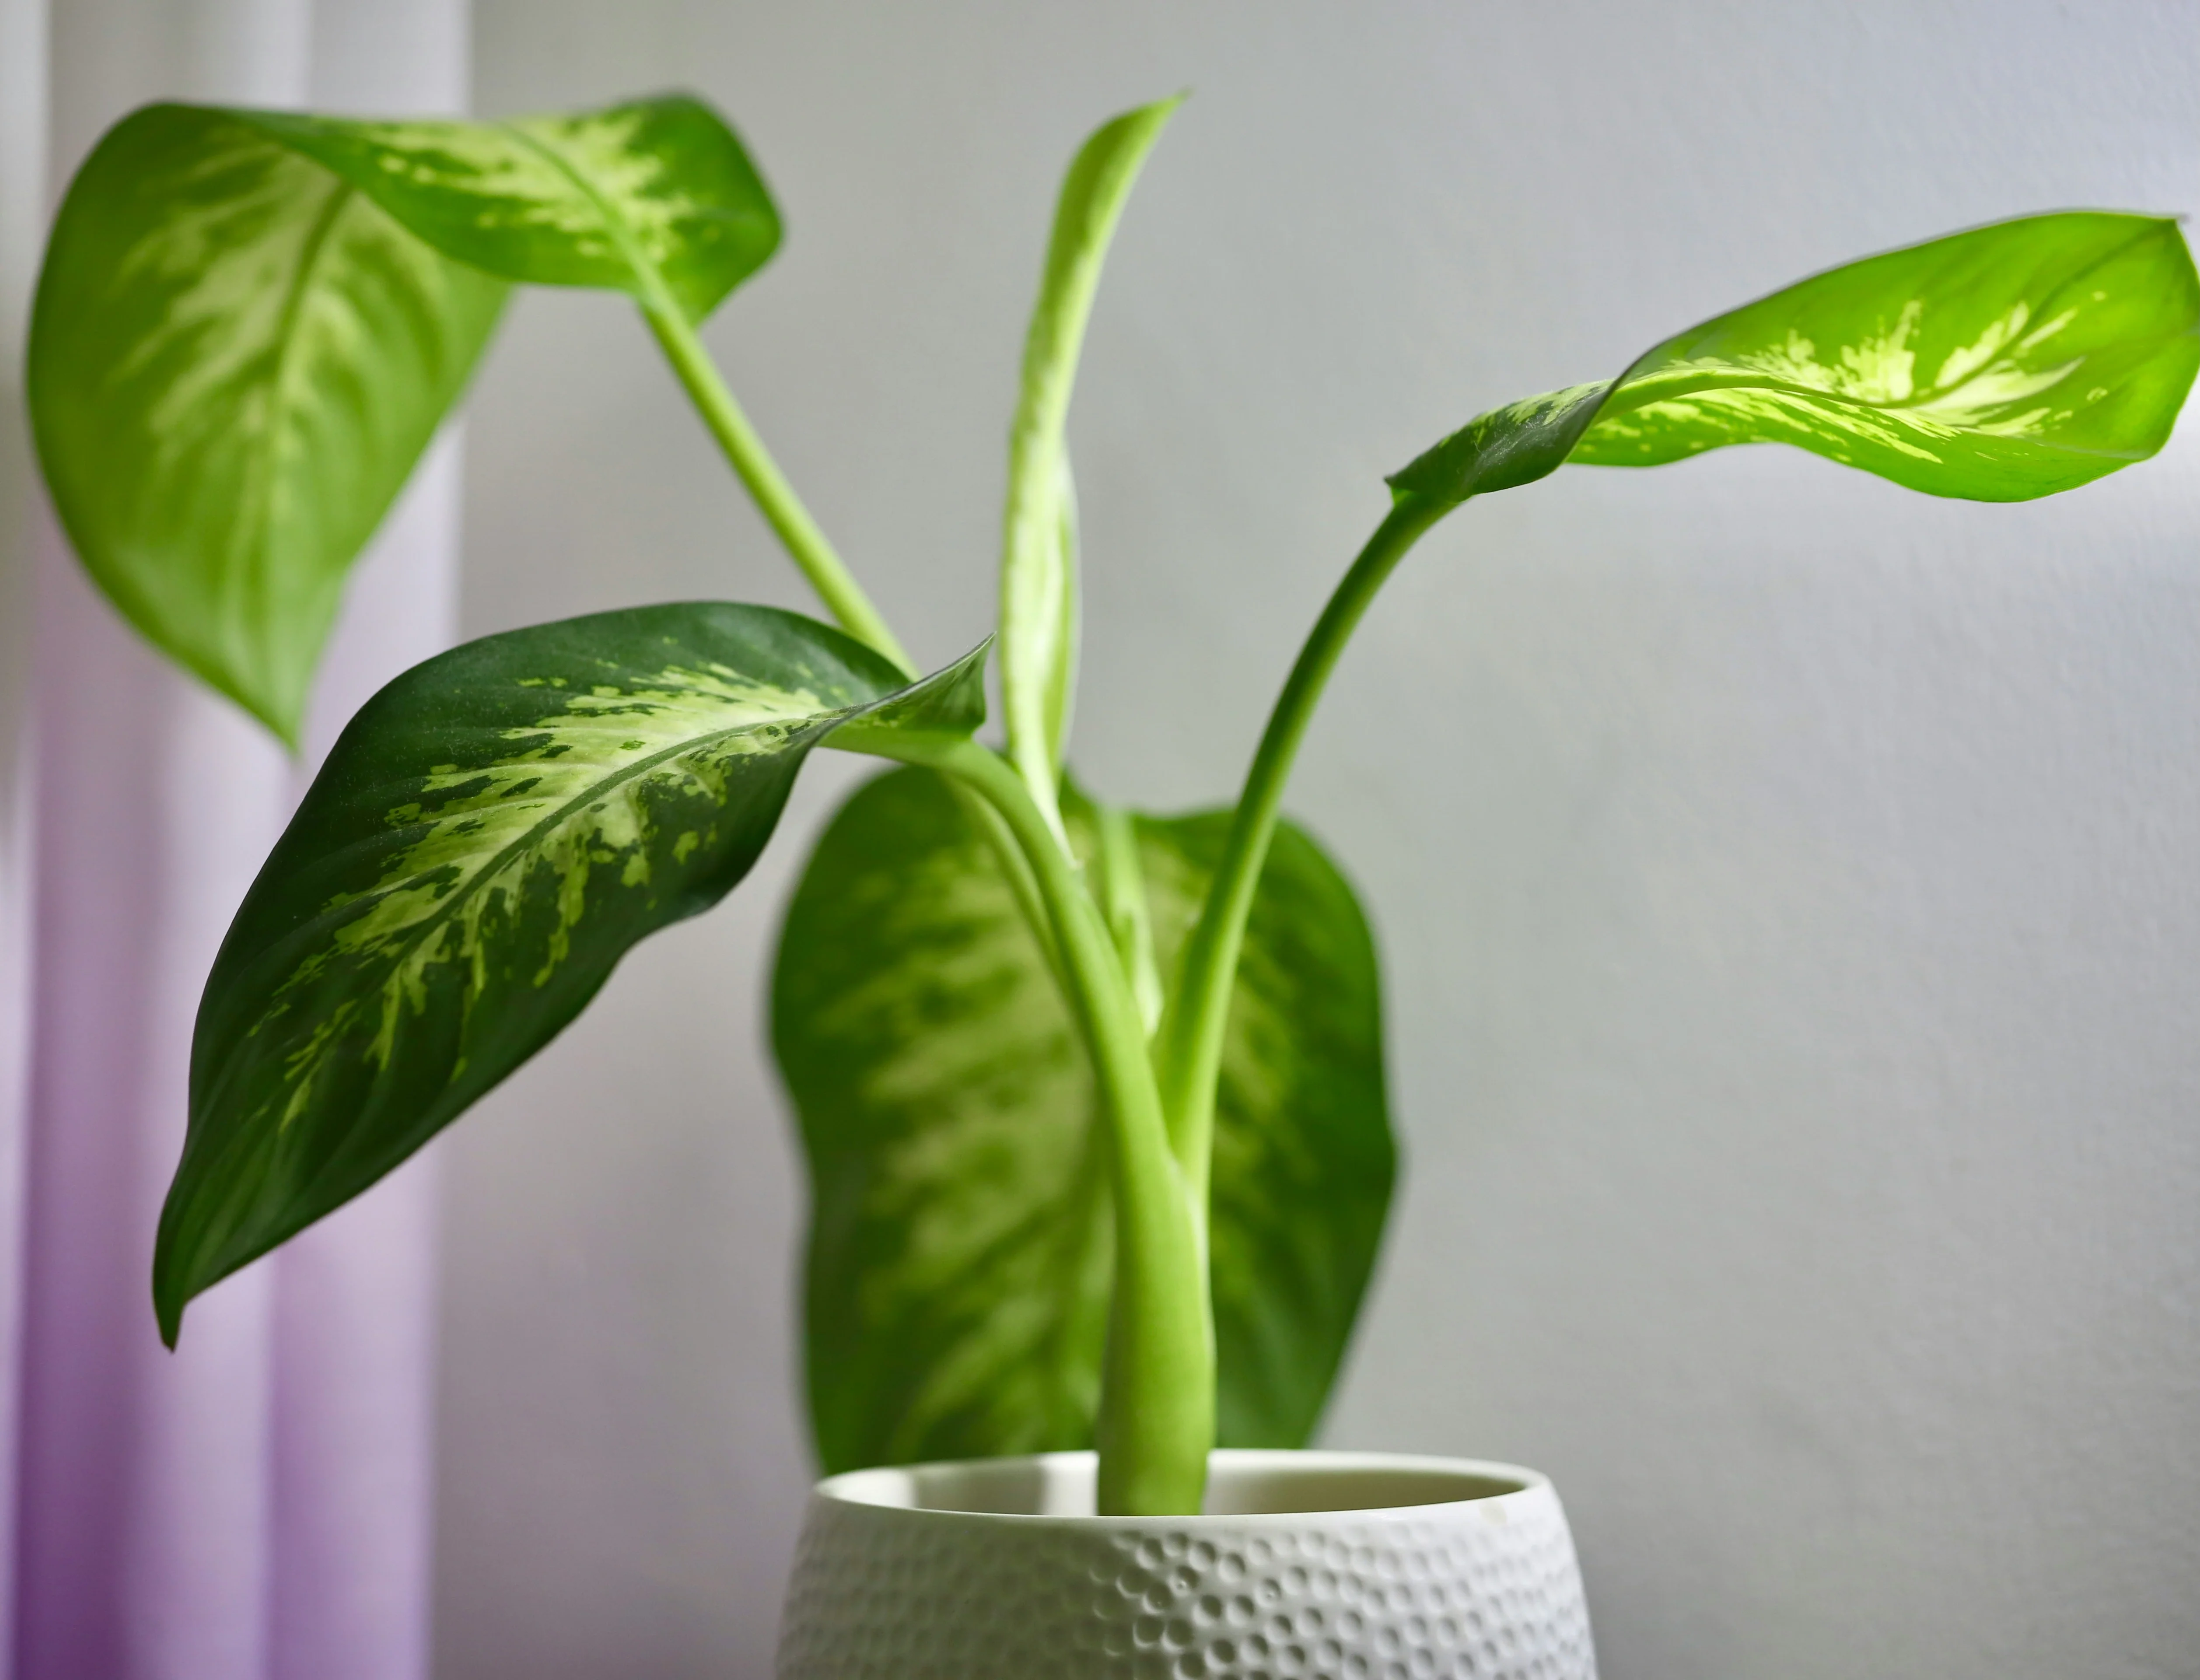
Method 2: Top cutting
If your dieffenbachia has a healthy head of leaves but a bare cane below, a top cutting gives you the fastest path back to a full-looking plant.
Step 1: Make a clean cut
Cut the top portion with 3 to 6 inches of stem below the lowest leaves. Make the cut just below a node if possible.
Step 2: Prep the cutting
- Remove any leaves that would sit below the soil line.
- If the top is very leafy, you can remove one or two of the lowest leaves to reduce moisture loss.
- Optional: dip the cut end in rooting hormone.
Step 3: Root in propagation mix (preferred) or water
In propagation mix: Plant the cutting into your propagation mix, firm gently, and water lightly.
In water: Place the stem in a clean jar so at least one node is submerged and leaves stay above water. Change water every few days. When roots are a few inches long, pot into propagation mix. Water rooting works, but propagation mix often transitions more smoothly with fewer setbacks.

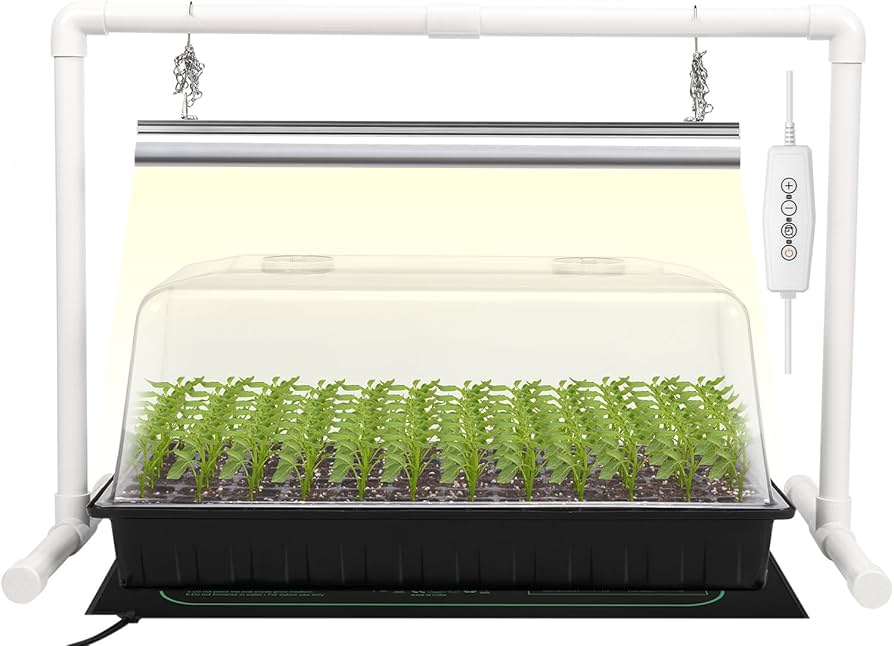
Warmth and humidity
Dieffenbachia can take its sweet time. That is normal. Two conditions can make a huge difference: bottom warmth and steady humidity.
Why a heating mat helps
A warming mat keeps the root zone consistently warm even if your room cools at night. Warm roots mean faster callusing and quicker root initiation.
- Aim for a root-zone temperature around 75 to 85°F (24 to 29°C). If you can choose, 75 to 80°F is a very comfortable target.
- Use a thermostat if you can. Treat 85°F as an upper edge, not a goal, because too much heat can stress tissue and invite rot.
Humidity that helps (and when to use it)
Higher humidity slows moisture loss while a leafy top cutting is rootless. For cane sections (which are leafless), humidity is optional and you can often skip the dome entirely if your propagation mix stays lightly damp.
- For top cuttings, a clear plastic bag or dome can help you reach roughly 60 to 80% humidity.
- Prop the plastic off the leaves with chopsticks or a small stake.
- Vent daily for a minute or two to reduce mold risk.
If you see heavy condensation dripping constantly, vent more often. Humid is good. Wet is not.
Light during propagation
Give cuttings bright, indirect light. Too little light slows rooting and invites rot because the propagation mix stays damp longer. Direct sun can overheat a humidity dome and scorch leaves.
- Near an east window is often perfect.
- Under a grow light, place the light moderately close and run it 10 to 12 hours a day.
Watering: the common mistake
New cuttings do not drink much until roots form, so overwatering is the classic way to lose them.
- Start with lightly moist propagation mix.
- After that, water only when the top inch feels barely damp, not wet.
- If using a dome, you will water far less often than usual.
If a cane section starts to feel soft or smells sour, remove it, trim back to firm tissue with a sterilized blade, let it callus, and restart in fresh propagation mix.
Timeline: what to expect
Dieffenbachia propagation is not instant gratification, but it is deeply satisfying once the first nub of growth appears.
- Week 1 to 2: Cut ends callus. Little visible change.
- Week 3 to 6: Roots may begin, especially with bottom heat.
- Week 6 to 12: Cane sections often push a small shoot. Top cuttings may start active new growth once rooted.
Some cuttings take longer. If the cane is still firm and not rotting, stay the course.
Aftercare
When you see new growth and the cutting resists a gentle tug, roots are doing their job.
- Keep humidity high for a few more days (for top cuttings), then gradually remove the dome so the plant hardens off.
- Pot into a slightly larger container only when roots have filled the starter pot.
- Feed lightly after 4 to 6 weeks of active growth using a diluted, balanced houseplant fertilizer.
And yes, you can also rejuvenate the original stump left in the pot. If you leave a portion of cane with a few nodes and keep it warm and bright, it often resprouts from dormant buds and becomes bushier than before.
One small note for variegated dieffenbachia: they can grow a bit slower than solid green types, and new shoots sometimes come in less variegated depending on light and genetics. Keep the light bright and indirect, and be patient while it settles in.
Troubleshooting
No roots after two months
- Check temperature. Cool rooms slow everything. Add a heating mat.
- Increase light slightly, still indirect.
- Make sure the propagation mix is airy. Heavy soil suffocates nodes.
Yellow leaves on a top cutting
- Some leaf loss is normal while roots form.
- Reduce direct light and keep humidity steadier.
- Ensure the stem is not sitting in soggy propagation mix.
Mold on the surface
- Vent more often and improve air circulation.
- Remove the moldy top layer and replace with fresh propagation mix.
- Let the surface dry slightly between waterings.
Cane section rots
- Cut back to firm tissue, sterilize tools, and restart.
- Use less water and more perlite.
- Warmth helps, but overheating plus wet soil is a rot recipe. Keep it steady, not hot.
Propagation with pets
If you share your home with nibblers, dieffenbachia propagation requires a little extra planning.
- Root cuttings in a room pets cannot access, like a closed office or a high shelf in a plant cabinet.
- Clean up sap drips right away and wash tools in hot soapy water.
- Do not leave fallen leaves or cane pieces on the floor or in open trash.
If you suspect a pet chewed dieffenbachia, contact your veterinarian or a pet poison helpline promptly. Oral irritation can be very painful, even when it is not life-threatening.
A final pep talk
Propagation feels like plant magic, but it is really just patience plus good conditions. Give your dieffenbachia nodes warmth, bright indirect light, and airy propagation mix, and they will eventually wake up. And if one cutting fails, you have not failed. You have simply learned which combination your home likes best. That is gardening in its truest form.