How to Propagate Clematis by Layering

The first time I layered a clematis, I felt like I was getting away with something. No fancy equipment, no greenhouse, no fuss. Just a living vine, a little patience, and a gentle pin to the soil. Layering works because the stem stays connected to the mother plant while it grows roots, which means it has a built-in support system the whole time. If you have ever wished your clematis could magically become two clematis, this is the closest thing to garden magic I know.

What layering is (and is not)
Layering is a propagation method where you encourage a stem to form roots while it is still attached to the parent plant. For clematis, we usually do this at ground level by burying a section of a flexible stem.
This is not the same as air layering, where you wound a stem and wrap it with moist moss and plastic. Air layering is common on many woody ornamentals (indoors and out), but for most vining clematis, simple ground layering is typically the easiest, most reliable path.
Best time to layer clematis
Layer clematis when the vine is actively growing and flexible enough to bend without cracking. In practice, that usually means late spring through summer.
- Late spring through early summer is my favorite window because roots form readily and the new plant has time to settle before winter.
- Late summer can still work, especially in mild climates. In colder zones, it may not root enough before dormancy, so plan to leave the layer attached until the following spring.
I usually skip layering in fall if frost is not far off, or anytime the soil is bone-dry and hot, or the vine is stiff, brittle, or stressed.
What you need
- A healthy clematis vine with a long, flexible stem
- Garden gloves
- Hand pruners (for later, when you sever)
- A U-shaped landscape staple, bent wire, or a small rock or brick to hold the stem down
- Compost or a light, crumbly soil mix to mound over the stem
- A plant label (future-you will thank you)
How to layer clematis
1) Pick the right stem
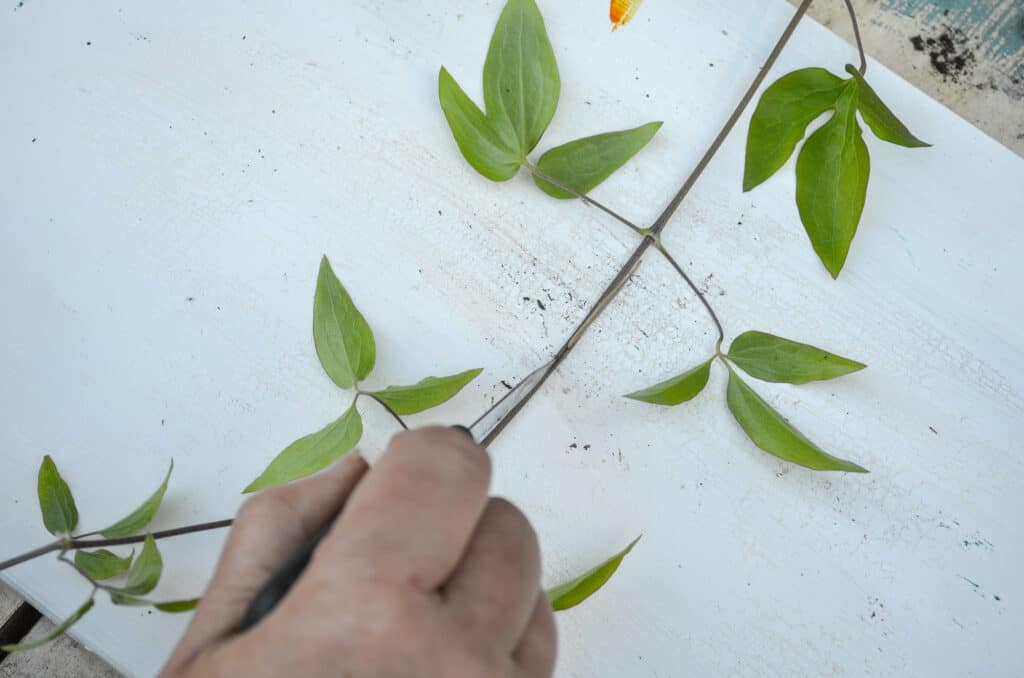
Choose a non-flowering, healthy stem that is long enough to reach the ground comfortably. You want growth that is flexible, not woody and rigid. If it creaks when you bend it, pick a different one.
This method works for most vining clematis. It is simply easier on varieties that produce long, pliable stems. If your plant is very woody at the base or more shrub-like, look for a younger side shoot you can bend down.
2) Choose a rooting spot
Look for a spot with even moisture and good drainage. Clematis like cool roots, so a little shade from nearby foliage or mulch is helpful, as long as the area is not soggy.
3) Prepare the soil
Scratch up a small patch of soil where the stem will touch down. I like to mix in a handful of compost to improve contact and keep moisture consistent.
4) Make a shallow trench
Dig a shallow trench about 1 to 2 inches deep where the stem will sit. You are not burying the whole vine, just a section of it.
5) Pin the stem down
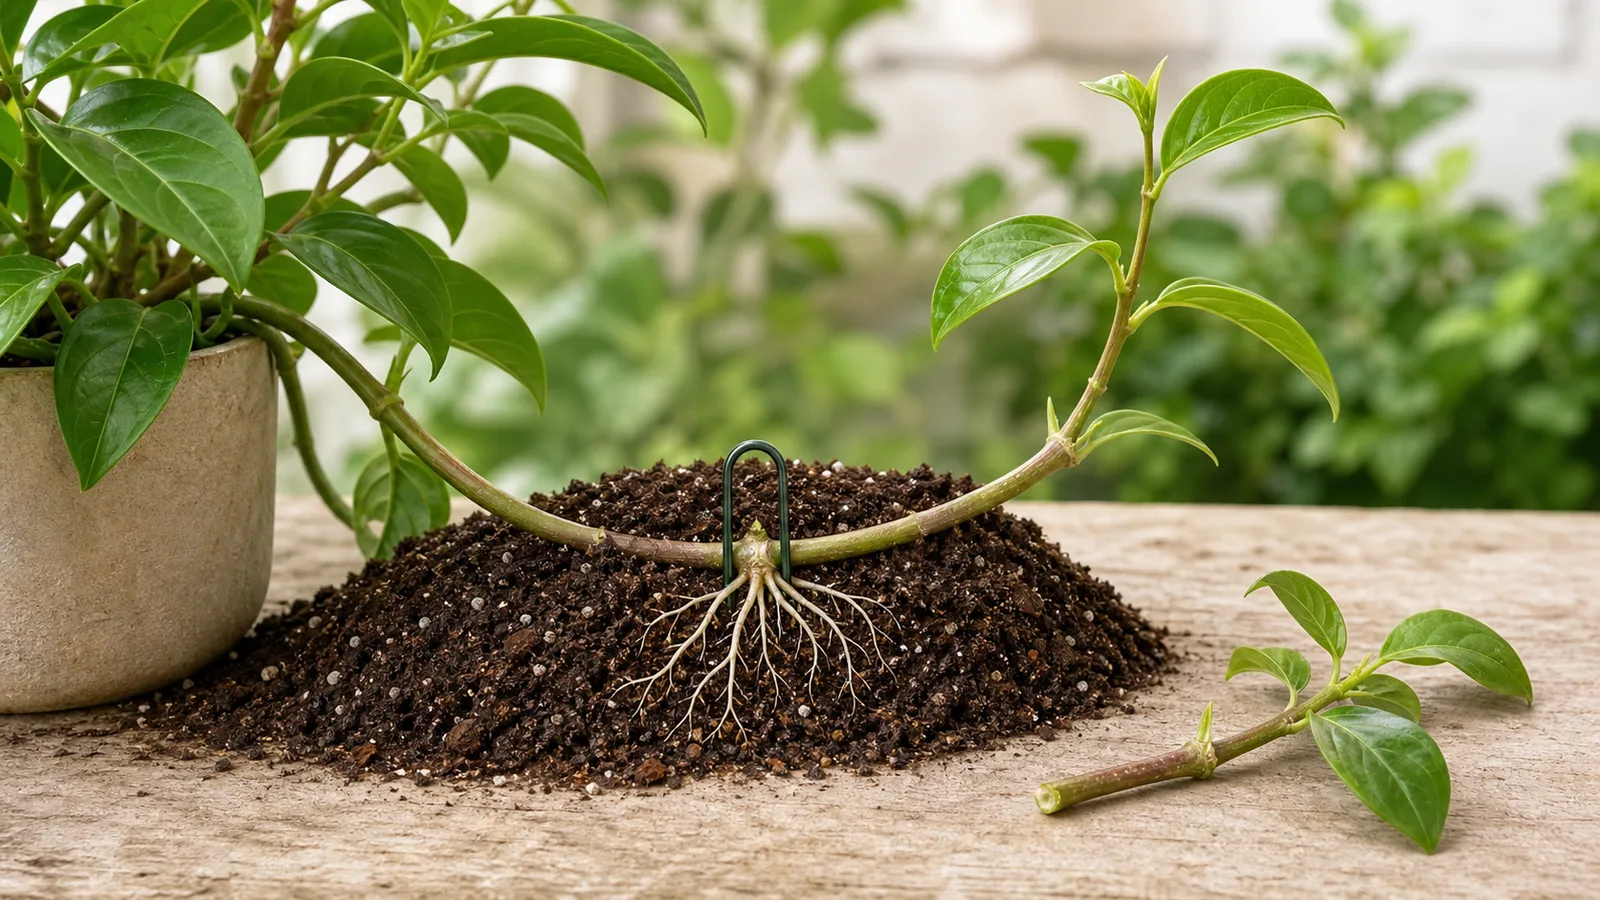
Gently bend the stem into the trench. Aim to bury a section that includes at least one node, which is the point where leaves emerge. Nodes are rooting hotspots.
If you want a little extra edge, you can very lightly scrape a small sliver of outer stem at the node (think “gentle scuff,” not a deep wound). This is optional, and plenty of layers root just fine without it.
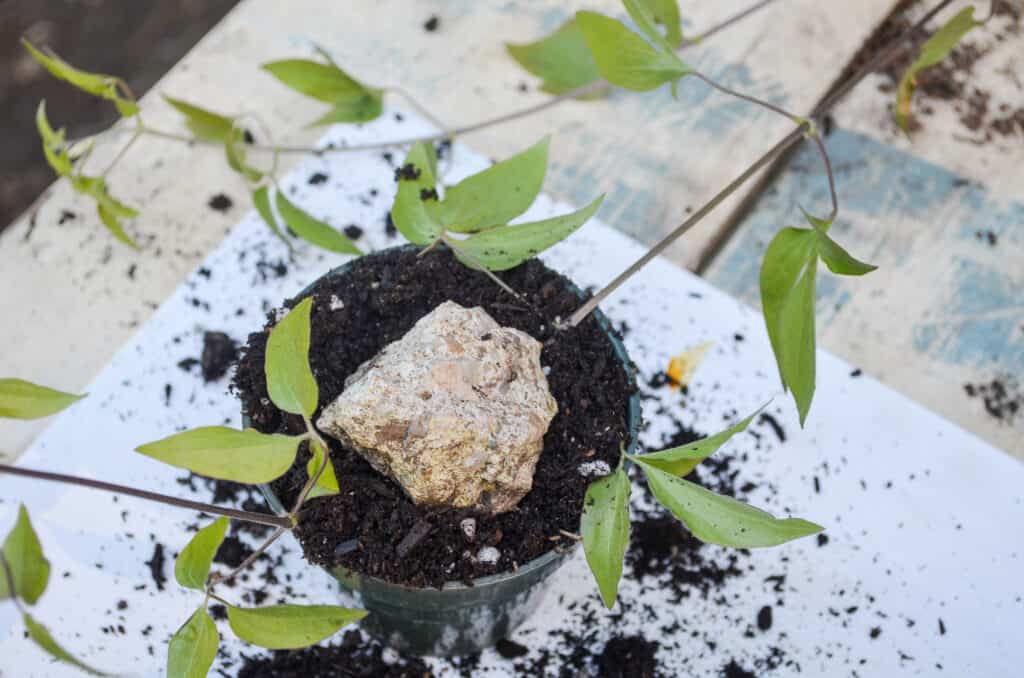
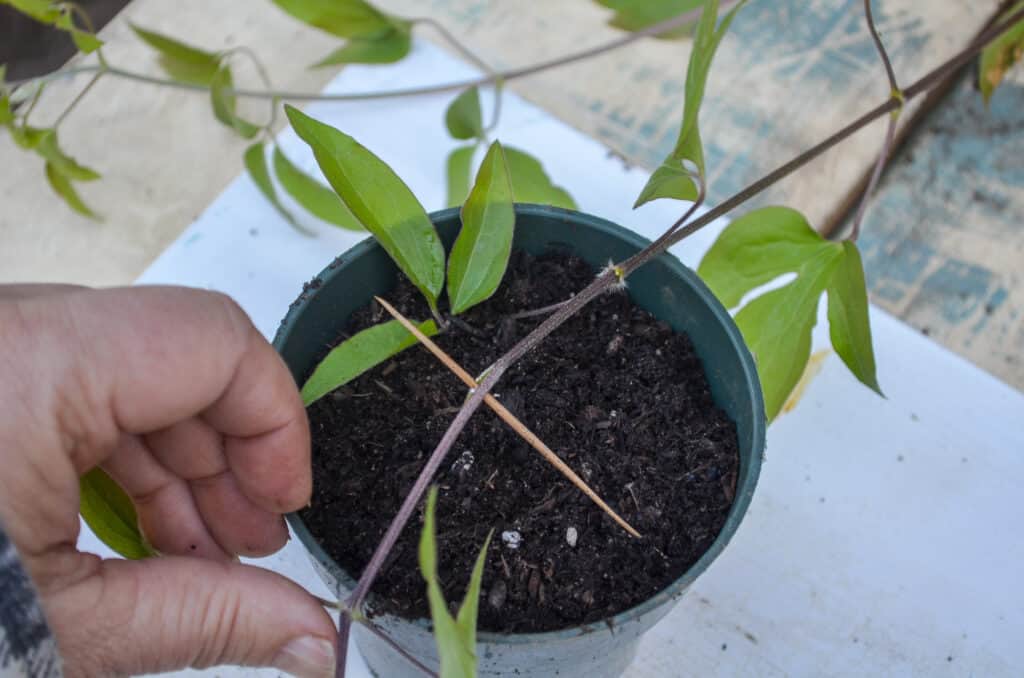
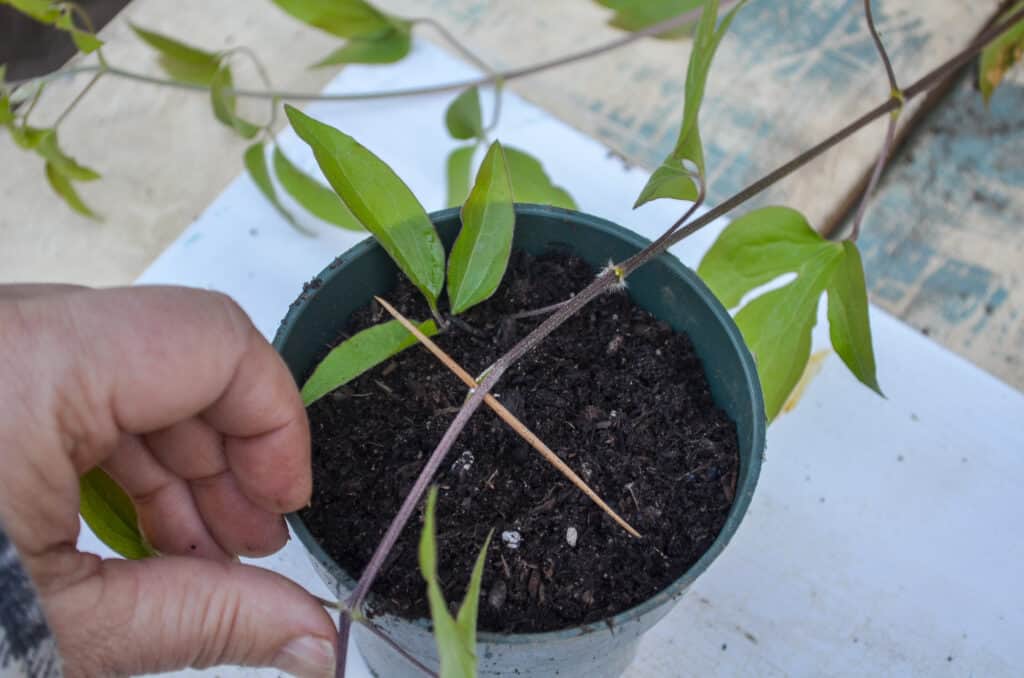
Secure the stem in place with a landscape staple or bent wire, then cover the pinned section with soil or compost. Leave the tip of the vine exposed and pointing upward. If the tip wants to flop, you can loosely tie it to a small twig or bamboo skewer.
6) Water and mulch lightly
Water the area thoroughly after pinning. Then add a thin layer of mulch over the spot to hold moisture. Keep mulch from smothering the exposed tip.
7) Keep it evenly moist
This is the make-or-break part. The layered section needs consistent moisture to form roots, but it should never sit in swampy soil.
- Check moisture a few times a week in warm weather.
- Water slowly so the soil settles around the stem.
- If your soil is heavy clay, mound a little compost on top rather than digging a deep trench.
How long layering takes
Layering is not instant, but it is steady. In good growing conditions, clematis often starts rooting in about 2 to 3 months. It can take longer, and it is very normal to let a layer sit attached through winter and sever it the following spring for the strongest results.
How to tell if it has rooted
There are a few gentle ways to check without destroying your progress.
The tug test
Hold the stem near the soil and give a very light tug. If you feel resistance, roots are probably forming. If it slides easily, it is not ready.
Look for new growth
If the exposed tip is putting on steady new leaves and looks perky, that is a good sign. It is not proof on its own, but it often goes hand-in-hand with rooting.
Careful excavation
If you want confirmation, gently brush away soil around the pinned node with your fingers. If you see white or tan threadlike roots, recover the area right away and water.
When and how to sever
Once you are confident roots have formed, give it a little more time to bulk up. I like to see either strong tug resistance or visible roots that look like more than just a few wisps.
Best time to cut
- Cool, cloudy day is ideal to reduce transplant stress.
- Morning is great because the plant is naturally hydrated.
Where to cut
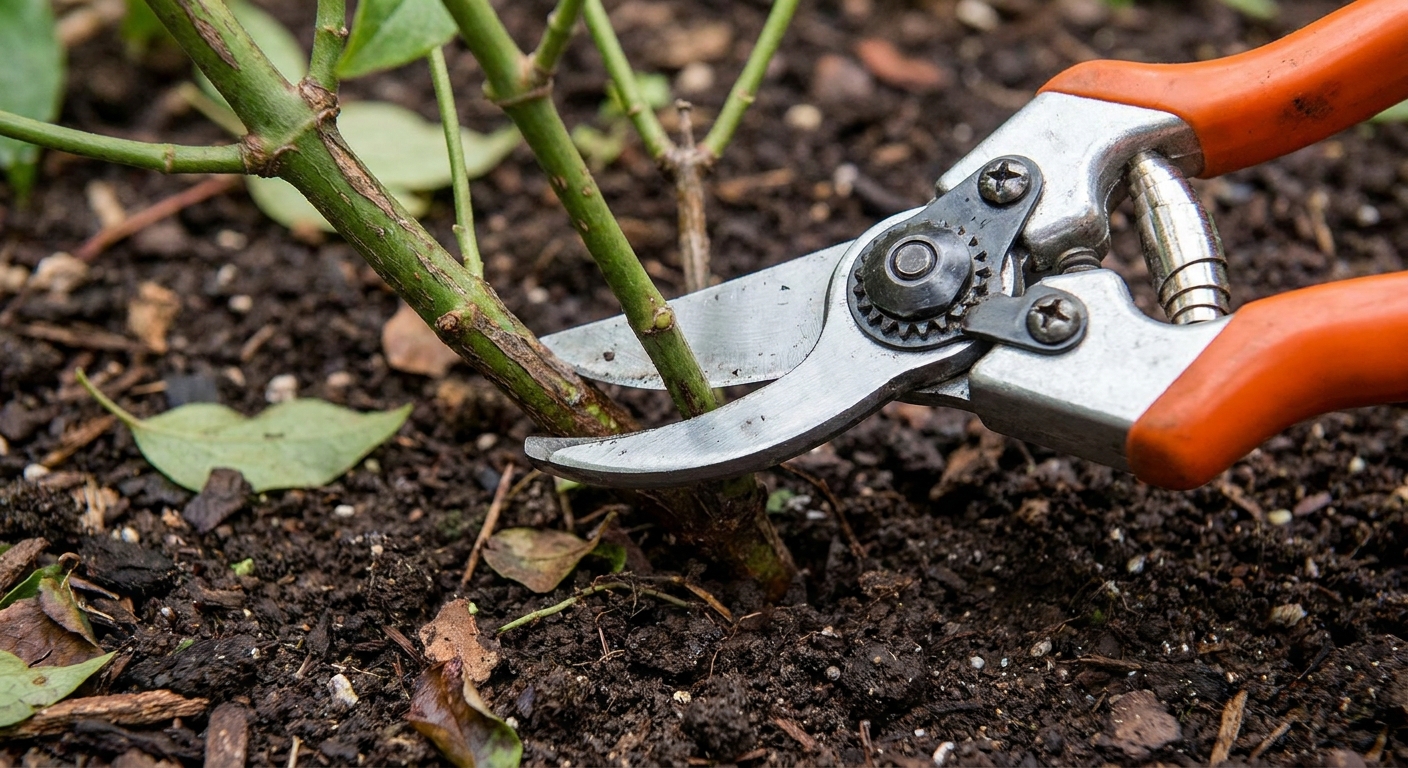
Use clean, sharp pruners and cut the stem between the parent plant and the rooted section. Make one clean cut. If you are unsure exactly where the roots start, uncover just enough to see what you are doing, then re-cover after cutting.
After severing
Water the new plant well. It will go from having a supportive parent to being on its own, so baby it for a couple of weeks with even moisture and a little shade if the weather is hot.
A quick hygiene note: I like to wipe pruner blades with alcohol before I cut. It is a tiny habit that helps avoid spreading problems from plant to plant.
How to lift and move it
Option A: Pot it up first (my go-to)
If you want the highest success rate, pot the new plant before planting it out. This is especially helpful if you are moving it far from the original spot or if weather is extreme.
- Use a pot with drainage holes, roughly 1 to 2 gallons.
- Fill with a quality potting mix plus a bit of compost.
- Dig around the rooted node with a hand trowel, lifting a generous soil ball to protect new roots.
- Set it at the same depth it was rooting in the pot, firm the soil gently, and water.
Option B: Transplant into the garden
You can plant it directly if conditions are mild and you can keep up with watering.
- Dig a wide hole so you do not have to cram roots in.
- Amend with compost if your soil is poor, but avoid making the hole too rich compared to surrounding soil.
- Water deeply and mulch lightly to keep roots cool.
One small nuance: many clematis growers plant the crown a bit deeper in the garden (a couple inches) to encourage shoots from below soil level and as insurance if a stem is damaged. Not everyone does it, and it can depend on the type you are growing, but if you have heard that advice, this is where it applies.
Aftercare for the first month
- Water: Keep soil evenly moist, not soaked.
- Sun and shade: Bright light is good, but protect from harsh afternoon sun for the first week or two.
- Support: Give the young vine something to climb early. A small trellis or stake prevents tangles.
- Fertilizer: Hold off on strong feeding right away. Too much nitrogen can push soft growth before the roots are ready.
Common mistakes
Letting the pinned section pop up
If the stem lifts out of contact with soil, rooting stalls. Use a sturdy staple and press soil firmly over the node.
Burying too deep
Deep burial can encourage rot, especially in heavy soils. Keep it shallow and airy.
Using a flowering stem
Flowering takes energy. A non-flowering stem usually roots faster and with less drama.
Forgetting to label
Layering is slow enough that you can genuinely forget what you did. A simple label at the rooting spot saves confusion later.
FAQ
Can I layer clematis in a container?
Yes. If the vine is in a pot, set a second pot of soil next to it, bend a stem into the second pot, pin it down, and treat it the same way. Once it roots, sever and you already have a potted plant ready to go.
Do I need rooting hormone?
No. Clematis can root without it when the stem stays attached to the parent plant. Good soil contact and consistent moisture matter more.
How many layers can I take from one clematis?
I prefer one or two per season for a stressed plant, and up to a few more for a vigorous, established vine. If the parent looks tired or growth is weak, slow down.
Will the new plant match the parent?
Yes. Layering produces a clone of the parent plant, unlike seed-grown clematis which can vary.
A quiet trick worth repeating
Layering is one of those propagation methods that feels almost too gentle to work, and then you tug lightly one day and feel that lovely resistance. Roots. A whole new clematis, made the slow, steady way. If you try it this season, give your vine a little pep talk from me. I swear plants respond to encouragement, even if it is mostly for our benefit.