How to Make and Use a Moss Pole

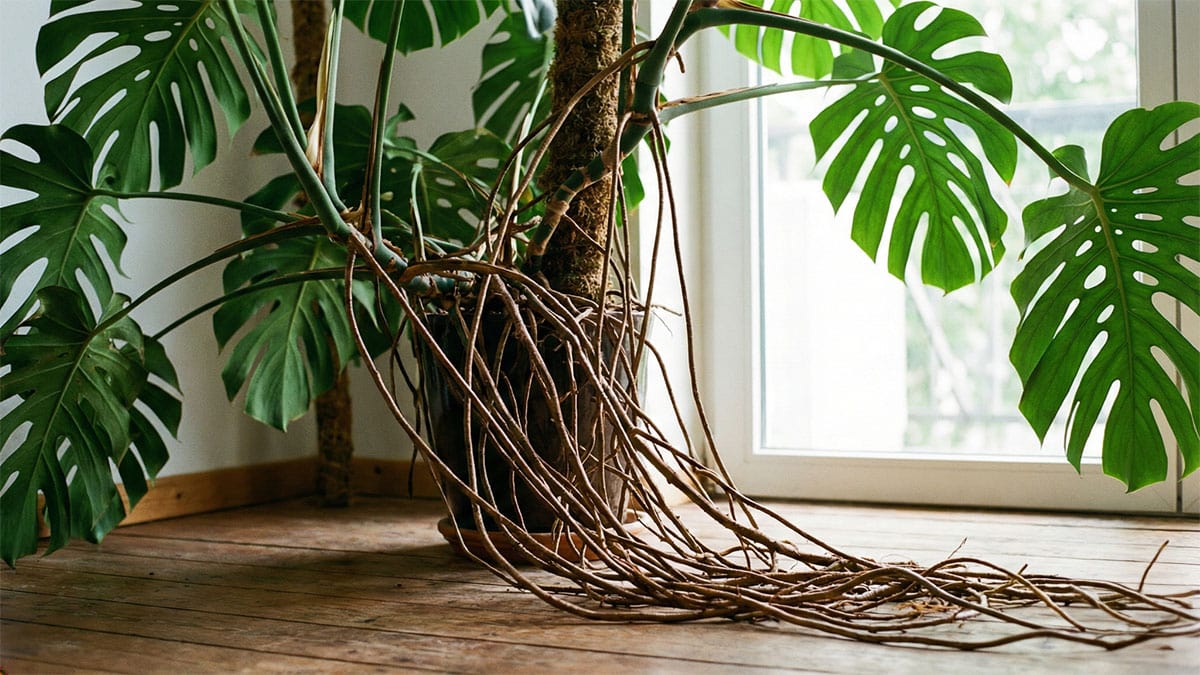
There is a certain moment with a Monstera, pothos, or philodendron when it stops being a polite little houseplant and starts reaching. Aerial roots appear like curious fingers, vines stretch toward windows, and suddenly your plant is telling you what it wants: something to climb.
A moss pole (or a coco coir pole) is not just plant decor. It is a practical support that helps these natural climbers grow in a way that looks calmer, takes up less horizontal space, and often encourages bigger, more “adult” leaves. If you have been wondering how people get those larger Monstera leaves with deeper fenestrations, support is part of the story.

Why climbers love poles
Monstera, pothos (Epipremnum aureum), and many philodendrons are aroids. In the wild, they climb trees using aerial roots, moving up toward brighter light. When we let them trail without support, they usually stay in a more juvenile growth pattern.
What a pole does for your plant
- Encourages larger leaves: Many climbing aroids size up when they can root into a support and grow upward.
- Supports fenestration: Monsteras are more likely to develop deeper splits and holes as they mature, which is often helped by consistent upward growth and better light exposure.
- Tames aerial roots: Instead of wandering across your wall or diving into the couch, aerial roots can anchor into a moist pole.
- Improves structure: Vines grow more upright, which saves space and can make watering and cleaning easier.
A quick reality check: a pole is not a magic wand. Light, nutrition, and watering habits still matter. But support can be the missing piece that helps your plant act more like itself.
Moss pole vs coco coir pole
You will see two common options at nurseries and online. Both work, but they behave differently.
Moss pole (sphagnum moss)
- Best for: Plants you want to really attach and root into the support (Monstera, many philodendrons).
- Pros: Holds moisture well, aerial roots can grow into it, great for encouraging mature growth.
- Cons: Needs occasional moistening, sphagnum quality varies, can dry out fast in low humidity homes.
Coco coir pole
- Best for: Simple support and tidy vertical growth (pothos especially), lower maintenance setups.
- Pros: Stays neat, does not require keeping the pole moist, long lasting.
- Cons: Aerial roots grip it less readily than moss, so you rely more on ties and training.
If your goal is maximum “tree-climbing energy” and bigger leaves, I lean moss. If your goal is “please stop flopping sideways,” coco coir is perfectly respectable.
What you need to make a DIY pole
You can build a moss pole in about 20 minutes with supplies from a garden center or hardware store.
Materials (moss pole version)
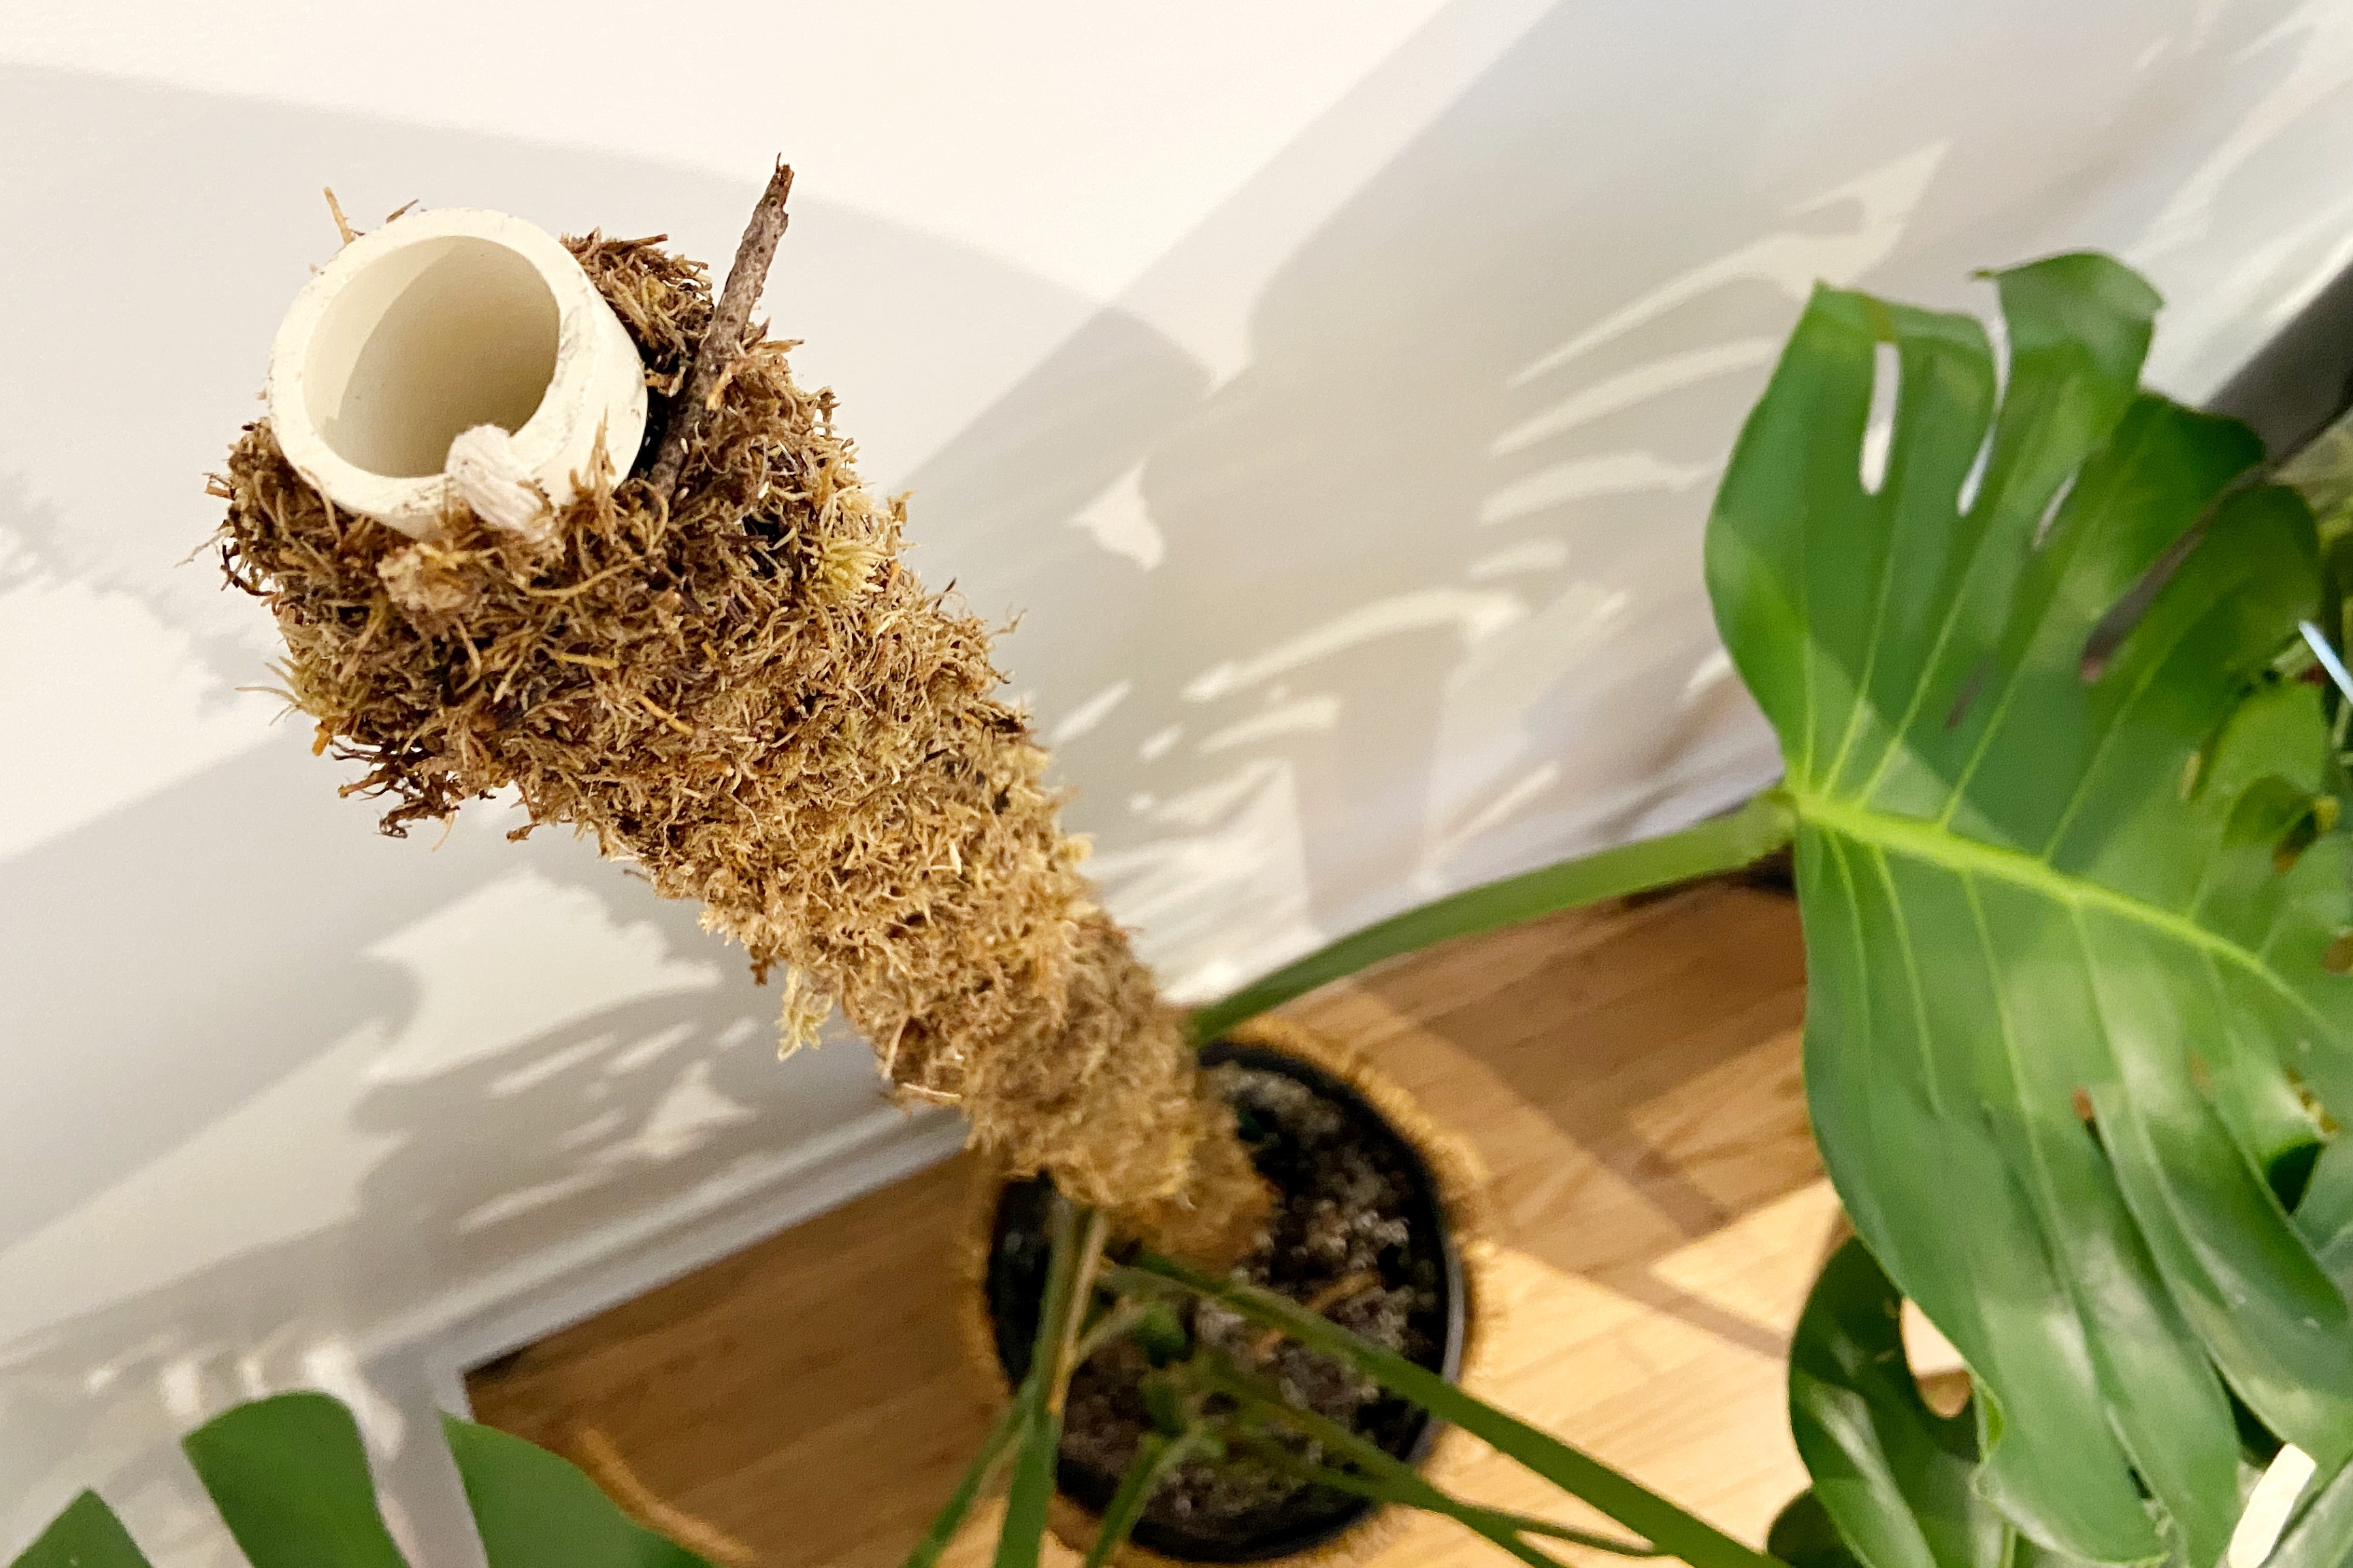
- Rigid core: PVC pipe, bamboo stake, or a wooden dowel (PVC lasts longest in moist moss)
- Plastic-coated wire mesh or galvanized hardware cloth (mesh holds the moss)
- Sphagnum moss (long fiber is easiest to work with)
- Zip ties or garden wire to close the mesh
- Soft plant ties, Velcro plant tape, or jute twine for attaching vines
- Optional: a waterproof glove and a bucket for soaking moss
Materials (coco coir version)
- A store-bought coir pole or a DIY core stake
- Coco fiber sheet or coir rope
- Garden twine or zip ties
Soil note from my compost-loving heart: If you are repotting at the same time, use a chunky aroid mix so the pot drains well. A taller plant on a pole plus heavy, soggy soil is a tipping hazard.
How to make a moss pole (step by step)
Step 1: Choose the right height
Pick a pole that is at least as tall as your plant is now, plus some extra if you can. It is easier to start taller than to redo everything in three months. For most indoor plants, 2 to 4 feet is a sweet spot to start.
Step 2: Soak and fluff the moss
Soak sphagnum moss in water for 10 to 20 minutes, then squeeze it so it is damp but not dripping. Damp moss is easier to shape and settles nicely in the mesh.
Step 3: Form the mesh cylinder
Cut mesh to the pole height. Wrap it into a cylinder around your PVC or stake, leaving enough diameter to pack moss. Secure the seam with zip ties every few inches.
Step 4: Pack the moss
Stuff damp moss between the core and the mesh. Pack it firmly enough that it holds shape, but not so tight that it becomes a brick. A little springiness is perfect.
Step 5: Cap the top (optional but tidy)
You can fold mesh at the top and secure it, or simply tuck moss in neatly. A capped top slows drying a bit and keeps things looking finished.
Installing the pole in the pot
If you are only adding a pole, you can often insert it into the pot carefully. If the plant is large or rootbound, it is kinder to repot so you can anchor the pole securely.
How to anchor it so it does not wobble
- Place the pole close to the main stem where the vine naturally wants to climb.
- Push the pole down to the bottom of the pot if possible. Stability matters more than perfection.
- Backfill and firm the soil around the pole. Do not compress the whole pot into concrete, just snug it.
- For very top-heavy plants, use a heavier pot or add a few clean stones at the bottom for weight.
Tip: Position the pole behind the plant relative to your viewing angle, so ties and aerial roots look more natural and less like plant orthodontics.
How to attach Monstera, pothos, and philodendrons
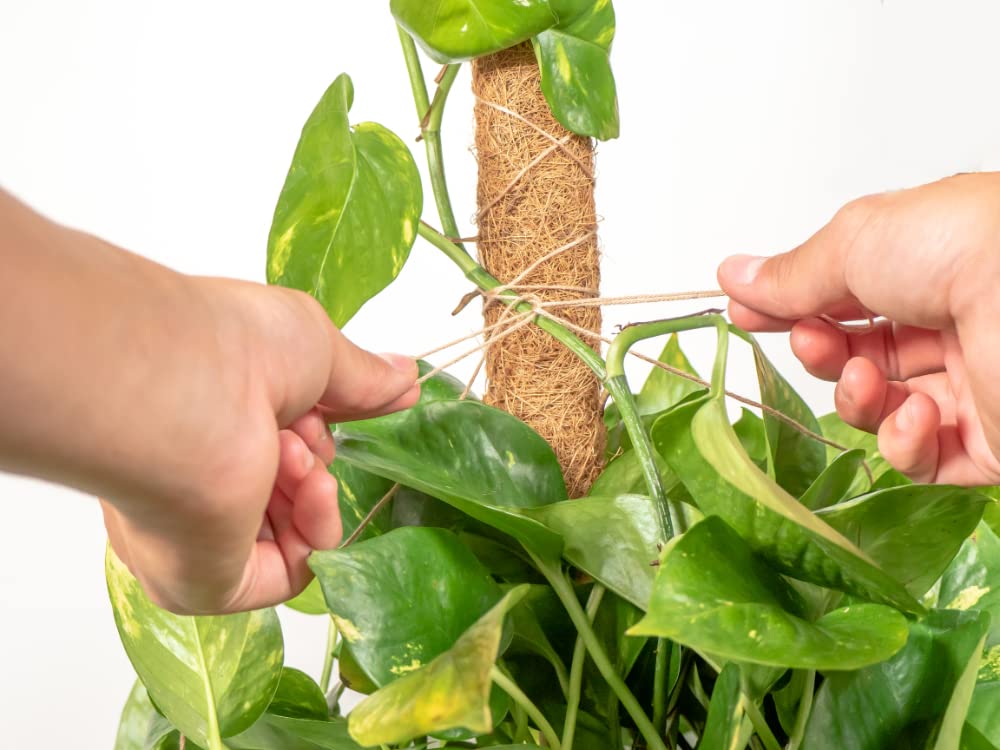
The biggest mistake I see is tying the plant too tightly. Vines thicken as they grow, and tight ties can pinch tissue.
General tying rules
- Use soft ties and make a loose figure-eight around the stem and pole.
- Attach at nodes or just below them, not on tender new growth.
- Add ties every 4 to 8 inches as the vine climbs, depending on weight.
- Recheck ties monthly. If they start to bite, loosen them.
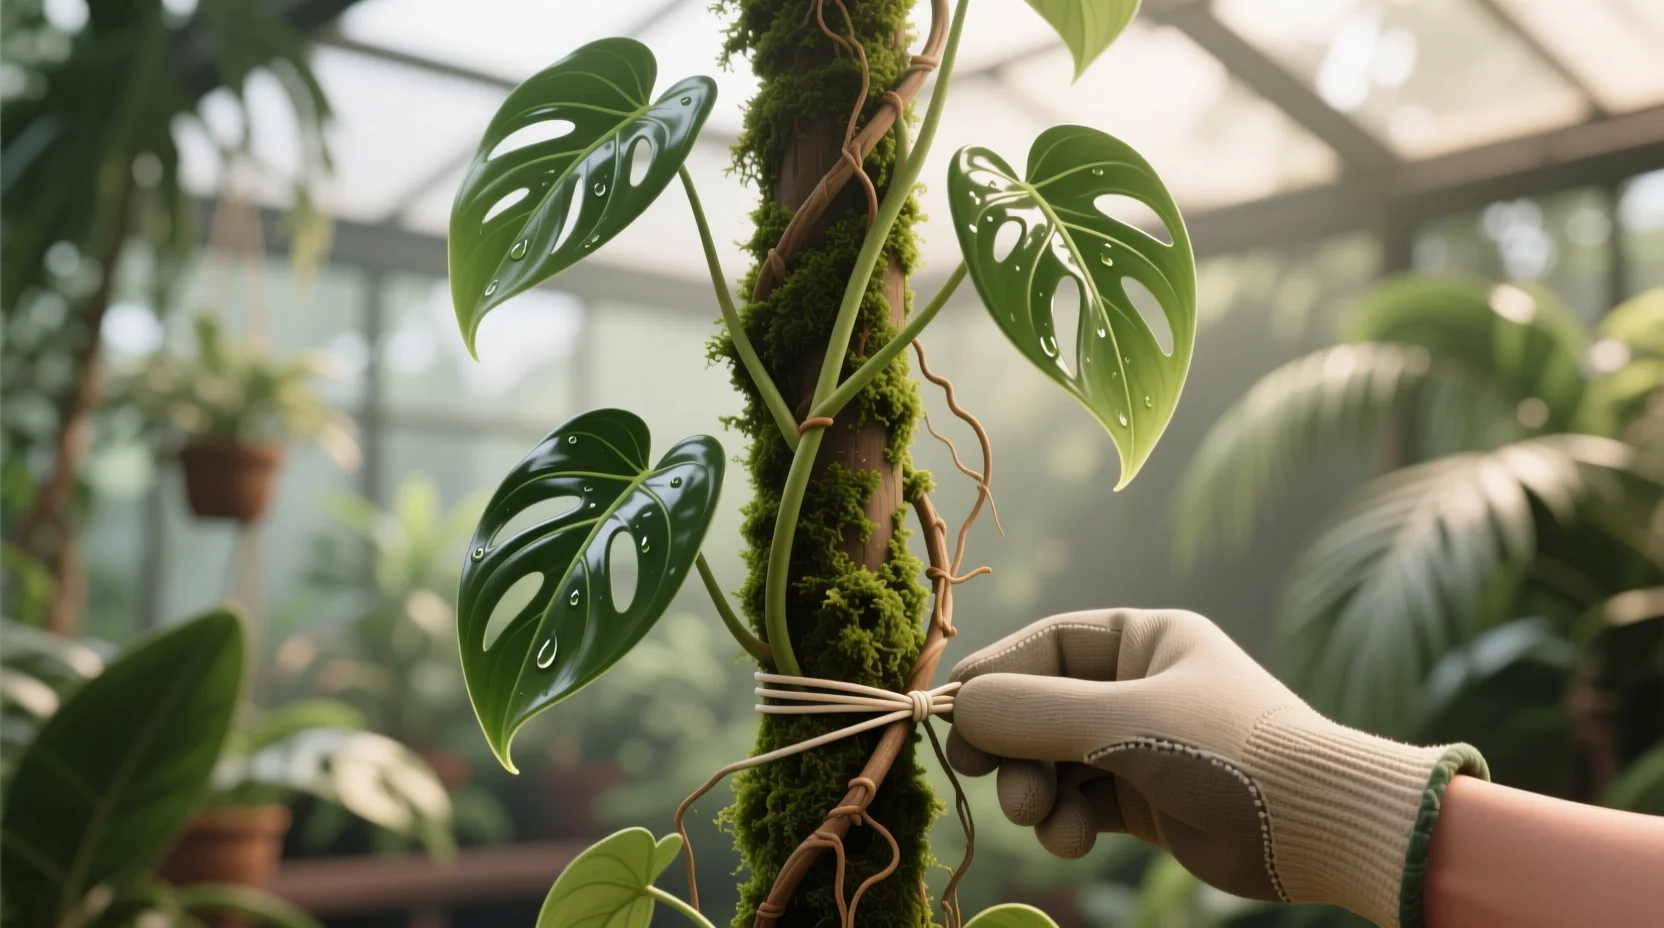
Monstera: focus on the main stem
Monsteras are not dainty trailers. They have a main stem that benefits from being supported early. Gently angle the main stem toward the pole and tie it in a few places. Encourage aerial roots to face the moss.
Pothos: choose your prettiest vines
Pothos can have lots of vines. Pick 2 to 6 of your healthiest, most attractive vines to train upward and let the rest trail if you like. Upward-trained pothos can develop noticeably larger leaves when conditions are good.
Philodendron: mind the growth habit
Many philodendrons climb beautifully, but some are self-heading (more shrub-like). For climbing types (like Philodendron hederaceum and many vining hybrids), treat them like pothos: tie loosely and guide nodes toward the pole.
Getting aerial roots to cooperate
Aerial roots are not misbehavior. They are your plant trying to anchor and drink from the air. A pole simply gives them a better job to do.
How to reduce wandering aerial roots
- Keep a moss pole lightly moist so roots have an incentive to grow into it.
- Train roots gently toward the pole. If a root is flexible, tuck it into the moss or under the mesh.
- Do not force stiff, older roots. They can snap, and the plant does not love that.
- Avoid misting leaves as a “root solution”. It can increase spotting and does not keep the pole moist where it counts.
Should you cut aerial roots?
If an aerial root is truly in the way, you can trim it with clean snips. But I prefer to redirect when possible. Trimming is cosmetic and does not address why the plant is reaching. Usually it wants support, moisture at the pole, and brighter light.
How to keep a moss pole moist (without making a mess)
You do not need a dripping wet pole. Think of it like a wrung-out sponge.
- Spot-water the pole when you water the pot. A small watering can or squeeze bottle gives control.
- Check the pole mid-week in dry homes. If it feels crisp and bone-dry, add a little water.
- Raise humidity if you can (a humidifier nearby helps), but do not chase perfect numbers. Consistency is more important than extremes.
Pro tip: If fungus gnats appear, the pole may be staying too wet, or your soil is too damp. Let the pole dry a bit more between moistening and consider a stickier, chunkier potting mix.
When and how to extend the pole
Eventually your plant reaches the top and starts leaning outward like it is looking for the next tree. That is your cue.
Signs it is time to extend
- The newest leaves are past the top and the vine bends away.
- The plant feels top-heavy even with ties.
- Aerial roots are reaching into open air again.
Easy extension options
- Stackable poles: Many store-bought moss poles are designed to connect. This is the cleanest method.
- Add a second pole behind the first: Tie the two poles together firmly, then continue training upward.
- Rebuild taller during repotting: Best for big Monsteras. If you are upgrading the pot anyway, it is a good time to upgrade the pole.
After extending, add a few new ties near the transition so the plant is supported while it reorients to climb.
Care tips that boost climbing and fenestration
A pole helps, but the classic “big leaves” look usually comes from a few basics working together.
- Bright, indirect light: Monsteras and many philodendrons fenestrate more with stronger light. Pothos also sizes up with more light.
- Steady watering: Water thoroughly, then let the mix partially dry. Constant sogginess slows roots and can cause yellowing.
- Balanced feeding in the growing season: A diluted, complete houseplant fertilizer every 2 to 4 weeks in spring and summer is usually plenty.
- Rotate the pot: A quarter turn every week or two keeps growth more even and reduces leaning.
If you are doing all of the above and still not seeing larger leaves, be patient. Plants often need time to establish roots in the pot and then into the pole before they start showing off.
Common mistakes (and gentle fixes)
The pole wobbles
Fix: Push it deeper, firm soil around it, or repot into a heavier container. A stable pole is a happy pole.
The moss dries instantly
Fix: Thicken the moss layer, cap the top, or move the plant away from heating vents. Moistening the pole more often is normal in winter.
The vine will not stick
Fix: Tie it more frequently at first. Rooting into the pole can take time. For coir poles, ties are usually the long-term strategy.
You tied too tightly
Fix: Loosen now. If you see an indentation, remove the tie and replace it slightly above or below with a softer loop.
Leaves are smaller at the top
Fix: That usually points to light or nutrition, not the pole. Increase light gradually and feed lightly during active growth.
Quick cheat sheet
- Want maximum maturity and rooting: Choose a moss pole and keep it lightly moist.
- Want tidy support with low maintenance: Choose a coco coir pole and tie vines as they climb.
- Tie loosely: Soft ties, figure-eight, check monthly.
- Extend when the plant reaches the top: Stack, add another pole, or rebuild during repotting.
- For fenestration: Pair the pole with brighter indirect light and consistent care.
If you try a pole and your plant looks a little awkward for a week or two, you are not doing it wrong. Vines need time to reorient, and you might need to adjust ties once or twice. Gardening is mostly small corrections, plus a lot of admiration.