How to Grow Tomatoes from Seed
If you've ever bitten into a sun-warm tomato and thought, I want that flavor all summer, starting from seed is where the magic begins. Seed-starting looks fussy from the outside, but it's really just a cozy little system: warmth for germination, bright light for growth, steady moisture, and a gentle transition outdoors.
I'll walk you through the whole thing step by step, including simple timing, the exact temperatures tomatoes love, and how to troubleshoot the most common seedling hiccups.
Choose the right tomato seeds
Tomatoes are wonderfully diverse. Your first decision isn't just which variety looks tasty, but which type fits your season and space.
Determinate vs indeterminate
- Determinate tomatoes grow to a set height, set fruit in a shorter window, and are great for containers and small gardens. Many paste and patio types are determinate.
- Indeterminate tomatoes keep growing and flowering until frost. They need taller support, but they give you a long harvest.
Hybrid vs open-pollinated (and heirloom)
- Hybrid varieties are bred for specific traits like disease resistance or uniform fruit. Great for reliability.
- Open-pollinated (including many heirlooms) can be saved true to type if isolated properly, and often shine on flavor and uniqueness.
Match varieties to your climate
- Short, cool summers: look for “early,” “short season,” or smaller-fruited varieties that ripen fast.
- Hot, humid summers: choose disease resistance (especially to blights) and heat-tolerant types.
Read the resistance codes on packets
If you garden where disease pressure is high, the little letter codes on seed packets can be your best friend. Common ones include:
- V = Verticillium wilt
- F = Fusarium wilt (sometimes listed as F1, F2 for multiple races)
- N = Nematodes
- T = Tobacco mosaic virus (TMV)
- TSWV = Tomato spotted wilt virus
Seed age tip: Tomato seeds can still germinate after several years, but fresher seed usually sprouts faster and more evenly. If your packet is older, sow a few extra.

When to start tomato seeds indoors
Tomatoes are heat lovers, and rushing them outdoors almost always backfires. The simplest rule is to start seeds indoors 6 to 8 weeks before your average last spring frost date, then transplant after nights stay reliably mild.
Find your last frost date
USDA hardiness zones tell you winter minimum temperatures, not your last frost date. They are helpful context, but your local last frost date is the real boss. If you're not sure, look up your town's average last frost date (or ask a local extension office), then count back 6 to 8 weeks.
Timing examples (use as a rough guide)
These are common examples many gardeners see, but your microclimate can shift things by a couple of weeks either way.
- Zones 3 to 4: often late March to mid April for sowing; transplant late May to June.
- Zone 5: often mid March to early April for sowing; transplant mid May to early June.
- Zone 6: often early to mid March for sowing; transplant mid May to early June in many areas.
- Zone 7: often mid February to early March for sowing; transplant early to late April.
- Zone 8: often late January to late February for sowing; transplant mid March to early April.
- Zones 9 to 10: often December to January for spring planting, and a late summer sowing for a fall crop where summers are intense.
Temperature reality check: Many gardeners transplant tomatoes around the frost date. I prefer waiting until nighttime lows are consistently above 50°F if you can. Tomatoes stall when they're chilled, and that slow start can ripple through the whole season.
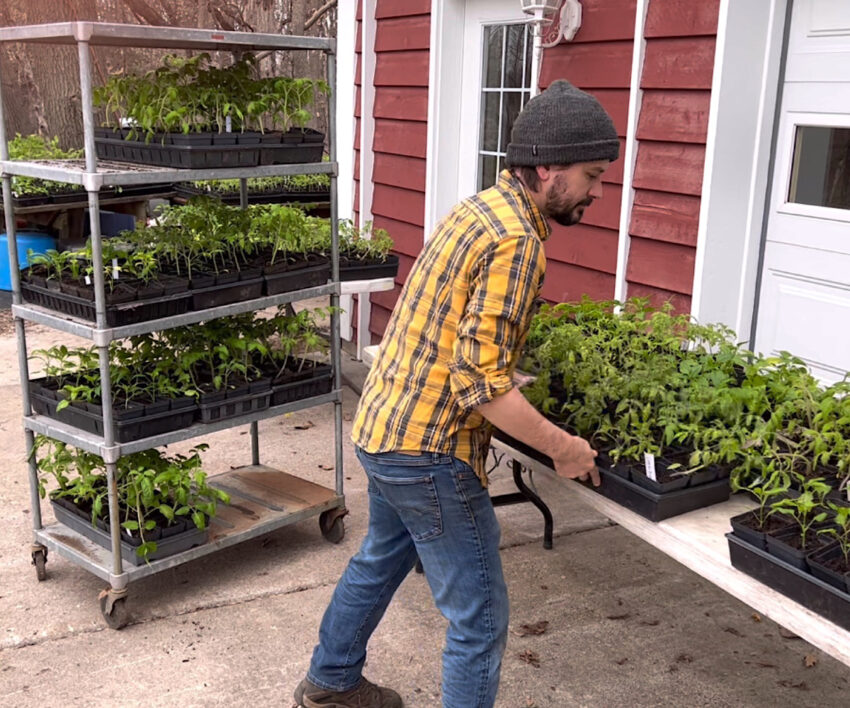
What you need to start tomato seeds
You don't need fancy gear. You do need the basics that create a healthy root zone and prevent seedlings from stretching.
- Seeds (of course)
- Seed-starting mix (light, soilless, fine-textured, and clean)
- Containers with drainage holes (cell trays, small pots, or recycled containers you punch holes into)
- Humidity dome or plastic wrap (temporary, for germination)
- Heat mat (optional but very helpful for quick, even sprouting)
- Grow light or a very bright setup (a sunny window alone usually isn't enough)
- Labels (trust me, you'll forget)
- Fan (optional, strengthens stems and helps prevent fungal issues)
- Basic sanitation: wash trays and pots with hot soapy water before reusing, and use clean tools. This one small habit prevents a lot of heartbreak.
Best soil mix for seedlings
Tomato seeds germinate best in a fluffy, well-draining medium that stays evenly moist. A seed-starting mix is designed for exactly this.
Why not regular garden soil? It compacts easily in small containers, drains unpredictably, and can bring in damping-off pathogens. Tomatoes are tough later, but as babies they appreciate a clean start.
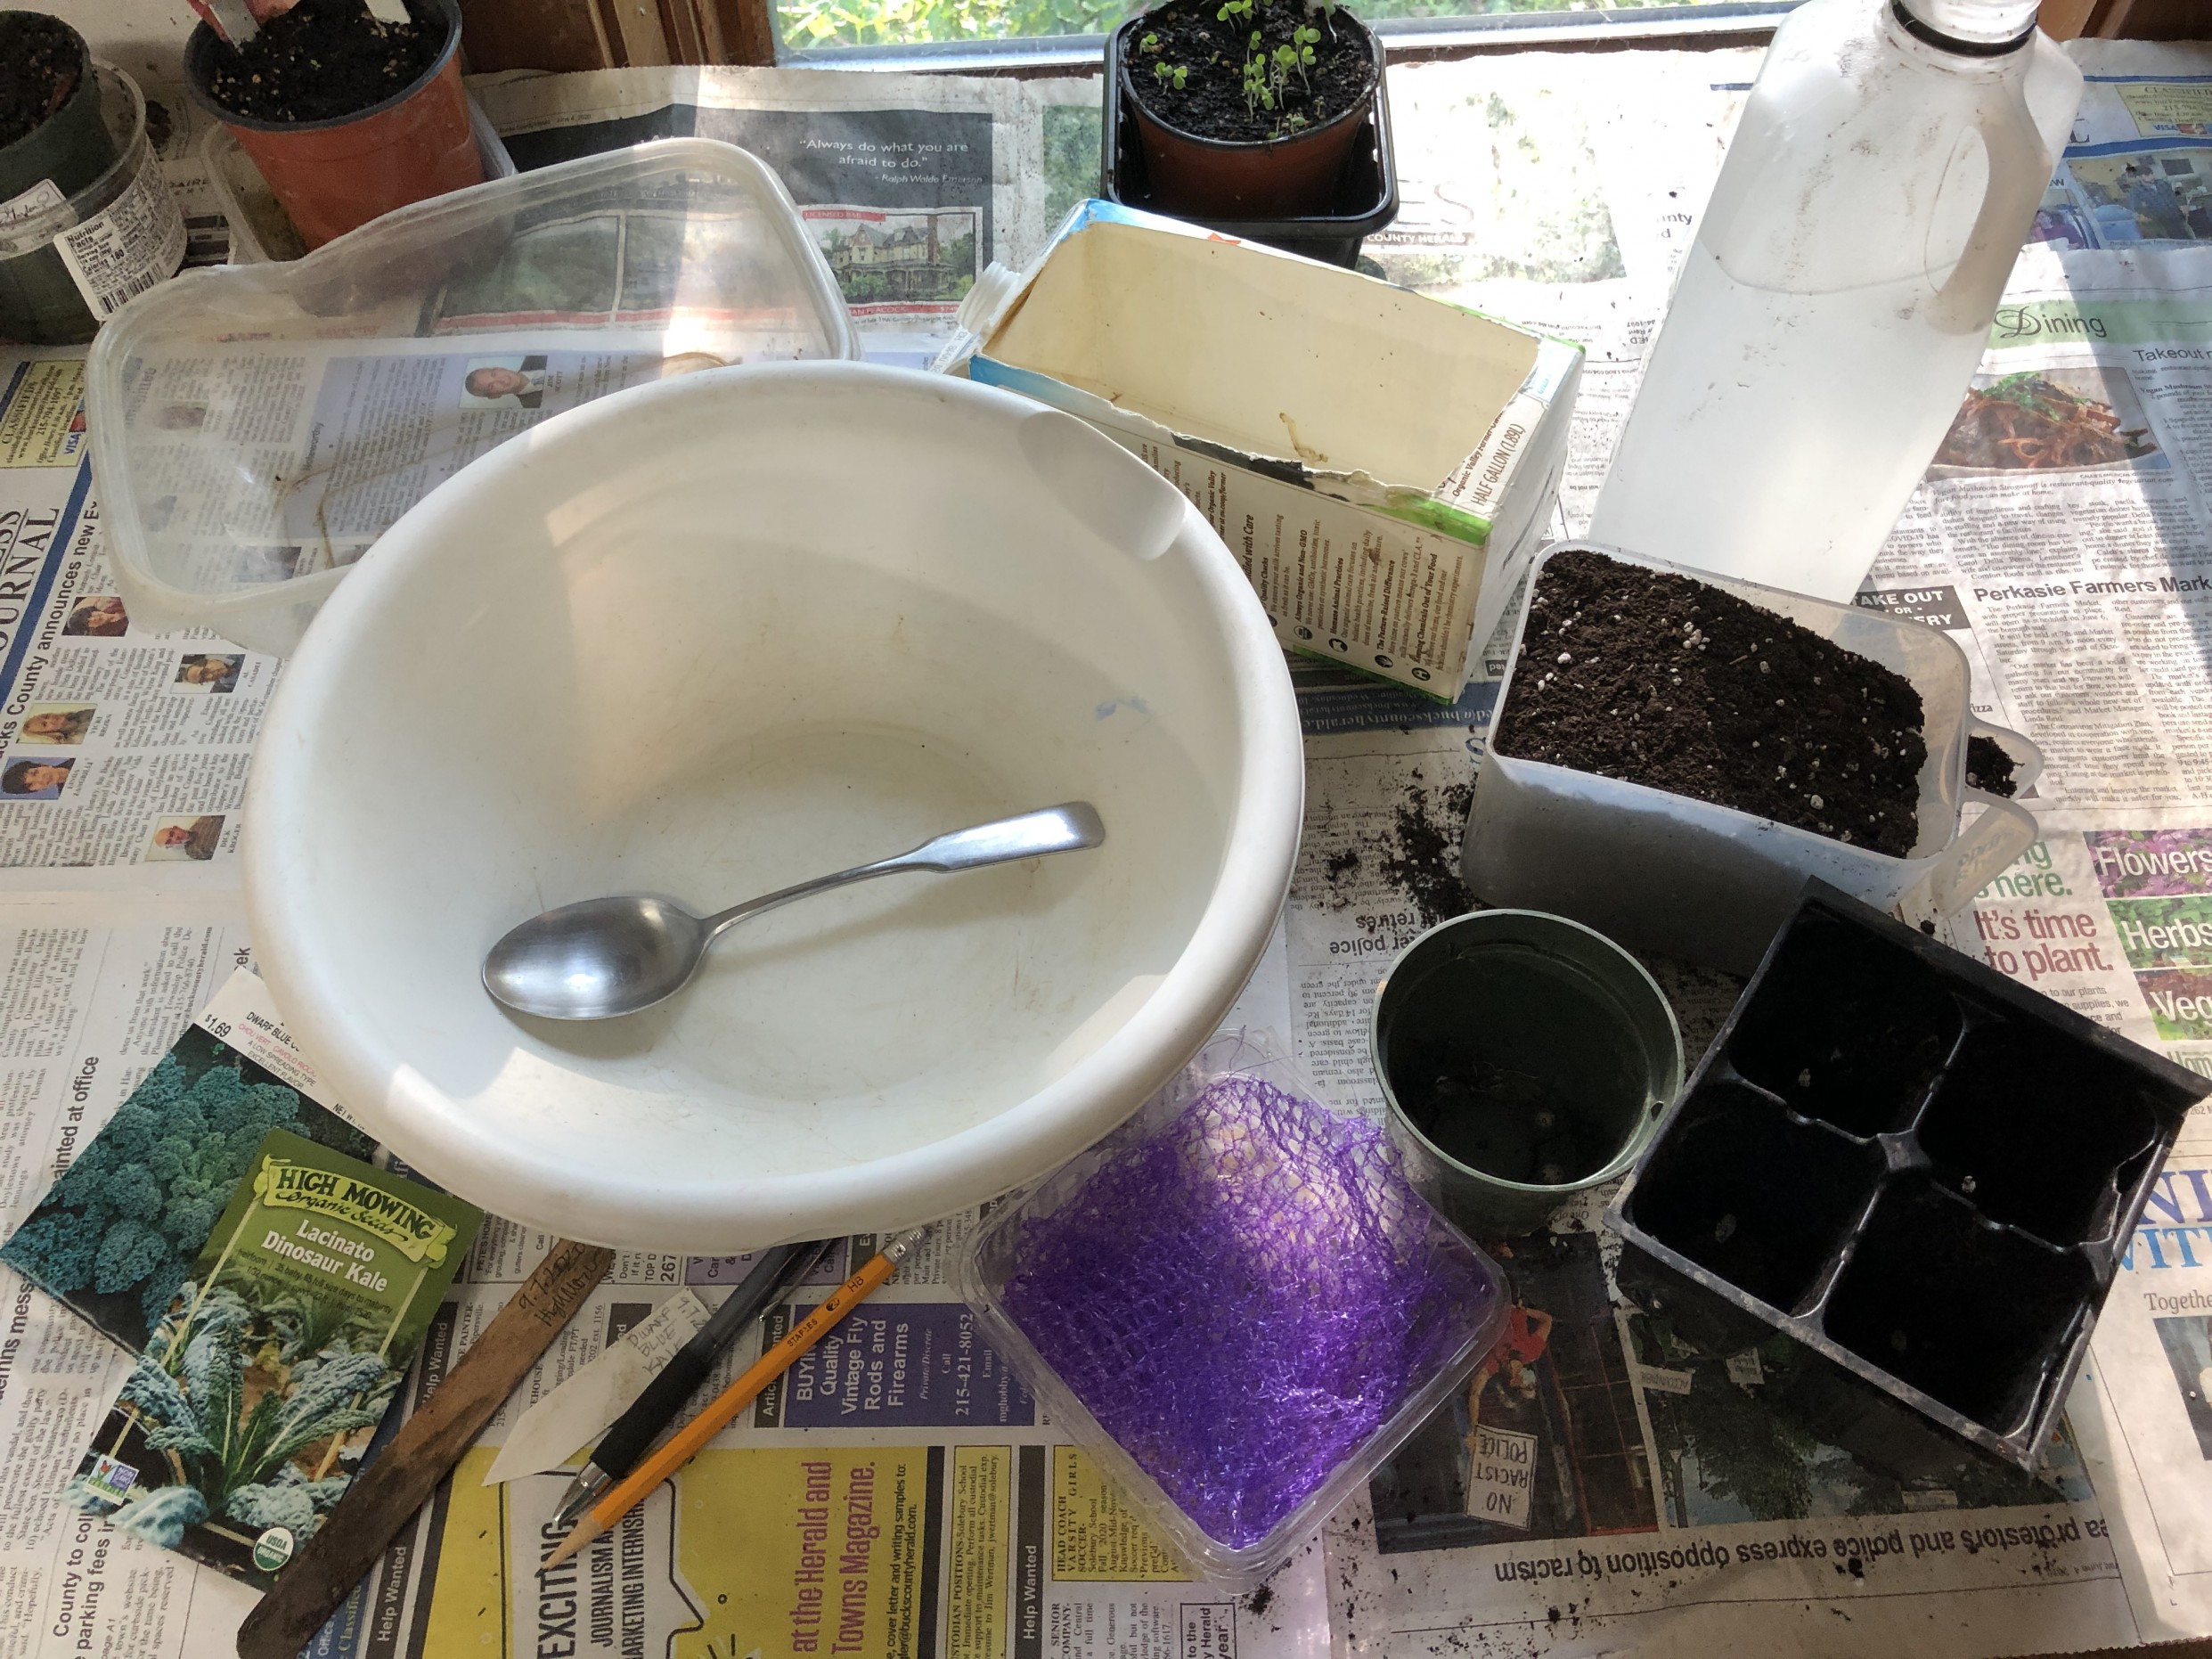
My simple approach
- Use a bagged seed-starting mix.
- Pre-moisten it in a bowl until it feels like a wrung-out sponge. Damp, not dripping.
- Fill containers gently. Don't pack it down hard.
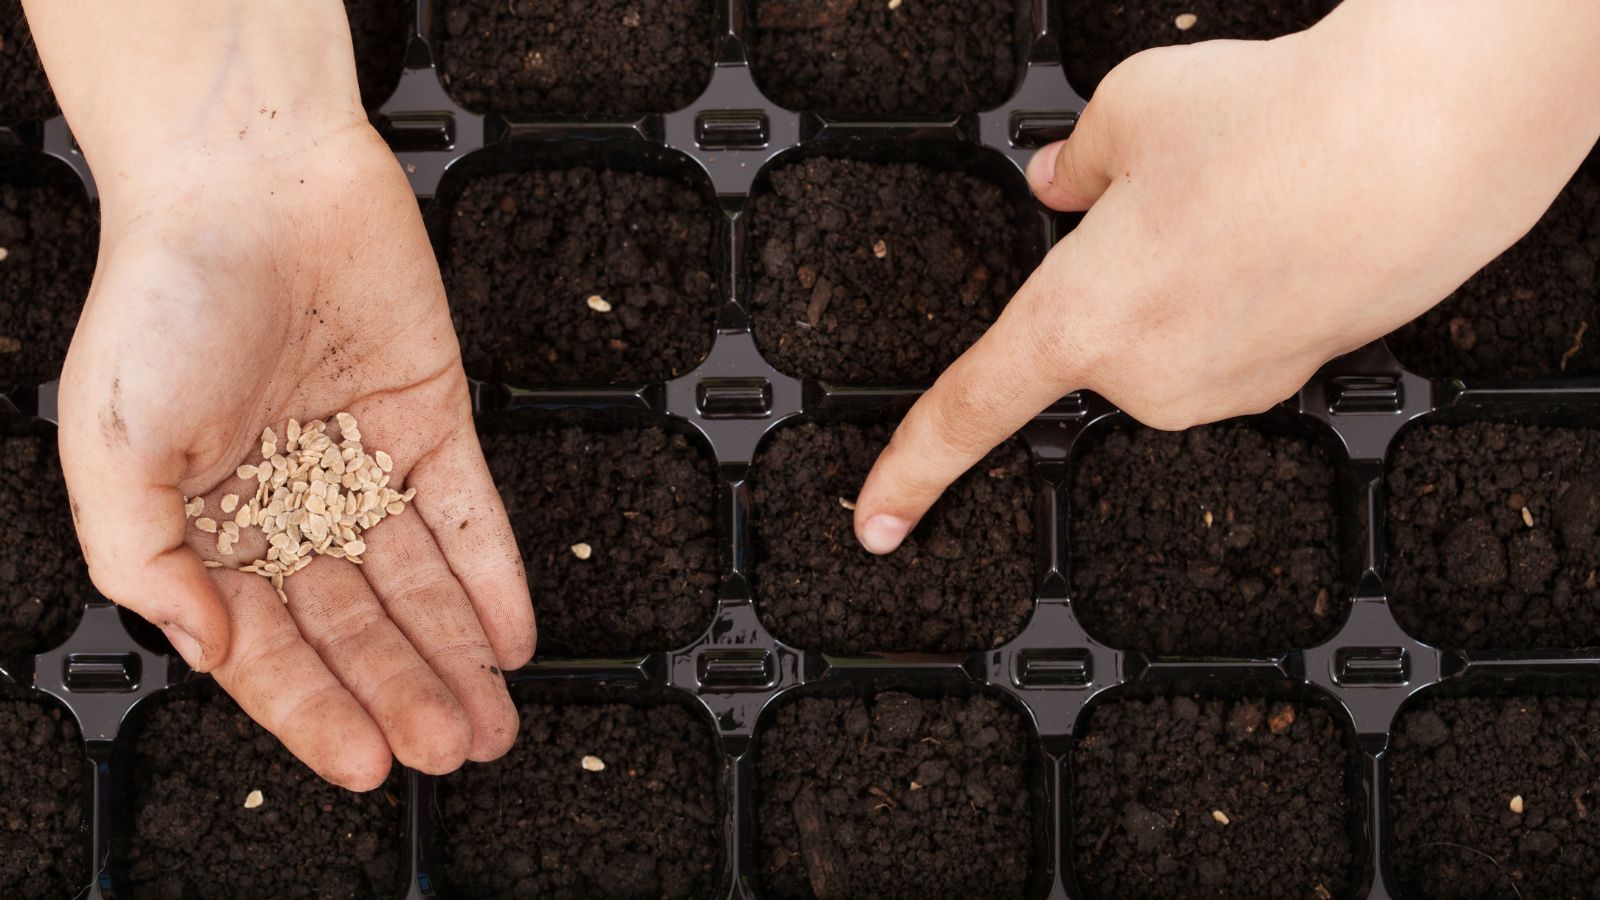
How to plant tomato seeds
- Fill containers with pre-moistened seed-starting mix.
- Sow 1 to 2 seeds per cell, about 1/4 inch deep.
- Cover lightly with mix and gently press for good seed-to-soil contact.
- Water softly using a mist or bottom watering so you don't dislodge the seeds.
- Cover with a humidity dome or plastic wrap.
- Warmth: set on a heat mat if you have one.
- Label every variety.
Germination time: Most tomato seeds sprout in 5 to 10 days, sometimes faster with steady warmth.
Don't forget to thin: If both seeds sprout in a cell, keep the strongest seedling and snip the weaker one at the soil line. Don't pull it out, since that can disturb the roots of the one you're keeping.
Germination temp and light
Temperature for sprouting
Tomatoes germinate best at 70 to 85°F, with the sweet spot around 75 to 80°F. This is where heat mats earn their keep, especially in chilly houses.
Once most seeds have sprouted, you can remove bottom heat. Constant warmth matters less than strong light at that point.
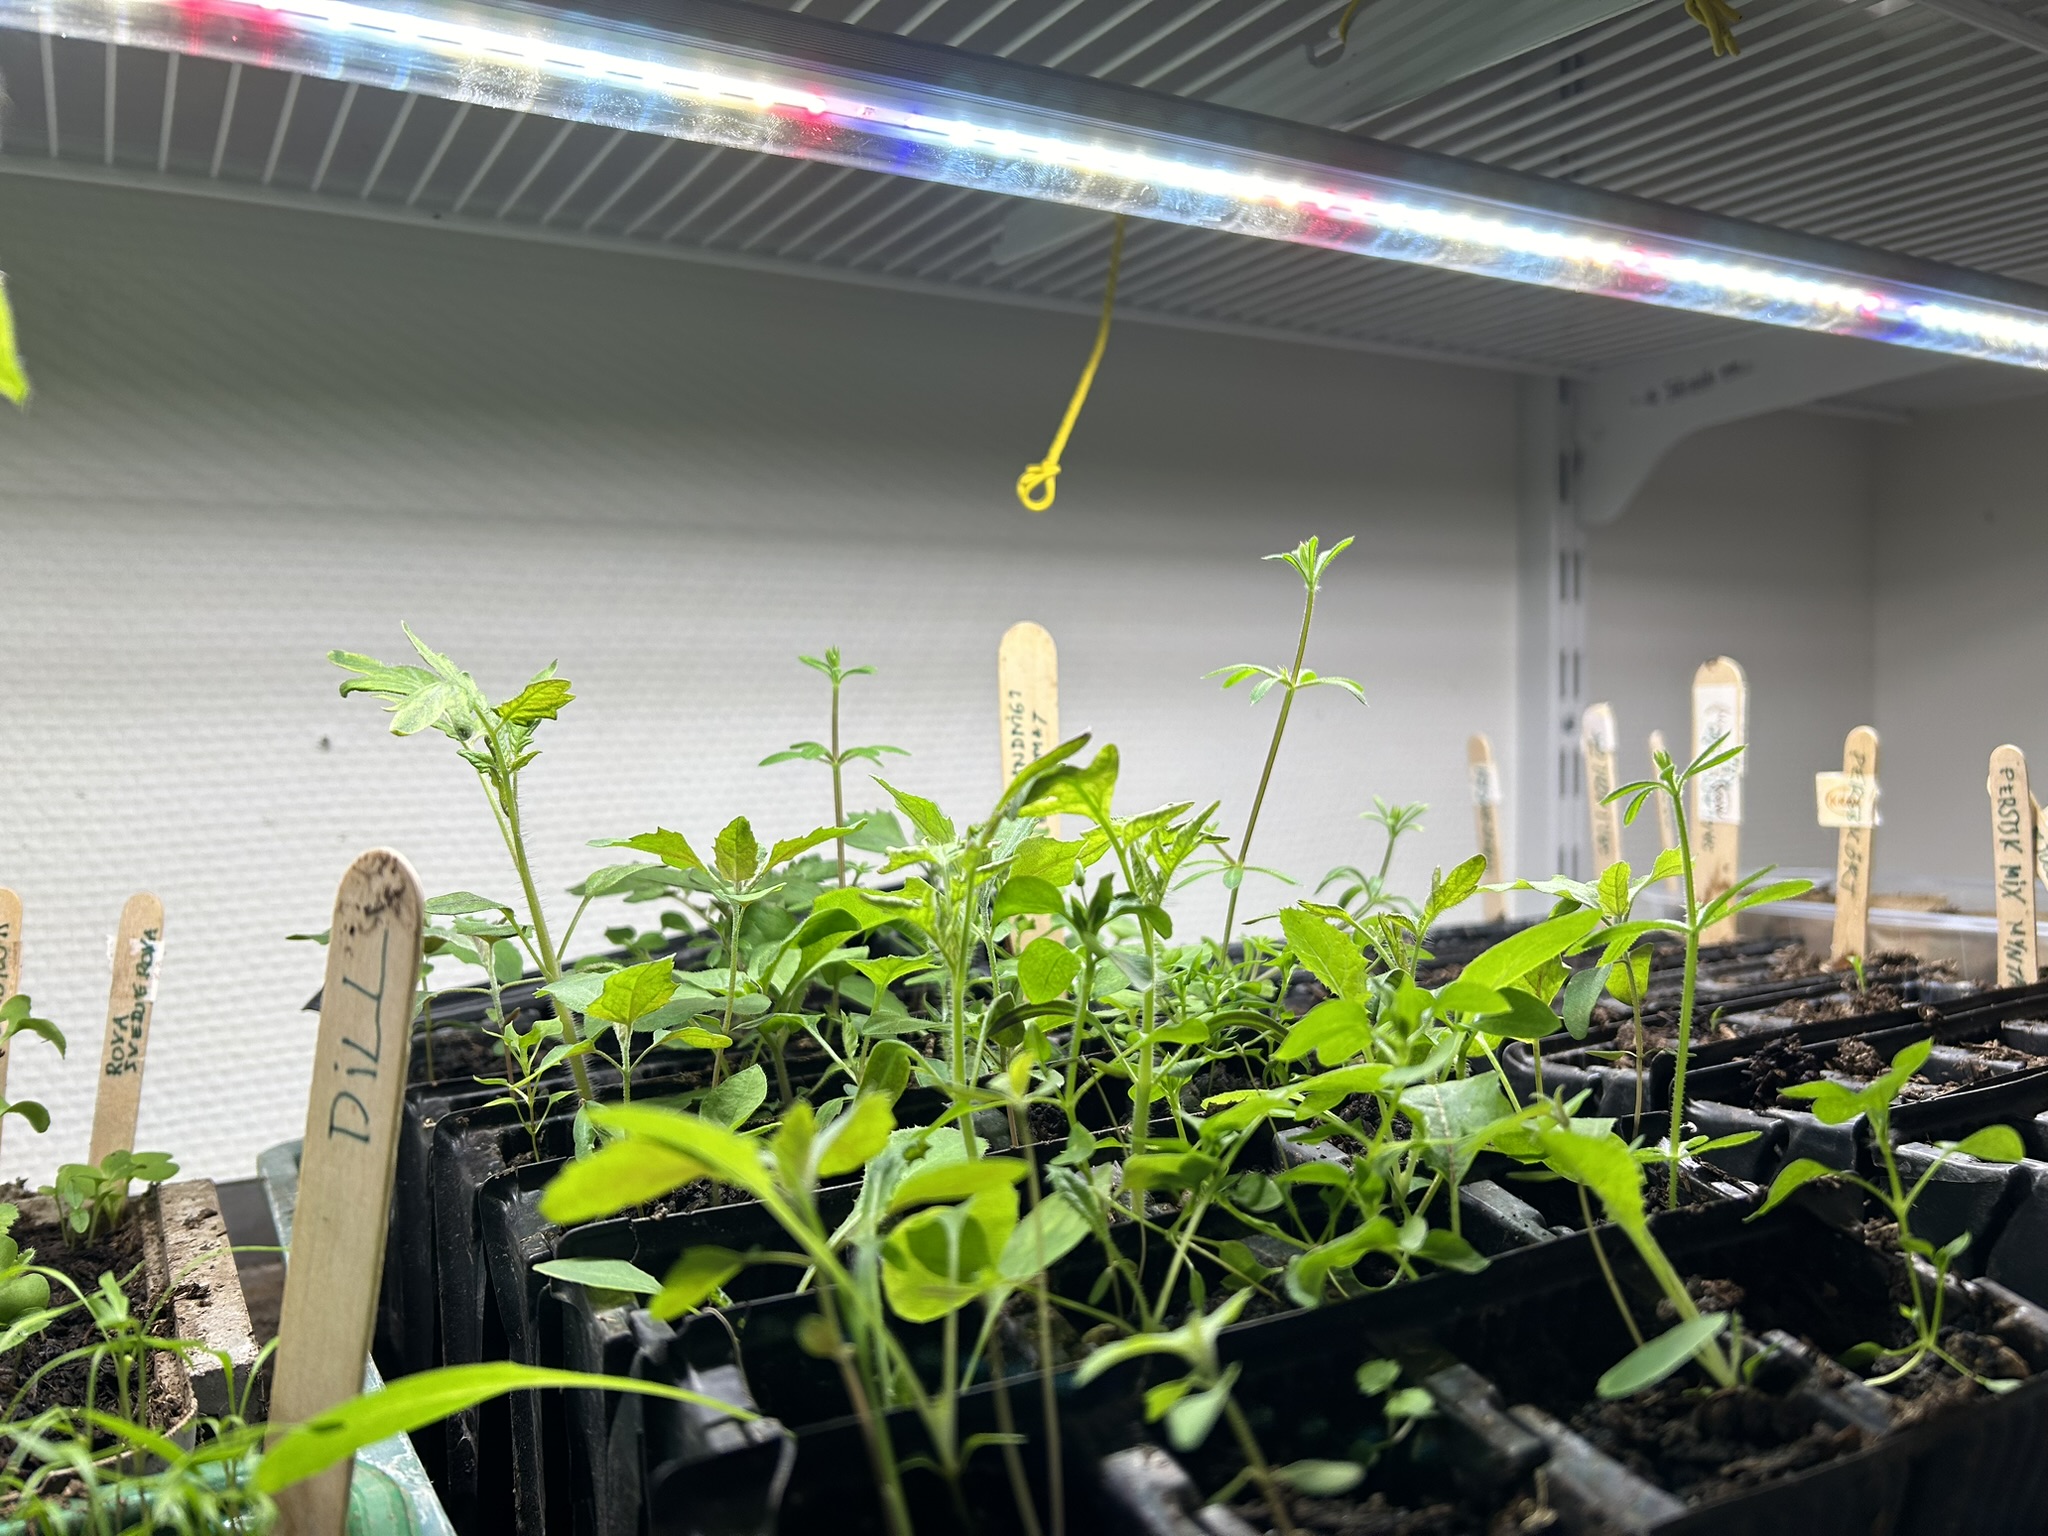
Light after sprouting
The moment you see green, seedlings need bright light or they'll stretch and flop. For most homes, a grow light is the difference between “spindly” and “sturdy.”
- Follow your light manufacturer's guidance first. Typically, place lights 2 to 4 inches above seedlings for many common LED shop or strip lights, then adjust as they grow.
- Provide 14 to 16 hours of light per day.
- If seedlings lean, rotate the tray or improve light coverage.
- If leaves look bleached or crisp, raise the light a bit.
Watering and airflow
Tomato seedlings want steady moisture, not soggy feet. Overwatering is a common path to fungus gnats, weak roots, and damping off.
My watering routine
- Water from the bottom when possible. Set trays in a shallow pan, add water, and let them drink for 10 to 20 minutes.
- Let the surface dry slightly between waterings, but don't let seedlings wilt.
- Empty standing water so roots get oxygen.
Add gentle airflow
A small fan on low, pointed near (not directly blasting) the seedlings, helps strengthen stems and reduces fungal problems. If you add just one upgrade, make it airflow. It's like sending seedlings to a tiny gym.
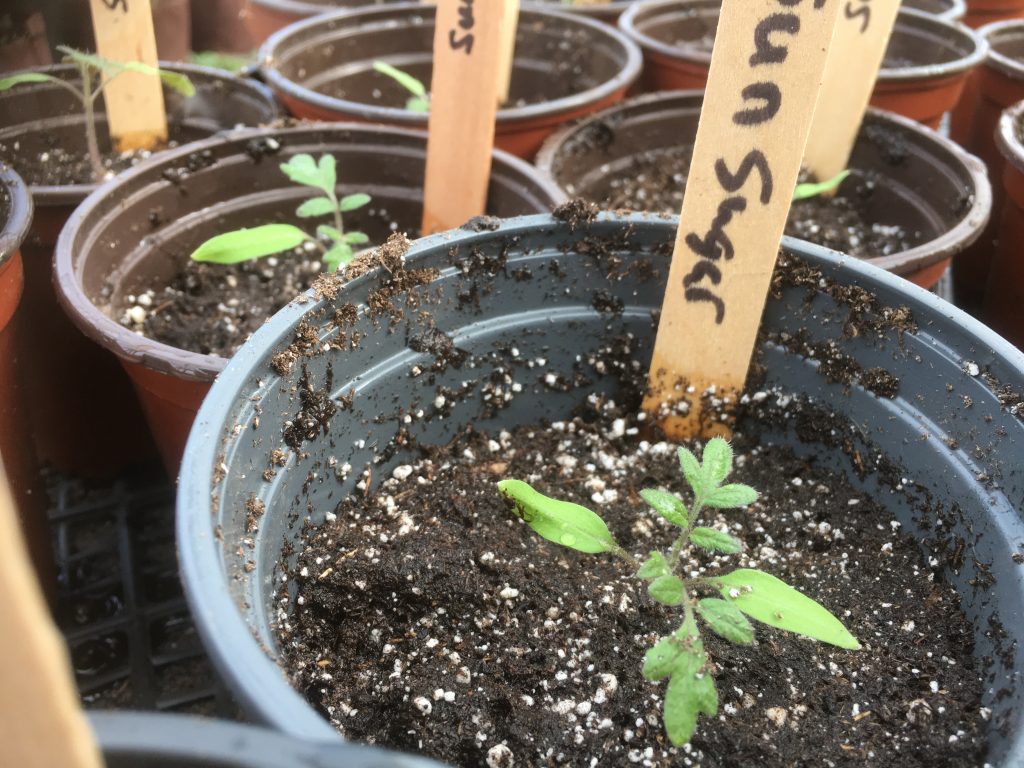
Potting up
Tomato seedlings are happiest when they have room for roots. “Potting up” means moving them from cells into larger pots once they outgrow their first home.
When to pot up
- When seedlings have 2 to 3 sets of true leaves (not counting the first smooth seed leaves).
- When roots start circling or poking from the drainage holes.
How to pot up (the fun tomato trick)
Tomatoes can grow roots along buried stems. When you transplant to a 3 to 4 inch pot, you can plant them deeper, right up to the lowest leaves.
- Fill a small pot with a quality potting mix (not seed-starting mix).
- Make a hole deep enough to bury part of the stem.
- Lift the seedling by a leaf, not the stem.
- Set it in and backfill gently.
- Water thoroughly, then return it to bright light.
Do seedlings need fertilizer?
If you started in a seed-starting mix, there's usually very little nutrition in it. Once seedlings have true leaves and especially after potting up, a light feeding can help.
- Start fertilizing after the first set or two of true leaves.
- Use a diluted organic fertilizer (like fish emulsion or a balanced liquid organic) at about 1/4 to 1/2 strength.
- Feed every 7 to 14 days, adjusting based on growth and leaf color.
Clue you're overdoing it: very dark green, overly lush growth that seems soft. Ease up and make sure light is strong.
Hardening off
Hardening off is simply teaching indoor plants to handle outdoor sun, wind, and temperature swings. Skipping this step can cause sunscald and stress that sets plants back for weeks.
A gentle 7 to 10 day plan
- Days 1 to 2: 1 to 2 hours outside in bright shade, protected from wind.
- Days 3 to 5: increase time outdoors, introduce a little morning sun.
- Days 6 to 8: several hours outdoors with more sun, bring in if winds are harsh.
- Days 9 to 10: most of the day outdoors. If nights stay above 50°F, you can trial an overnight in a sheltered spot.
Watch for curl or scorch: If leaves curl, look limp, or get pale patches, you've probably jumped too fast into sun or wind. Back up a step for a day or two, give them shade, and try again more slowly.
Water check: Seedlings dry out faster outside. Check moisture more often during hardening off.
Transplanting outdoors
Wait until the soil has warmed and the weather has settled. Tomatoes may survive chilly nights, but they won't thrive until warmth arrives.
When to transplant
- After the danger of frost has passed.
- When nighttime lows are consistently above 50°F (ideal).
- When seedlings are 6 to 10 inches tall with sturdy stems.
Where to plant
- Sun: 6 to 8+ hours of direct sun.
- Soil: loose, well-drained, rich with compost.
- Airflow: space plants to reduce disease.
Simple spacing
- Caged indeterminate: about 24 to 36 inches apart
- Staked and pruned indeterminate: about 18 to 24 inches apart
- Determinate: about 18 to 24 inches apart
When in doubt, give them a little more room. Good airflow is quiet disease prevention.
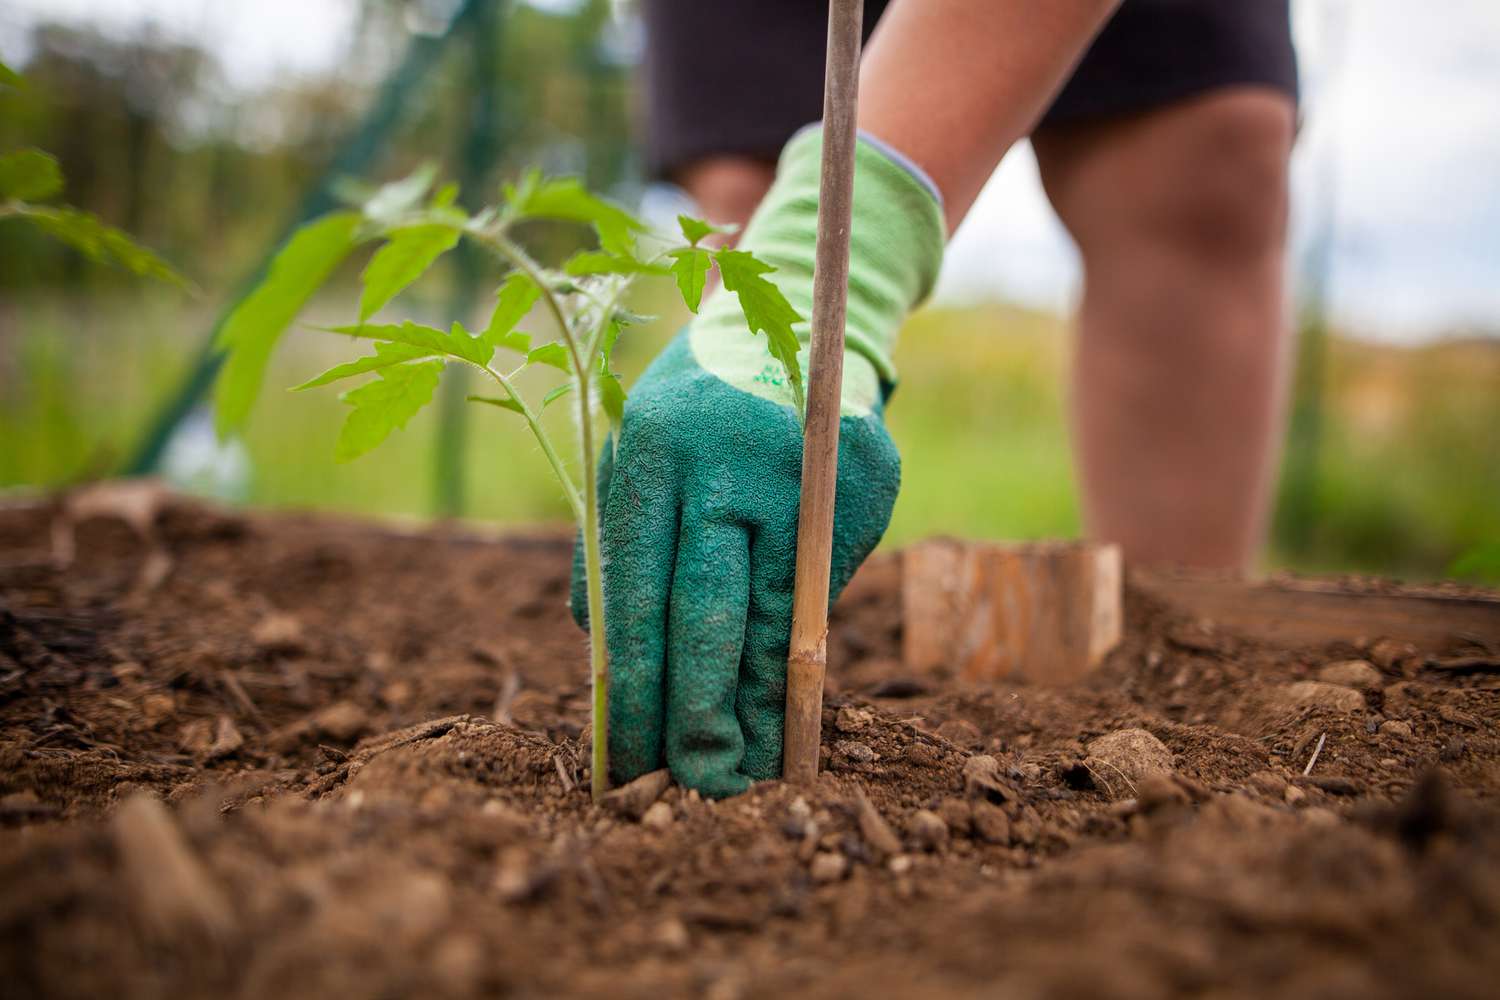
How to transplant (deep planting)
- Water seedlings well an hour or two before planting.
- Dig a hole deep enough to bury the stem up to the first set of leaves, or dig a shallow trench for sideways planting if seedlings are tall. If you're trench planting, lay the stem so the top points toward the sun, and it will curve upward on its own.
- Pinch off any leaves that would be buried.
- Set the plant in, backfill, and water deeply.
- Add support early (cage or stake) so you don't damage roots later.
Mulch tip: Once the soil is warm, mulch with straw or shredded leaves to reduce splashback (a big disease helper) and keep moisture steady.
Common seedling problems
Seedlings are honest little teachers. If something's off, they'll tell you quickly. Here are the issues I see most often.
Leggy seedlings
Cause: Not enough light, or light too far away.
- Move grow lights closer (or follow the fixture's recommended distance).
- Increase light duration to 14 to 16 hours.
- Use a fan for stronger stems.
- When potting up, plant deeper to support the stem.
Damping off
Cause: Fungal pathogens thrive in overly wet, stagnant conditions.
- Use clean containers and a clean, soilless seed-starting mix.
- Remove the humidity dome as soon as most seeds sprout.
- Bottom water and avoid constantly saturated mix.
- Increase airflow with a fan.
Yellow leaves
Common causes: Overwatering, poor drainage, low nitrogen, or root stress.
- Let the mix dry slightly between waterings.
- Make sure containers have drainage holes.
- If seedlings are older and pale, begin gentle fertilizing.
- Pot up if roots are crowded.
Purple stems or leaf undersides
Cause: Often cold stress, sometimes phosphorus uptake issues in cool conditions.
- Keep seedlings warmer, especially at night.
- Avoid placing trays on cold windowsills.
- Pot up into quality mix if they've been in starter mix for a long time.
Mold or algae on soil
Cause: Too much moisture and not enough airflow.
- Water less frequently, improve airflow, and increase light.
- Scrape off the top crust gently and top with fresh dry mix.
Fungus gnats
Cause: Consistently damp soil attracts them.
- Let the surface dry more between waterings.
- Use yellow sticky traps.
- Consider a biological control like BTI (mosquito bits) in the watering can if needed.
Seed-to-garden checklist
- Look up your local last frost date, then start seeds 6 to 8 weeks before it.
- Germinate at 70 to 85°F.
- Give intense light immediately after sprouting.
- Thin extras: keep one seedling per cell.
- Water evenly, add airflow, avoid soggy soil.
- Pot up once true leaves develop, and plant seedlings deeper.
- Harden off for 7 to 10 days.
- Transplant after frost, ideally when nights stay above 50°F.
If you want, tell me your location (or your average last frost date) and whether you're growing in containers or in-ground, and I'll help you pick an exact seed-starting week and a few varieties that fit your season like a glove.