How to Grow Thyme at Home
Thyme is one of those herbs that looks delicate, smells like a sunny hillside, and then surprises you by being tough as nails. If you have ever wanted an herb that mostly wants you to leave it alone (with love), thyme is your plant. It thrives on bright light, lean soil, and a little watering discipline. Give it good drainage and it will reward you with fragrant sprigs for soups, roasted veggies, teas, and the occasional “I can’t believe I grew this” pride.

Below, I will walk you through growing thyme indoors and outdoors, starting from seed or bringing home a nursery start, plus how to propagate it, harvest and store it, overwinter it, and use thyme as a helpful companion in the vegetable garden.
Meet thyme
Thyme (most commonly Thymus vulgaris) is a Mediterranean herb, which is a fancy way of saying it loves conditions that mimic a dry, sunny slope: strong light, sharp drainage, and soil that is not overly rich.
- Sun: Full sun is ideal outdoors, and the brightest window or grow light you can manage indoors.
- Soil: Well-draining, on the gritty side. Thyme does not need heavy feeding.
- Water: Deep but infrequent. Let the soil dry between waterings.
- Airflow: Helps prevent fungal issues, especially indoors.
If there is one thyme mantra to memorize, it is this: Drainage first, watering second.
Indoor vs outdoor
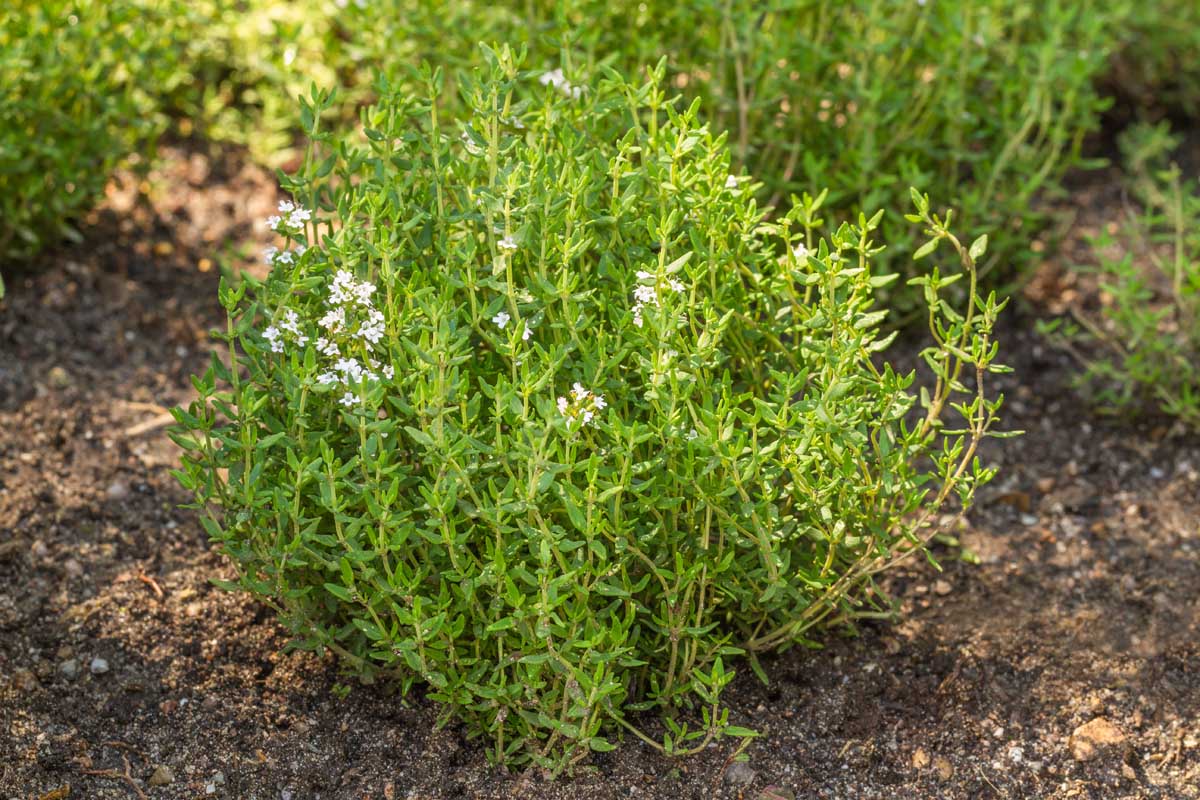
Growing thyme outdoors
Outdoors, thyme is happiest where it can bake a little. A sunny raised bed, a rock garden edge, or a container on a bright patio is perfect. Once established, it is fairly drought tolerant and often evergreen in milder climates.
- Best spot: Full sun, at least 6 hours daily, with loose soil that never stays soggy.
- Container tip: Choose a pot with drainage holes and avoid saucers that hold standing water.
- Spacing: Give plants room for airflow. Crowding can invite mildew.
Growing thyme indoors
Indoors is absolutely doable, but thyme is pickier about light inside the house. A bright south-facing window is best. If you do not have one, a simple grow light can turn thyme from sad and leggy into compact and lush.
- Light goal: Bright light for 6 to 8 hours from a sunny window, or use an LED grow light for about 12 to 14 hours a day.
- Grow light tip: Place the light roughly 6 to 12 inches above the plant (follow your light’s instructions), and raise it as the thyme grows.
- Even growth: Rotate the pot weekly.
- Airflow: Do not press it against a cold windowpane in winter. Keep it where it gets gentle air movement.
- Watering indoors: Even more conservative than outside. Indoor pots dry slower, especially in winter.
If your indoor thyme stretches and flops, it is almost always asking for more light, not more water.
Sun, soil, drainage
How much sun
Thyme grows best with full sun outdoors and the brightest light you have indoors. It can tolerate partial sun, but you will usually get less dense growth and less flavor.
Best soil
Think “crumbly and quick draining.” If your garden soil is heavy clay, do not fight it. Grow thyme in a pot or build a raised area with improved drainage.
- In-ground: Mix in compost lightly, and add grit like coarse sand or fine gravel if the soil holds water.
- In containers: Use a quality potting mix amended with perlite or pumice for faster drainage.
Why drainage matters
Thyme roots hate sitting in wet soil. Overly rich soil can also push soft, fast growth that is less aromatic. You want steady, compact growth that smells like dinner waiting to happen.
Watering
Most thyme problems come from overwatering. The trick is to water thoroughly, then wait.
When to water
- Containers: Water when the top 1 to 2 inches of soil are dry. The pot should feel noticeably lighter.
- In-ground: Water regularly while it establishes, then reduce. Once mature, thyme often only needs help during extended heat or drought.
How to water
- Water at the soil level, not over the leaves.
- Soak until water runs out the drainage holes (for pots), then empty any catch tray.
- Frequent small waterings can keep the upper layer constantly damp and raise the risk of root rot, especially indoors.
Too much water
- Yellowing leaves, especially near the base
- Soft stems
- A musty smell from the potting mix
Too little water
- Leaf curl and crisping
- Dry, brittle stems
- Potting mix pulling away from the pot edges
If you are unsure, wait one more day. Thyme forgives a little dryness far more easily than soggy feet.
Seed, starts, cuttings
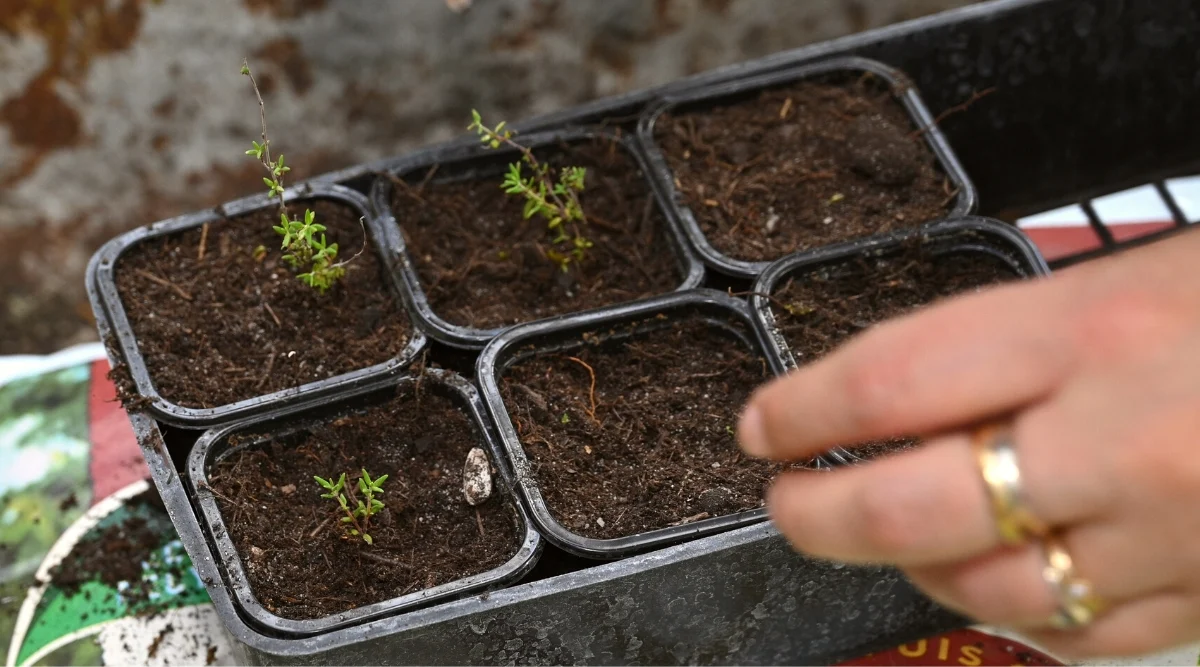
Starting from seed
Thyme from seed is satisfying, but it requires patience. Germination can be slow and uneven, and seedlings start tiny. If you enjoy the process, go for it.
- When to start: 8 to 10 weeks before your last frost if you plan to transplant outdoors.
- How to sow: Sprinkle seeds on the surface and press gently. Germination is usually best with surface sowing or only a very light covering.
- Moisture: Keep the surface lightly moist until germination, then reduce watering.
- Transplanting: Move seedlings when they are sturdy and have several true leaves. Harden off before planting outside.
Seed-grown thyme may vary a bit in growth habit and flavor, which is part of the charm.
Growing from nursery starts
If you want reliable results quickly, nursery starts are the easiest route. Look for a compact plant with healthy green growth and no mushy stems.
- Check the pot: Avoid plants sitting in water or with a sour smell.
- Repot promptly: Many nursery herbs are in peat-heavy mixes that hold moisture. Move your thyme into a better-draining setup soon after bringing it home.
- Pinch early: Lightly pinch the tips after it settles in to encourage branching.
Propagation from cuttings or division
If seed feels like waiting for paint to dry (it can), thyme is also easy to multiply from an existing plant.
- Stem cuttings: Snip a 3 to 5 inch non-flowering stem, strip the lower leaves, and tuck it into a small pot of damp, gritty mix. Keep it bright (not scorching) and lightly moist until it roots.
- Division: For larger, multi-stemmed clumps, you can gently split the plant into sections and replant. This works best in spring, and it is a nice way to refresh older plants.
Planting
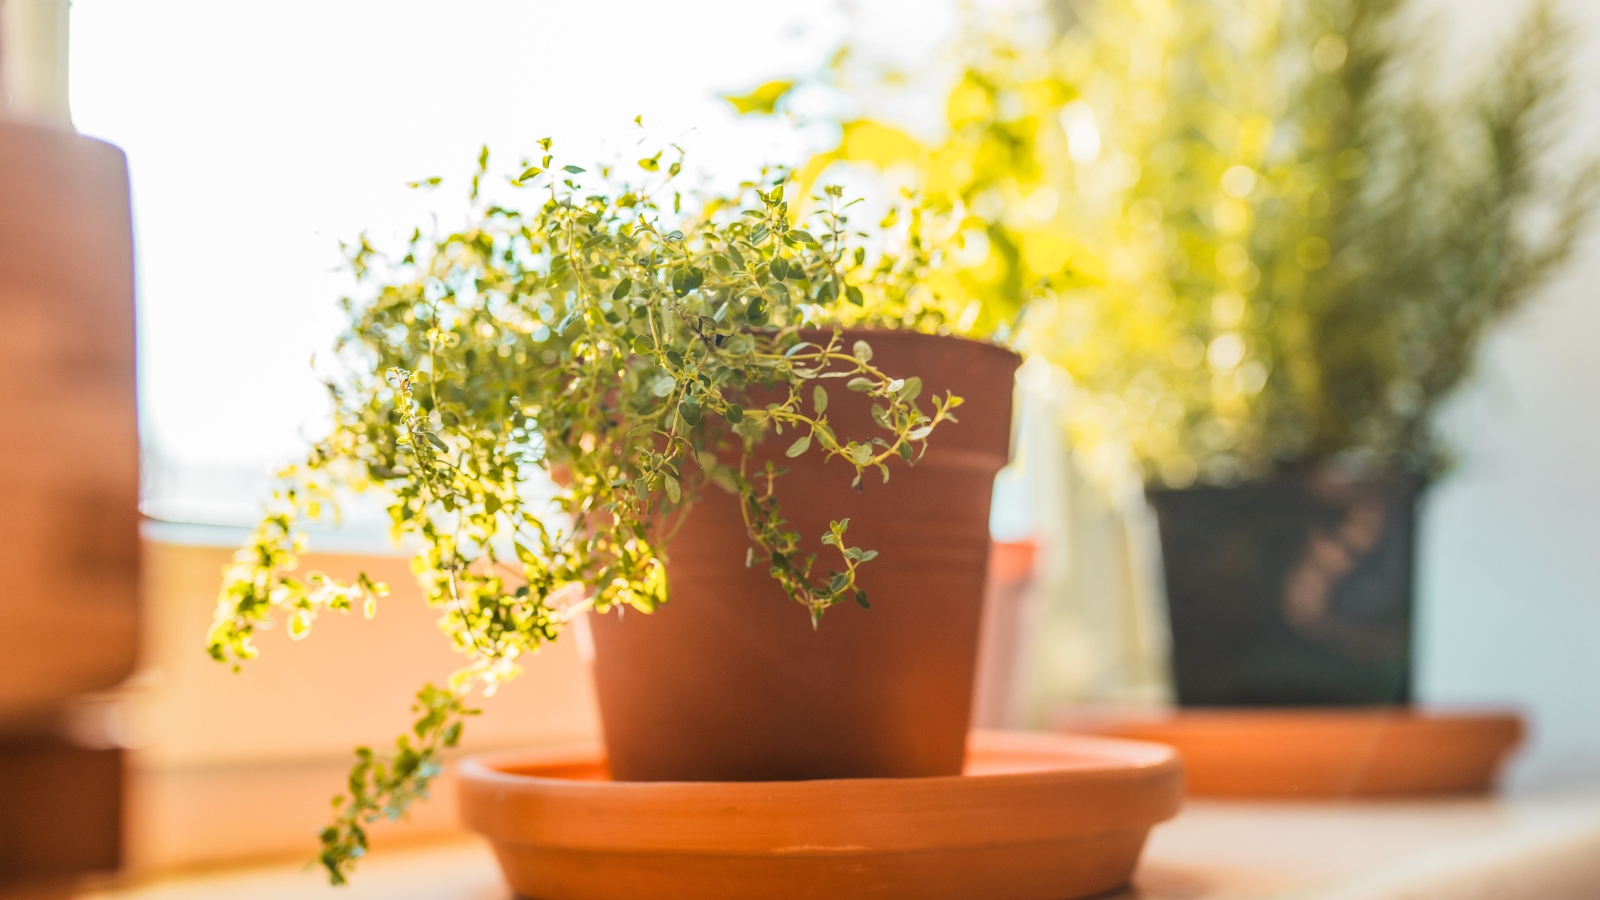
In a container
- Pot size: A 6 to 10 inch pot is a comfortable start for one plant.
- Drainage: Must have holes. Terracotta is great because it breathes and dries faster.
- Soil: Potting mix plus extra perlite or pumice for a fast-draining blend.
- Planting depth: Keep the crown at the same level it was in the nursery pot.
In the ground
- Choose a sunny spot: Avoid low areas where water collects.
- Improve drainage: Add compost modestly and loosen soil deeply. In heavy soils, consider planting on a slight mound.
- Mulch lightly: Use gravel mulch or a thin organic mulch layer to reduce splash and keep stems cleaner.
Harvesting
Harvesting is not just for the kitchen. It is also your best pruning tool. Regular cutting encourages thyme to branch and stay dense instead of getting woody and sparse.
When to harvest
- Harvest anytime once the plant is established, but flavor is strongest just before flowering.
- For peak aroma, harvest after the morning dew dries, especially if you plan to dry it.
- For a young plant, take small snips first. Let it build roots and size.
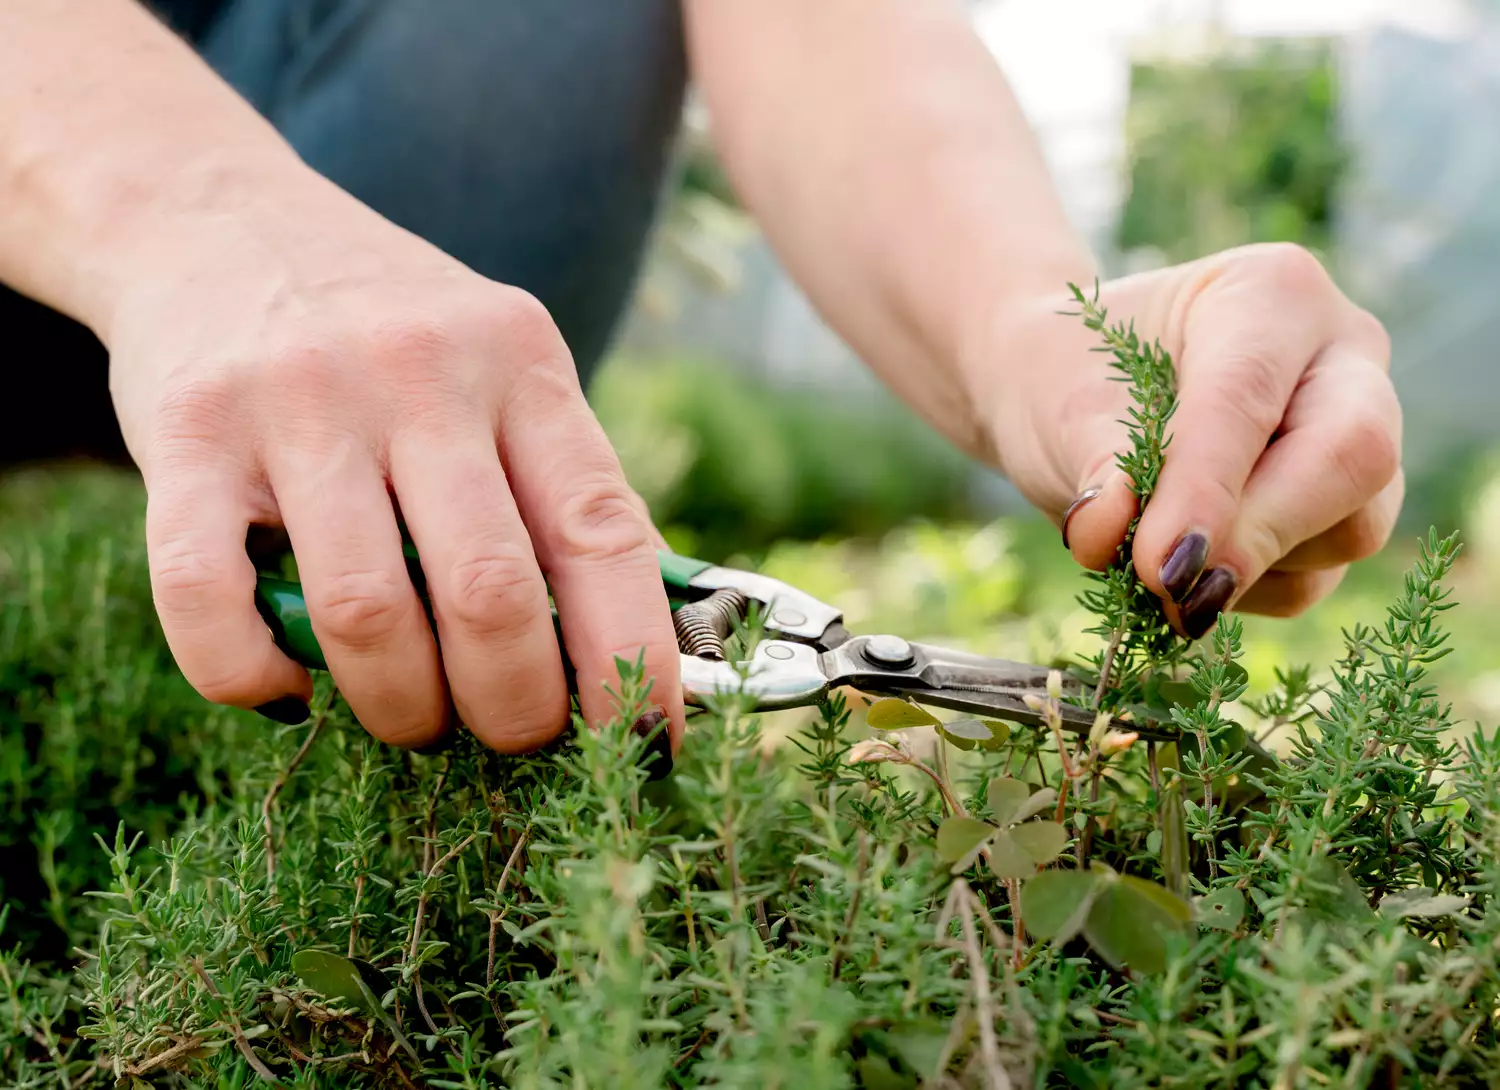
How to harvest
- Use clean scissors or snips.
- Cut a few inches of tender stem tips.
- Do not strip the plant bare. Leave plenty of green growth so it can keep photosynthesizing.
A simple rhythm
Once your thyme is growing steadily, aim to snip lightly every couple of weeks during the growing season. It is the gentlest way to keep it productive and pretty.
Storing thyme
Fresh thyme is wonderful, but it also stores beautifully, which is a small miracle when you want summer flavor in winter soup.
- Short term: Keep sprigs loosely wrapped in a slightly damp paper towel in a bag or container in the fridge.
- Drying: Bundle small sprigs and hang in a warm, airy spot out of direct sun, or use a dehydrator on low. Once crisp, strip leaves and store in a sealed jar.
- Freezing: Freeze whole sprigs on a tray, then transfer to a freezer bag. Or chop leaves and freeze in ice cube trays with a little water or olive oil.
Pruning and flowers
Thyme can get woody over time, especially at the base. That is normal. The goal is to keep fresh green growth coming from the tips.
- Pinch tips: Pinch or snip the top growth to encourage branching.
- After flowering: Lightly trim to tidy the plant and stimulate new growth.
- Avoid bare wood: Old woody sections may not resprout well. Always leave some leafy growth on the stems you cut.
If your thyme becomes very woody and sparse, it can be easier to start a new plant from cuttings or replace it with a fresh start every few years, especially in pots.
Overwintering
Thyme is often perennial, and in many regions it will survive winter outdoors. Common thyme (Thymus vulgaris) is typically hardy in USDA Zones 5 to 9, and sometimes a bit colder with protection and excellent drainage. If you garden in Zone 4 or colder, you may have better results treating it as an annual or overwintering it indoors.
In the ground
- Mulch after the ground cools: A light mulch helps buffer temperature swings.
- Skip heavy feeding late season: Tender new growth is more likely to get winter damage.
- Drainage is crucial: Winter wet is harder on thyme than winter cold.
In containers
Potted thyme is more exposed because roots can freeze faster above ground.
- Option 1: Move pots to a sheltered spot outdoors, like near a wall, out of harsh wind.
- Option 2: Sink the pot into the ground for winter insulation if you have space.
- Option 3: Bring it into an unheated but bright area like a cool sunroom or garage window. Keep watering minimal.
Indoor winter care
If you keep thyme indoors through winter, growth slows. That is fine.
- Give it the brightest light possible (a grow light helps a lot here).
- Water less often than in summer.
- Do not fertilize aggressively. Let it rest.
Companion planting
Thyme earns its keep in the veggie patch. It is low-growing, attractive to pollinators when it blooms, and its fragrance can be part of an overall pest-confusing garden strategy. Results vary by garden, but flowering thyme reliably supports beneficial insects.
Good companions
- Brassicas: Cabbage, kale, broccoli, and cauliflower. Thyme can help create a fragrant, flowering border that supports beneficial insects.
- Tomatoes: A sunny tomato bed often suits thyme too, especially along the edge where soil drains well.
- Strawberries: Thyme makes a lovely living mulch nearby if you keep it trimmed and do not let it crowd.
- Eggplant and peppers: Similar sun needs, and thyme stays compact if you harvest regularly.
Where it fits
I like thyme at bed edges, in rockier sections, or tucked into spots that dry out faster than the rest of the garden. Those “problem dry” corners are thyme’s happy place.
A gentle caution
Thyme does not love constantly moist soil, so avoid planting it right next to heavy drinkers that get frequent irrigation. If you use drip lines, keep thyme slightly off to the side where it stays drier.
Varieties
Most care is the same across thymes, but growth habit matters when you are choosing a spot.
- Common thyme: The classic kitchen thyme, usually upright and great for containers and beds.
- Lemon thyme: Bright, citrusy, and lovely in tea and fish. Care is similar, and it is a fun “something extra” plant.
- Creeping thyme: Low and spreading, more of a groundcover. It can be great as an edging plant, but it is not always the best choice for a small indoor pot.
Problems and fixes
Leggy growth
- Cause: Not enough light.
- Fix: Move to brighter sun or add a grow light. Pinch tips to encourage branching.
Yellow leaves
- Cause: Overwatering or poor drainage.
- Fix: Let the pot dry more between waterings. Repot into a grittier mix. Make sure the pot drains freely.
Slow growth
- Cause: Normal in cool seasons, or roots are cramped.
- Fix: Wait for warmer light, or move up one pot size if it is rootbound.
Woody, sparse plant
- Cause: Age and infrequent harvesting.
- Fix: Regularly harvest the tips during the growing season. Start a fresh plant from cuttings, or replace an old container plant every few years.
Indoor pests
- Common culprits: Spider mites and aphids, especially in dry indoor air.
- Fix: Rinse the plant gently, increase airflow, and treat with insecticidal soap if needed. Also check that the plant is not stressed from low light or soggy soil.
Root rot
- Cause: Soil staying wet too long.
- Fix: Improve drainage, water less often, and switch to a breathable pot (terracotta helps). If roots are badly damaged, take healthy cuttings and start over.
Quick checklist
- Light: Full sun outdoors, brightest window or grow light indoors
- Soil: Fast draining, not overly rich
- Water: Deeply, then let dry between waterings
- Harvest: Snip tips often to keep it bushy
- Winter: Common thyme is usually hardy in Zones 5 to 9. Protect pots from deep freezes and avoid soggy soil
If you take nothing else from this page, take this: thyme thrives when you trust it to be a little wild and a little dry. Give it sun, give it drainage, and then let it do what it has done for centuries, quietly filling the air with that warm, savory scent that makes a home feel cared for.