How to Grow Stevia at Home
If you have ever wished your garden could sweeten your tea all by itself, stevia is your plant. Stevia rebaudiana is a tender, leafy herb whose sweetness comes from natural compounds in the leaves, not from sugar. And the best part is that homegrown stevia can taste cleaner and fresher than many store-bought powders, especially when you harvest it at just the right moment.
I like stevia because it is a little quirky. It looks like a humble green herb, but one leaf can surprise you with serious sweetness. If you have felt intimidated by growing it, consider this your friendly permission slip to try. Stevia is not difficult, it just has a few preferences.

What stevia needs to thrive
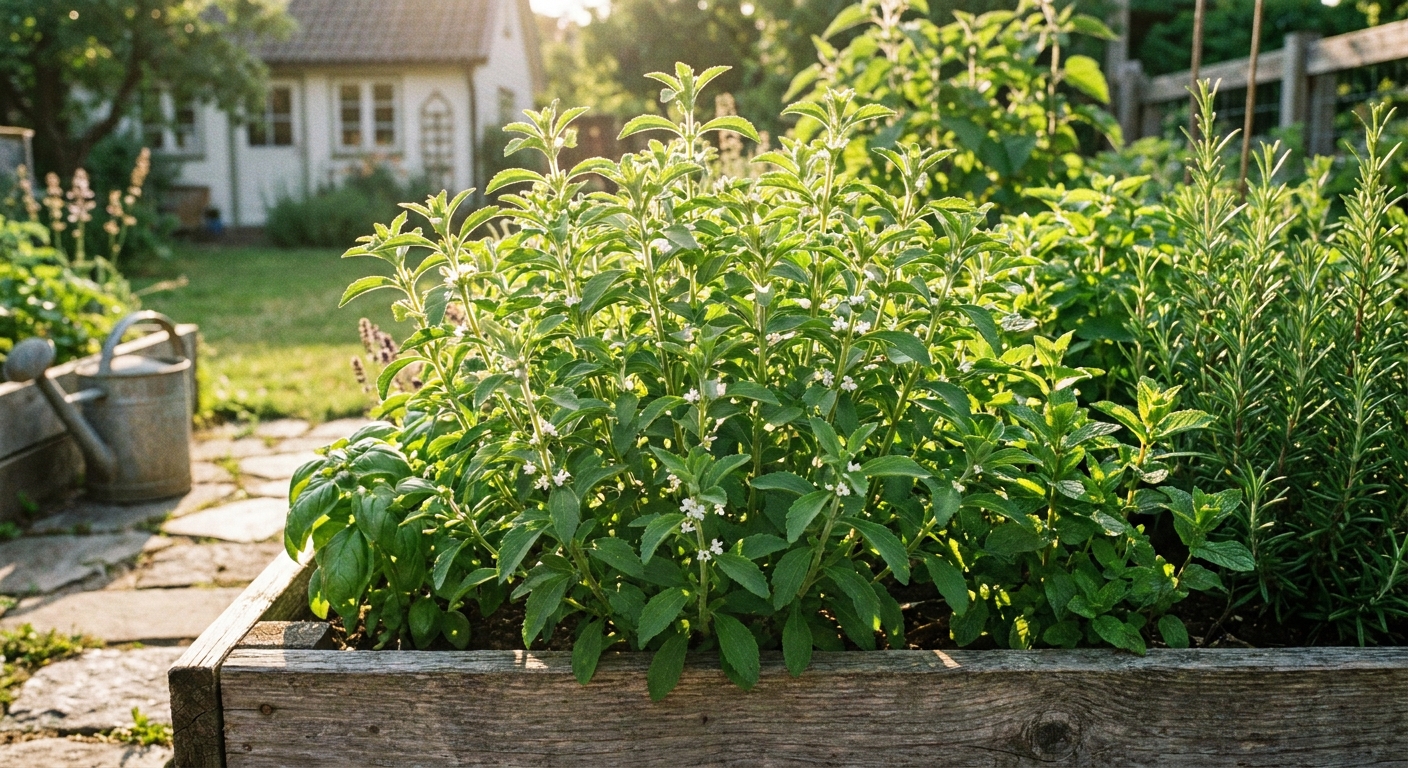
Think of stevia as an herb that loves warmth and light, but appreciates even moisture and gentle handling. In the right spot, it grows into a bushy little plant you can harvest again and again.
- Light: Full sun is ideal, especially in cooler regions. In very hot climates, stevia enjoys afternoon shade so it does not get stressed and bitter.
- Temperature: Stevia is tender. It is generally perennial in USDA Zones 9 to 11 (often 9 to 10) and grown as an annual in colder zones unless overwintered indoors. In borderline areas, winter protection can help, but frost is still the big villain.
- Soil: Loose, well-draining soil with lots of organic matter. Aim for a slightly acidic to neutral pH (roughly 6.0 to 7.0).
- Water: Consistent moisture, not soggy roots. Stevia dislikes drying out completely but will sulk in waterlogged soil.
- Feeding: Light to moderate. Too much nitrogen can push lots of leafy growth with less concentrated flavor.
Stevia plant care after planting
Once your stevia is growing, stevia plant care is mostly about keeping the plant leafy, evenly watered, and warm enough to avoid stress. Think of it like basil with a little more patience.
- Water: Keep the soil lightly moist, not soggy. In containers, water when the top inch starts to dry.
- Pinch often: Pinch the tips every few weeks in early summer so the plant branches instead of becoming one tall stem.
- Feed lightly: Too much fertilizer can push fast, soft growth and weaker flavor. A gentle herb fertilizer or compost is enough for most plants.
- Watch pests: Check tender growth for aphids, whiteflies, and spider mites, especially indoors or in a greenhouse.
- Harvest small amounts: Snip a few stems as needed, but leave enough leaves for the plant to keep growing.
- Plan for cold: Stevia is tender. Bring a pot indoors or root cuttings before cold nights arrive.
If your goal is steady leaves for tea or simple syrup, this care rhythm matters more than one big harvest. Keep it bushy, avoid drought stress, and harvest before flowering for the cleanest sweetness.
Starting stevia: seeds vs. cuttings
You can grow stevia from seed, but it is famously fussy about germination. If you want the simplest path, start with a plant from a nursery or ask a gardening friend for a cutting.
Option 1: Starting from seed
Stevia seeds are tiny and need light to germinate. Not darkness. Light. This is the step many people accidentally sabotage by burying the seeds too deeply.
One more truth, said gently: stevia seed viability can be low and unpredictable. Buy very fresh seed from a reputable source, sow extra, and do not take it personally if only a portion sprouts.
- Start seeds indoors 8 to 10 weeks before your last frost.
- Use a seed-starting mix and a shallow tray or small pots.
- Press seeds gently onto the surface and barely cover, if at all.
- Mist to settle them in, then cover with a humidity dome or plastic wrap.
- Keep warm, ideally around 70 to 75°F (21 to 24°C).
- Provide bright light from a sunny window or grow light.
Germination can take 1 to 3 weeks. Once seedlings have a couple sets of true leaves, pot them up carefully. They are delicate early on.
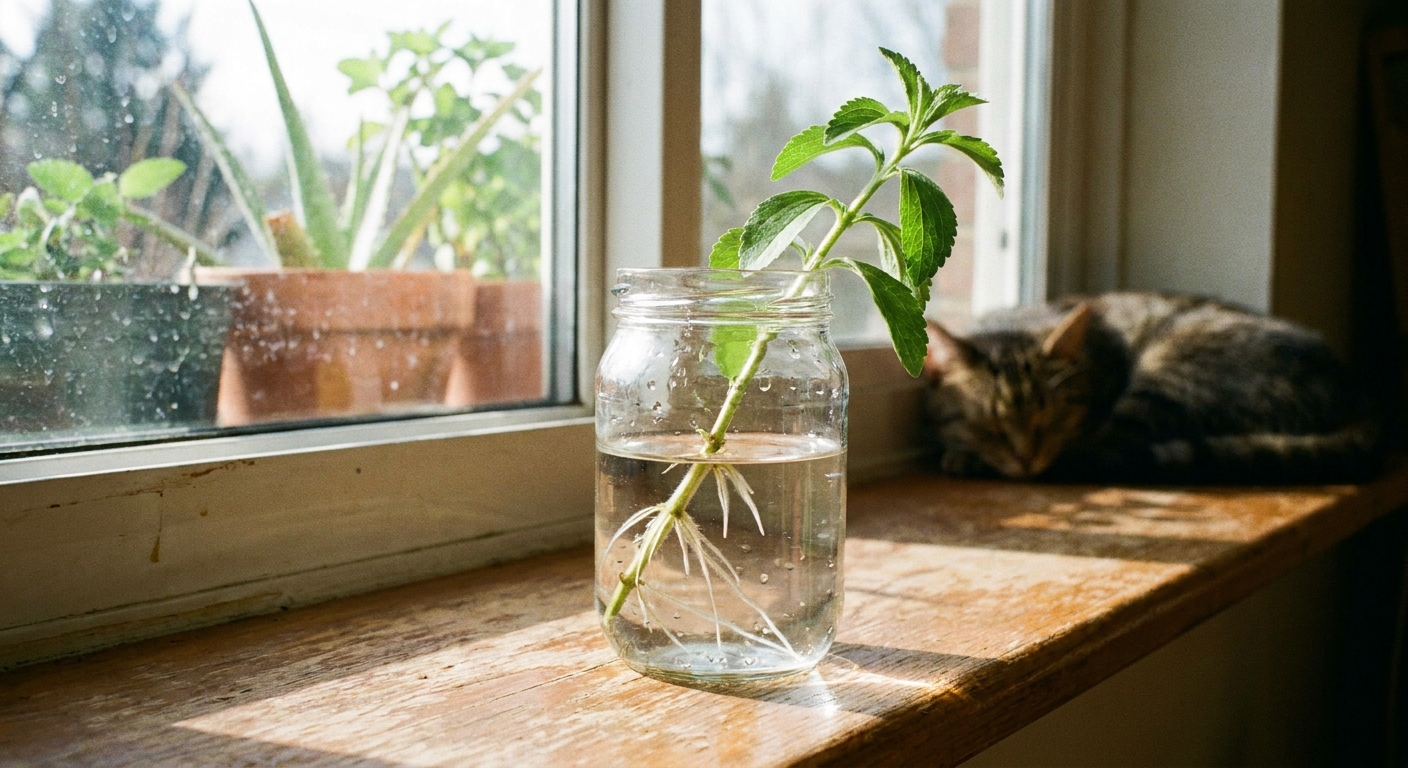
Option 2: Starting from cuttings (my favorite)
Cuttings give you a clone of the parent plant, which is great because sweetness and vigor can vary. It is also faster.
- Snip a 3 to 5 inch stem from a healthy plant, just below a node.
- Remove the lower leaves.
- Place the cutting in water or a moist potting mix. Bright, indirect light is best while it roots.
- When roots are a couple inches long (often 1 to 3 weeks in water), pot it up.
Container vs. garden bed
Stevia is happy in either a container or a garden bed. Your choice mostly comes down to your climate and how easily you want to move it.
Growing stevia in a pot
Containers are perfect if you have a balcony, patio, or short growing season. They also make overwintering much easier.
- Pot size: Start with at least an 8 to 10 inch pot. A mature plant appreciates a 12 inch pot or larger.
- Soil: Use a high-quality potting mix with extra drainage, like a mix with perlite or pine bark fines.
- Drainage: Non-negotiable. Make sure the pot has drainage holes.
- Watering: Pots dry out faster, especially in summer sun. Check daily during heat waves.
Growing stevia in the ground
In beds, stevia can grow larger and needs less frequent watering once established.
- Spacing: 12 to 18 inches between plants for airflow and bushiness.
- Soil prep: Work compost into the top 6 to 8 inches of soil.
- Mulch: A light mulch helps hold moisture and keeps soil temperatures even.
Sun and watering
If stevia is not tasting as sweet as you hoped, the cause is often stress, usually from inconsistent watering, too much heat, or letting it get too far into flowering.
- Aim for 6 to 8 hours of sun. In scorching climates, try morning sun with dappled afternoon shade.
- Water deeply when the top inch of soil feels dry. Stevia roots prefer steady moisture.
- Avoid soggy conditions by improving drainage and never letting pots sit in a saucer of water.
If your plant droops dramatically midday but perks up in the evening, that can simply be heat response. Check soil moisture before you panic-water.
Pinching and pruning
Stevia naturally wants to grow upright, but you can encourage a fuller, leafier plant by pinching it back. More branches equals more leaves, and leaves are the whole point.
- When the plant reaches about 6 to 8 inches tall, pinch off the top set of leaves.
- Repeat every few weeks in early summer to promote branching.
- Ease up on heavy pruning once buds form, or roughly 4 to 6 weeks before first frost, so the plant can focus on finishing strong.
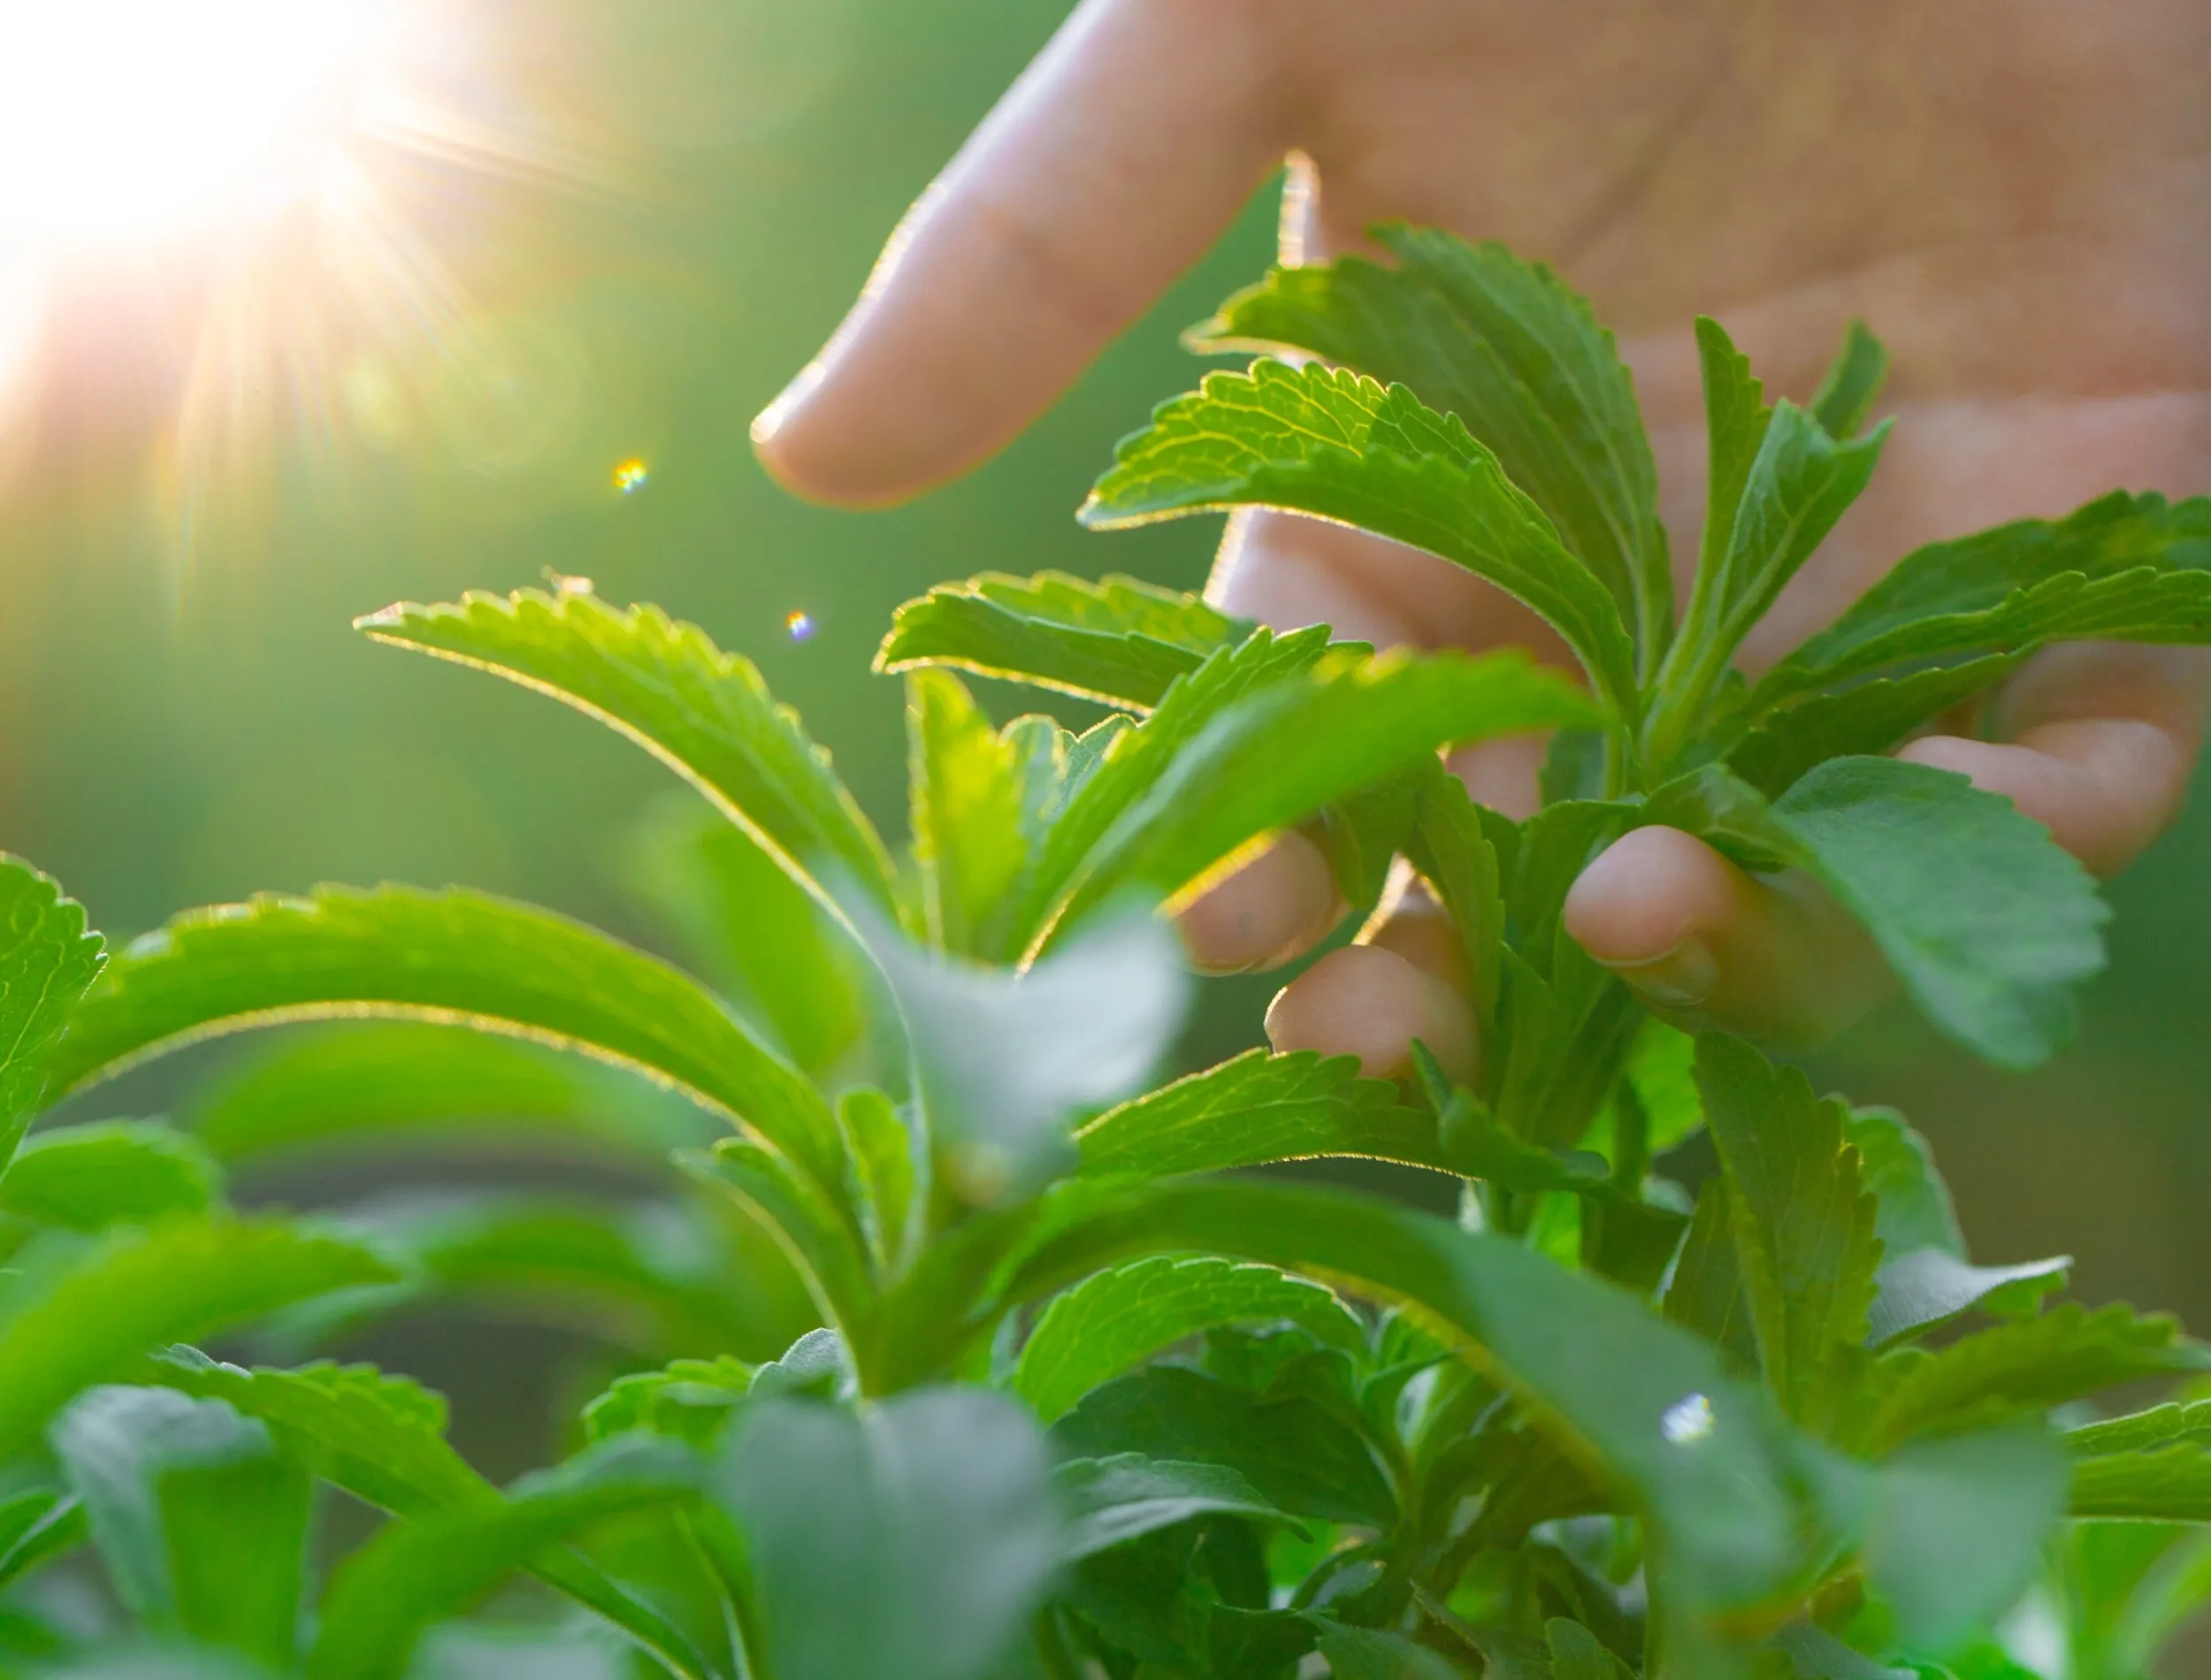
Harvesting for sweetness
This is the biggest lever you can pull for great-tasting homegrown stevia: harvest around bud time. Many gardeners find the best flavor just before flowering, when the plant is fully leafed out but has not shifted energy into blooms. After flowering starts, leaves can taste more grassy or bitter.
When to harvest
- Best timing: Late summer into early fall, right before flowering, or as soon as you see flower buds forming. (Stevia is a short-day plant, so day length can nudge it toward flowering, which is why the timing varies by latitude.)
- Time of day: Morning after dew dries is lovely, especially if you are drying leaves.
How to harvest
You can harvest a few leaves anytime, but for a bigger harvest:
- Use clean snips.
- Cut stems back by about one-third to one-half, leaving several leaf nodes so it can regrow.
- Strip leaves from stems for drying.
If frost is coming, do one final, generous harvest. Stevia does not forgive frost.
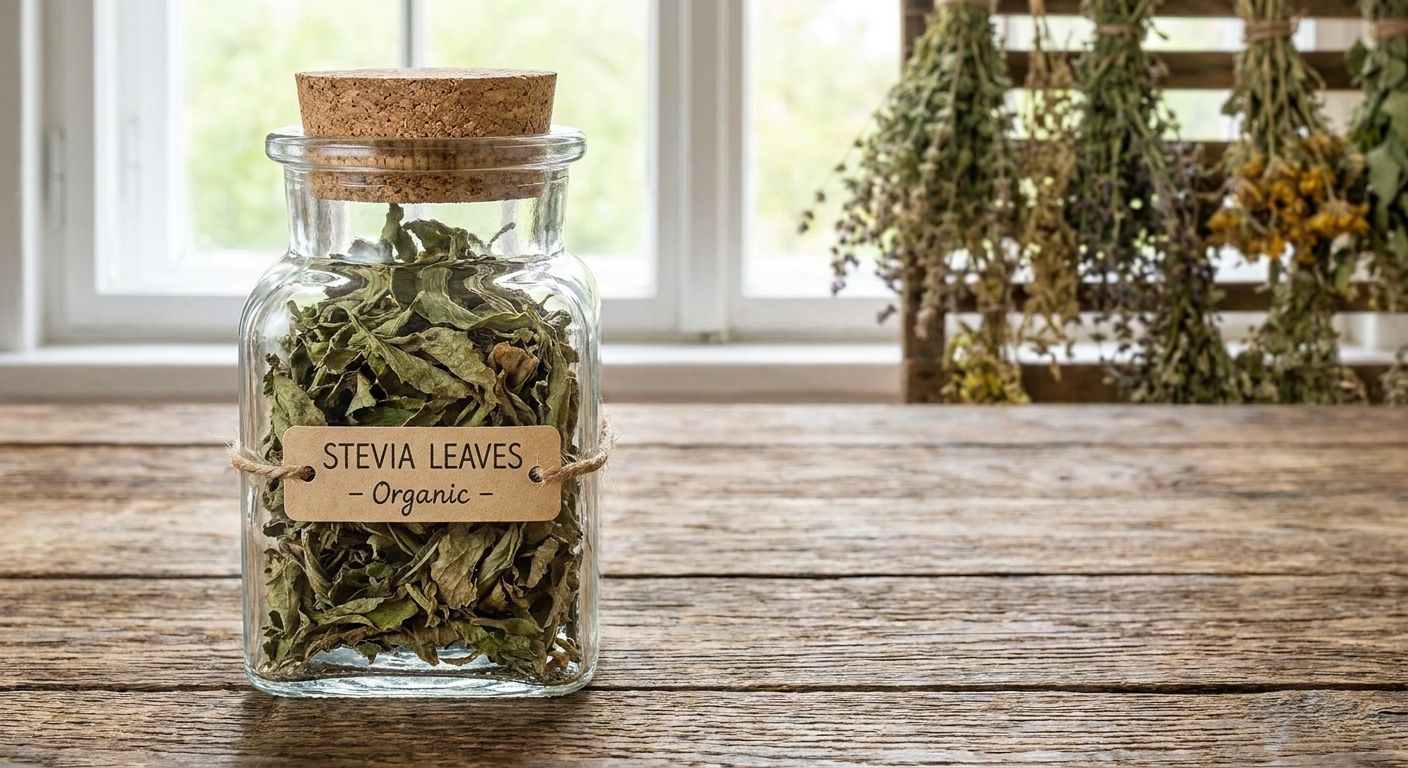
Drying and sweetener
Drying brings stevia’s sweetness into a form you can store and use through winter. The goal is to dry leaves quickly and gently, preserving flavor.
Air-drying
- Rinse leaves quickly if needed and pat dry.
- Spread in a single layer on a drying screen, rack, or paper towel in a warm, well-ventilated place out of direct sun.
- Leaves are ready when they feel crisp and crumble easily, usually within a few days.
Dehydrator method
If you have a dehydrator, it is wonderfully consistent.
- Use a low setting, around 95 to 115°F (35 to 46°C).
- Dry until crisp.
Crushing and storing
- Crush dried leaves by hand for a rustic “leaf sweetener,” or pulse in a clean coffee grinder for a finer powder.
- Store in an airtight jar away from heat and light.
- Label it. Future you will thank you.
How to use it: Start small. Stevia leaf powder is potent and can read as slightly herbal if overused. Also, powdered leaf does not fully dissolve, so plan to strain it if texture bothers you. I like it most in tea, coffee, lemony drinks, and homemade yogurt.
Liquid stevia (easy extract)
If you want something that stirs right in, make a simple liquid extract. This is one of the most popular ways to use homegrown stevia.
- Quick steep: Pour hot (not boiling) water over fresh or dried leaves, steep 10 to 15 minutes, then strain. Store in the fridge and use within a few days.
- Longer extract: Pack a jar loosely with dried leaves, cover with vodka or food-grade glycerin, steep 24 to 48 hours for a milder flavor (longer can turn bitter), then strain and store.
- Simple syrup option: Make a basic 1:1 sugar syrup and steep a small handful of stevia leaves in it, then strain. This is not sugar-free, but it lets you use less sugar overall and adds a gentle sweetness.
Overwintering in cold zones
If you garden where winters bite, you have two good options: treat stevia as an annual, or bring it inside to overwinter. I am a softie, so I usually try to overwinter at least one plant.
Option 1: Bring the whole plant indoors
- Before nights dip below about 50°F (10°C), move your potted stevia indoors for best growth and to avoid cold shock.
- Place it in the brightest spot you have, like a sunny south-facing window or under a grow light.
- Water less than in summer. Growth slows, and soggy soil indoors invites root issues.
- Pinch lightly if it gets leggy, but do not expect lush, summer-level growth.
Option 2: Overwinter as cuttings
This is often easier and tidier than hauling in a big pot.
- Take several cuttings in late summer.
- Root them indoors and grow them as small plants through winter.
- Harden them off in spring and plant out after frost.
Hardening off
When it is time to move stevia back outside, do it slowly over 7 to 10 days. A plant that has been living indoors needs time to adjust to real sun and wind.
Troubleshooting
My stevia tastes bitter
- Harvest earlier, around bud time, before full flowering.
- Reduce heat stress with afternoon shade in hot climates.
- Avoid letting the plant swing between bone-dry and soaked.
Leggy growth with few leaves
- Not enough sun indoors or outdoors.
- Pinch tips to encourage branching.
Yellowing leaves
- Often overwatering or poor drainage, especially in containers.
- Check that the pot drains freely and the soil is not staying wet.
Pests
Stevia can occasionally attract aphids or whiteflies, especially indoors. A strong spray of water, insecticidal soap, and better airflow usually fixes the problem without drama.
Buying the right plant
If you are buying starts, look for the botanical name Stevia rebaudiana on the tag and purchase from a reputable nursery. “Stevia” labeling can be sloppy, and you want the real sweet-leaf plant.
Flavor note
Whole-leaf stevia tastes different than refined stevia products. Some people pick up a licorice or herbal note, especially if they use too much. Start small, strain well in infusions, and adjust until it tastes right to you.
A simple growing plan
If you want the quick, confidence-building version, here is a rhythm that works for most home gardeners:
- Spring: Start seeds early or buy a plant. Pot up after frost.
- Early summer: Give full sun, steady water, and pinch tips for bushiness.
- Late summer: Watch for buds. Harvest around bud time for best sweetness.
- Fall: Dry leaves and store. Before cold nights, bring a plant or cuttings indoors.
And if you mess up the timing once? You are officially a gardener. Stevia will forgive you with new leaves, and you will get sweeter at this right along with it.