
How to Grow Sage at Home

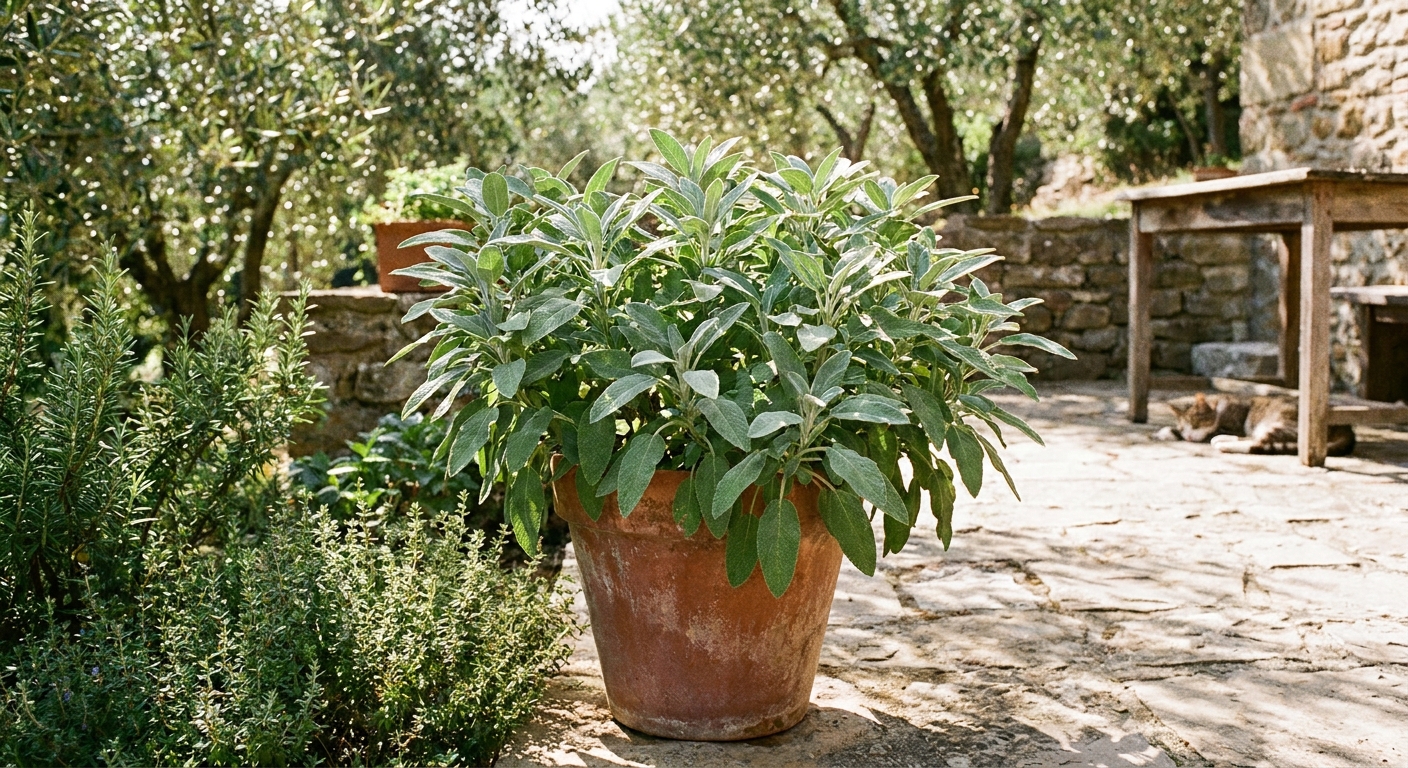
Sage is one of those herbs that makes you feel like a kitchen wizard with almost no effort. One minute it is a small, silvery plant, and the next you are crisping leaves in brown butter, tucking sprigs into roast chicken, or drying bundles that perfume the whole pantry.
It is also wonderfully forgiving as long as you respect its one big need: sharp drainage. Give sage sun, do not drown it, and it will quietly thrive for years.

Choose the right sage
Before you bring one home, make sure you are buying sage you actually want to eat. Many salvias are grown mostly for flowers and pollinators, not for the kitchen.
Culinary sage
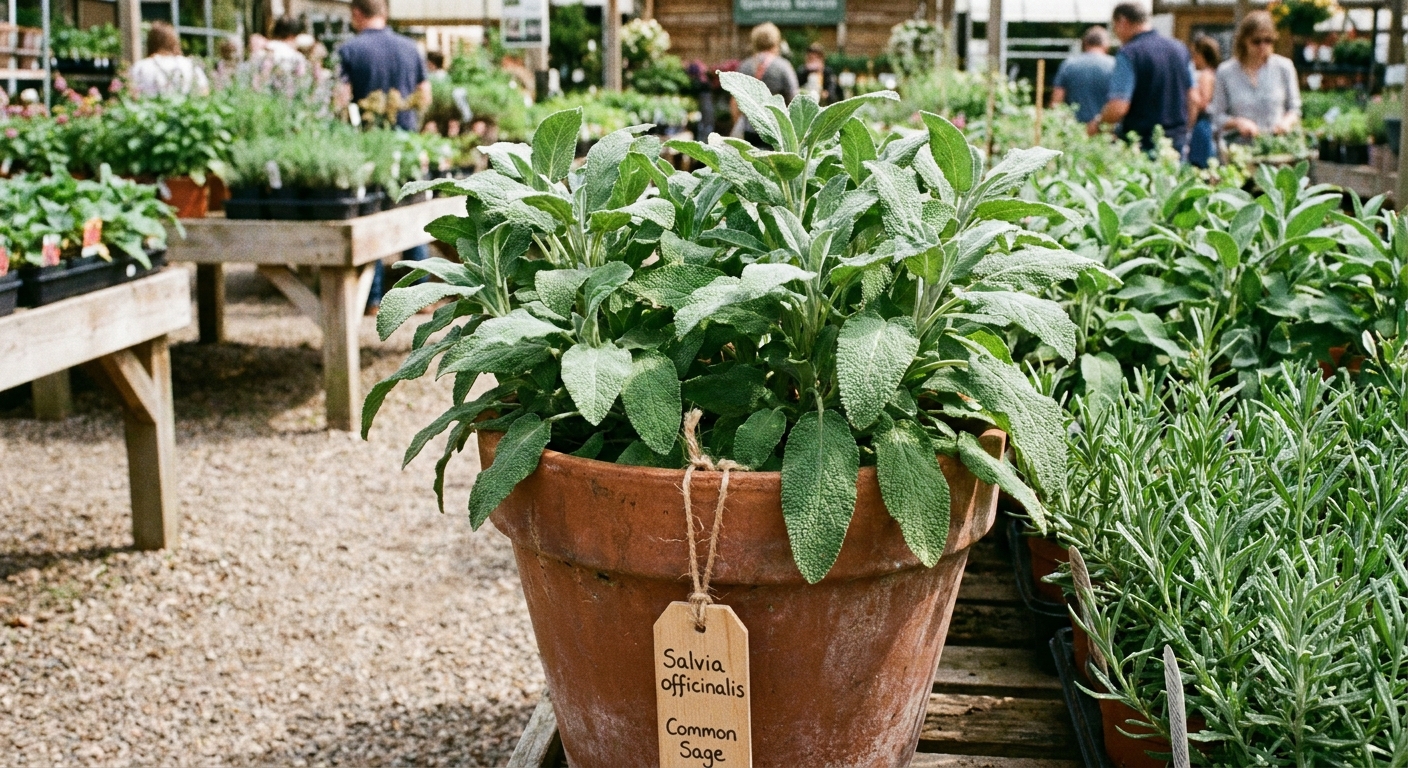
- Common sage (Salvia officinalis): The classic kitchen sage with soft, gray-green leaves and a savory, slightly piney scent.
- ‘Berggarten’: Broad leaves, strong flavor, and usually fewer flowers, which many cooks love.
- Purple sage: Same species and fully edible, with flavor that can be a touch milder depending on the plant.
Ornamental salvia
Plants sold as “salvia” with bright red, blue, or purple flower spikes are often ornamental types bred for blooms. Some species have a history of food use, but many are not typically grown for eating and may taste bitter or cause stomach upset for some people. If your goal is cooking, stick with clearly labeled culinary types and look for the word officinalis on the tag.
Where sage grows best
Think sun, airflow, and soil that drains like it has somewhere to be.
Light
Full sun is ideal: aim for 6 to 8 hours a day. In very hot climates, sage appreciates a bit of afternoon shade, especially in containers where roots heat up faster.
Soil and drainage
Sage is a Mediterranean herb, and it wants what you would expect: lean soil that drains fast. Heavy, soggy soil is the quickest route to root rot.
- In beds: Choose a spot that does not puddle after rain. If your soil is clay, improving drainage is priority number one. Compost can help soil structure over time, but it can also hold moisture, so keep additions modest and focus on mounding or a raised bed. For extra drainage, mix in true grit like horticultural grit, poultry grit, fine gravel, or pumice. (Skip “sand” unless it is genuinely coarse and used correctly, since the wrong sand can make clay behave like cement.)
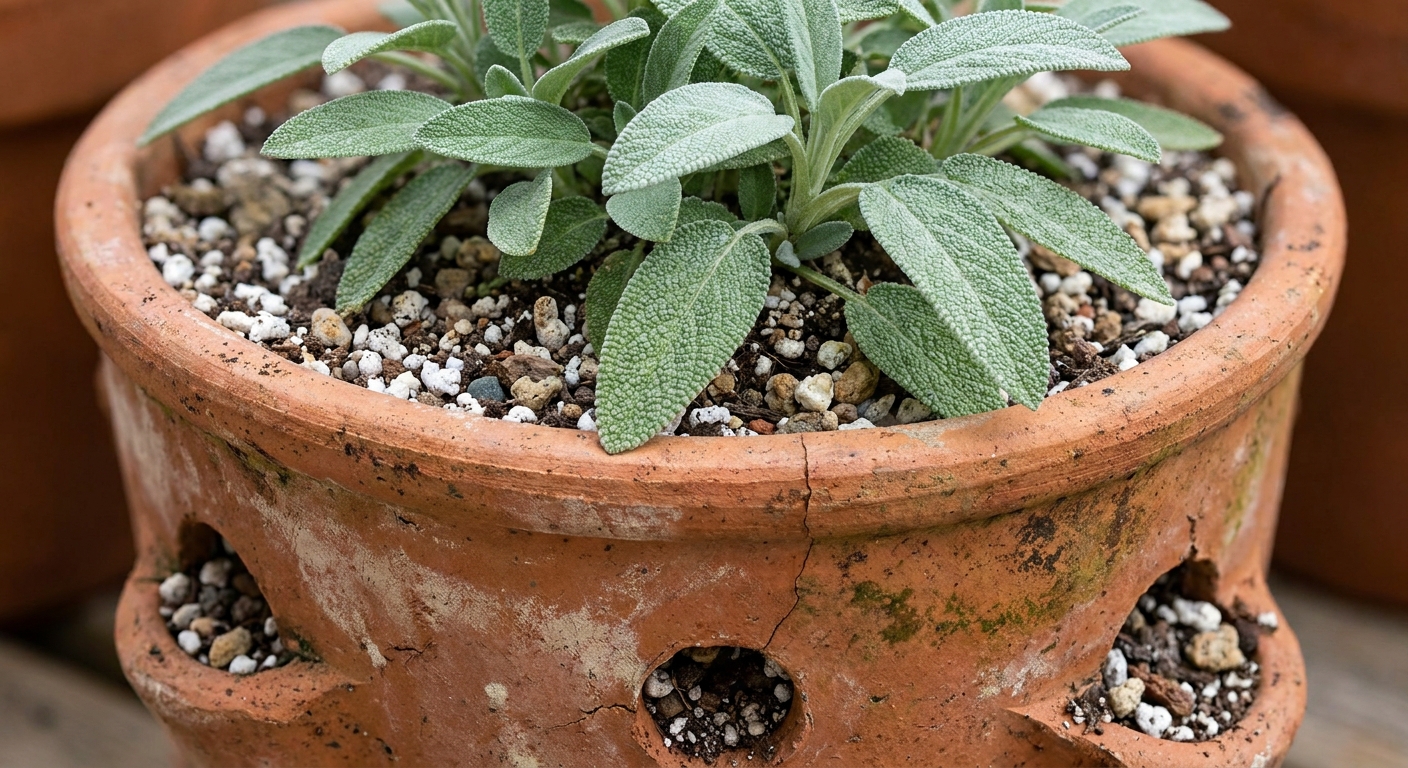
- In pots: Use a high-drain potting mix. A simple blend is potting mix cut with 25 to 40 percent pumice or perlite.
Airflow
Sage likes a little breathing room. Good airflow helps prevent mildew and keeps the plant’s stems from staying damp.
Planting in the ground
Plant in spring after the worst cold has passed. Fall planting works in mild-winter areas, but in cold zones it is safer to let roots establish through a full warm season.
Step-by-step
- Pick the sunniest, driest spot you have.
- Loosen soil 8 to 12 inches deep. If drainage is poor, build a small mound or plant into a raised bed. If you amend, add grit for drainage and use compost lightly.
- Space plants about 18 to 24 inches apart so they can fill out without staying wet inside.
- Plant at the same depth as the nursery pot. Sage hates being buried too deeply.
- Water in once to settle soil, then let the top few inches dry before watering again.
Growing in pots
Containers are perfect for sage, especially if your garden soil holds water. A potted sage on a sunny step is basically a “snip me” invitation.
Container basics
- Pot size: Start with a 10 to 12 inch pot for one plant. Bigger is fine, just do not oversize so much that the mix stays wet for days.
- Drainage holes: Non-negotiable.
- Pot material: Terra cotta breathes and dries faster, which sage usually loves.
Quick potting mix
Use a quality potting mix, then add perlite or pumice until it feels light and drains quickly. If water sits on top or the pot stays soggy for days, add more grit.
Watering discipline
If basil is a thirsty friend, sage is the introvert who prefers you stop hovering. Overwatering is the most common reason sage struggles.
When to water
- New plants: Water when the top 1 to 2 inches are dry. Keep it consistent for the first few weeks.
- Established in beds: Water deeply, then let soil dry significantly before watering again. In many climates, rainfall covers a lot of the need.
- Established in pots: Water thoroughly until it runs out the bottom, then wait until the pot feels noticeably lighter and the top few inches are dry.
Signs you are watering too much
- Yellowing leaves, especially near the base
- Soft, dark stems at the soil line
- Leaves dropping even though soil is damp
If that sounds familiar, let the plant dry, increase sun and airflow, and consider repotting into a grittier mix.
Feeding sage
Sage is not a heavy feeder. Too much fertilizer can make it grow fast and floppy, with weaker flavor.
- In beds: A spring top-dressing of compost is usually plenty.
- In pots: If growth looks pale or stalled, feed lightly with an organic all-purpose fertilizer at half strength once in spring, and again midsummer at most.
Pruning
Pruning is where sage goes from “scraggly shrub” to “tidy, productive herb.” A little shaping also helps prevent the plant from getting too woody too quickly.
Pinch and shape
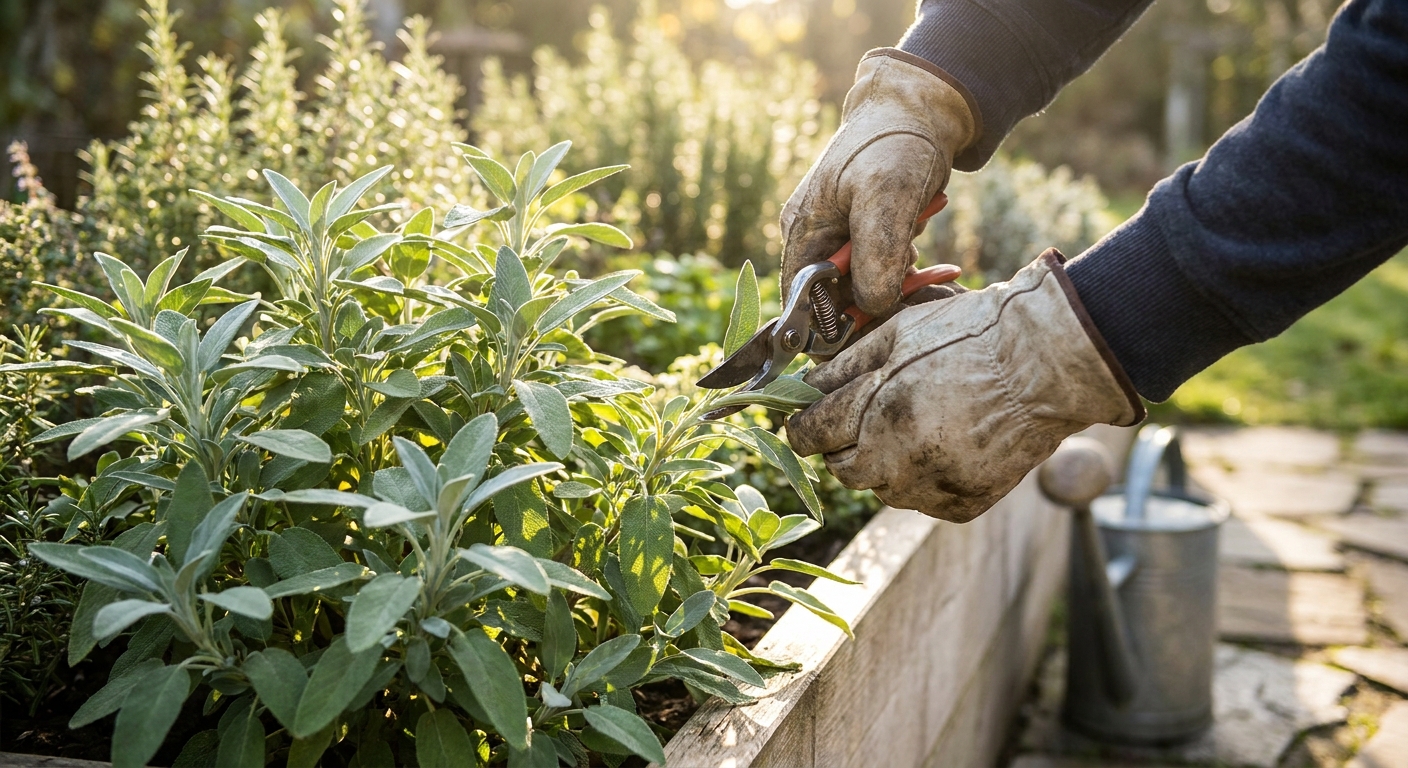
- Snip tips to encourage branching.
- Harvest by taking small stems, not single leaves, when possible.
Avoid old wood
Sage does not always regrow well from leafless, woody stems. When you prune, aim to leave some green growth on each stem.
Best timing
- Spring: After you see new growth, trim back winter-tired tips and shape the plant.
- After flowering: Lightly shear to tidy and encourage fresh leaves.
- Avoid heavy pruning late fall: New, tender growth can be damaged by cold.
Overwintering
Sage is a perennial in many gardens, often hardy in USDA Zones 5 to 8, and sometimes Zone 4 with the right cultivar plus excellent drainage and a protected spot. The real challenge is not always the cold, it is winter wet.
In-ground winter care
- Drainage first: If your winters are soggy, plant on a slight mound or in a raised bed.
- Mulch lightly: After the ground starts to freeze, add a loose mulch (like straw or shredded leaves) around the plant, not packed against the crown.
- Skip fall fertilizing: You want the plant to slow down and toughen up.
Container winter care
Pots freeze faster than ground soil. If you are in a cold zone, you have a few options:
- Move the pot to a protected spot like an unheated garage, shed, or covered porch where it stays cold but not brutally exposed.
- Cluster pots together and wrap the container with burlap or bubble wrap to protect roots.
- Bring indoors only if you have a very bright window. Indoors, sage often struggles with low light and overwatering, so keep it on the dry side.
Harvesting
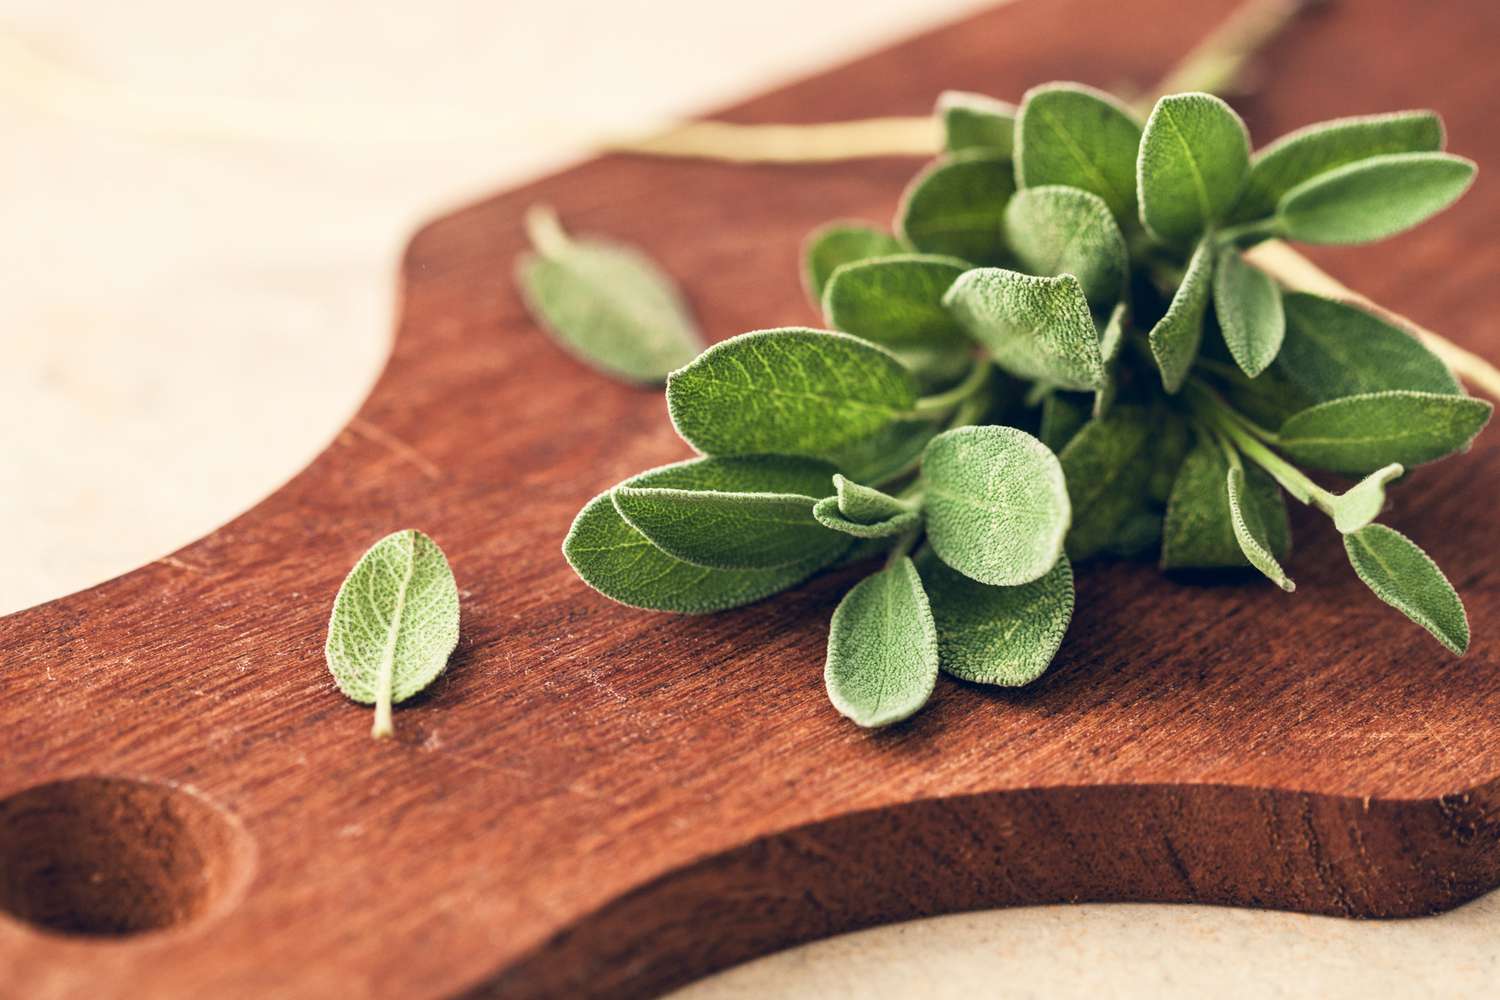
The best sage has that velvety texture and strong scent that clings to your fingers. Harvesting is simple, but there is one golden rule: do not take too much at once.
How to harvest
- Use clean scissors or pruners.
- Cut a stem just above a leaf node to encourage branching.
- Choose tender, leafy stems for the best flavor.
How much to take
As a general guideline, harvest up to one-third of the plant at a time during active growth. For young plants in their first year, go lighter so roots and structure can build.
Best time of day
Harvest in the morning after dew dries. The leaves tend to be at their most aromatic then.
Fresh, dried, or frozen
- Drying: Bundle small stems and hang in a warm, airy spot out of direct sun. When leaves crumble easily, strip and store in a sealed jar.
- Freezing: Freeze whole leaves on a tray, then store in a bag, or chop and freeze in olive oil in an ice cube tray for quick cooking portions.
Propagation and renewal
Sage can get woody and less productive after a few years (often around 3 to 5). The easiest way to keep that lush, leafy vibe is to start a fresh plant now and then.
Simple ways to make more sage
- Cuttings: In late spring or early summer, snip a 4 to 6 inch non-woody stem, strip the lower leaves, and root it in moist potting mix. Keep it humid and bright until it takes.
- Layering: Bend a flexible stem to the soil, pin it down, and cover a section lightly with mix. Once it roots, cut it free and pot it up.
- Division: Possible for some plants, but sage is often easier from cuttings than from digging and splitting a woody crown.
Common problems
Root rot
Cause: Soggy soil or poor drainage.
Fix: Improve drainage immediately, let soil dry, and consider replanting into a raised area or a grittier potting mix.
Powdery mildew
Cause: Humidity plus crowded growth.
Fix: Prune for airflow, avoid wetting foliage, and water at the soil level. Morning sun helps a lot.
Crown rot in wet winters
Cause: Cold plus saturated soil around the base of the plant.
Fix: Plant on a mound or in a raised bed, keep mulch loose and off the crown, and avoid heavy, water-holding amendments.
Leggy, woody sage
Cause: Not enough sun, lack of regular tip pruning, or just age.
Fix: Increase sun if possible and prune lightly in spring to encourage new growth. If the plant is very old and mostly wood, it may be time to start a new one from cuttings.
Pests
Sage is fairly pest-resistant, but you might see aphids, spider mites (especially indoors), spittlebugs outdoors, or slugs nibbling young plants.
Fix: Rinse with a firm spray of water, then treat with insecticidal soap if needed. For slugs, hand-pick at dusk and use iron phosphate bait if necessary. Improve airflow and avoid over-fertilizing.
Deer and rabbits
Sage is often deer-resistant and less appealing to rabbits thanks to its fragrance, but hungry animals do not read the rules. If browsing is common in your area, protect young plants with fencing until they size up.
Kitchen safety notes
- Confirm identity: Only eat plants you can confidently identify as culinary sage.
- Keep it clean: Rinse leaves before using and harvest from plants that have not been treated with non-edible pesticides.
- Go easy at first: If you are trying a new variety, use a small amount the first time to be sure it agrees with you.
Quick checklist
- Sun: 6 to 8 hours
- Soil: Lean, fast-draining
- Water: Deeply, then let it dry down
- Pot tip: Terra cotta plus gritty mix makes life easier
- Prune: Light shaping in spring and after flowering, avoid hard cuts into old wood
- Harvest: Snip stems, take no more than one-third at a time
- Winter: Protect from wet roots, shelter containers in cold zones
- Renew: Start a new plant every few years for peak leaf production
If you can give sage sun and restraint with the watering can, you are going to do great. And if you catch me murmuring encouragement to my sage while I prune it, please know I am also cheering you on from your side of the garden fence.